Care and Maintenance
Window Squeegee Rubbers: A Complete Reference Guide
Window squeegee rubbers explained — types, sizes, materials, how to measure, replace, and pick the right rubber for clean, streak-free glass every time.


You've rinsed the patio, and the gray film is still there. Or you've scrubbed a driveway stain only to find the surface has turned blotchy, the nearby planting has been splashed, and the white marks have returned. Before reaching for muriatic acid or a pressure washer, identify the residue and the surface. The right method for plain concrete may be wrong for colored concrete, masonry, glass, or metal nearby.
Learning how to clean cement safely starts with a short inspection. Cement-based surfaces and residues vary, and an aggressive shortcut can etch concrete, discolor masonry, damage adjacent finishes, or send contaminated rinse water where it doesn't belong. Start mild, work wet, test first, and escalate only when you know what you're treating.
A homeowner looks across a driveway after cleaning and sees gray streaks, pale patches, or a color that no longer looks even. The usual mistake isn't a lack of effort. It's choosing a product or tool before identifying the surface and the residue.
“Cement” gets used casually to describe driveways, sidewalks, patios, mortar, and masonry, but those materials don't all respond the same way. Plain, uncolored concrete may tolerate a method that damages a painted porch, soft stone, colored mortar, or a stamped finish. A chemical that lifts mineral deposits can also attack metal frames or nearby landscaping if it splashes or runs off.
Look closely at the mark. Is it fresh cement splatter, a white salt deposit, oil, or ordinary grime? Check whether the concrete is sealed, painted, stamped, or colored, and notice what sits beside it. A few minutes of diagnosis can prevent a repair problem that scrubbing alone won't fix.
The guiding rule is simple: match the cleaning method to the substrate, the residue, and the surroundings. A strong acid isn't a universal cleaner. Heritage Victoria warns that hydrochloric and sulfuric acids can affect mortar, concrete, and sandstone, causing problems such as weakening, streaking, or delayed efflorescence (masonry cleaning guidance).
Start with the least aggressive option that suits the material. Dry brushing or a mild detergent may handle a superficial deposit, while stubborn residue on a sensitive surface may call for a specialist. If you can't identify the finish, don't guess with acid or a sharp tool.
A stain's appearance and location often reveal what's going on. Check whether it's raised or flat, greasy or powdery, confined to a spill or spreading across a damp area. That first read helps you avoid treating oil like mineral scale or mistaking a moisture problem for dirt.
A stain that reappears after cleaning may point to an ongoing source, such as moisture carrying salts to the surface or oil absorbed below the top layer. Efflorescence, in particular, isn't ordinary dirt. Dry brushing can be an appropriate first attempt on masonry, but recurring deposits call for attention to moisture as well as the visible residue (efflorescence cleaning guidance).
Make a note of the surface finish before choosing a product. If the mark is close to paint, colored concrete, a window, or a metal frame, assume runoff and splash matter too.
For general dirt, use water, a mild cleaner, and controlled scrubbing before considering a specialty chemical. That approach gives you a chance to see how the surface responds without immediately committing to an aggressive treatment.
Clear furniture, leaves, grit, and loose debris first. Pre-wet the concrete, then test your chosen cleaner on a discreet patch and check for color change, etching, or film after rinsing. The test should include the full application and rinse, not just a dab of cleaner left to sit.
Choose a stiff nylon brush for textured concrete and a push broom or softer brush for a smoother finish. Mix a pH-neutral or mildly alkaline detergent according to its label. Keep the work area small enough that the solution stays wet while you scrub. Dwell time means the period the cleaner remains on the surface to loosen soil. It doesn't mean letting the product dry.
Rinse thoroughly with a garden hose, moving the water toward a controlled collection point rather than a storm drain. Don't mix cleaning products. In particular, never combine bleach with acids, and follow the product label for ventilation and protective equipment.
If your job includes adjacent pavers, use a method designed for that surface rather than assuming concrete guidance applies. These paver patio maintenance steps offer a useful comparison for keeping patio materials in good condition.
A scrub brush and a bucket of detergent can handle plenty of routine soil. If a test patch reacts badly, or a mild wash leaves a mineral deposit unchanged, stop and reconsider the diagnosis instead of increasing the chemical strength.
A targeted treatment is usually easier to control than a strong, all-purpose chemical. Start with the residue and the finish, then follow the product label for dilution and application. The table below deliberately avoids universal mixing ratios and dwell times, because those depend on the specific product and substrate.
| Stain | Product Type | Dilution | Dwell Time | Caution |
|---|---|---|---|---|
| Fresh oil or grease | Detergent or a concrete-compatible degreaser | Follow the label | Follow the label; keep it from drying | Test sealed, painted, or colored surfaces |
| Organic staining or mildew | A product labeled for the surface; oxygen-based cleaner where compatible | Follow the label | Follow the label | Protect nearby plants and finishes |
| Efflorescence | Dry brushing first; compatible masonry cleaner only if needed | Product-specific; begin with the mildest labeled treatment | Follow the label | Test first, pre-wet masonry if washing, and rinse completely |
| Rust | Concrete-compatible rust remover | Follow the label | Follow the label | Acidic products may damage stone, mortar, metal, or color |
| Deep-set oil | Concrete-compatible poultice | Follow the label | Follow the label | Results vary with how deeply oil has penetrated |
Oil needs a degreasing approach because it penetrates differently from a powdery mineral deposit. Efflorescence calls for a different first move: dry brushing and checking for moisture, rather than immediately reaching for acid. If a residue is adhered like old tile adhesive, the surface and material call for their own removal method; this renovator's adhesive removal advice is a useful example of why identifying the material matters before scraping.
Industry guidance recommends starting proprietary masonry cleaners at roughly 1–10% dilution, with colored concrete masonry units or colored mortar generally needing only 1–2% solutions. Those figures apply to masonry-cleaning guidance, not every concrete stain or every cleaner. Check the product instructions and confirm that the substrate is within its stated limits before applying it.
For a closer look at white mineral deposits on concrete, see this guide to cleaning concrete efflorescence. Don't assume a stronger mix will work better. Test a small area, give a compatible product its labeled dwell time, rinse fully, and reassess before repeating a treatment.
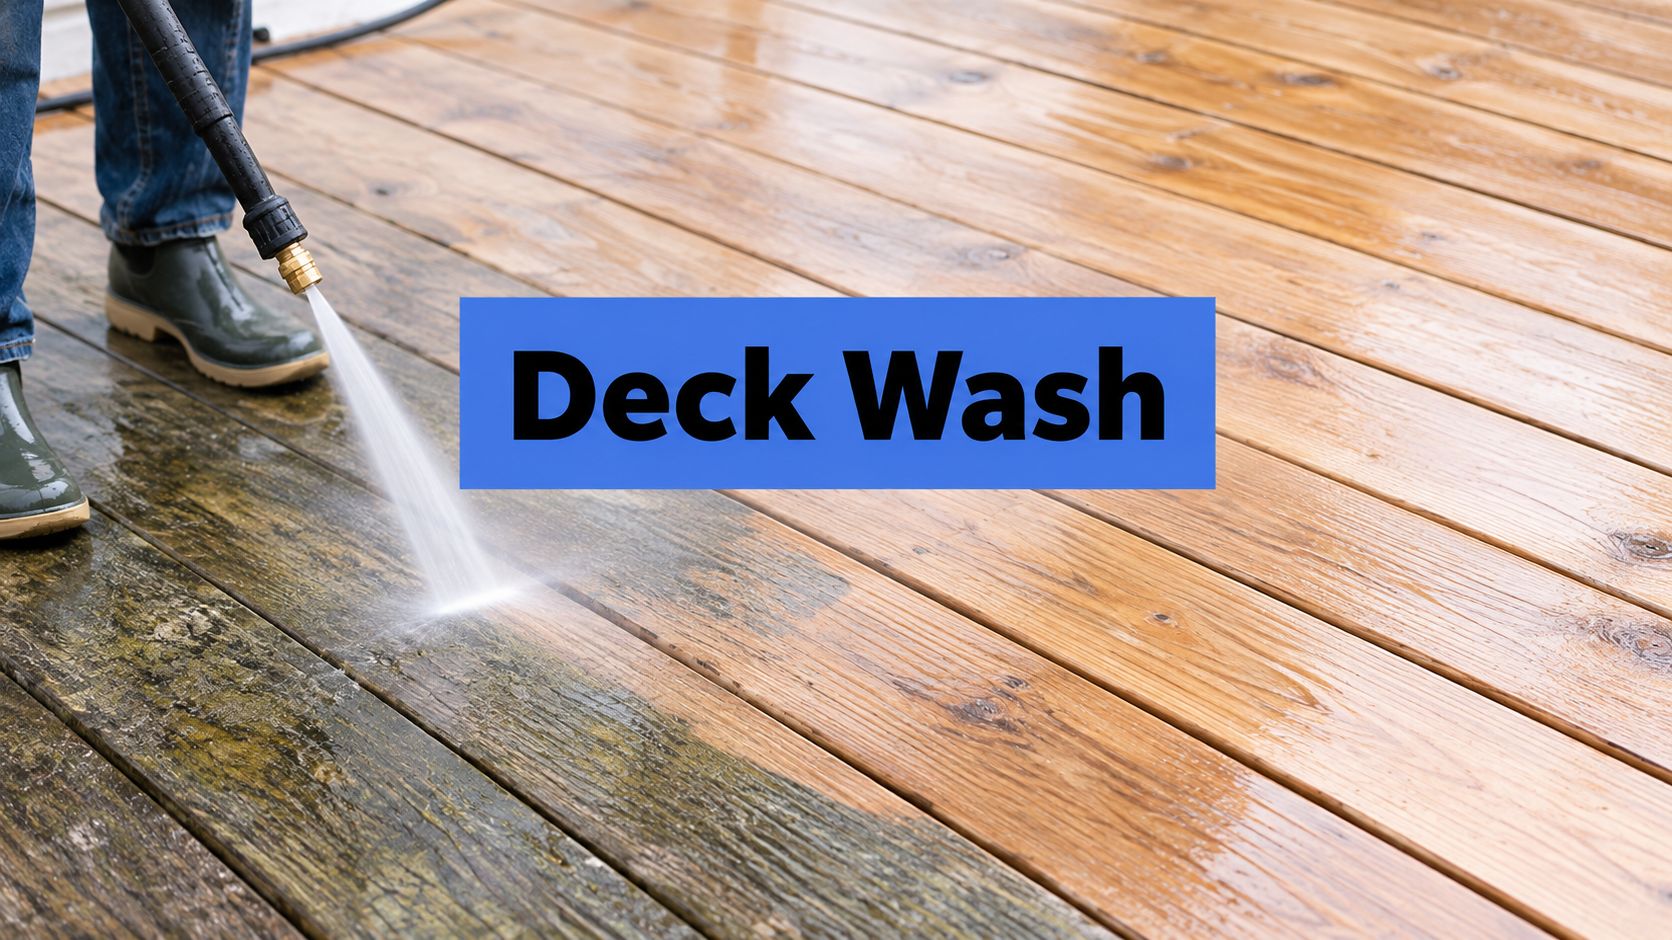
A pressure washer can lift grime quickly, but an overly aggressive pass can etch the surface or leave stripes that remain visible after everything dries. Start with the least force that works, and let the water do the rinsing rather than holding a concentrated jet in one spot.
Use a wide fan tip, such as a 25- or 40-degree nozzle, and keep the spray moving. Work in overlapping passes at a consistent distance, directing runoff away from joints and nearby finishes. Don't aim straight into expansion joints or control lines, where concentrated water can disturb material or force debris into the gap.
Zebra stripes usually mean your passes aren't overlapping evenly or you're moving at an inconsistent pace. Stop when you notice them, adjust your path, and test the new approach on a discreet area. Don't try to erase a stripe by holding the wand close to it; that can deepen the contrast.
A surface cleaner can help maintain even coverage across broad flatwork, but it still needs to suit the surface and machine. More pressure isn't automatically a better clean. On soft sandstone, unsealed colored stamped concrete, or aged concrete with exposed aggregate, a pressure washer may be the wrong tool. Use a gentler wash method or ask a professional to assess the material.
For patios with a stamped finish, a guide to cleaning stamped patio concrete can help you think through surface-specific precautions. If the work is near a pool, keep runoff and cleaning residue away from the water and surrounding finishes; this guide to pool deck cleaning is another relevant reference.
Keep the pass moving, overlap each stroke, and stop if the surface begins to change.
Concrete cleaning can create hazards beyond the stain itself. Cutting, grinding, drilling, or otherwise disturbing cement-based material can release respirable crystalline silica. OSHA estimates that approximately 2.3 million workers in the United States are exposed to crystalline silica on the job, and the particles can be at least 100 times smaller than ordinary beach or playground sand (OSHA silica information).
For cleanup, avoid dry sweeping, uncontrolled abrasive work, and dry grinding. Use wet methods where appropriate, keep dusty activity away from occupants, and wear respiratory and eye protection suited to the task. For dust cleanup, OSHA recommends wet methods, local exhaust ventilation, and special HEPA-filtered vacuums rather than dry sweeping.
Concrete washwater isn't ordinary rinse water. The EPA describes it as a caustic, corrosive slurry with a pH near 12. The EPA gives a normal habitat range of approximately pH 6.5–9 for freshwater and pH 6.5–8.5 for saltwater, and warns that runoff can reach storm drains and harm aquatic life (EPA concrete washout guidance).
Keep slurry and solids out of drains, soil, and surface water. Use a temporary berm or suitable washout container where needed, collect liquid and solids in leak-proof containers, and follow local disposal requirements. The EPA identifies retaining the collected material and recycling it when feasible as core washout goals.
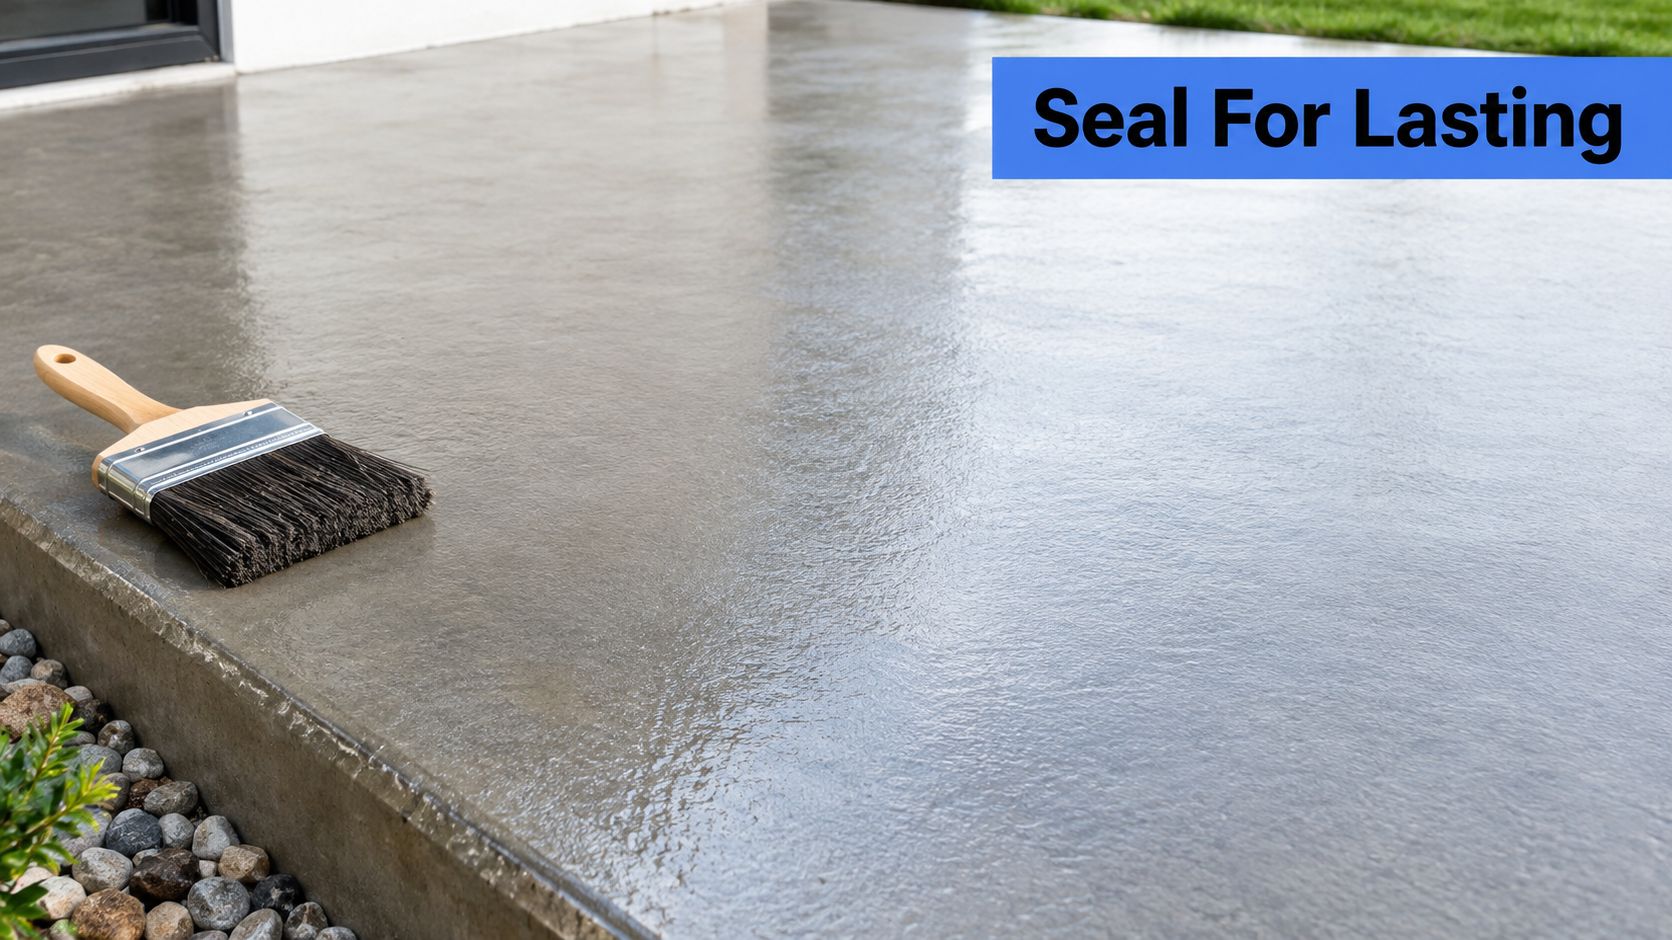
Once the surface is clean, let it dry fully before considering a compatible sealer. A penetrating sealer can help limit staining, but the right product depends on the concrete's finish and condition. Follow its label, and check the surface periodically for wear instead of assuming one application lasts indefinitely.
Routine sweeping keeps loose grit from building up, and moving planters occasionally can help you spot damp areas before deposits spread. Use a professional for structural cracks, rust that may be coming from embedded rebar, recurring efflorescence, or colored and stamped concrete where a chemical mistake would be hard to hide. Work near glazing also calls for care: cement removers can damage glass coatings, frames, seals, and adjacent stone if they contact the wrong surface.
Garage checklist: identify the finish and residue, test a mild method out of sight, keep the work wet, protect nearby materials, and contain the runoff. If you can't confidently meet those conditions, stop before applying a stronger cleaner.
For work around windows, here's a practical reminder: cement residue on glass and nearby frames needs a different, surface-specific approach. Watch this window-cleaning demonstration before choosing tools for a job near glazing.
Professional Window Cleaning provides residential, commercial, and high-rise window cleaning, including careful work around glass and adjacent building surfaces. If cement residue is near windows or storefronts, contact Professional Window Cleaning to discuss a safe cleaning approach for the glazing and surrounding finishes.
Read our blog posts regularly and keep learning.