Care and Maintenance
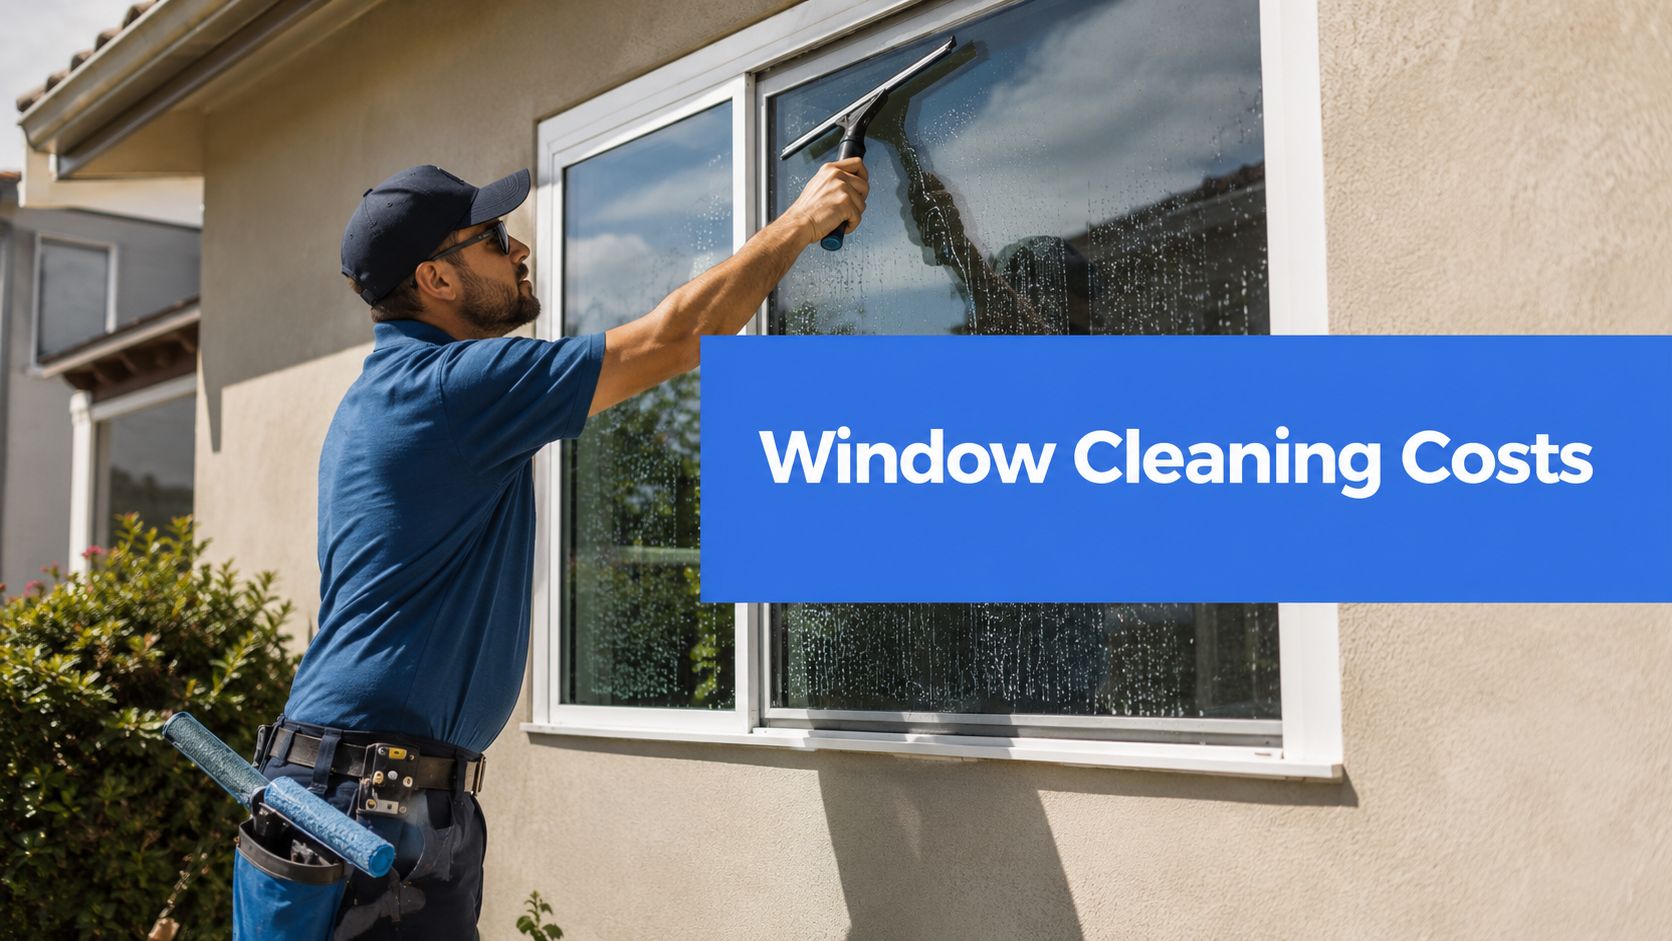
Suction Cup Window Guide: Pro Tips for a Secure Hold
Learn how to choose, install, and troubleshoot any suction cup window mount. Our expert guide ensures a secure hold on residential or commercial windows.


You are looking at the glass, the sun hits it right, and every flaw shows up. Paint specks from a remodel. Sticker residue that turned gummy, then hard. A line of grime that no towel, spray, or paper towel will touch.
That is when people start thinking about a razor blade for cleaning.
Used the right way, a razor blade is one of the most effective tools in professional window work. Used the wrong way, it can leave scratches you will never polish out. That difference comes down to surface identification, blade choice, lubrication, and technique.
In professional window cleaning, there are only two methods we use to clean windows at scale: a squeegee system or a pure-water system. A scraper is not a replacement for either one. It is a specialty tool for contamination removal. That distinction matters because many DIY problems start when people treat a blade like a general cleaning shortcut instead of a precision tool.
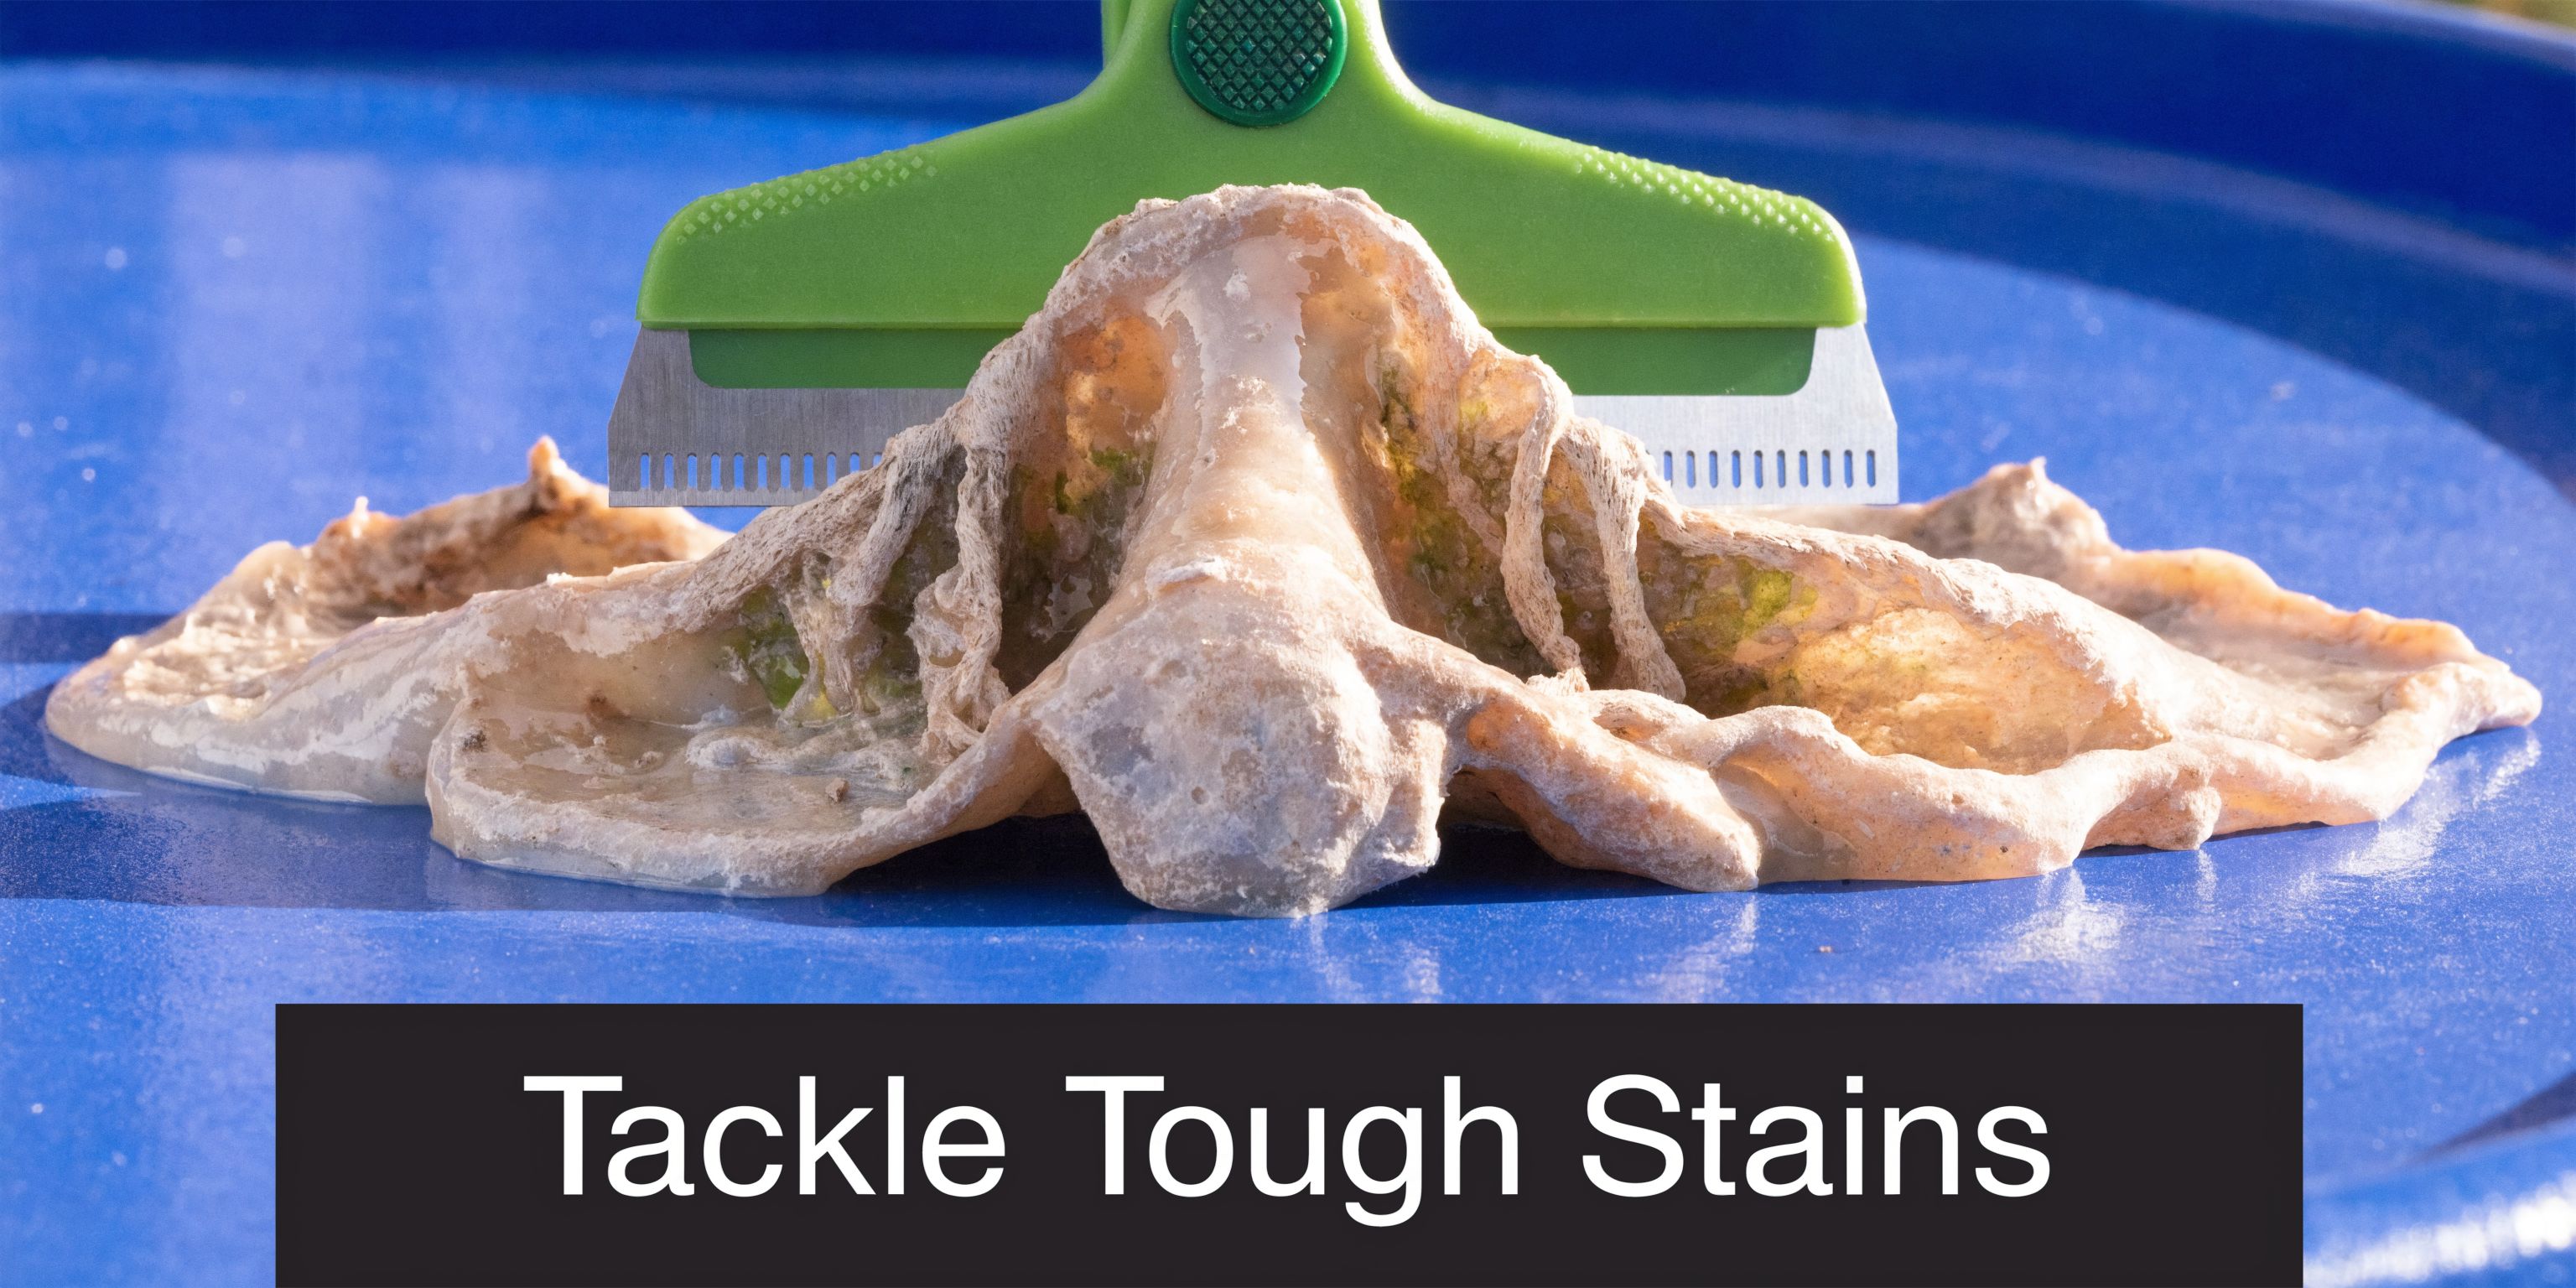
A razor blade earns its place when the contamination sits on top of the glass and refuses to dissolve. Paint overspray is a classic example. So is dried adhesive from decals, tape residue, bug marks baked on by heat, and construction debris left after a project wraps.
A rag will slide over that mess. A standard scrubber may soften it. A blade can shear it off cleanly.
The reason this tool works so well is simple. It removes bonded debris mechanically, with control. You are not grinding away at the glass. You are lifting contamination off the surface when conditions are right.
That is why the tool has lasted so long in the trade. The disposable double-edge safety razor blade, invented by King Camp Gillette in 1901, later moved beyond grooming and into professional cleaning. By the mid-20th century, disposable blades had become a standard way to remove paint and adhesives from glass without scratching when used properly, including in markets such as Arizona, Colorado, and Nevada, according to the Los Angeles Times archive on Gillette and razor history.
On a normal service call, a blade is not the first tool out of the pouch. First comes inspection. Then wash methods. Then detail work.
A scraper comes in when the glass has a specific problem like:
A razor blade is not a brute-force tool. It is a precision correction tool.
That is the trade secret most homeowners never hear. The tool itself is not magic. The result comes from knowing when to use it, when not to use it, and how to keep the blade from becoming the problem.
People get nervous when they hear “razor on glass,” and that instinct is healthy. The risk is real. But on the right glass, with the right prep, a fresh blade can be safer than aggressive scrubbing with the wrong pad or chemical.
What does not work is impatience. Dry scraping. Reusing a nicked blade. Pressing hard because the first pass did not remove everything. That is how a quick cleanup turns into permanent damage.
The scraper in a pro’s pouch is usually simple. The difference is in the details. Blade metal, holder design, and storage habits decide whether the tool stays precise or starts causing problems.
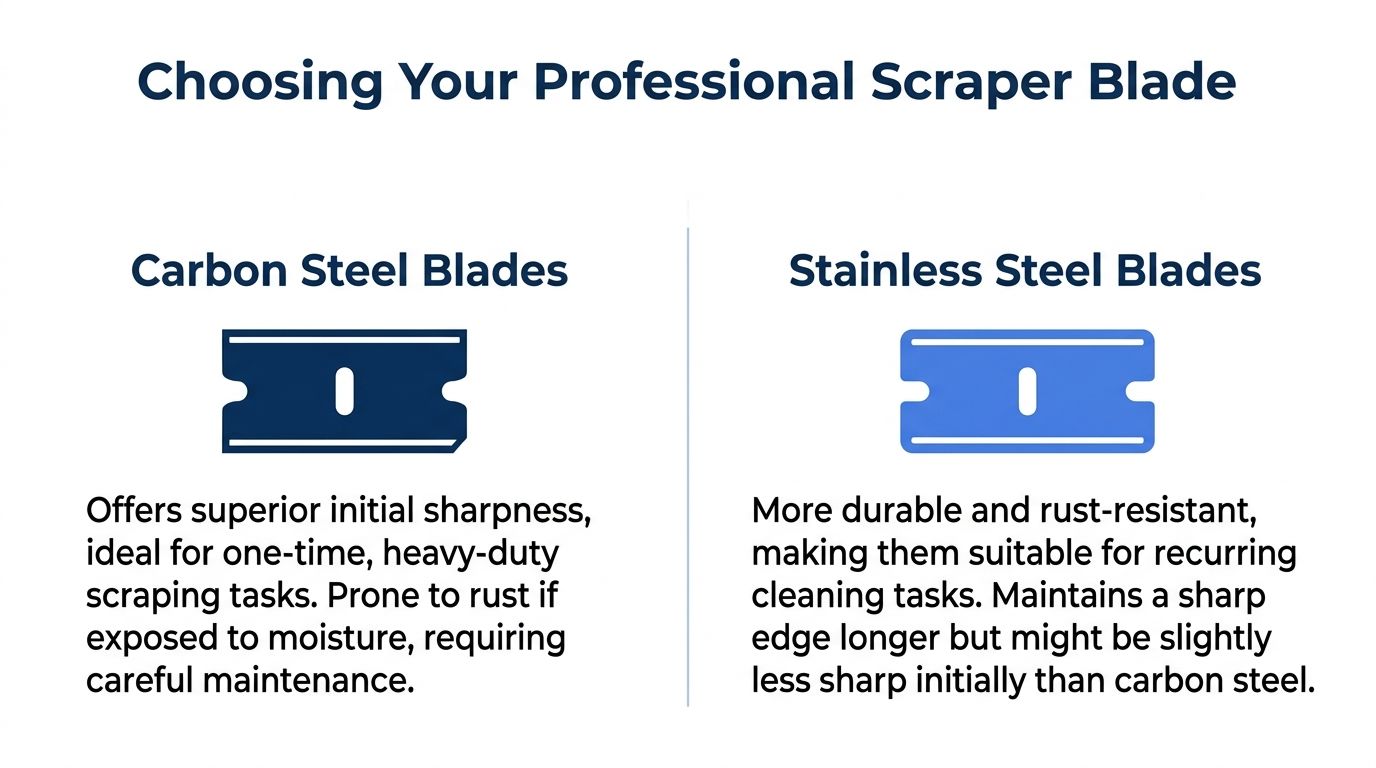
Start with the blade itself. For glass work, the primary choice is usually carbon steel or stainless steel.
Carbon steel has a sharper, more aggressive feel right out of the wrapper. I reserve it for isolated jobs where contamination is heavy and the blade will be changed quickly. The downside is short service life once moisture gets involved. If it sits wet in a pouch or rides around on a hot day after repeated use, corrosion starts fast.
Stainless steel is the better everyday choice for routine window cleaning. It holds up better through wet work, repeated rinsing, and normal field use. For crews working desert properties, that matters. Fine dust, hard water residue, and heat put tools through more abuse than many homeowners expect, and a rusty edge has no place on glass.
The other rule is simple. Use fresh blades. A cheap blade changed often is safer than an expensive blade pushed too long.
A scraper holder should lock the blade firmly and keep your hand steady through short, controlled passes. Cheap holders flex. Some let the blade sit unevenly. That is how a straightforward cleanup turns into chatter marks, skipped spots, or a sudden corner dig.
Look for these features:
If you want to compare common formats, a professional-style glass window scraper shows the kind of locking design many cleaners use for detail work.
The best setup depends on what is stuck to the surface. Paint specks, adhesive, silicone smears, insect debris, and early mineral buildup do not all respond the same way. In Phoenix and Las Vegas, I see more dust-bonded residue, sticker adhesive baked on by heat, and hard water crust starting at the edges. Those jobs reward a clean holder, a fresh blade, and disciplined blade changes more than a complicated kit.
A narrower scraper gives better control on small spots and tight edges. A wider holder can speed up cleanup on broad panes, but only if the glass is suitable and the operator knows how to keep the blade flat. Bigger is not safer. Control is safer.
| Blade Type | Best For | Pros | Cons |
|---|---|---|---|
| Carbon steel | One-time heavy scraping on suitable surfaces | Sharp feel, good for stubborn debris | More prone to rust, less forgiving if stored wet |
| Stainless steel | Recurring glass cleaning and wet work | Better corrosion resistance, dependable for routine field use | May not feel as aggressive initially to some users |
| 3-facet blade | Hard surface contamination where edge life matters | Can stay useful longer under repeated scraping | Still requires proper surface inspection and technique |
| Hybrid blade | Mixed maintenance kits and varied job conditions | Useful for cleaners who want one backup blade style | Performance depends on the residue and surface |
A reliable scraper kit does not need much. Carry a locking holder, fresh blades stored dry, a towel reserved for the scraper, and the cleaning solution you already trust on glass. Keep used blades separate from new ones. Do not toss loose blades into a pouch where they can pick up grit or nick against metal tools.
For a broader look at the tools pros carry, this guide to professional window cleaning equipment gives a useful overview.
Better results come from blade control, not blade quantity.
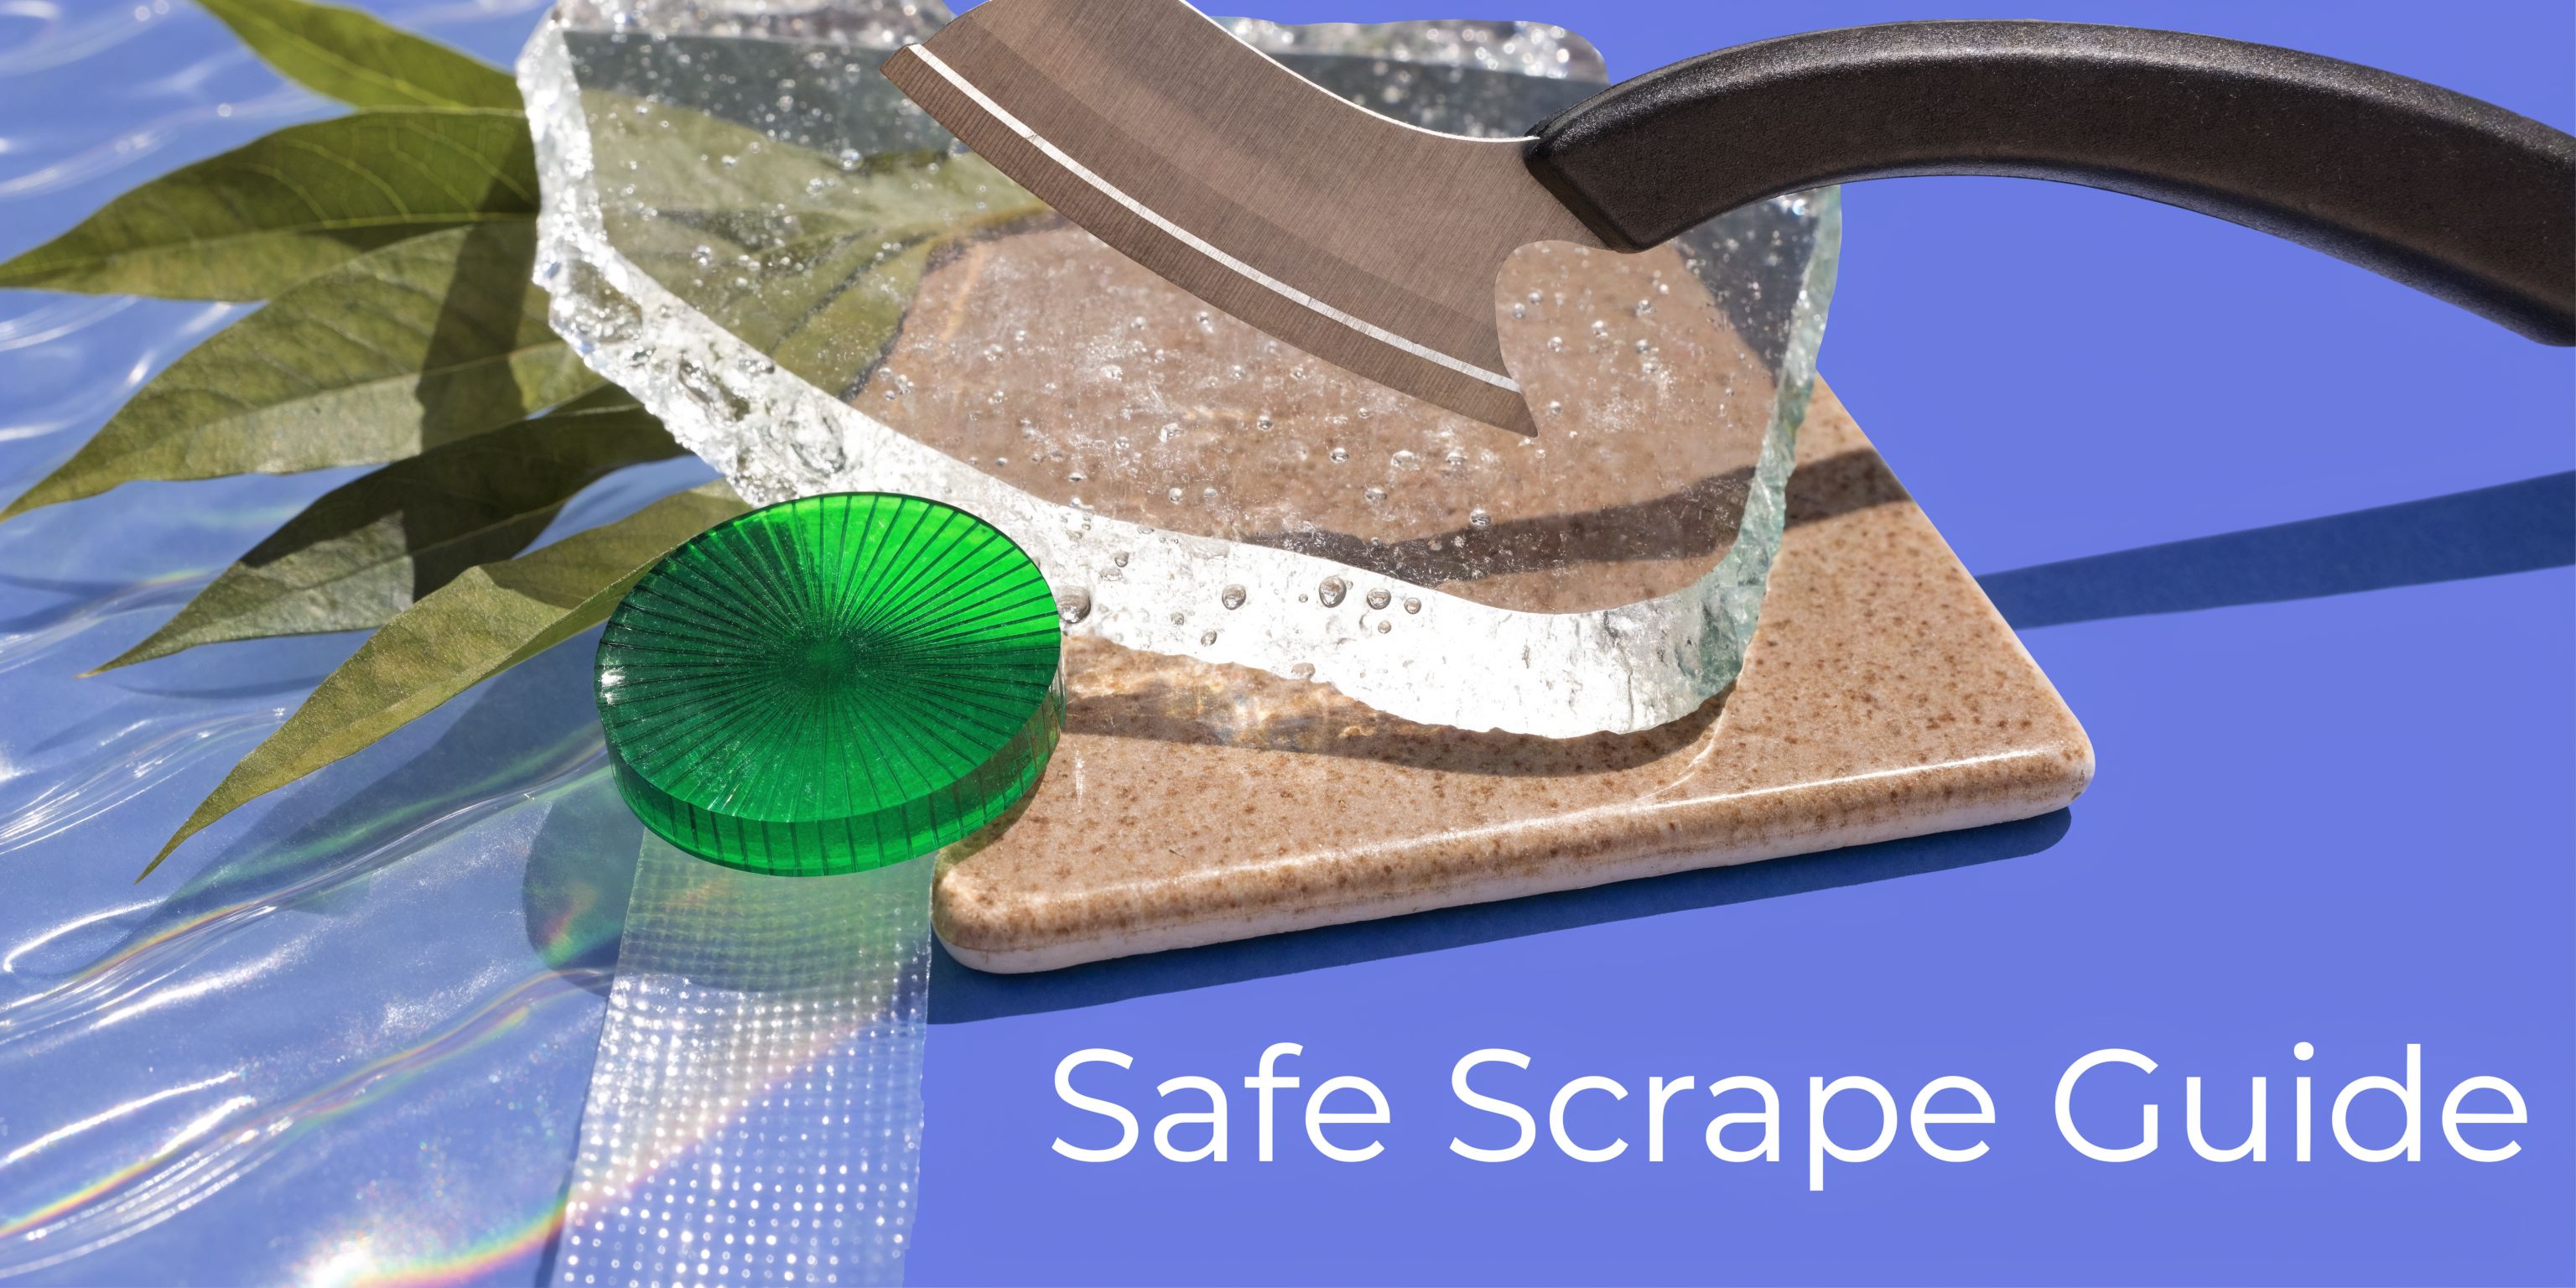
Damage often occurs during this stage. Not because the blade is wrong, but because the method is sloppy.
The professional rule is simple. Never scrape dry glass.

Professional guidance tied to Glass Association of North America protocols says a 1-inch blade should be held at a 30 to 45 degree angle on a wet surface, with light pressure, and that method delivers a success rate exceeding 95% for spot removal, while dry scraping accounts for 80% of reported micro-abrasions, as outlined in this Avery Dennison substrate cleaning bulletin.
That one sentence covers key elements: blade size, angle, lubrication, and restraint.
Use this sequence:
Wash the area first
Remove loose grit before the blade ever touches the glass. Dirt under a blade is what turns scraping into scratching.
Wet the contamination well
Use a mild detergent solution or isopropyl alcohol on the target area. The blade should glide, not chatter.
Inspect the blade edge under light
A new blade is not necessarily a safe blade. If the edge has a burr, skip it.
Set the angle low
Stay in that 30 to 45 degree range. Too steep and the edge digs. Too flat and it skates.
Scrape in one direction
Forward stroke only. No sawing back and forth.
Wipe and inspect
If residue remains, re-wet and make another controlled pass with a fresh edge if needed.
Most DIY users press too hard. Pros do the opposite.
You want enough pressure to keep the edge engaged, but not enough to flex the blade into chatter. The motion should feel smooth and quiet. If you hear skipping or a harsh rasp, stop. Something is off. Often that means the surface is not wet enough, the angle is wrong, or the blade is no longer clean.
If a blade sounds wrong, it often is wrong. Stop and correct the setup before the next pass.
A lot of avoidable damage comes from a few bad habits:
On paint removal jobs, this matters even more. If that is your main problem, this practical guide on how to clean paint off windows is a helpful next read.
A skilled cleaner is not just moving the blade. A skilled cleaner is reading the glass.
You can feel the difference between paint, adhesive, grit, and mineral residue through the handle. You adjust angle, moisture, pace, and whether the blade should even stay in play. That judgment is what separates safe scraping from accidental damage.
A razor blade for cleaning is only as safe as the surface underneath it. Homeowners often make expensive mistakes concerning surface safety. They assume “glass is glass.” It is not.
Standard non-coated glass is the classic candidate. Smooth mirrors can also be workable in many cases. Some smooth tile and ceramic cooktop surfaces may also be scraped carefully when the residue is on top of the surface and the blade is appropriate.
For heavier contamination on appropriate substrates, pros may use stainless steel SK5 alloy single-edge blades, which can achieve up to 98% contaminant removal, but that does not make every pane or panel fair game, according to this industry-style scraper methodology guide.
Do not scrape these:
A blade can remove contamination. It can also remove a coating, mark a film, or haze a textured finish.
Many people assume a bigger blade means faster work. On windows, that is frequently the wrong move.
The same guidance above warns that using blades wider than 1 inch on broad surfaces carries a significant risk of irreparable damage from vibration and chatter. That is why careful spot work beats broad scraping every time on sensitive window projects.
If you are tempted to speed up by using a wider blade on glass, slow down instead.
If the surface has any coating, film, texture, or uncertainty, do not test your luck with a razor. Verify first. On residential homes, that can mean checking corner markings, builder paperwork, or manufacturer details. On commercial properties, ask before you scrape.
The best results in the trade come from restraint. A pro does not prove skill by scraping everything. A pro proves skill by knowing what to leave alone.
The problem usually shows up after the first pass. The blade should glide and lift contamination cleanly. If it starts skipping, dragging, or sounding rough, treat that as a stop sign, not a challenge.
Chatter usually points to one of four problems. The surface is too dry, the angle has crept up, the edge is nicked, or the contamination is too heavy to shear off in one controlled pass. In Phoenix and Las Vegas, baked-on debris and mineral residue often make this worse because heat hardens the buildup and dries your slip solution faster than many DIY users expect.
Correct the setup first. Flood the area again. Flatten the angle. Shorten the stroke. Install a fresh blade if there is any doubt about the edge. If the chatter stays, stop scraping and switch methods before the glass picks up a haze line or scratch pattern.
Different contaminants fail in different ways.
Paint overspray often releases with careful spot scraping after proper wetting. Decal adhesive usually needs dwell time from the cleaning solution before steel touches the glass. Silicone specks can roll, smear, or tear depending on how cured they are. Concrete splatter is a high-risk mess because the grit can scratch if you drag it across the pane. Hard water stains create the biggest misunderstanding I see in the field. If the deposit is sitting on the surface, controlled scraping may help break it. If the stain has etched the glass, no razor blade will repair that damage.
That trade-off matters. Good technicians remove contamination. They do not grind defects deeper into the surface trying to force a result.
Scraping at ground level is one skill. Scraping on a ladder, swing stage, or rope setup is a different job with tighter margins for error. A rushed stroke, a shifting body position, or one hand fighting for balance can turn routine spot removal into a cut hand or damaged pane.
The blade itself also behaves differently depending on its grind and edge profile, as explained in this single-edge blade angles and facets article. Professionals account for that. Homeowners should be more conservative, especially on upper-story glass or on any pane with difficult access.
Stop scraping if you notice any of these:
I have seen permanent damage start with one more pass. The user knows something feels wrong, but keeps going because the spot is almost gone. That last bit of contamination is rarely worth the cost of replacing glass.
For facility teams managing broader cleaning protocols across offices, clinics, and mixed-use properties, adjacent tools such as electrostatic disinfectant sprayers have their place. Glass scraping is still a separate specialty task, with its own limits, safety rules, and surface checks.
The best troubleshooting move is often to stop early, verify the surface, and choose a safer method.
A razor blade for cleaning can be an excellent tool. It can also be the fastest way to ruin a pane if you use it carelessly.
The safe path is consistent. Identify the surface first. Use the correct blade. Keep the glass wet. Hold a low angle. Make controlled one-way passes. Replace the blade before it starts fighting you. If there is any doubt about a coating, a film, or a difficult access situation, back off and verify before you scrape.
That is how professionals protect glass and still get stubborn contamination off. It is also why scraping stays a specialty step, not a general cleaning method. The main cleaning still comes down to the two systems professionals rely on every day: squeegee work and pure-water cleaning. The scraper supports those methods. It does not replace them.
For homeowners and property managers in Denver, Phoenix, Las Vegas, Scottsdale, Flagstaff, Tempe, Chandler, Gilbert, and nearby service areas, the smartest move is knowing when a spot-cleaning job is still safe to handle yourself and when the glass needs trained hands.
A little caution saves a lot of money. Good technique saves the glass.
If you want stubborn paint, adhesive, hard-to-reach glass, or high-rise windows handled without guesswork, contact Professional Window Cleaning. We’ve been serving homes and businesses since 1999, and we bring the right tools, trained crews, and field-tested methods to get your windows clean and keep them safe.
Read our blog posts regularly and keep learning.