Care and Maintenance
Window Washing Hose: Select the Best for a Clear View
Choosing the right window washing hose is key for a streak-free shine. Discover types, specs, & how to select the best for residential or commercial jobs.


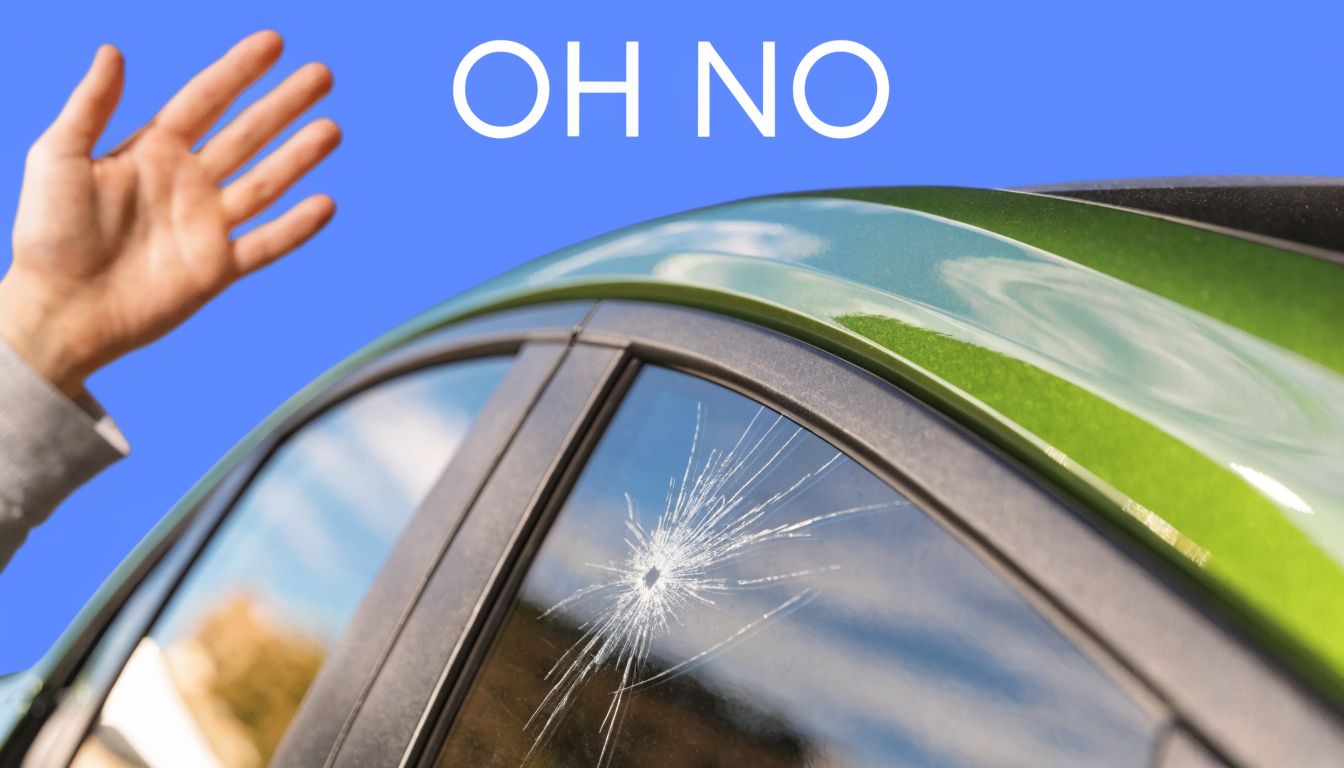
A scratched tinted window can ruin the whole look of a clean home, storefront, office, or vehicle glass panel in one second. It is commonly noticed in the same manner: the sun hits the window just right, a white line flashes back, and the first thought is usually, “Was that there before?”
That reaction makes sense. Tint changes how light moves across glass, so damage that never caught your eye before can suddenly look obvious. In other cases, the scratch is new, and the primary concern is whether it’s only in the film or down in the glass itself.
That distinction matters more than anything else. If you guess wrong, a simple cosmetic issue can turn into a much bigger problem. A lot of DIY fixes that sound harmless online end up hazing the film, lifting an edge, or creating a larger repair area than the original mark.
After more than 26 years around residential, commercial, and high-rise window cleaning, this is one of those problems that always comes down to calm inspection first. The right move depends on what’s damaged, how deep it is, and whether you’re dealing with standard tint, a protective film, or an anti-graffiti layer.
It usually happens after cleaning, after a remodel, after tenants move out, or after a detailer or maintenance tech has been working around the glass. The window looked fine at first glance. Then the light changed and the scratch showed up like it had been waiting for the worst possible moment.
Homeowners usually ask three questions right away. Is the tint scratched, is the glass scratched, and can this be fixed without replacing everything? Property managers ask a fourth one. Who caused it?
Those are fair questions, but the answer usually isn’t obvious from across the room. Tinted glass can hide flaws until the angle of light changes. It can also reveal old defects that were always in the glass. And on some buildings, especially where protective exterior films are used, a scuff can look much worse than it feels.
Tint acts a little like a screen protector on a phone. Once that extra layer is in place, it changes reflections and contrast. Small defects become easier to see, and surface damage often looks more dramatic than it is.
In dry, dusty markets, that problem shows up even more. Grit on a cloth, a dirty strip washer, a tool brushing the surface, or even dry wiping can leave marks that only become obvious later.
Practical rule: Don’t reach for a polish, razor, scrub pad, or cleaner until you know whether the scratch is in the film or the glass.
The right path is simple, even if the inspection isn’t.
That’s how you take the panic out of a scratched tinted window. Diagnosis first, action second.
Most mistakes happen right here. People see a line, assume the tint caused it, and start rubbing or polishing. That can turn a small problem into a ruined panel.
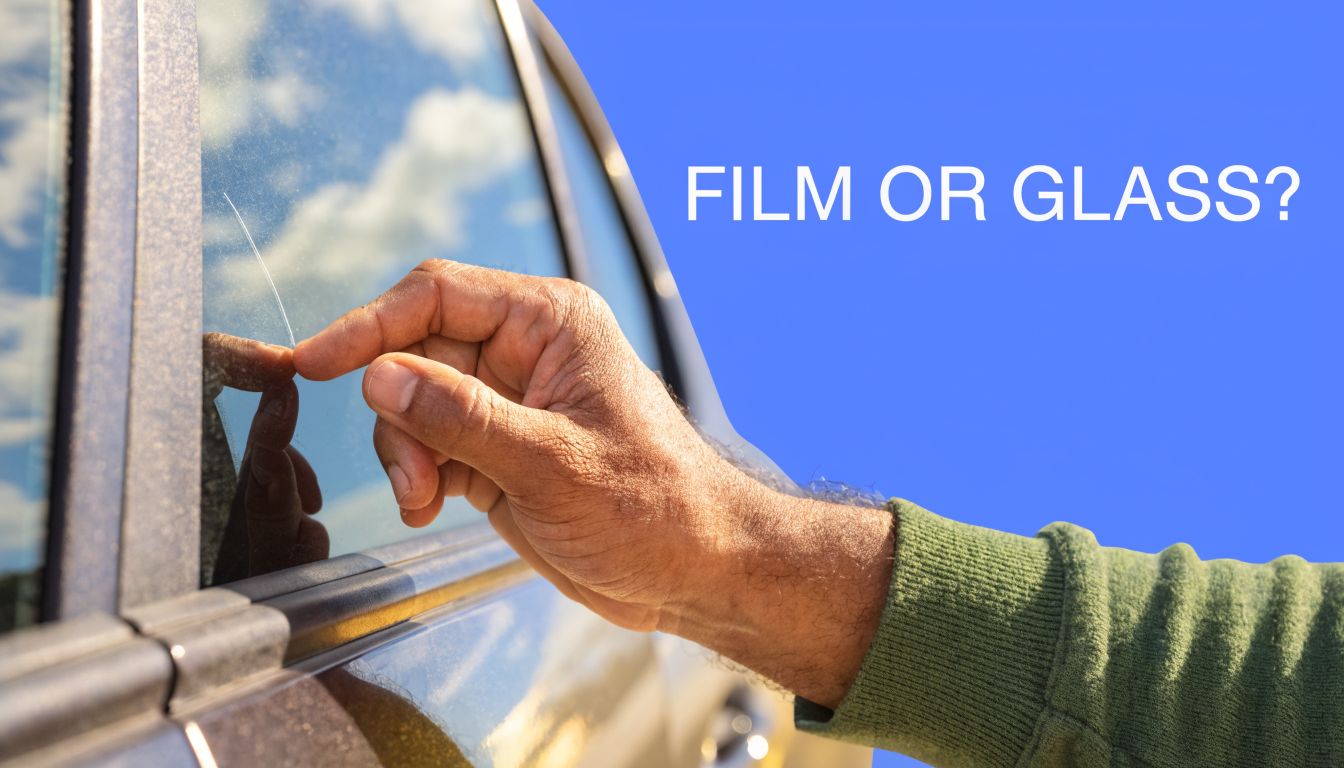
The easiest way to think about it is this. Window film is the outer layer. Glass is the substrate underneath. If the film is damaged, replacement may restore the look. If the glass is damaged, replacing the film alone won’t solve it.
Stand to the side of the window and look across the surface instead of straight at it. Morning or late afternoon light usually makes scratches easier to read. So does a flashlight held at a low angle.
If the mark looks milky, broad, or slightly smeared, it often points to film scuffing. If it looks sharp, clean, and cut into the surface, the chance of glass damage goes up. That’s not a perfect test, but it helps.
Very lightly drag a clean fingernail across the mark.
This should be a gentle check, not scraping. Pressing harder doesn’t tell you more. It only adds risk.
One of the most important realities in this trade is that tint can reveal flaws that were already there. According to this explanation of scratches that appear after tint application, professional installers report that 60-70% of “post-tint scratches” are latent flaws from glass production, with surface roughness in the 10-20 nanometer range that wasn’t visible before the film changed the optics.
That lines up with what many experienced cleaners and installers see in the field. The film didn’t dig the line into the glass. It made an old defect easier to see.
Some “new” scratches aren’t new at all. The tint changes contrast and reflection, and the glass tells on itself.
| Sign you notice | More likely issue |
|---|---|
| Broad haze or rub mark | Film scuff |
| Sharp etched line | Glass scratch |
| White line with torn edge | Film damage |
| Mark appeared only after tint installation | Possibly pre-existing glass flaw |
| Damage follows a tool path near the edge | Usually surface film damage |
If you still can’t tell, don’t keep experimenting. Uncertainty is exactly when people do the most damage.
Once you know the film is the issue, the next question is severity. Not every scratched tinted window needs replacement, but not every scratch deserves a repair attempt either.
A good assessment is about more than depth. Location matters. A faint mark in a bottom corner may be livable. The same mark in direct line of sight, on a storefront entry, conference room panel, or picture window, is a different conversation.
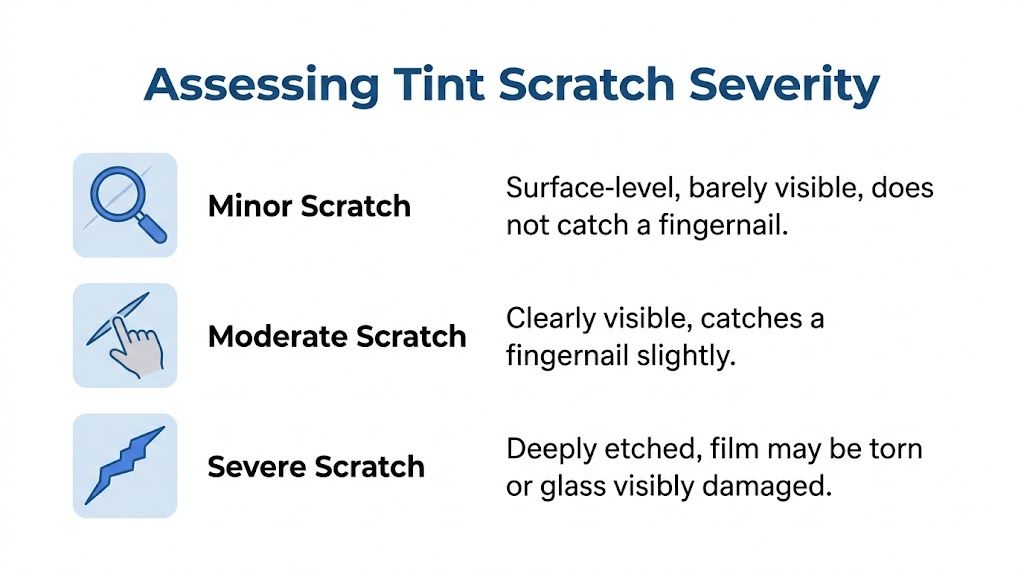
Use this practical breakdown.
These are light surface scuffs. You see them mostly in reflected light. They don’t catch a fingernail, and the film still looks intact.
Typical cause: wiping dust across the surface, using the wrong towel, or light contact from a tool.
These are visible in normal light and may catch a fingernail slightly. The film isn’t torn, but the mark is obvious enough that cleaning alone probably won’t change much.
This is the range where people get into trouble with DIY fixes. It’s also where expectations need to stay realistic.
These are gouges, tears, flaking spots, edge damage, or anything that clearly disrupts the film layer. If the scratch is deep enough to distort the view or expose a different color or texture, the film’s integrity is compromised.
At that point, restoration is usually less about “repairing” and more about deciding whether replacement is the cleaner answer.
Some in the industry speculate that superficial scratches on architectural tint under 0.1mm deep might respond to cerium oxide buffing, but the same source also warns of a significant risk of tint delamination. That’s the trade-off in one sentence. A technique that sounds promising can also ruin adhesion.
For owners in Phoenix and Scottsdale, where heat, dust, and hard light make every flaw stand out, severity assessment matters. A scratch that seems minor indoors can look much worse once afternoon sun hits it.
Shop-floor judgment: If the scratch grabs your eye every time you approach the window, treat it as a replacement candidate even if it isn’t technically deep.
That’s the framework that keeps small issues small.
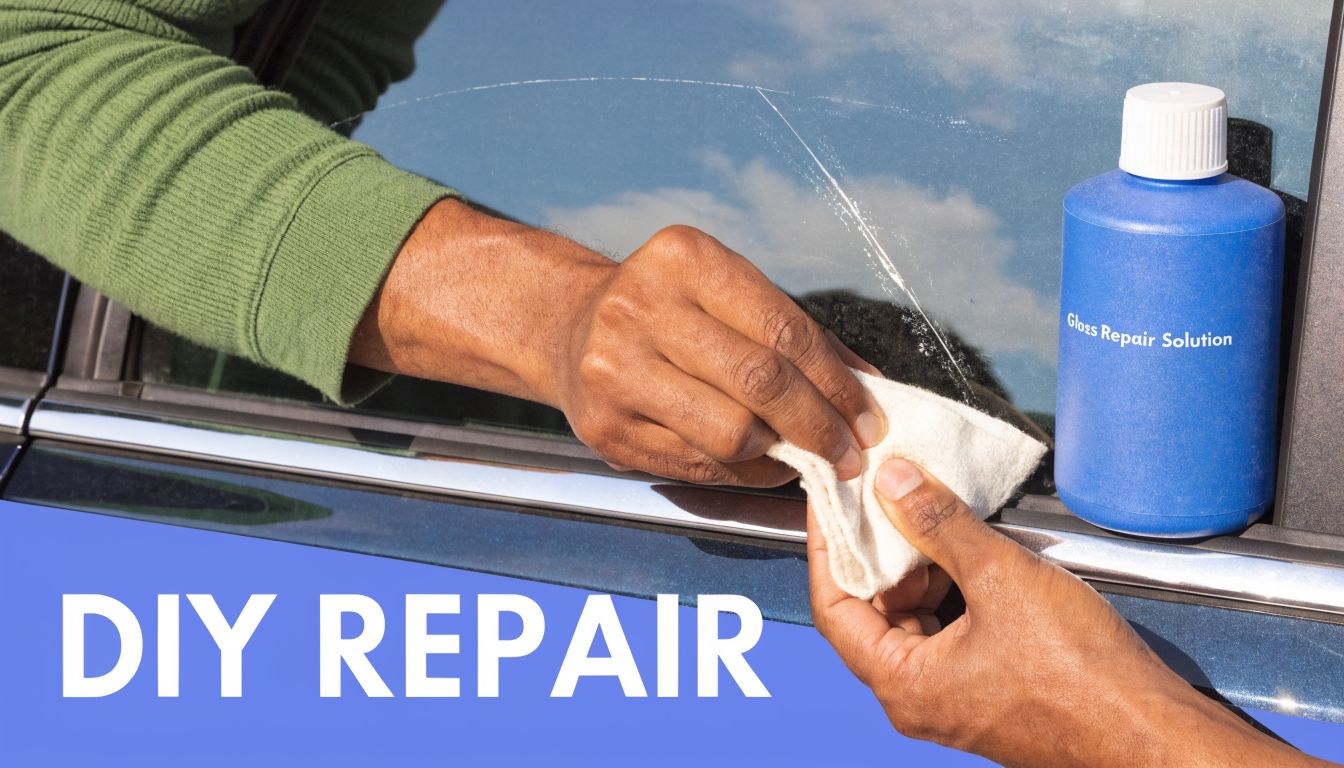
Most internet advice on a scratched tinted window is too aggressive. The common pattern is simple. Someone sees a light mark, grabs toothpaste, a polishing compound, a scrubby pad, or a “scratch remover,” and starts rubbing. That often makes the film duller, thinner, or streakier than the original scratch ever did.
For superficial scuffs only, the safest DIY approach is conservative. The goal isn’t to machine-polish the film back to perfection. The goal is to remove residue, reduce the look of light marring, and stop before the surface gets worse.
According to this guidance on scratch resistance and proper cleaning for window film, improper cleaning with abrasive materials accounts for 70-80% of reported scratches on lower-quality window films, while soft microfiber cloths and approved ammonia-free cleaners help quality films withstand thousands of cleanings without visible degradation.
That tells you something important. The first “repair” step is often proper cleaning.
A lot of DIY “fixes” are really just abrasion by another name.
If the scratch remains after careful cleaning, that’s useful information. It means the issue is in the film surface, not just residue sitting on top.
Some people try gentle heat on film imperfections. That’s risky enough that it should never be a first move, and it should never be used on a torn, bubbled, or edge-damaged area. Too much heat can distort the film, change the finish, or weaken adhesion.
A safer rule is simple. If you’re tempted to “work” the scratch, you’re getting close to the line where DIY stops being smart.
If a minor scuff doesn’t improve with correct cleaning, trying harder usually doesn’t fix it. It usually enlarges it.
The best case with DIY is modest. You remove contamination, reduce the appearance of a surface rub, and confirm whether the mark is superficial. That’s success.
Perfection is usually not the target at home. Preventing a worse problem is.
Once a scratch moves past light surface marring, professional assessment becomes the safer choice. Deep film scratches, torn areas, edge lifting, and scuffed protective films usually don’t respond to home remedies in a clean, reliable way.
That’s especially true with anti-graffiti and other protective exterior films. According to this discussion of scuffed protective films during cleaning, these films can scuff easily, there are no standard repair methods available, and replacement often exceeds $5-10 per square foot. That’s exactly why guessing is expensive.
For deeper damage, the most dependable option is often removal and replacement of the affected film. That may sound drastic, but patchy repairs on visible glass rarely look good.
A proper replacement approach usually includes:
Old film can come off in strips. Adhesive can smear. People get impatient and reach for blades or harsh solvents. If the glass already has latent defects, rough handling can add real ones.
On bare glass, there are times when restoration is possible. That’s a separate service category from film repair, and it’s why a proper evaluation matters. If the film is off and the damage turns out to be in the glass, you may need a specialist process like professional glass polishing rather than re-tinting alone.
On commercial sites, dealerships, leased properties, and some residential jobs, the question isn’t just “Can this be fixed?” It’s also “How does this affect value, appearance, or a claim?”
That comes up more often with vehicles and premium glass. If damage affects resale or documented condition, it helps to understand what a diminished value claim entails before you agree to a quick cosmetic solution that may not fully resolve the issue.
A professional assessment isn’t about selling the biggest repair. It’s about identifying the least risky path that actually leaves the glass looking right.
Use professional help when any of these are true:
In markets like Denver and Las Vegas, where large commercial glass sees intense light, dust, and frequent cleaning, bad repair attempts show fast. Replacement done right is often cheaper than repeated experimenting.
Prevention is where most scratched tint problems should be solved. Once film is visibly damaged, your options narrow. Before that, good technique keeps the surface looking clean and cuts down on the chance of permanent marks.
In professional window cleaning, there are only two methods we use. A squeegee system or a pure-water system. Tinted surfaces change how those methods are handled, but they don’t change the basics. Clean tools, clean water, light pressure, and the right contact material matter.
The simplest rule is also the one people break most often. Don’t drag grit across tint.
With a squeegee, technique matters. Good rubber, a clean strip washer, and controlled pressure are the difference between safe maintenance and surface marring. The pass should glide, not grind.
With a pure-water system, the benefit is reduced direct contact on many exterior surfaces. But even then, brush condition matters, and not every tinted or filmed surface should be treated the same way. Protective films deserve extra caution.
A scratched tinted window isn’t always caused during cleaning. Everyday contact matters too.
| Risk source | Why it matters |
|---|---|
| Blinds or shades rubbing the pane | Repeated contact can mar the film |
| Furniture moved near glass | Corners and hardware can nick tint |
| Window decorations or adhesives | Removal can disturb the film surface |
| Dirty towels stored loosely | Hidden grit gets dragged into the next cleaning |
If you’re planning a new privacy layer indoors, it also helps to understand proper installation basics before anyone starts handling the glass. This overview of how to install window privacy film gives useful context on handling and alignment, even if you ultimately hire it out.
Clean tint stays clean longer when the process is gentle. Most damage starts with rushed wiping, not with the film “failing.”
A scratched tinted window feels urgent, but the right response is methodical. First, figure out whether the damage is in the film or the glass. Then decide whether it’s a light surface scuff, a moderate scratch, or damage serious enough to justify replacement.
That sequence saves people from the most common mistake, which is trying to repair the wrong surface with the wrong product. Light marks may improve with careful cleaning. Deep scratches, torn film, and scuffed protective layers usually need a professional eye and, in many cases, replacement rather than experimentation.
After more than 26 years in this work, one thing stays consistent. Windows look their best when someone diagnoses the problem before trying to fix it. That applies to homes, storefronts, office buildings, high-rise glass, and specialty filmed surfaces.
If you’re in Phoenix, Denver, Las Vegas, Scottsdale, Tempe, Chandler, Gilbert, or Flagstaff, the smartest move is to get a clear assessment before the scratch gets worse through trial and error. A clean, sharp view usually depends less on a miracle product and more on making the right call early.
If you want experienced help evaluating a scratched tinted window, reach out to Professional Window Cleaning. We’ve been serving homeowners, property managers, and commercial clients since 1999, and with 26+ years in the field, we know how to spot the difference between a cleanable issue, a film problem, and damage that needs specialty restoration or replacement guidance.
Read our blog posts regularly and keep learning.