Care and Maintenance
Gutter Cleaning Services Cost: 2026 Price Guide & Tips
Get the latest on gutter cleaning services cost in 2026. Our guide covers average prices, key factors, and tips for accurate quotes in Phoenix, Denver, & Las


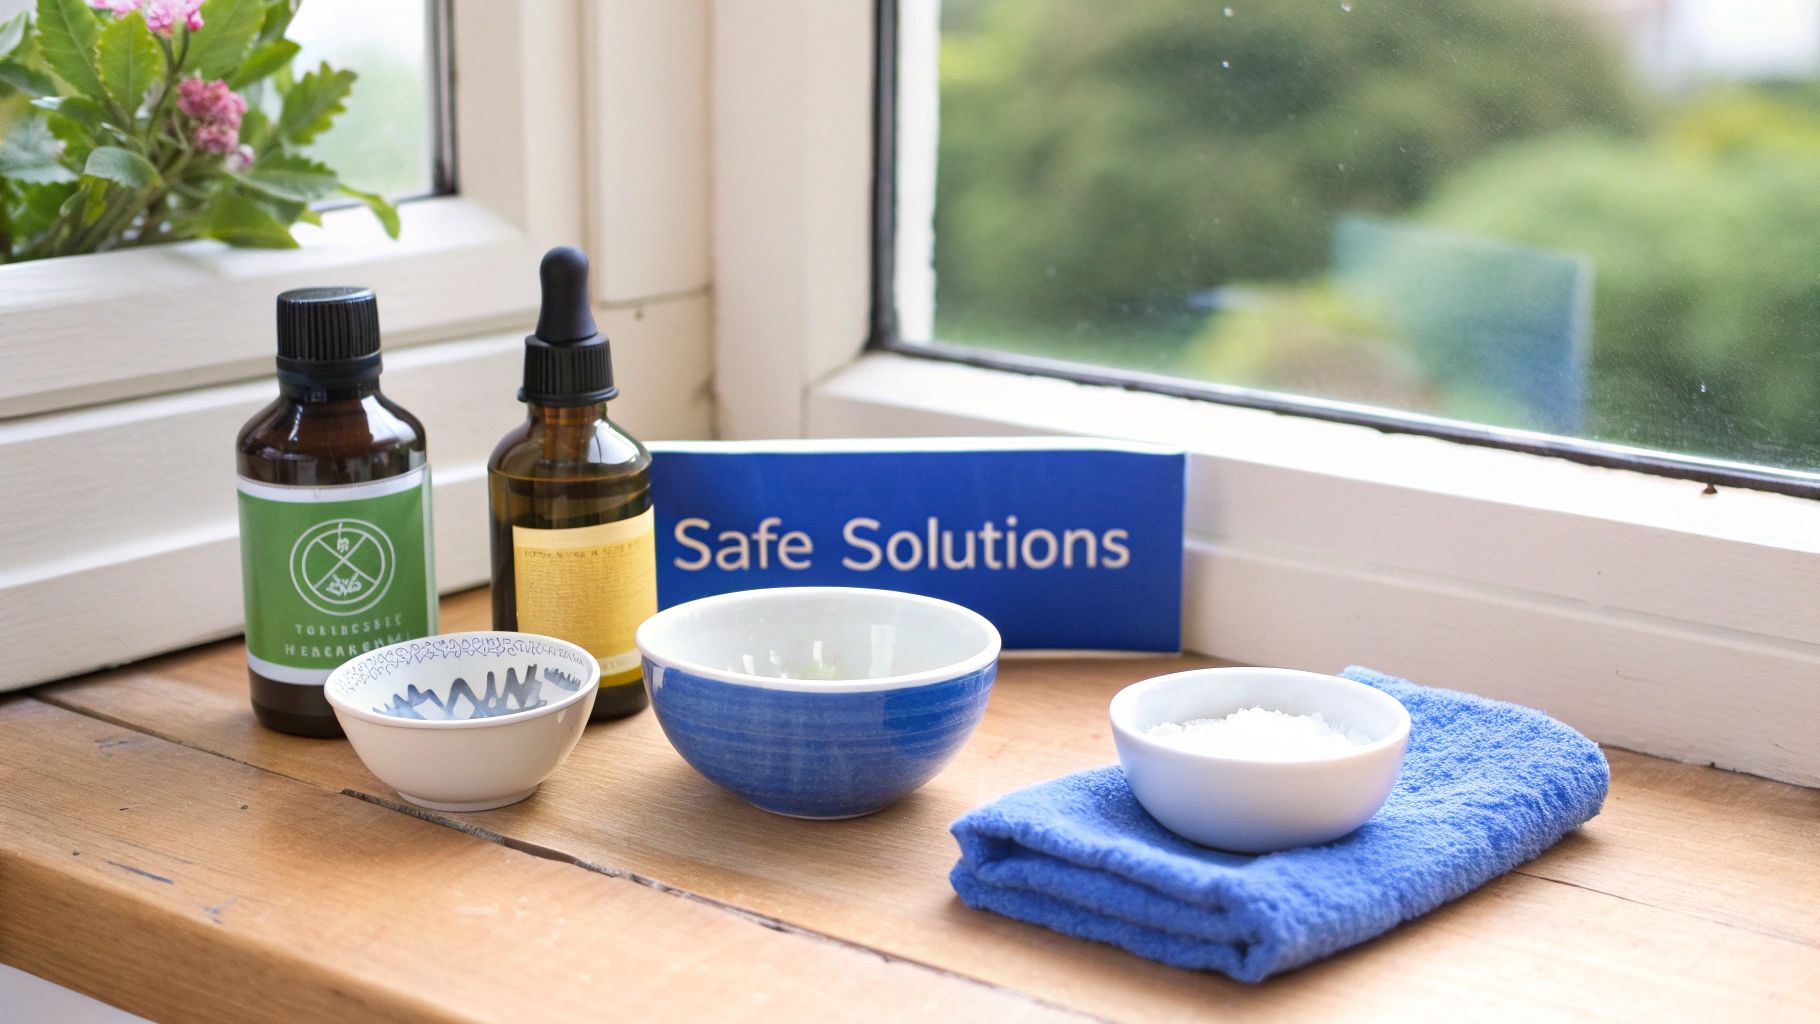
Gather the right tools before you begin. A simple kit can make all the difference:
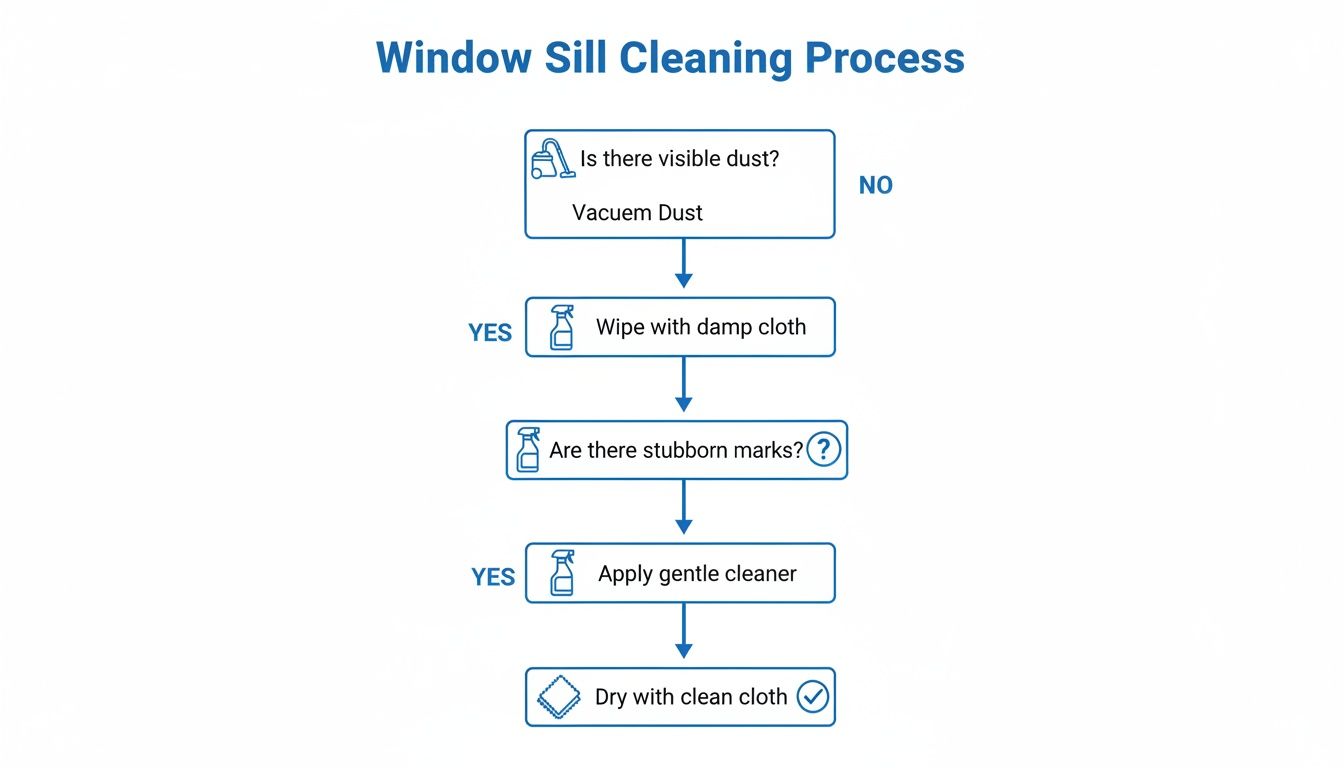
First, sweep or vacuum away loose dust and debris. This prevents mold and allergens from settling in during your deeper clean.
Next, lightly mist the sill with your gentle cleaning solution. Use the brush to work in small, circular motions—this lifts stubborn grime without chewing up the paint.
Finally, wipe the sill down with a damp cloth, then immediately pat it dry. Quick drying stops moisture from seeping in and lifting the finish.
Below is a handy reference to keep your routine on track.
Keep this cycle in regular rotation to maintain a fresh, protected sill.
You might be surprised that the global window cleaning market is projected to hit $3.5 billion by 2028, a solid reminder of the value in consistent sill care. For deeper insights, see these market statistics.
Armed with these steps and tools, you’ll tackle any window sill like a pro—no sweat, no fuss.
When it comes to window sills, professionals rely on two main options: a firm squeegee or a pure-water system. Each tool brings unique advantages to the job.
A quality squeegee delivers precise pressure on painted wood and metal frames. In contrast, a pure-water system sprays purified water through an extendable pole, tackling high or tight sills safely so you never have to risk a wobbly ladder.
Every seasoned cleaner keeps these extras within arm’s reach:
Dual-income homeowners will outsource sill cleaning within two years, pushing pros to focus on allergens and trapped grime. Learn more from Market Report Analytics.
In one routine shift, Mike sliced his cleaning time in half by switching to a medium-hard blade and swapping fresh microfiber heads every few sills.
Check out our guide on what professional window cleaners use in this article.
Below is an infographic mapping dust removal, cleaning and drying steps. This flowchart shows how each phase builds on the last.
Here’s a quick look at how the two go-to methods stack up in a professional setting:
Selecting the right approach often comes down to the sill material, the height of the ledge, and whether you value speed or reach most. With the proper tools in hand, every window sill can look as clean and crisp as new.
Painted wood sills respond best to a simple solution of mild detergent and warm water. It’s a tried-and-true combo that lifts dirt without harming the paint.
Vinyl, metal, and stone each demand their own formula:
Before you dive in, pick a hidden spot for a quick patch test. It takes seconds and can save a lot of trouble later.
I once had a client switch to an eco-friendly blend and watched streaks vanish overnight.
You can dive deeper into mixing formulas in our window cleaning solution recipes guide.
By keeping batches small, you ensure:
Batching solutions by surface type also streamlines the job and cuts down on guesswork.
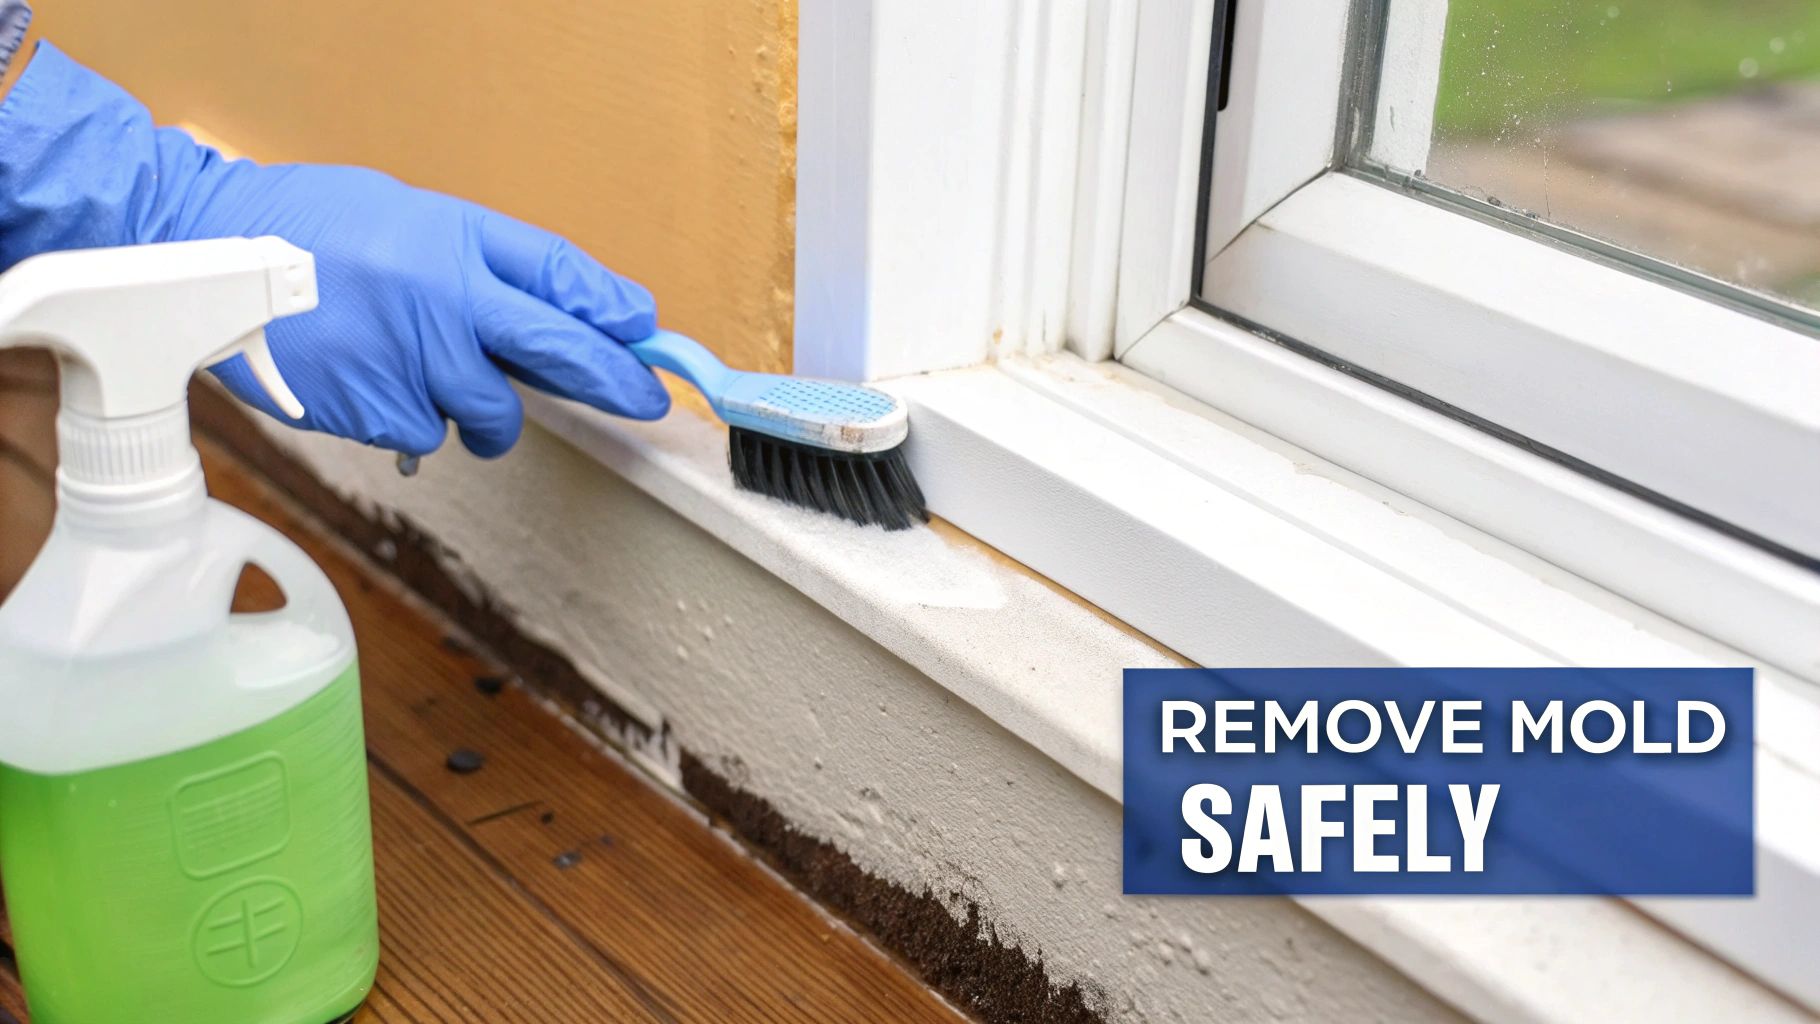
Mold, mildew, and stubborn stains on your window sills are more than an eyesore—left unchecked, they can slowly eat away at the material and invite bigger problems down the road. A simple baking soda paste often tackles surface marks, while enzyme cleaners work deep into mold’s root system to dissolve it naturally.
If grime has set in for weeks or months, patience pays off. Let your cleaning solution sit for 10–15 minutes before you scrub. That extra dwell time loosens debris and makes your brushwork more effective.
Choosing the right brush is half the battle. I reach for soft nylon brushes on vinyl or painted sills to avoid scratches. When I’m up against concrete or stone, a set of stiff bristles cuts through embedded dirt in no time.
I once revived a set of 20-year-old eucalyptus frames that looked beyond help. By alternating enzyme soaks with gentle scrubbing, I peeled back years of discoloration and restored that warm wood grain.
Still seeing faint stains after cleaning? A light sanding paired with a fresh coat of paint seals out moisture and gives you a flawless finish.
Consistency is key when tackling mold—small efforts every season keep sills spotless.
Read more about preventing mold on window sills in our detailed guide.
A year-round plan prevents buildup and makes cleaning routine.
In Spring, sweep away pollen and dust with a soft cloth and mild cleaner—keeping allergies at bay before blooms arrive.
Summer is all about protection. Apply a polymer sealant to repel dirt and stretch out your cleaning cycles.
Consistent seasonal checks cut down on heavy overhauls and extend sill lifespan.
Use calendar reminders on mild days and tackle tasks in batches. Every six months, schedule a pure-water flush to rinse away exterior grime and catch issues early.
Keep a 12-step checklist handy to visualize your tasks and ensure no window gets overlooked.
If your sills are painted, go easy. Stir a little mild dish soap into warm water and wipe with a soft cloth. Always patch-test in an inconspicuous spot to avoid any paint damage.
A quick weekly wipe with a dry cloth makes a difference. Crack a window or run a small fan to boost airflow, and tuck in moisture-absorbing packs to curb dampness before it becomes an issue.
If sills sit out of reach, are heavily molded, or pose a safety risk, it’s wise to call an expert. Technicians using a pure-water system deliver spotless, streak-free results while you stay safely on the ground.
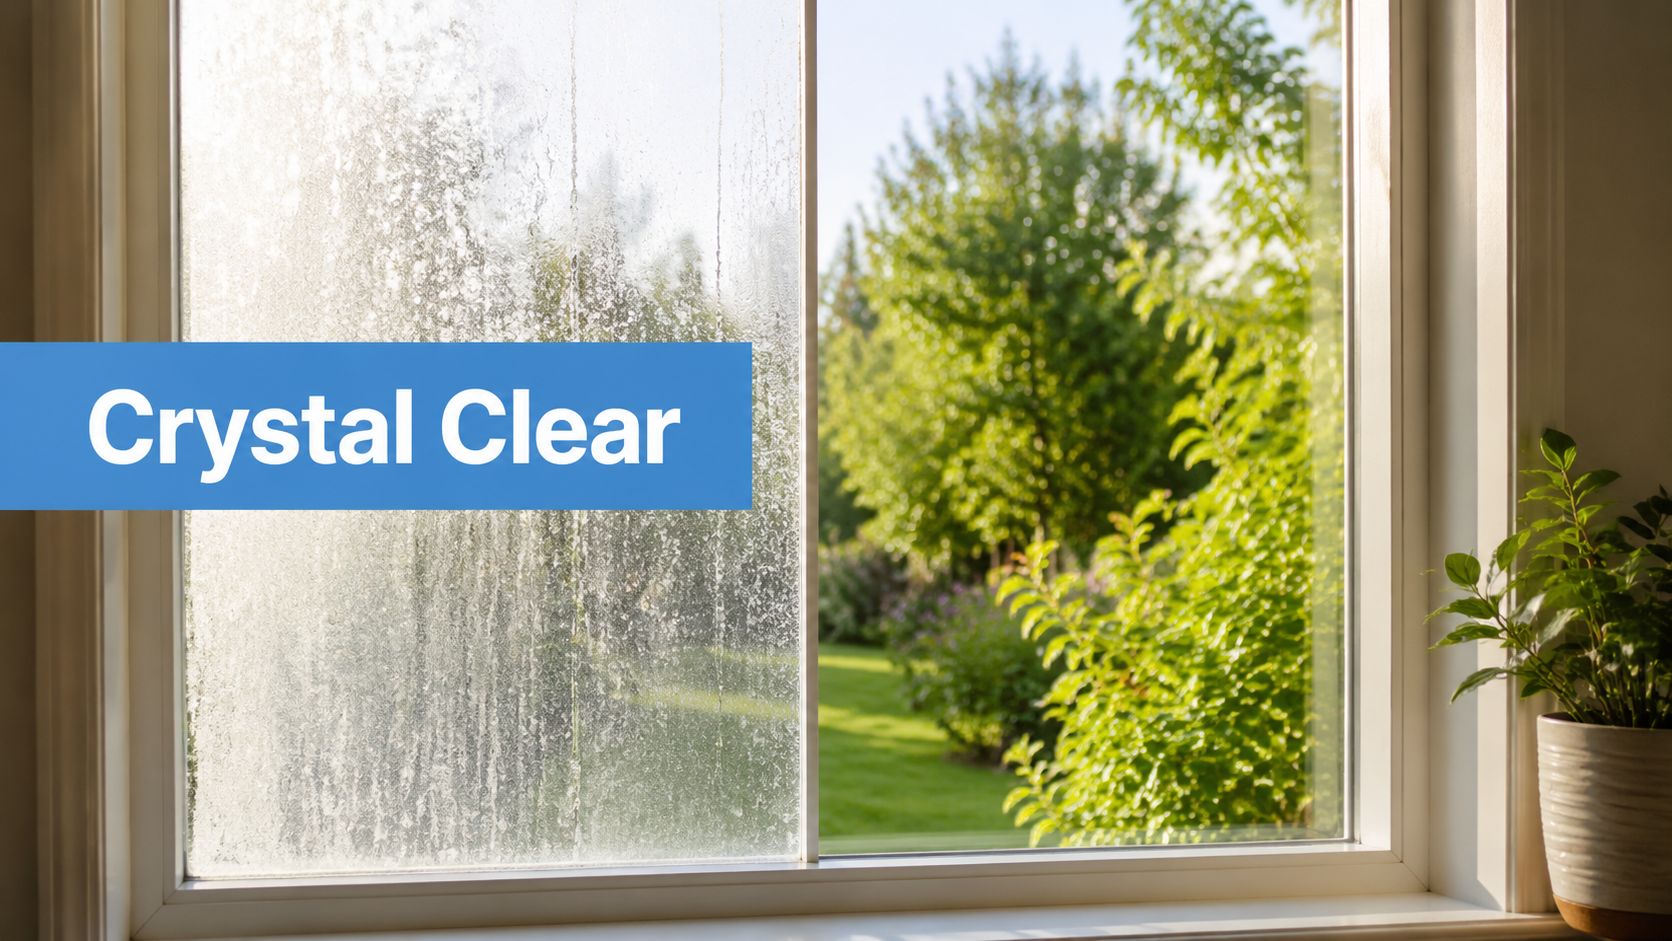
Cleaning window sills improves air quality and mood.
You don’t need a big investment to start:
Together, these basics cost under $30 and tackle most sill-cleaning tasks.
Read our blog posts regularly and keep learning.