
Care and Maintenance
Professional Window Cleaning Solutions: Guide & Tips
Get professional window cleaning solutions: methods, eco-friendly tips, pricing, and how to choose a provider in Phoenix, Denver, LV.


If you want that professional, streak-free shine on your interior windows, you can forget about the paper towels and mystery blue spray. It all starts with having the right gear.
When you see the pros at work, they’re typically using one of ONLY two methods: the classic squeegee technique or a modern pure-water system. Since a pure-water system is overkill for interior work, this guide will focus on the traditional squeegee method that delivers a flawless finish every time.
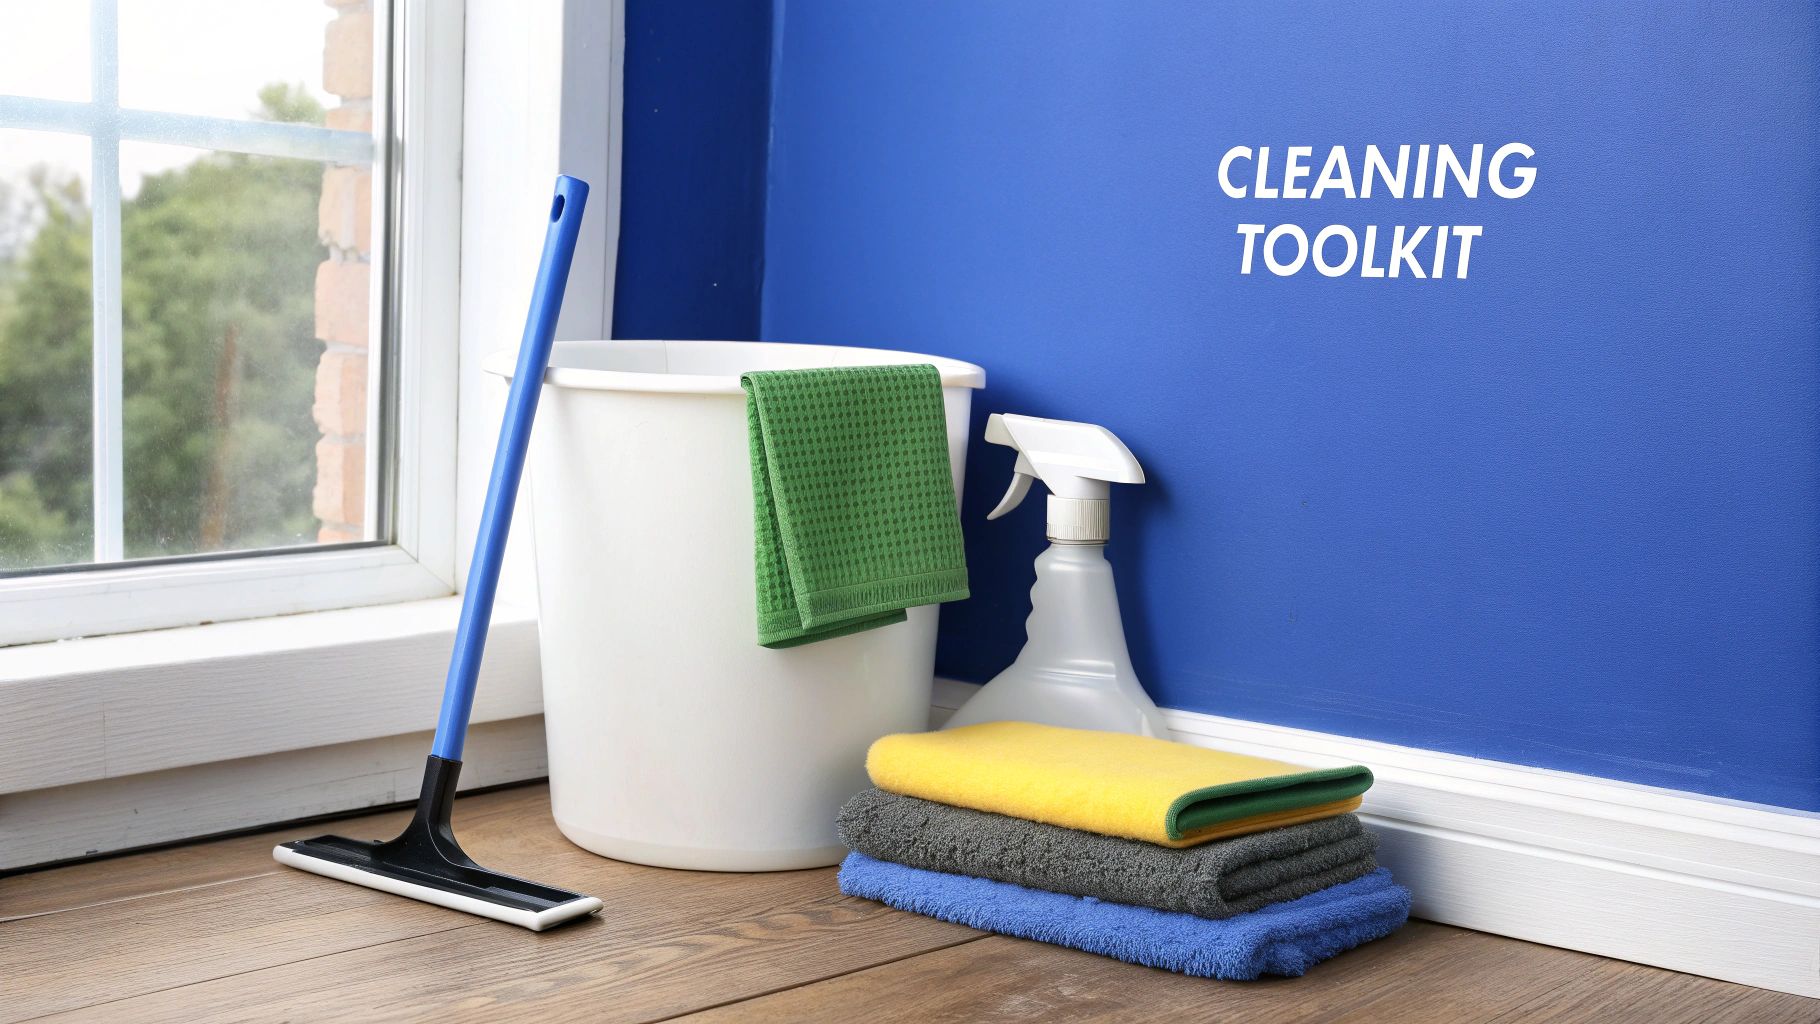
Before you can even think about technique, you need to assemble the right toolkit. I can’t stress this enough: using professional-grade equipment is the single biggest factor in getting a perfect, streak-free result. The right tools make the job faster, easier, and deliver a vastly superior finish compared to the stuff you grab at the grocery store.
This isn’t just about making your home look good; it's a huge part of the global cleaning services market, which was valued at around USD 415.93 billion. There's a reason interior window cleaning is a standard service—clear, spotless windows are something everyone wants.
For homeowners, the traditional squeegee method is easily the most practical and cost-effective approach. You don't need a complex pure-water system; just a few key items will elevate your window cleaning game dramatically.
Here's a quick look at the core tools you'll need to clean like a pro.
With these four items, you're more than halfway to achieving a truly professional finish on your windows.
The secret shared among pros is simple: great tools do most of the work for you. A quality squeegee and proper technique are what separate a DIY job from a professional one.
Whether you're dealing with the intense sun that bakes grime onto windows or just everyday dust and fingerprints, these tools are the foundation for a perfect clean. If you want to dive deeper, you can explore a full breakdown of what professional window cleaners use in our other guide.
Ask any pro, and they'll tell you the secret to a fast, flawless window cleaning job isn’t in the scrubbing—it's all in the setup. Taking a few minutes to prep your workspace is the difference between a frustrating mess and a smooth, easy project. It protects your home from drips and makes the whole process of cleaning your interior windows so much simpler.
First things first, protect your surroundings. Lay an old towel or a drop cloth at the base of the window. This one simple move is your best defense against stray drips and cleaning solution, shielding your floors, carpets, and window sills. Trust me, you don't want to trade dirty windows for a stained rug.
Forget all those expensive, brightly colored sprays you see at the store. Most of them leave behind a sticky film that just attracts more dust. The best solution, and the one most of us in the business use, is also the simplest: a bucket of cool, clean water with just a few drops of dish soap. You're aiming for a hint of suds, not a full-on bubble bath. This minimalist formula is incredible at cutting through grease and grime without leaving any residue.
This back-to-basics approach is also great for maintaining healthy indoor air quality. It's no surprise that the demand for eco-friendly products has shot up, with surveys showing that over 60% of U.S. households now use environmentally friendly cleaners. This trend isn't just a fad; it's a move toward safer, simpler solutions at home. You can read more about green cleaning industry statistics to see just how popular this approach has become.
Now, before you even think about touching the glass, take a minute to clear away any dust and cobwebs hanging around.
To get that truly spotless, professional finish for your entire window area, it’s a smart move to clean your window coverings as part of your prep. For some great, detailed advice on how to do that, you might find A Pro's Guide to the Cleaning of Blinds really helpful.
When it comes to getting a truly professional, streak-free finish, the squeegee is your most important tool. Honestly, mastering this technique is what separates a frustrating, streaky mess from crystal-clear glass. It's a skill that's part art, part science—combining the right motion with a few details you just can't skip.
First things first, you need to apply your cleaning solution. Grab your microfiber scrubber and get the entire pane of glass evenly wet. You're aiming for enough solution so the squeegee glides smoothly, but not so much that you've got a river running down the wall. Pay close attention to the corners and edges.
This prep work is what sets you up for success and prevents drips before you even start on the glass itself.
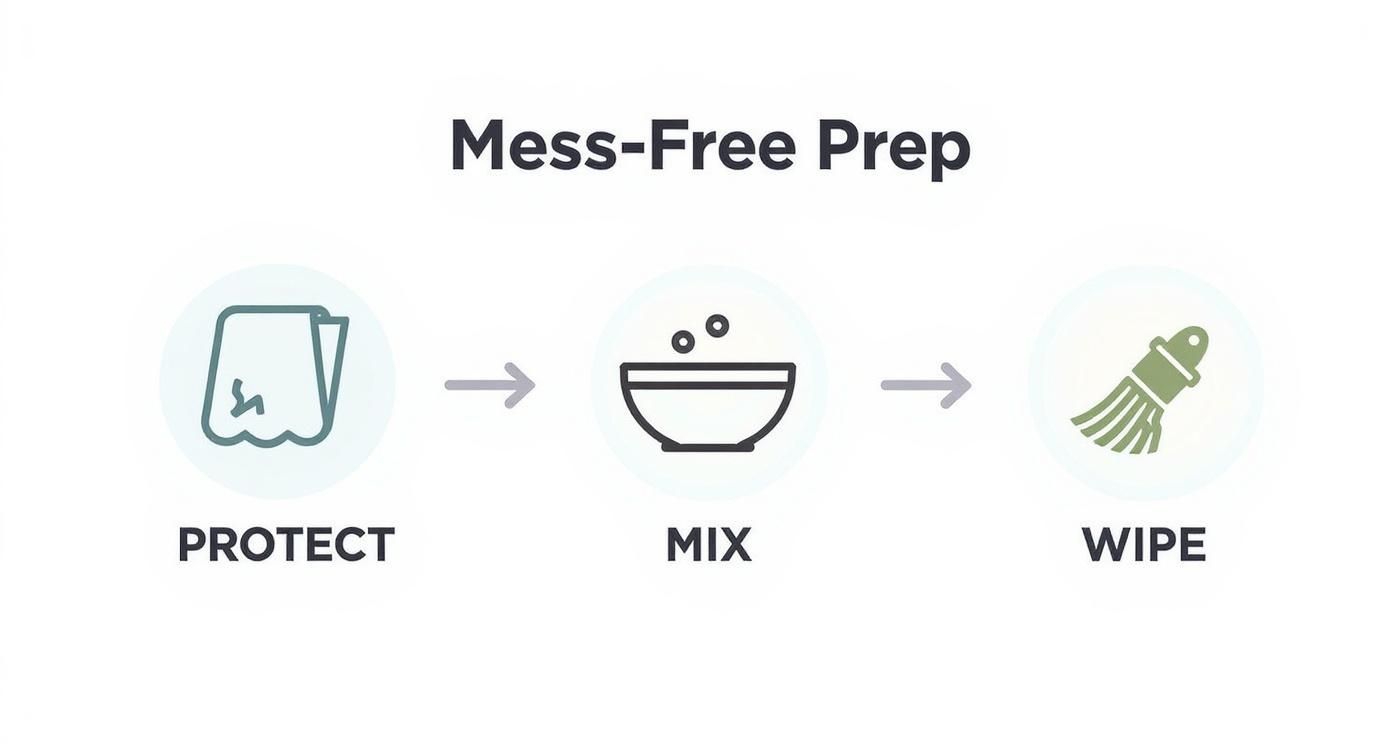
This simple flow—protect, mix, and wipe—gets everything ready for a flawless squeegee pull by getting rid of potential drips and loose dirt from the surrounding frame.
With the glass wet, it’s time for the main event. Before you do anything else, you need to create a "dry edge." Take a clean microfiber cloth and wipe a one-inch strip down one side of the window pane. This gives your squeegee a dry place to start its journey and stops it from dragging drips across the clean glass.
Now, place the top corner of your squeegee in that dry strip. Tilt the blade to about a 45-degree angle against the glass. Apply light, consistent pressure and pull the squeegee straight down from top to bottom in one smooth, continuous motion.
Crucial Tip: The one step nearly every amateur skips is wiping the squeegee blade with a clean microfiber cloth after every single pull. Seriously. A wet or dirty blade is the number one cause of streaks.
Once you finish a pull, overlap your next one by about an inch. This little bit of overlap is key to making sure you don't leave any thin lines of water behind. Just repeat this process across the entire pane of glass, and you're golden.
For larger windows, you'll see pros use a more fluid technique often called the 'S-stroke' or fan method. This involves moving the squeegee back and forth across the glass in a continuous S-shaped pattern, working your way from top to bottom. It's definitely faster, but it takes some practice to get the turning motion down without leaving marks.
This technique is incredibly effective everywhere, whether you're dealing with the fine dust found in homes around Las Vegas or just battling everyday smudges. No matter which method you choose, the core principles don't change: maintain a consistent angle, apply even pressure, and always, always wipe your blade.
For a deeper dive, check out our complete guide on how to squeegee windows like a seasoned pro.
Getting the main pane of glass clean is a huge step, but the final detailing is what really separates an okay job from a truly professional one. This last phase is all about tackling the little things that a squeegee just can't handle, ensuring the entire window area looks immaculate.
After your final pull with the squeegee, you'll probably see tiny lines of water clinging to the very edges of the glass. The best way to deal with this is to grab a dry, lint-free microfiber cloth—often called a detailing towel. Just wrap it around your finger and gently trace the perimeter of the glass to soak up that leftover moisture.
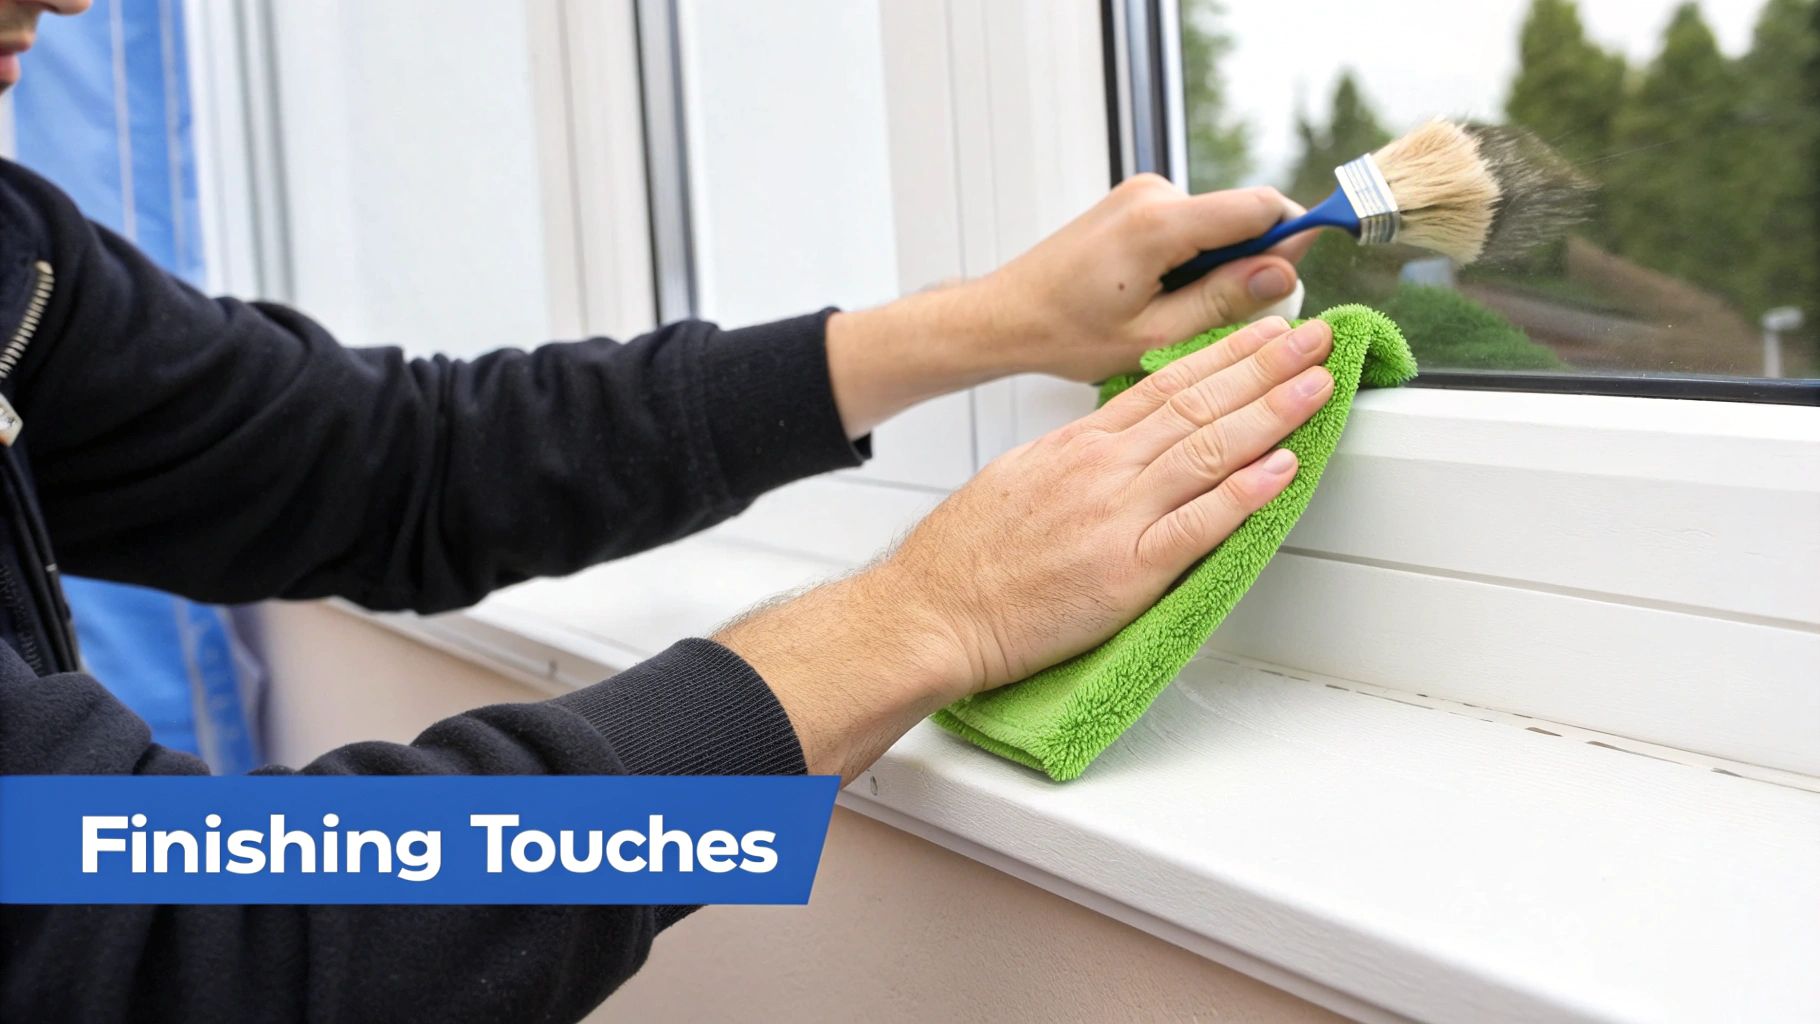
With the glass looking perfect, it's time to shift your focus to the surrounding framework. These spots are magnets for dust, grime, and even dead bugs. If you skip them, even the most sparkling windows will look unfinished.
Use a damp microfiber cloth to wipe down the entire window frame. For the tracks, I find an old toothbrush or a vacuum's crevice tool works wonders to loosen stubborn dirt before you wipe it clean.
The goal here is a completely clean window area—glass, frame, sill, and tracks. It’s this comprehensive approach that creates that impressive, long-lasting clean that really stands out.
Every now and then, you'll run into stubborn spots like paint flecks, old sticker residue, or some other dried-on gunk. Your first instinct might be to scrub hard, but that's a quick way to scratch the glass. There's a much safer way.
By adding these final details to your process for how to clean windows inside, you'll take your results from good to genuinely exceptional.
Sometimes, knowing what not to do is even more important than mastering the perfect technique. I’ve seen countless people sabotage their own efforts with a few common habits, leading to frustrating streaks, annoying smudges, and just more work in the long run.
If you can steer clear of a few key pitfalls, you’ll be well on your way to a perfect, professional-looking finish every single time.
One of the biggest mistakes I see is cleaning windows in direct, bright sunlight. It feels like the right thing to do—you can see all the dirt, right? But the heat from the sun makes your cleaning solution evaporate almost instantly. That rapid drying is what leaves behind that stubborn, soapy film that’s nearly impossible to get off without starting all over again.
Another classic error is reaching for the paper towels. They seem convenient, but they're a professional's worst enemy. The moment they get wet, they start to break down and leave a trail of lint and fibers all over your freshly cleaned glass. It completely undoes all your hard work.
You also want to be careful with your cleaning solution. Using too much soap is a really frequent mistake. More soap doesn't mean cleaner windows; it just creates a sticky film that actually attracts more dust and is a nightmare to squeegee off cleanly. A few drops in a bucket of water is truly all you need.
A worn or nicked squeegee blade is a guaranteed recipe for streaks. Even a tiny imperfection in the rubber will leave a distinct line of water with every single pull.
Finally, don’t underestimate the damage a bad squeegee blade can do. Any nicks, dings, or worn spots in the rubber will leave lines of water with every single pass. Make a habit of checking your blade before you start, and replace it regularly to keep that sharp, clean edge you need for a flawless result.
And if you're dealing with issues that go beyond simple streaks, like stubborn mineral deposits, our guide on how to get hard water spots off windows has the specialized solutions you're looking for.
To wrap things up, let's tackle a few of the most common questions people have about washing their interior windows. These quick answers should clear up any lingering confusion and get you on the right track.
For most homes, cleaning the inside of your windows two to four times a year is a great rule of thumb. This is usually enough to keep any serious grime from building up.
That said, your situation might be different. If you have pets leaving nose prints everywhere, small kids with sticky fingers, or live in a dusty area like Phoenix, you’ll probably want to clean them quarterly. It makes a huge difference in how fresh your home feels.
Absolutely. A 50/50 mix of white vinegar and water is a classic DIY cleaner for a reason—it cuts through grease and grime like a champ.
Just be careful where you spray it. The acid in vinegar can damage sensitive surfaces like unsealed wood windowsills or natural stone. If you're worried about that, the simple dish soap method we talked about is the safest bet for pretty much any material.
Pros stick to what works. For interior jobs, it's almost always the squeegee method with a tiny bit of soap for a flawless finish. For high-reach exterior work, they use a pure-water system. Following the pro-approved basics will give you the best results every time.
When it comes to window cleaning, microfiber cloths are the undisputed champion. They’re incredibly absorbent, totally lint-free, and won’t leave a single scratch on your glass.
I always recommend having at least two on hand. Use one for applying your solution or scrubbing away tough spots, and keep a second one perfectly dry for wiping your squeegee blade and detailing the edges for a perfect finish.
When you want a truly perfect, streak-free shine without all the hassle, it's best to trust the experts. Professional Window Cleaning offers residential and commercial services designed to make your property look brand new. Find out more at https://www.professionalwindowcleaning.com.
Read our blog posts regularly and keep learning.