Care and Maintenance
Gutter Cleaning Services Cost: 2026 Price Guide & Tips
Get the latest on gutter cleaning services cost in 2026. Our guide covers average prices, key factors, and tips for accurate quotes in Phoenix, Denver, & Las


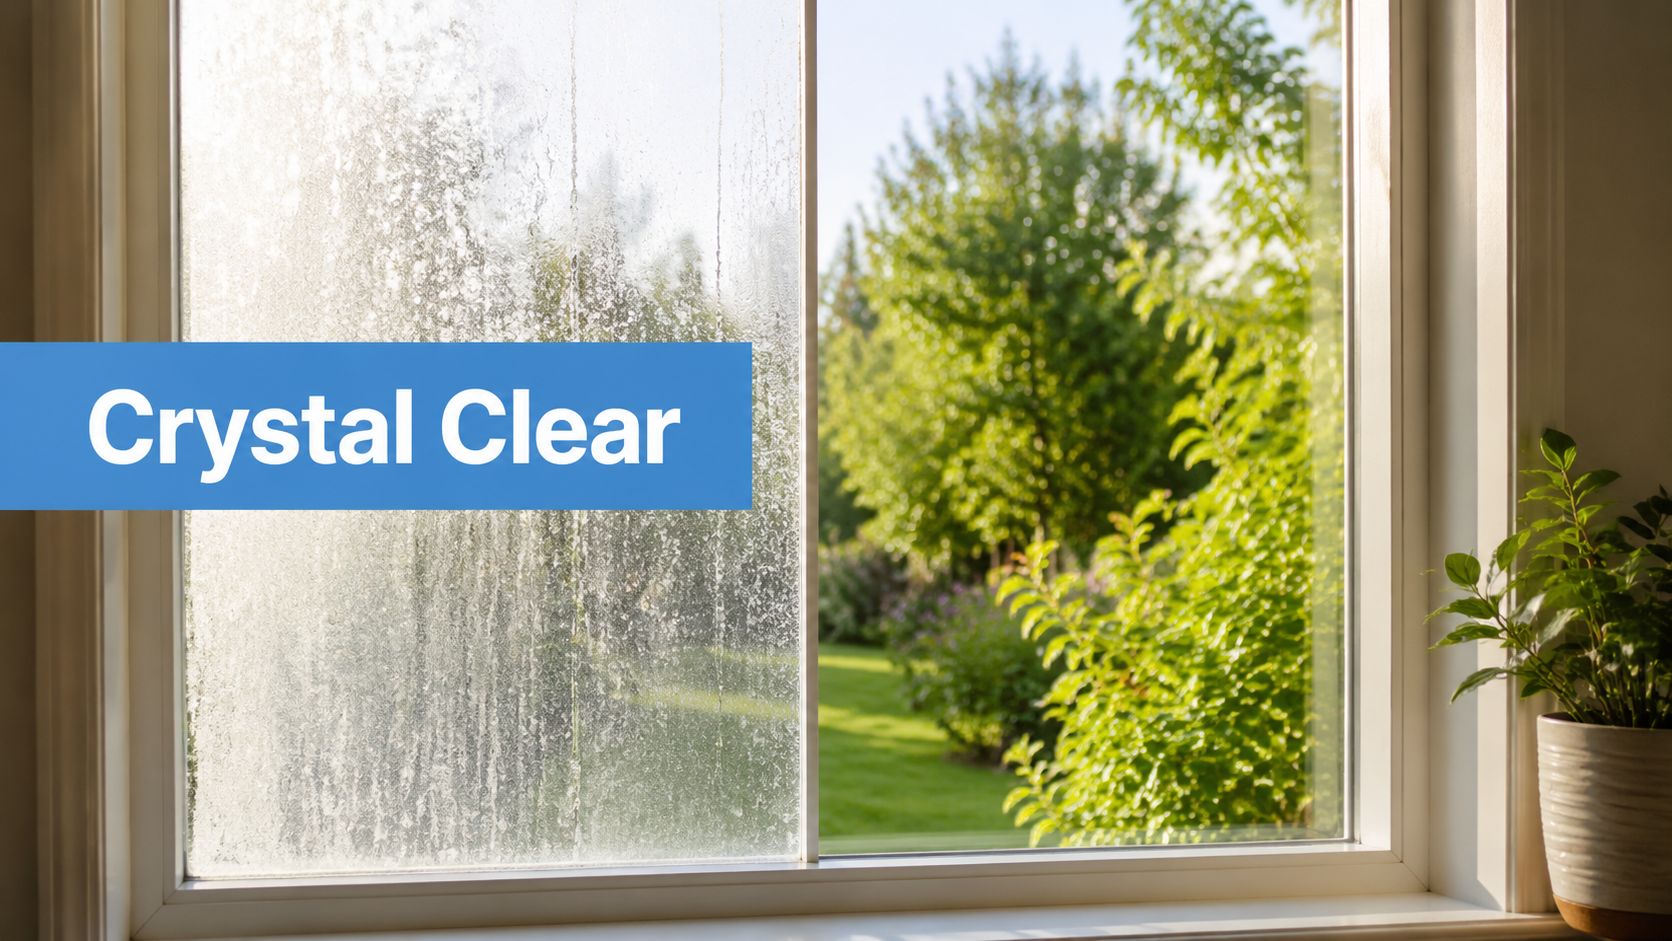
To effectively remove window water spots, you need to understand you’re not just wiping away dirt. You're breaking a chemical bond between minerals and glass. Those stubborn blemishes are what’s left behind when water evaporates, and your standard Windex just isn't going to cut it. The key is using the right technique for the specific type of spot you have, which can range from a light film to severe, etched-in damage.
Those frustrating, milky-white spots on your windows are more than just dried water—they’re a stubborn residue of minerals. When water from a sprinkler, rain, or even a wayward hose evaporates, it leaves behind everything it was carrying. In most cases, that means minerals like calcium and magnesium, the main culprits behind "hard water."
This residue doesn't just sit politely on the surface. Over time, the alkaline nature of these mineral deposits can actually start a chemical reaction with the silica in the glass. This process, known as etching, is what turns a simple cleaning job into a full-blown restoration project.
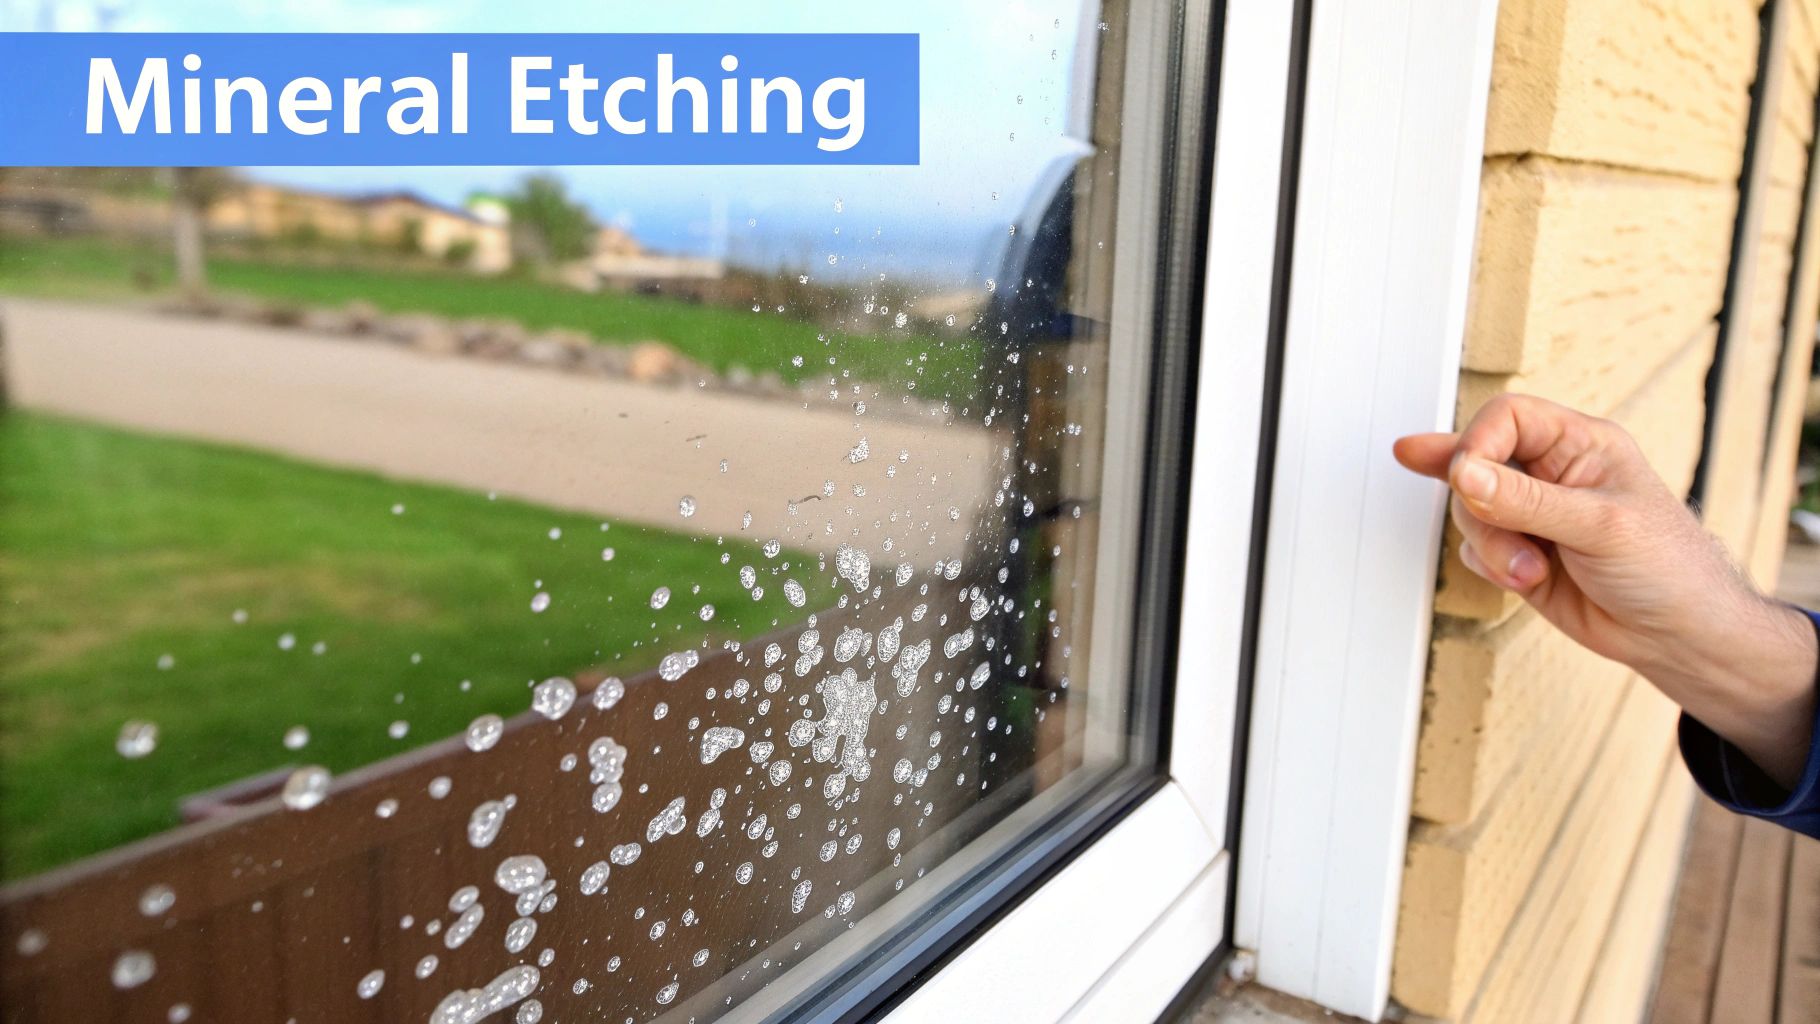
Before you grab any cleaning supplies, take a close look at the spots. Being able to correctly diagnose the problem is the most important step, as it dictates your entire approach.
To help you figure out what you're up against, here's a quick guide.
Use this table to quickly identify the type of water spots on your windows and understand what it will take to remove them.
Understanding these stages will save you a ton of time and frustration. If you've caught the problem at Stage 1, you're in luck. If it's progressed to Stage 3, you're looking at a much bigger job.
The challenge of removing these spots has fueled a massive market. The global demand for water-spot removers was estimated at USD 1.14 billion, a clear sign of how common this headache is. This is part of the broader glass cleaner market, valued at USD 3.29 billion, which continues to grow. You can discover more insights about this growing market and its trends.
How bad your water spot problem gets often comes down to where you live. The hardness of water varies dramatically from one region to another, directly impacting how quickly and severely spots form on your windows.
For instance, homeowners in arid climates like Phoenix and Las Vegas battle some of the hardest water in the country. Sprinkler systems in these areas are notorious for coating windows with a heavy layer of mineral deposits that bake onto the glass in the intense sun, fast-tracking the etching process. Even areas with less extreme climates, like Denver, have moderately hard water that still demands a proactive approach to prevent buildup.
The longer a water spot sits on glass, especially in direct sunlight, the more likely it is to cause permanent etching. Heat essentially bakes the minerals into the glass, strengthening their bond and making removal much more difficult.
Knowing these factors is crucial. A light, surface-level stain might only need a mild acidic solution, while severe, etched-in damage may demand professional techniques. In the professional world, there are only two methods used for pristine results: the traditional squeegee method for manual cleaning and advanced pure-water systems that leave zero mineral residues behind. Figuring out what you're dealing with first will help you choose the right path and avoid wasting time or, even worse, causing more damage.
To really win the fight against window water spots, you need to arm yourself with more than just paper towels and a generic blue spray. I like to think of it like cooking a great meal—having the right ingredients and tools on hand makes the entire process smoother and guarantees a much better result. When you assemble the right toolkit, you're ready to tackle everything from light surface stains to stubborn mineral buildup without accidentally scratching the glass.
Your first line of defense is always a stack of high-quality, lint-free microfiber cloths. These are non-negotiable for both applying cleaners and buffing the glass dry for that perfect, streak-free finish. Do yourself a favor and avoid using old rags or bath towels. Their fibers can leave behind annoying lint and might even be abrasive enough to scratch the glass.
Beyond cloths, a few key pieces of equipment can elevate your results from amateur to professional-grade. The most important of these is a good squeegee. Professionals rely on them for a reason: when used correctly, a squeegee removes all water and cleaning solution from the glass in one clean pass, which is the absolute secret to avoiding new spots and streaks.
For tougher, isolated spots, you might need a bit more muscle. Here are some specialized tools to consider adding to your bucket:
Having these basics ready will prepare you for just about any water spot challenge. If you want to dive deeper into the gear the experts use, check out our complete guide on professional window cleaning equipment.
The cleaner you choose is just as critical as the tools you use. The market is flooded with options, but they generally fall into two camps: simple DIY solutions and powerful commercial formulas.
For light, fresh water spots, a simple homemade mixture can be surprisingly effective. A solution of 50% distilled white vinegar and 50% distilled water is a classic for a reason. The mild acetic acid in the vinegar gets to work dissolving the alkaline mineral deposits left by hard water. Lemon juice, with its citric acid, can work in a similar way.
But for more serious buildup, you're going to need to bring in the heavy hitters. Commercial hard water removers are specifically formulated with mild acids or special compounds called chelating agents, which are designed to break the chemical bond between the minerals and the glass.
The liquid glass-cleaner format holds the largest share of the market, valued at roughly USD 1.20 billion. While many standard liquid cleaners use ammonia for a quick, streak-free shine, specialized products to remove window water spots use mild acids or chelating agents to dissolve mineral deposits safely. You can read the full research on glass cleaner market trends to understand more.
When you're grabbing a commercial product off the shelf, always double-check that it's safe for your specific windows, especially if they are tinted or have special coatings. In the professional world, there are only two proven methods for a perfect finish: the use of a squeegee and the use of a pure-water system. These systems filter out every last mineral, leaving nothing behind to create new spots. Adopting these pro-level tools and solutions is the ultimate way to get—and keep—crystal-clear glass.
Alright, you've got your tools, and you're ready to tackle those frustrating water spots. The key to getting rid of them for good isn't about scrubbing harder—it's about matching the right technique to the right type of spot. We're going to skip the generic advice and get straight into the real-world situations you're likely facing, from light morning dew spots to those stubborn, baked-on mineral deposits.
In the professional world, there are only two primary methods used: a classic squeegee with a top-notch cleaning solution or a pure-water system. Since most folks don't have a water purification setup in their garage, we’ll focus on how you can adapt professional squeegee techniques at home to get that same flawless, streak-free finish.
This little flowchart is a great starting point for figuring out where to begin, depending on how tough your spots are.
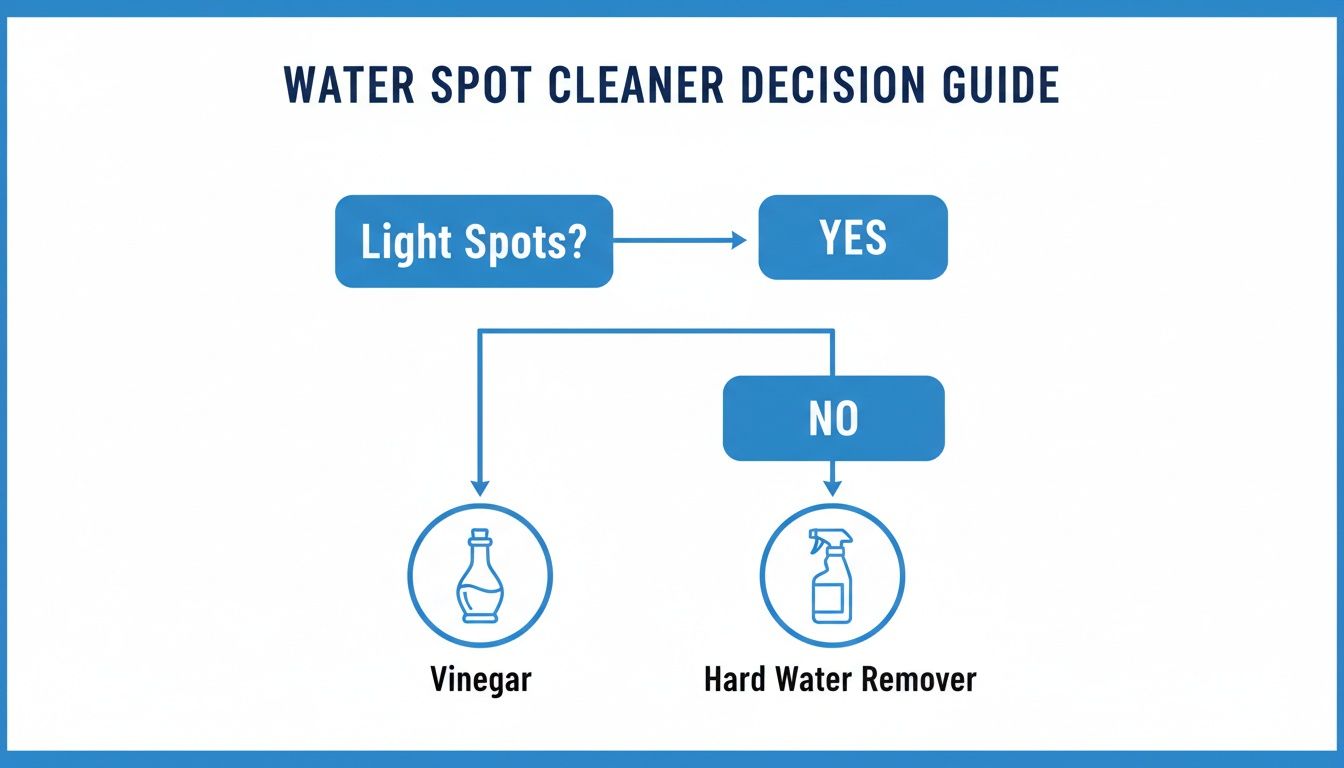
The idea is simple: start with the mildest cleaner that gets the job done and only move up to the stronger stuff if the stains put up a fight.
This is the classic scenario—you've noticed some faint, cloudy outlines from a recent rainstorm or a sprinkler that went rogue. With these, speed is your best friend. The longer those minerals sit on the glass, the more they start to bond with it.
For a job like this, a simple solution of 50% distilled white vinegar and 50% distilled water in a spray bottle is all you need. The mild acetic acid in the vinegar is perfect for dissolving those fresh alkaline mineral deposits without posing any risk to your glass.
First, give the window a liberal spray, making sure you hit every spot. Let it sit for a minute or two. This "dwell time" is super important—it gives the acid a chance to get to work breaking down the minerals.
Next, take a non-abrasive scrub pad or microfiber cloth and gently agitate the entire surface. Finally, grab your squeegee and wipe the window clean. Start from a top corner and work your way down in smooth, overlapping strokes. Remember to wipe the blade with a clean microfiber cloth after each pass to avoid dragging dirty water across the clean glass.
Pro Tip: Never, ever clean windows in direct sunlight. If the glass is hot, your cleaning solution will evaporate almost instantly, leaving you with a fresh set of streaks and residue before you even have a chance to squeegee it off.
What happens when vinegar just doesn't cut it? If your windows have that semi-opaque film from weeks or even months of buildup, you've got a tougher challenge. This is especially common in areas with very hard water, where the sun bakes those minerals onto the glass with surprising speed.
At this stage, it's time to upgrade to a commercial hard water remover. These products are specifically formulated to remove window water spots that have started to form a stronger bond with the glass. Before you go all-in, always test the product on a small, hidden corner to make sure it plays nice with your window, especially if you have tints or special coatings.
Apply the cleaner exactly as the manufacturer recommends. This usually means putting it on a microfiber applicator pad and working it into the glass with small, circular motions. Give the product a few minutes to do its thing before gently scrubbing with a non-abrasive pad.
The final rinse is just as critical as the cleaning. Once the deposits are gone, rinse the window thoroughly with distilled water. If you use tap water, especially in a hard water area, you can undo all your hard work by creating a fresh layer of spots. After rinsing, squeegee the glass dry for that perfect, clear finish. For a deeper dive into product options, check out our guide on finding the best cleaner for hard water stains.
So, what if you’ve tried everything and those spots just won't budge? You're probably looking at Stage 3 etching. This is where the minerals have sat on the glass for so long that they've caused microscopic damage to the surface. At this point, you're not just cleaning the window—you're repairing it.
For damage this severe, you'll need to turn to abrasion. It’s a delicate process that calls for a glass polishing compound. These compounds contain ultra-fine abrasives, like cerium oxide, that gently resurface the glass by buffing away the etched layer to restore its clarity.
This is definitely an advanced technique and it does carry some risk. You'll apply a small amount of the compound to a polishing pad attached to a low-speed drill or orbital buffer. Working in small, manageable sections, move the buffer over the glass in slow, overlapping passes with light, even pressure.
It’s crucial to keep the surface slightly damp as you work to prevent the glass from overheating, which can cause it to crack. After you’ve polished the entire window, you’ll need to clean it thoroughly with a standard glass cleaner and squeegee it dry to remove any leftover compound residue.
This process is methodical and takes time. To ensure you don't miss a step, especially when working on multiple windows, it helps to be systematic. Professionals in other detailed fields understand the importance of using checklists to guarantee consistency and safety. Adopting that same mindset—following a consistent process for each pane—will help you avoid mistakes and get uniform results across all your windows.
After all that hard work getting your windows spotless, the last thing you want is for those pesky water spots to show up again next week. Winning the battle is one thing, but winning the war against water spots requires a proactive strategy.
True prevention isn't about more cleaning; it's about creating an environment where spots struggle to form in the first place. This usually comes down to making a few simple adjustments around your property and applying a protective barrier to the glass itself. By shifting from a reactive cleaning cycle to a proactive one, a few minutes of prevention can save you hours of scrubbing later.
More often than not, the main culprit behind stubborn water spots is hiding in plain sight: your sprinkler system. A misaligned sprinkler head that constantly sprays your windows is a recipe for disaster, especially in hard-water areas like Phoenix or Las Vegas.
Take a few minutes to run your sprinklers and just watch where the water lands. Adjusting the heads to aim away from your home is the single most effective thing you can do. It’s a simple fix that completely eliminates the primary source of mineral buildup for countless homeowners.
Also, be mindful of stray droplets after washing your car or watering plants near the house. A quick wipe-down with a squeegee or microfiber cloth is all it takes to stop those drops from drying and leaving their mark.
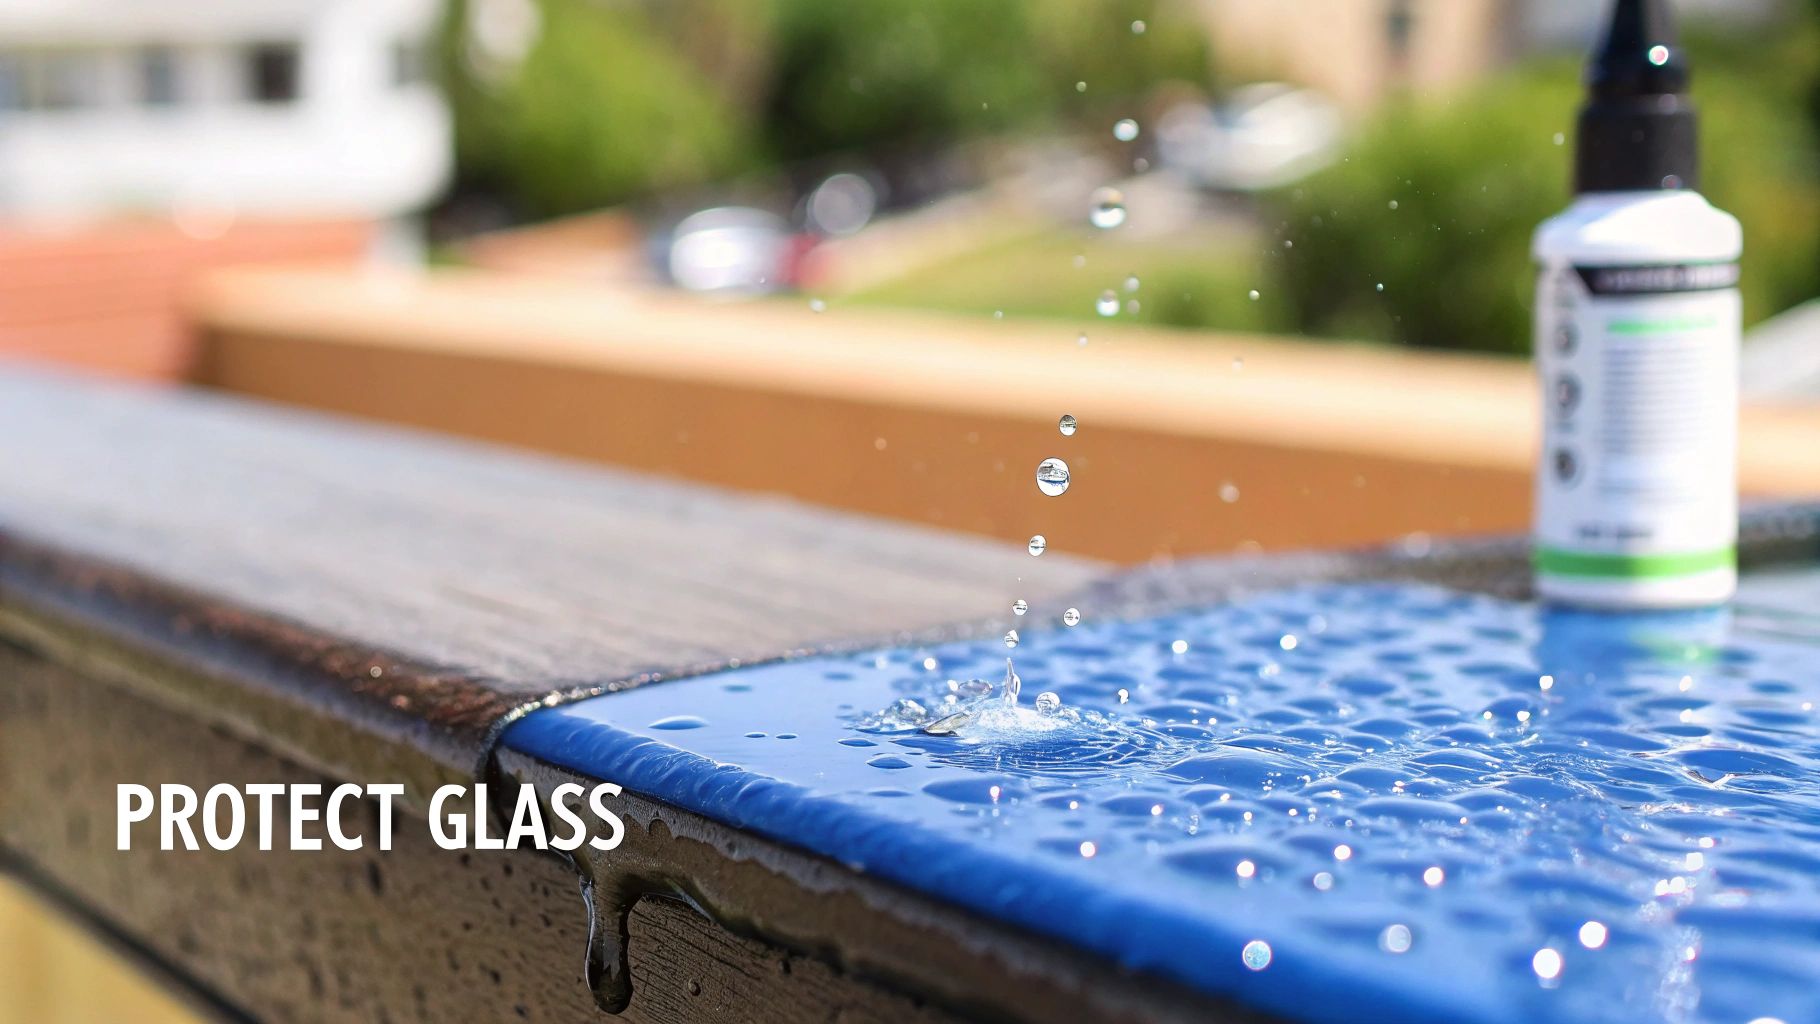
The real secret to long-term prevention is making your glass actively repel water. This is where hydrophobic glass sealants or ceramic coatings come into play. These products are game-changers, working at a microscopic level to fill in the natural pores of the glass, creating an ultra-smooth, slick surface.
Instead of clinging to the glass and slowly evaporating, water beads up and rolls right off, taking minerals and dirt along for the ride.
To get the most out of it, follow these steps:
This protective layer can last for several months, which means you'll be doing deep cleans far less often.
Demand for prevention is a huge driver in the cleaning market. People are increasingly willing to pay a premium for hydrophobic treatments that extend the time between cleanings. A single bottle of a consumer-grade water spot remover might cost USD 5 to USD 25, but professional hydrophobic coatings can run several hundred dollars, supporting a large service industry. To see the economics behind this, you can learn more about the automotive glass cleaner market.
Finally, prevention is all about consistency. Even with a protective sealant in place, a little maintenance goes a long way. Instead of waiting for a thick film of minerals to build up, a quick monthly wipe-down will be far easier and more effective.
For routine maintenance, you don't need harsh chemicals. A simple wipe-down is often enough. Professional window cleaners live by this principle; the only two methods they rely on are a squeegee or a pure-water system because both are designed to leave absolutely nothing behind. By adopting a regular, light cleaning schedule, you mimic this professional approach and ensure small spots never get the chance to become a major headache.
While tackling water spots on your own can be satisfying, some jobs are just better left to the experts. Knowing the difference between a manageable DIY project and a situation that needs a professional touch can save you a ton of time, prevent costly damage, and most importantly, keep you safe. The real goal isn't just clean windows; it's perfectly restored, streak-free glass without any of the risk.
Sometimes, the problem is simply too severe for anything you can buy at the store. If you're looking at widespread, heavy mineral buildup that's moved into Stage 3 etching, the glass surface itself is actually damaged. No amount of scrubbing is going to fix that. Pros use specialized machine polishers and unique compounds to carefully resurface the glass—a delicate process that can easily cause permanent scratches if you don't know exactly what you're doing.
One of the biggest factors to consider is simple accessibility. If the problem windows are on the second story, part of a vaulted ceiling, or those tricky skylights, the risk of getting hurt skyrockets. Trying to balance on a ladder while applying the right amount of pressure is a recipe for disaster.
Professional window cleaners have the right safety gear, extensive training, and the proper insurance to handle these jobs without a hitch. They typically rely on two methods: the classic squeegee for up-close work and advanced pure-water systems. These often involve water-fed poles that can reach high windows right from the ground, getting rid of the need for ladders altogether.
Don't underestimate the danger. Each year in the United States, more than 500,000 people are treated for ladder-related injuries. A professional service takes that risk completely off the table, protecting you and guaranteeing the job is done right.
Beyond just safety, a professional brings an level of expertise and equipment that goes way beyond a typical DIY toolkit. They can accurately diagnose how bad the water damage is and figure out the best way to tackle it, whether it's for modern coated glass or delicate, historic panes that need a gentle touch.
Their pure-water cleaning systems are a game-changer. This technology strips 100% of minerals from the water, which means when it dries, it leaves absolutely nothing behind—no spots, no streaks, just crystal clear glass. This is a massive advantage for anyone living in a hard-water area.
When you're faced with incredibly stubborn water spots, or if you'd just rather entrust the job to the experts, looking into professional window cleaning services is a smart move. Ultimately, hiring a pro is an investment in quality, safety, and your own peace of mind. To get a better idea of what to look for, check out our guide on finding professional window cleaners near me.
Even with the best game plan, you're bound to run into a few questions once you start tackling those stubborn water spots. Getting the right answers can be the difference between crystal-clear glass and a frustrating mistake. Here are some quick, no-nonsense answers to the challenges we see homeowners face all the time.
This is a big one, and I'll be blunt: using steel wool on glass is a high-risk move that you should approach with extreme caution.
While some pros might occasionally use super-fine #0000 grade steel wool for a very stubborn, isolated mineral deposit, it's definitely not a go-to tool for a DIY project. Grab the wrong grade or apply just a little too much pressure, and you can easily leave permanent, ugly scratches all over your windows.
Instead of taking that gamble, you're much safer starting with a dedicated glass polishing compound or a non-abrasive scrubbing pad made for glass. Honestly, if the stains are so bad you're even thinking about steel wool, that's a huge sign it’s time to call in a professional. But if you absolutely must try, always test it on a small, hidden corner first.
This is a great question, and the answer really depends on the type of tint you have. If your car or home has factory-tinted glass—where the tint is actually inside the glass itself—a diluted vinegar solution is generally fine.
The story completely changes with aftermarket film tints. The acid in vinegar, even when diluted, can break down the adhesive that holds the film to the glass. Over time, this can cause it to start peeling or bubbling. To be safe, always check the tint manufacturer’s specific cleaning guidelines. The best bet is to stick with a pH-neutral, ammonia-free cleaner specifically designed for tinted windows.
Ah, the endless battle with the shower door. The bathroom is ground zero for hard water, so those doors get blasted with mineral-heavy water every single day. That's why spots seem to come back almost as soon as you wipe them away.
The best defense is a simple daily habit that takes less than a minute.
The most effective way to prevent shower door spots is to get the water off the glass before it has a chance to dry. Wiping it down with a small squeegee after every single shower is a game-changing, 30-second task that stops mineral deposits from ever forming in the first place.
Want to make that daily wipe-down even easier? Apply a hydrophobic glass sealant every few months. It creates a super-slick surface that makes water bead up and roll right off, giving your squeegee an assist and keeping that glass spotless for longer.
When DIY methods just aren't cutting it, or you want a guaranteed perfect finish without the risk, Professional Window Cleaning has the right tools and expertise to bring your glass back to life. Contact us today for a free estimate!
Read our blog posts regularly and keep learning.