Care and Maintenance
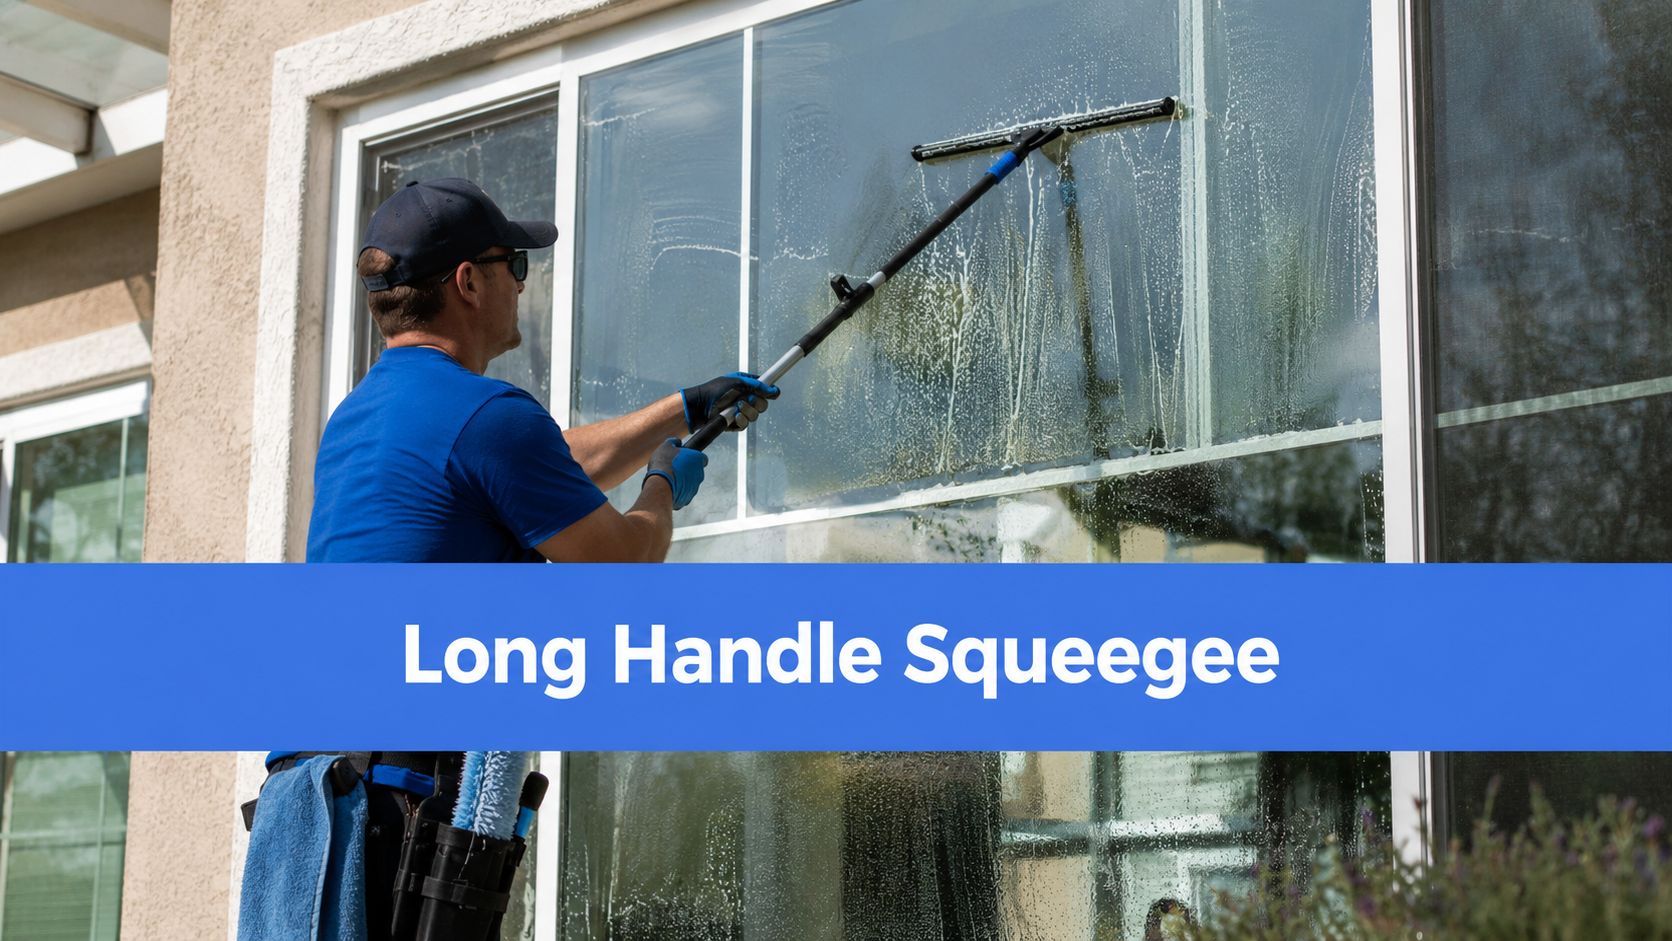
Long Handle Squeegee: Your Ultimate Guide to Pro Results
Master high-reach window cleaning with our guide to the long handle squeegee. Learn to choose the right size, use proper technique, and get streak-free results.


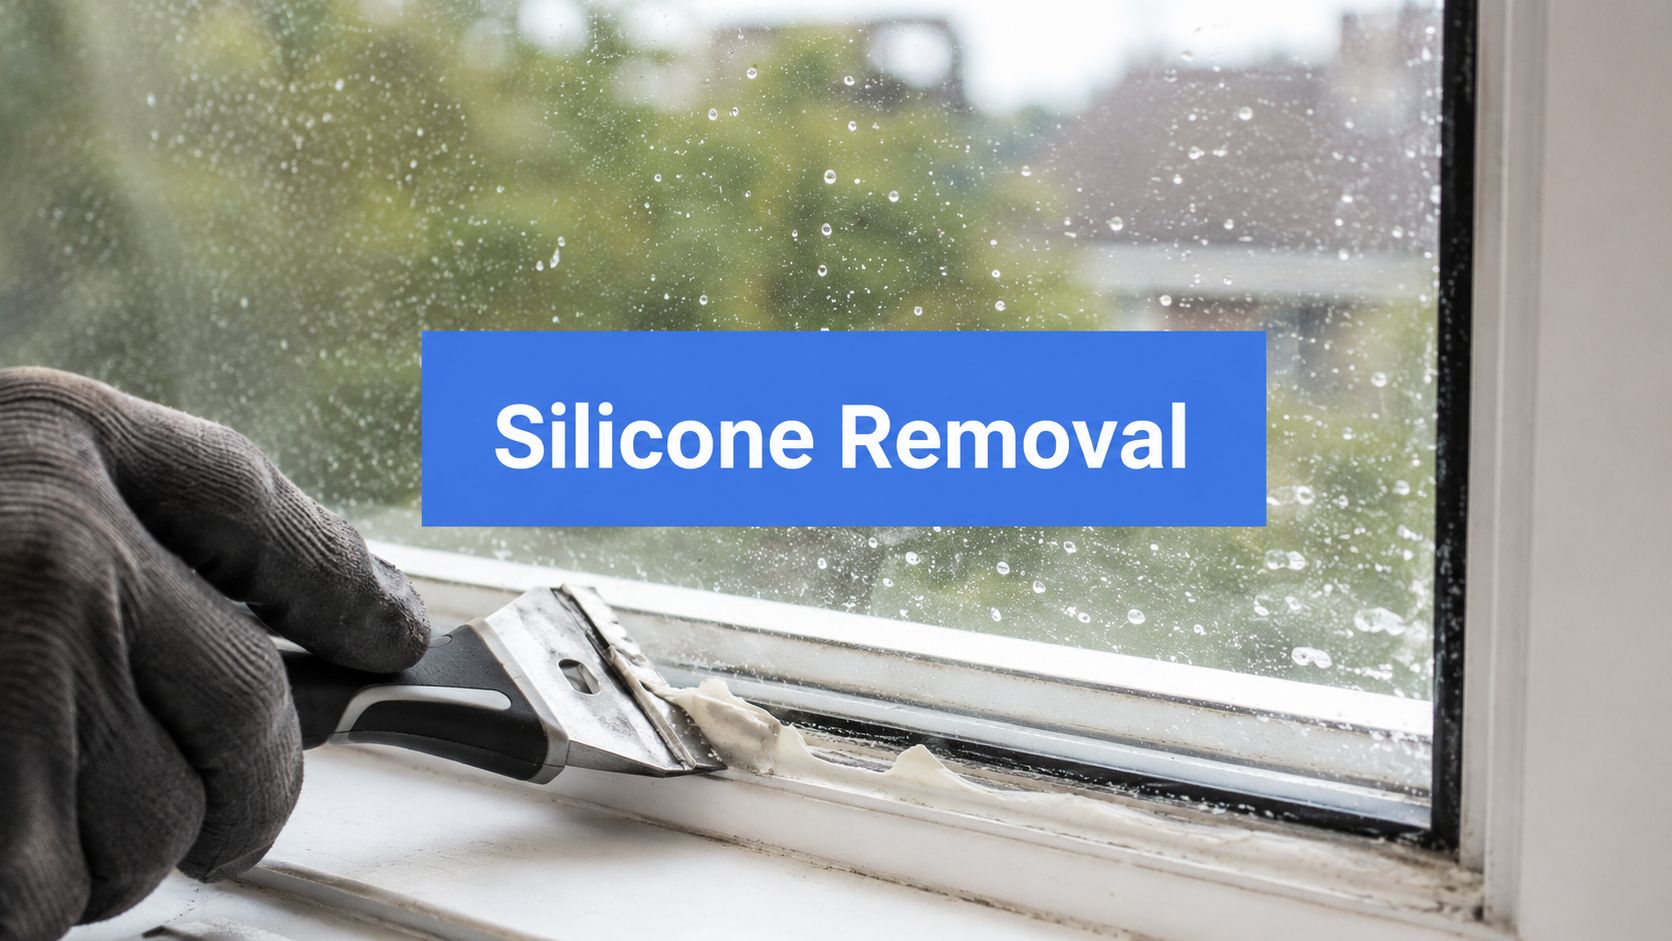
It might seem like a simple job, but trying to pop out a window screen can quickly turn into a frustrating puzzle of bent frames, torn mesh, or a screen that just won't budge. Professional Window Cleaning has seen it countless times over our 26 years of service. The trick is knowing exactly what kind of screen you have, because most are designed with a specific release mechanism—like spring-loaded clips, little pull tabs, or plunger pins—that need the right touch to work properly. Getting this part right is the first step to cleaner windows, better views, and a home that's easier to maintain.
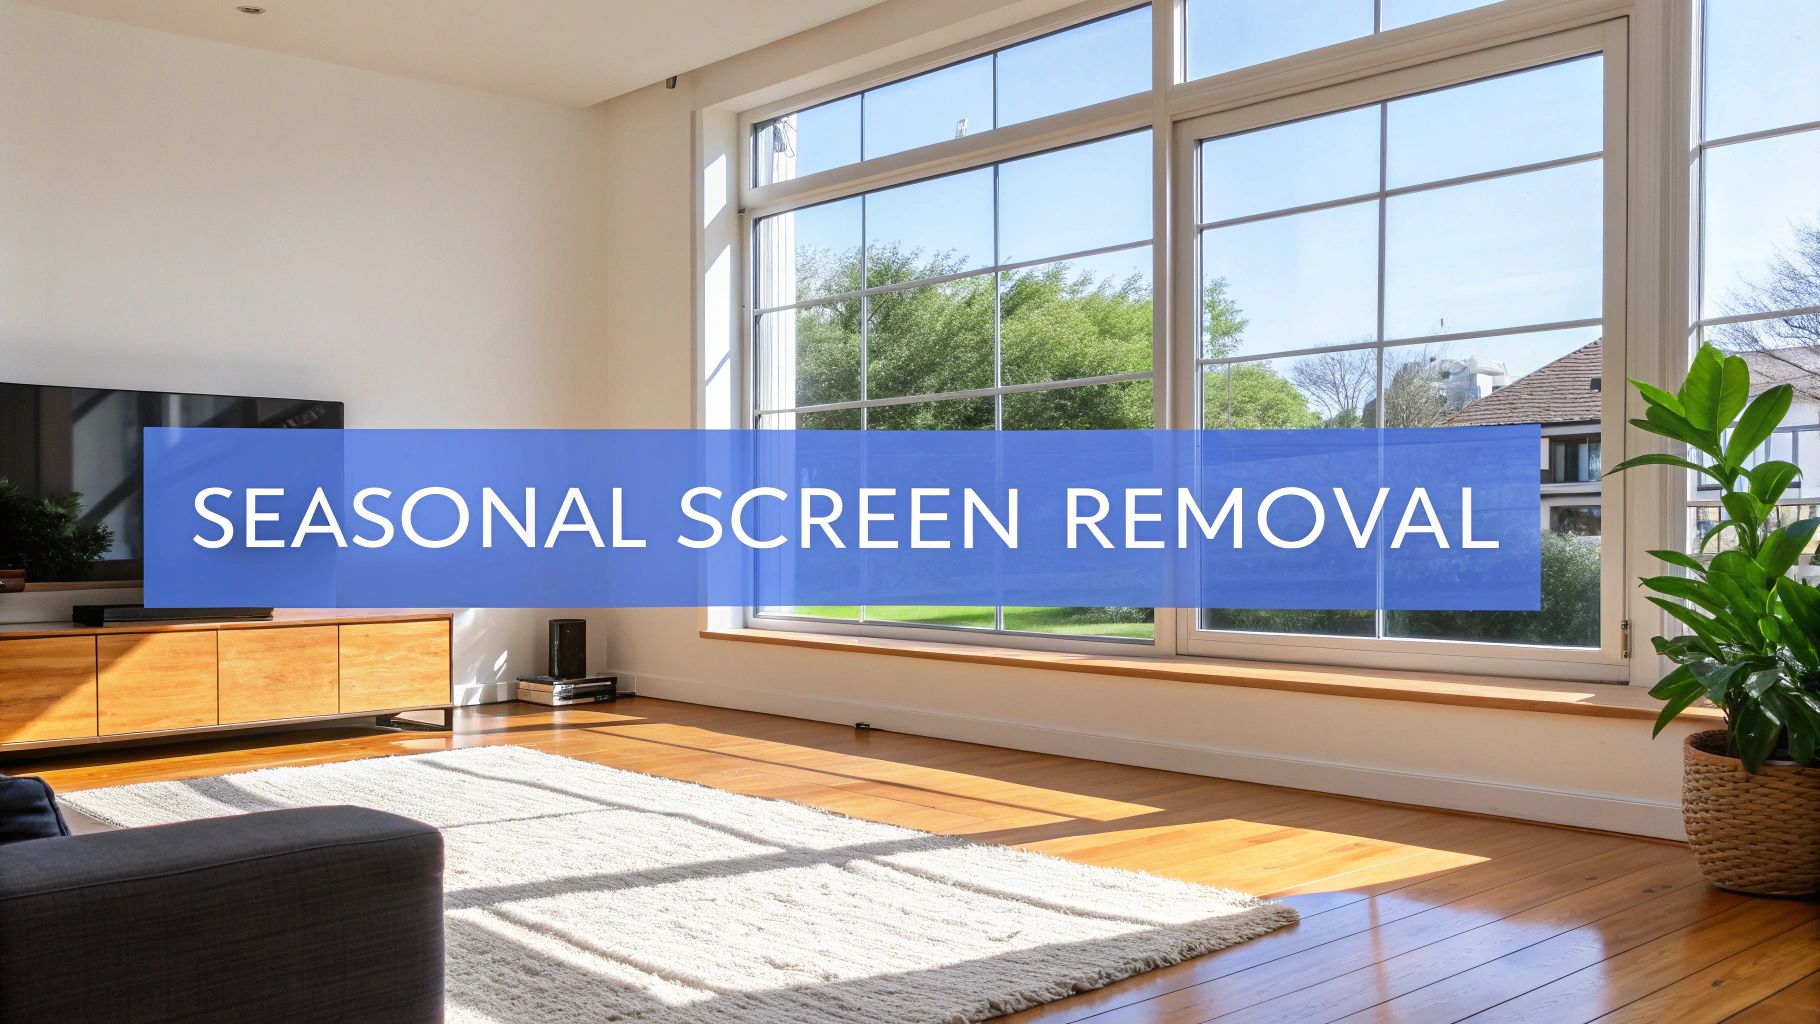
Most people only think about their window screens when they're grimy enough to need a deep clean. But taking them out seasonally is one of the smartest (and most underrated) home maintenance tasks you can do. It’s about so much more than just washing away dirt; it's a strategic move that makes your home in cities like Phoenix or Las Vegas more comfortable, efficient, and resilient.
Pulling your screens off isn't just a chore—it’s an opportunity. From letting in more natural light to protecting your investment from harsh weather, the benefits are immediate and surprisingly impactful. Let's break down why this simple task should be a regular part of your home care routine.
Believe it or not, your window screens act as a fine-mesh filter that blocks a surprising amount of sunlight. Over a season, they collect a thin veil of dust, pollen, and grime that can make your rooms feel dim and dreary. Taking them off instantly floods your space with natural light, making your home feel brighter, more open, and more welcoming.
A crystal-clear, unobstructed view can also completely change the feel of a room. For homeowners in scenic places like Denver, CO, removing screens during the less buggy seasons lets you soak in those crisp, beautiful landscapes without looking through a hazy filter.
This is the big one. One of the most compelling reasons to pull your screens in the fall is for the energy savings. Did you know that removing window screens can increase your home's solar heat gain by an incredible 30 to 40 percent? That fine mesh blocks a huge chunk of the sun's warming rays.
Imagine standing by a sunny window on a chilly day in Scottsdale, AZ—without a screen in the way, that natural solar energy streams in, helping to warm your space for free. This simple trick can make your home feel cozier and might even help you slash your heating bills. After serving homeowners in Arizona, Colorado, and Nevada for over 26 years, we at Professional Window Cleaning can tell you this is a game-changer when the temperatures drop. You can find more great insights on this from the team at United Cleaning Cincy.
Winter weather is incredibly tough on window screens. Heavy snow, ice, and freezing rain add weight that can cause the frames to sag, warp, or even tear the mesh. The constant freeze-thaw cycles also make the screen material brittle and far more likely to get damaged.
By removing your screens and storing them safely indoors for the winter, you’re shielding them from all that unnecessary wear and tear. This simple habit can easily double their lifespan, saving you the money and headache of replacing them prematurely.
Timing is everything. To really reap the benefits of seasonal screen removal, it helps to follow a simple schedule based on your local climate.
For our clients in cities like Phoenix, AZ, where the winters are mild but the summers are intense, this routine is especially effective. It’s a simple habit that delivers clear benefits all year round.
Before you jump into popping out that first screen, let's talk prep. Taking just a few minutes to gather the right gear is the difference between a quick, satisfying job and a frustrating afternoon. It’s the classic "work smarter, not harder" scenario. Having what you need on hand prevents those annoying trips back to the garage, protects your screens and window frames from getting dinged up, and—most importantly—keeps you safe.
A simple project like removing a window screen can turn into a real headache without the right tools. Professional Window Cleaning has seen it happen for over 26 years. A little prep work ensures a smooth process, whether you’re working on a first-floor window in Scottsdale or tackling those second-story windows in Denver.
You don't need a massive toolbox for this. In fact, just a handful of items will cover most common screen types. Think of these as your go-to essentials for a damage-free removal.
A quick pro tip: Finesse beats force every single time. If you feel like you have to really muscle a tool, stop. You're far more likely to bend the aluminum frame, which can make reinstallation a nightmare. Gentle, steady pressure is the key.
Working on windows, especially any that aren't on the ground floor, comes with risks you just can't ignore. Your safety has to be the number one priority.
Before you get started, it's a good idea to have a clear plan for your tools and safety equipment. This simple table breaks down what you'll need and why it's important.
Having these items ready to go makes the job quicker and, more importantly, safer.
If your project involves second-story windows, ladder safety is non-negotiable. Always set your ladder on firm, level ground. A good rule of thumb for the angle is to place the base one foot away from the wall for every four feet of height. And please, never overreach. It’s always safer to climb down and move the ladder than to risk a fall.
This stuff isn't just for major construction sites. The right gear protects you from the most common, and preventable, injuries.
In sunny, dry climates like Las Vegas, NV, the intense heat can make screen frames and the rubber spline incredibly brittle. They can snap or splinter without warning during removal, which makes protective gear even more essential. Handling these delicate jobs with care is something our teams at Professional Window Cleaning have mastered over our 26 years in the business. And for high-rise buildings or windows that are just too difficult to reach safely, calling a professional is always the smartest move.
Not all window screens are created equal. Trying to force a sliding screen out like a double-hung one is a recipe for a bent frame and a whole lot of frustration. Knowing what type of screen you're dealing with is the first, most crucial step to getting it out without any damage.
Each design has its own little quirks and mechanisms. Let's walk through the most common types you'll run into, whether you're in a modern home in Scottsdale, AZ, or an older property with some character. Understanding the basics makes the job a breeze.
Before you even touch the window, though, it’s smart to get your head in the game. This flowchart breaks down the simple prep work: grabbing your safety gear, picking the right tools, and clearing your workspace.
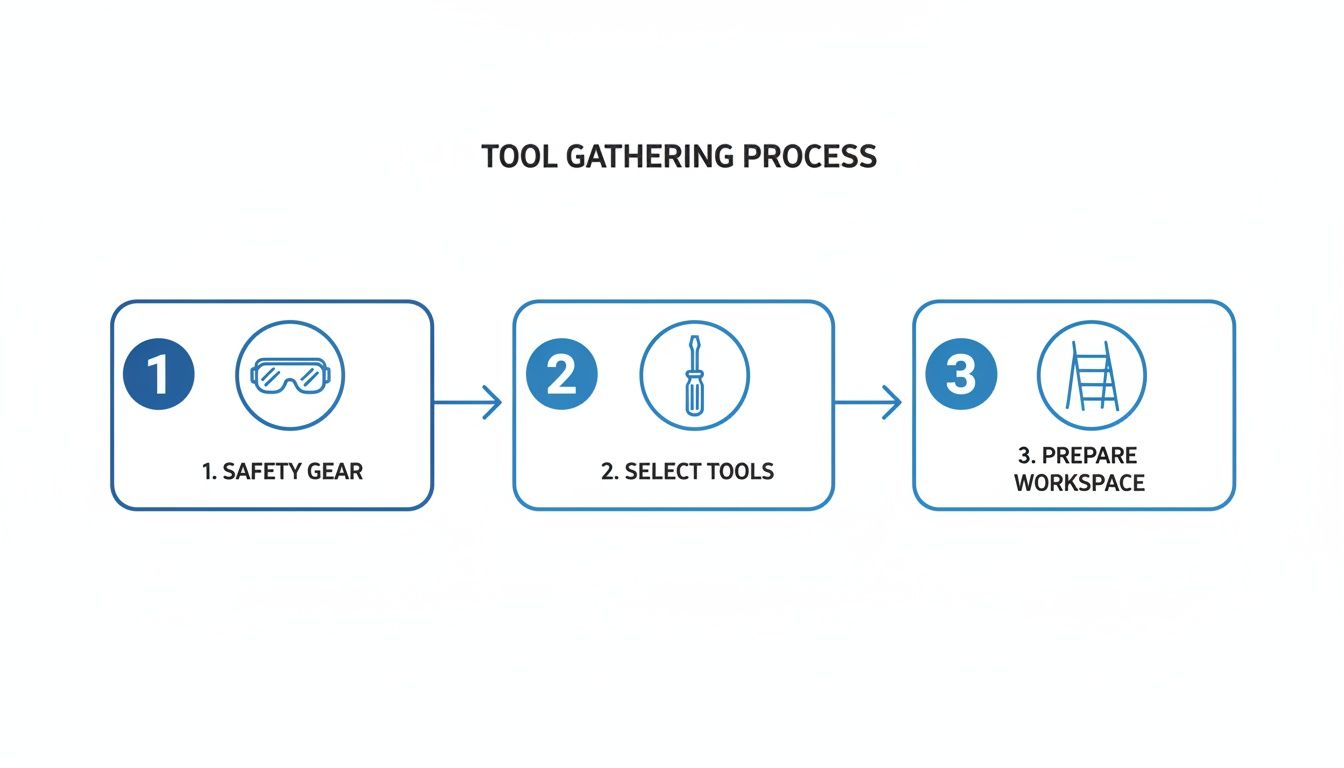
Starting with a plan and the right gear is half the battle. A little preparation goes a long way in making sure the job goes smoothly from start to finish.
Sliding window screens are super common and almost always sit on the outside of the window. The trick to getting them out is releasing the tension from a couple of small springs that hold the frame snug in its track.
Look for leaf springs—they’re little curved metal tabs on one side of the screen frame, usually the top or bottom. Your goal is to compress these springs to create enough slack to lift the screen out.
To do this, just gently push the screen frame away from the side with the springs. You'll feel it give a little. That movement is you compressing the springs. Now you'll have a small gap on the opposite side, which is just enough room to pull that edge of the screen frame toward you and out of the channel.
Double-hung windows, the kind with two sashes that slide up and down, usually have screens with either pull tabs or plunger pins. The good news is they’re designed to come out from the inside.
Screens with Pull Tabs
These are probably the easiest of the bunch. You'll spot two small, flexible tabs right at the bottom edge of the screen frame.
Screens with Plunger Pins
These screens use small, spring-loaded pins along the sides to lock into the frame.
Expert Insight: After 26 years in this business, we've seen our share of painted-shut plunger pins, especially in older homes around Denver, CO. If a pin is stuck, don't force it. A few gentle taps with the handle of your screwdriver is usually enough to break the paint's seal without damaging the frame.
Casement windows crank outward, so their screens are always on the inside. They're held in place by a series of small retaining clips, which can be either plastic or metal.
Start by closing and locking the window. This gives you a nice, solid surface to work against. Look around the edge of the screen frame for the clips holding it tight against the window jamb. Most will have between four and six.
How you remove them depends on the clip type:
A word of caution: be extra gentle with older plastic clips. They can get brittle over time and snap easily. Finesse is your friend here.
Some windows, like big picture windows or custom architectural styles, have screens that weren't meant to be removed regularly. These are often screwed directly into the window frame from the outside.
You’ll need to hunt for the small screws around the screen's perimeter. Grab the right screwdriver (usually a Phillips head) and carefully back each one out. Make sure you keep them somewhere safe—a magnetic dish or a plastic baggie works great—so you don't lose them before it's time to put the screen back.
Once all the screws are out, the screen should lift away. If it's stuck from years of dirt or paint buildup, you might need a putty knife to gently pry it loose. This job takes a bit more effort, and it's a common reason homeowners in Phoenix or Las Vegas call us at Professional Window Cleaning, especially for second-story windows. Getting screens removed properly is the first step to a perfect finish, whether we're using a squeegee or a pure-water system.
Even with the best intentions, you'll eventually run into a screen that flat-out refuses to cooperate. After years of being hammered by the elements, a simple removal can feel more like a wrestling match. But before you get too frustrated, take a breath. Most of the time, brute force isn't the answer—in fact, it usually makes things worse.
Here at Professional Window Cleaning, after 26 years in the field, we've seen it all. The trick is usually a bit of finesse, not force. Most "stuck" screens are just held captive by dirt in the window channel or a slightly warped frame. With a little patience, you can almost always coax it out without causing damage.
This is, without a doubt, the number one problem we see. A screen can get jammed for all sorts of reasons—gunk and grit building up in the tracks, or even the frame expanding and contracting with wild temperature swings in places like Denver.
Instead of just yanking on it, try this sequence:
In our experience, about 70% of screens that seem hopelessly stuck are just clogged with years of dirt. Once you get it out, give those window tracks a good cleaning. It'll make reinstallation a breeze and keep this from happening again next time.
A bent screen frame is more than just an eyesore; it makes getting the screen in and out a real headache. Those frames are usually made of lightweight aluminum, so it’s surprisingly easy to bend them if you push too hard in the wrong spot.
If you see the frame is already bent, leave that area alone. Focus your efforts on the opposite corners to try and free it up. Once it's out, you can often gently bend the frame back into shape by laying it on a flat surface and carefully pressing it down. For more stubborn bends, a rubber mallet can help you tap it back into alignment. Just be gentle.
Sometimes you get the frame out perfectly, only to notice the mesh is ripped or the rubber spline holding it in is cracked and falling apart. This is super common in sunny, dry areas like Scottsdale, where constant UV exposure just destroys these materials over time.
You can patch a tiny tear, but for anything significant, just replace the mesh. It’s a pretty simple DIY job. All you have to do is pull out the old spline, lay new mesh over the frame, and use a cheap spline roller tool to press the new spline into the channel, locking the mesh in tight.
Taking your screens out for regular cleaning is one of the smartest things you can do. It's a proven maintenance strategy. In fact, stats show that dirty screens can corrode and leave permanent stains on the glass in up to 25% of homes. Cleaning them just twice a year can extend their lifespan by a whopping 50%.
For our commercial clients and property managers, coordinating screen removal prevents 90% of common wear-and-tear issues. It's especially critical on big jobs where our crew uses pure-water systems to clean the exterior glass—it saves clients 30-40% on the total project cost. If you're curious how the pros handle this on a massive scale, you can see some great industry discussions on WindowCleaner.com.
Alright, you've got the screens off. That’s half the battle, but don't just lean them against the garage wall and call it a day. Letting them sit caked in dirt defeats the whole purpose of taking them out.
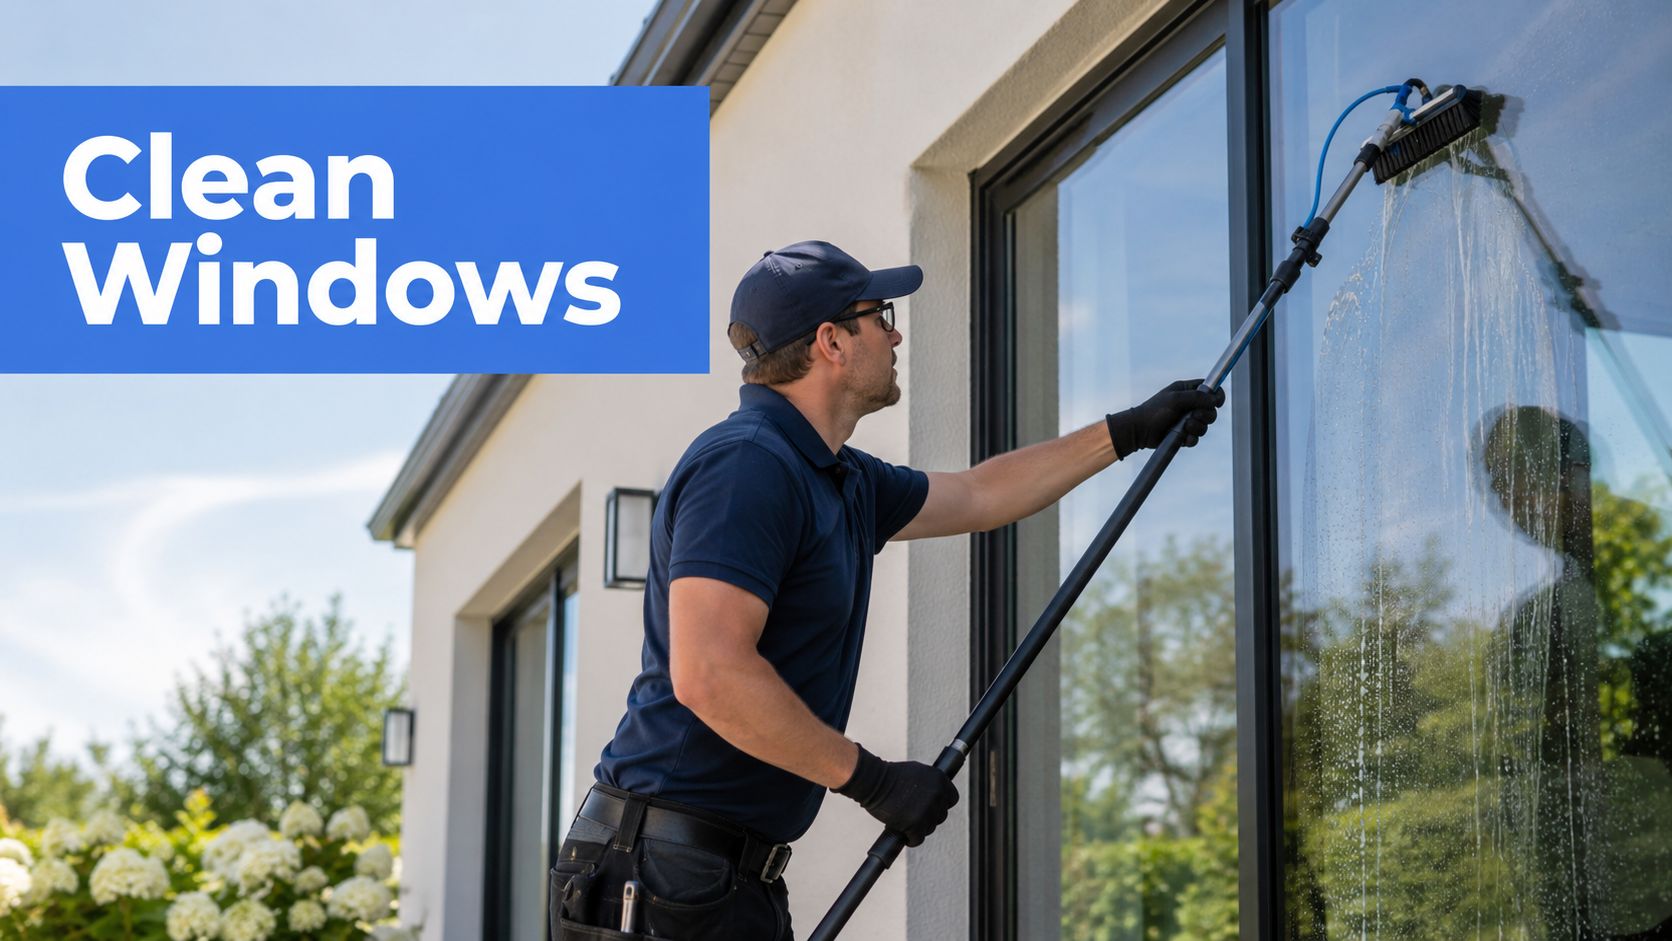
Getting your screens truly clean isn't just for looks. It helps them last longer and, more importantly, lets that beautiful, clean sunlight stream into your home when you put them back. Proper cleaning is way easier than most people imagine—no harsh chemicals or pressure washers needed. In fact, those things can do more harm than good, easily damaging the delicate mesh or warping the frame.
For over 26 years, our crews at Professional Window Cleaning have perfected a simple, effective method. It doesn't matter if we're using a squeegee or a pure-water system on the glass; the way we handle screens stays the same. Because it just plain works.
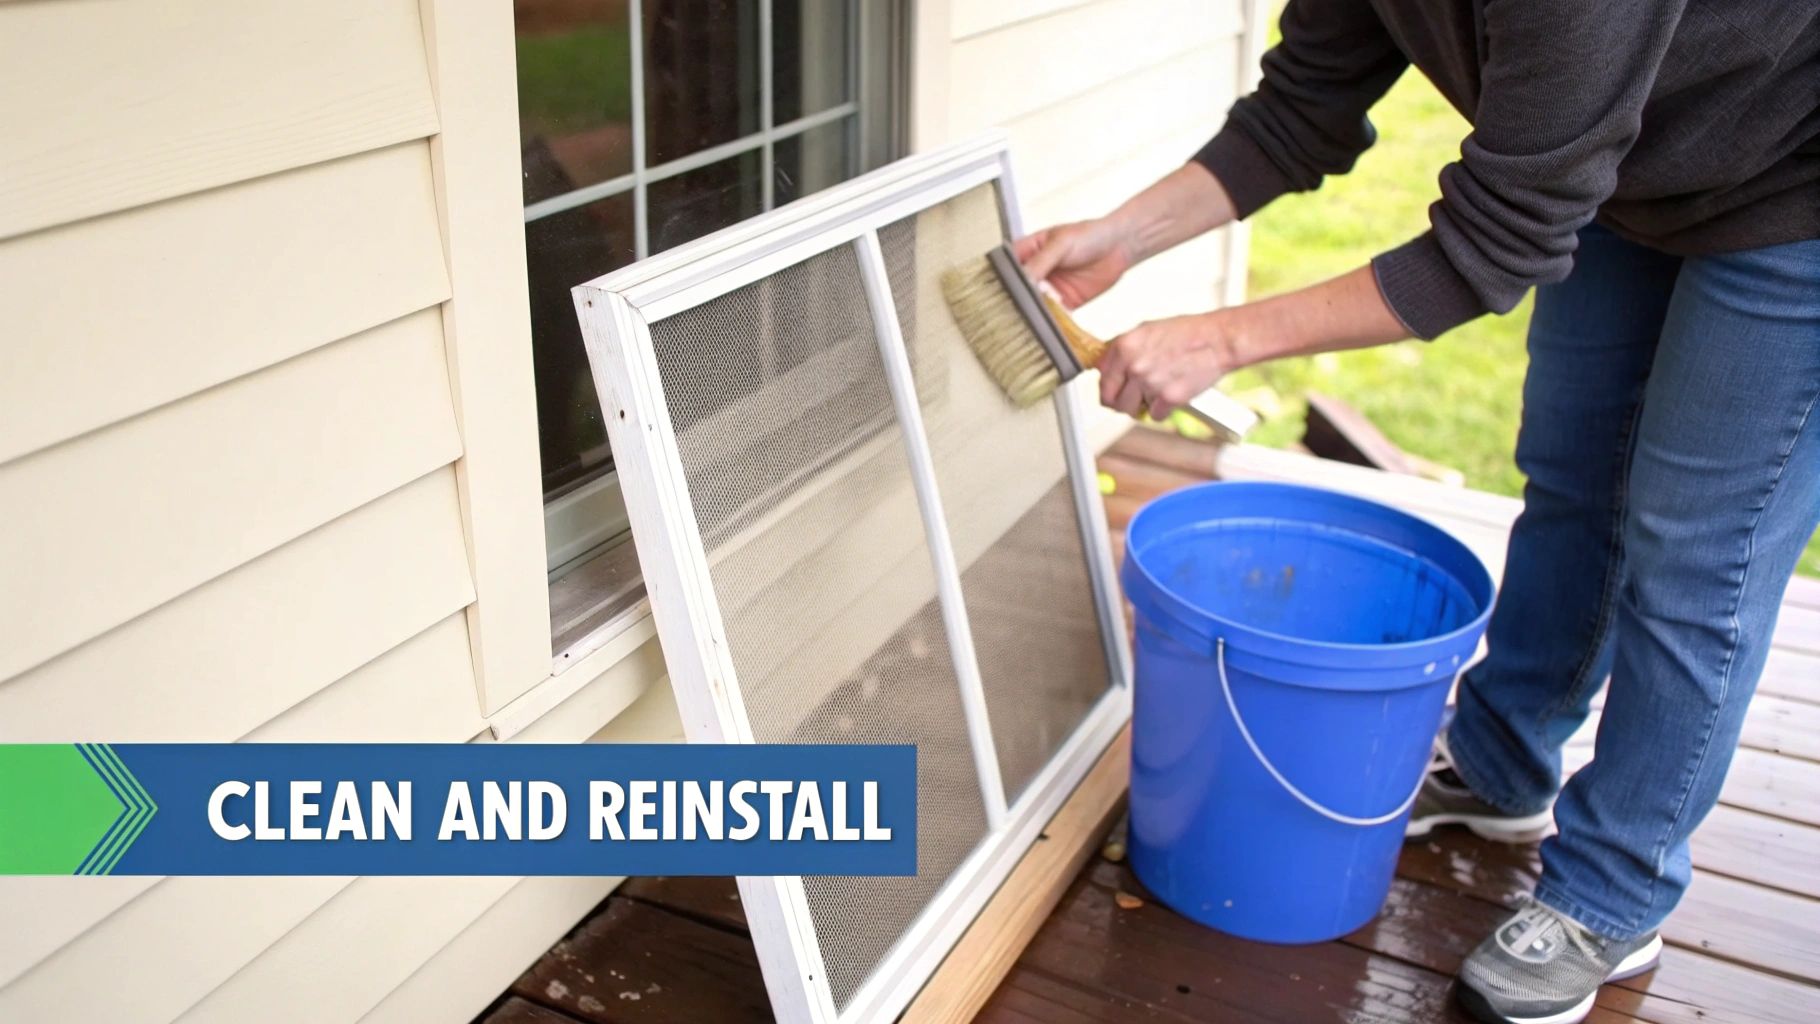
All you need is a flat, clean surface (like a driveway or patio), a garden hose with a gentle spray nozzle, a soft-bristle brush, and a little bit of mild dish soap.
First, lay a screen down and give it a good rinse with the hose. This knocks off all the loose dust and debris, doing a lot of the heavy lifting right away. Next, mix a squirt of dish soap into a bucket of warm water until you have a nice, sudsy solution.
Dip your soft brush in the soapy water and gently scrub both sides of the screen. I recommend using light, circular motions to lift the stubborn grime without stretching or tearing the mesh. Make sure to give the frames and corners some extra attention, since that's where dirt loves to hide.
The real secret here is to be gentle. Going at it too aggressively is the number one reason people end up with damaged screens. You're trying to lift the dirt off the mesh, not force it through. A soft-bristle brush has just enough oomph to get the job done without being abrasive.
Once you’ve scrubbed both sides, give the screen a final, thorough rinse to get all the soap residue off. Then, stand it upright against a wall or fence and let it air dry completely. Never, ever reinstall a wet screen. Trapped moisture is a recipe for mold and mildew in your window channels.
Before you pop those sparkling screens back in, take a minute for a quick inspection. This is the perfect time to catch small issues before they turn into bigger headaches.
This quick check ensures you're putting back a screen that's in great shape and ready to provide a solid barrier against pests. For a deeper dive into the cleaning process, you can check out our guide on how to wash windows with screens, where we share even more professional techniques.
Reinstallation is pretty much just the removal process in reverse. The most important thing to remember is to avoid using force. A properly aligned screen should slide back into place with very little effort.
Start by inserting the top of the screen or the side with the tension springs into the window channel first. Once it's seated correctly, you can gently push the opposite side into place until you feel it click or settle securely. If you're dealing with plunger pins, guide the pin side in first, then gently compress the pins on the other side to lock it in.
The goal is a snug, secure fit with no gaps around the edges. A correctly installed screen not only keeps the bugs out but also adds to the clean, polished look of your home in Phoenix, AZ, or wherever you call home.
Knowing how to pop a window screen out is a great DIY skill to have in your back pocket. It gives you more control over your home maintenance. But let's be honest—some situations are just better left to the pros.
Deciding when to step back and call for backup isn’t admitting defeat. It's just being smart. It saves you time, prevents a simple task from turning into a costly repair, and most importantly, keeps you safe.
Even the most confident DIYer can be humbled by a window that’s just out of reach or a screen that’s been baked into place by years of sun. In these cases, a professional touch isn't a luxury; it's a necessity. The risk just isn't worth the reward.
If your screen removal project looks anything like the scenarios below, it's a clear signal to call in an expert.
At Professional Window Cleaning, we've spent over 26 years getting this right. We know that in places like Las Vegas, NV, sun-baked screens get incredibly brittle and need a delicate touch that only comes from years of hands-on experience.
Hiring a team like ours is about more than just getting the screens off. It's about the entire process—the efficiency, the safety, and the quality of the final result. We make the whole job seamless, whether we're using a classic squeegee or a modern pure-water system for a perfect, streak-free finish.
While the retractable window screen market is growing, with residential users making up a 70% share, most homes still have traditional screens. Knowing how to handle these is crucial, especially for big commercial properties and high-rise condos in cities like Denver, CO. It's not uncommon for pros to face jobs with over 200 screens, where climbing ladders for hours is just not practical.
To avoid this, we price screen removal separately at around $8-10 per window. It's a practice that 100% of our commercial clients agree to because it slashes their liability from the 10-15% of screens that typically get damaged in DIY removal attempts. You can learn more about trends in the retractable screen market on MarketReportAnalytics.com.
Ultimately, tackling a simple, ground-floor screen is a great weekend project. But when you’re dealing with height, damage, or complexity, letting a professional handle it is always the smartest and safest call. For expert advice and service on all types of screens, you might be interested in our professional screen services.
For a safe, efficient, and damage-free experience, trust the experts at Professional Window Cleaning. With over 26 years of experience serving communities from Phoenix, AZ, to Las Vegas, we have the tools and know-how to handle any window and screen challenge. Contact us today for a sparkling-clean, stress-free solution.
Read our blog posts regularly and keep learning.