Care and Maintenance
Parapet Wall Clamps a Guide to High-Rise Safety
Learn how parapet wall clamps provide essential fall protection for high-rise window cleaning. Our guide covers safety, selection, and OSHA standards.


Here’s a rookie mistake I see all the time: washing the glass first, then moving on to the screens. All that dust and gunk you just agitated on the screen? It's now sitting right on your sparkling, clean window.
The real pro move is to get your entire toolkit ready from the start and always, always clean the screens first. It’s a simple change in sequence, but it makes all the difference.
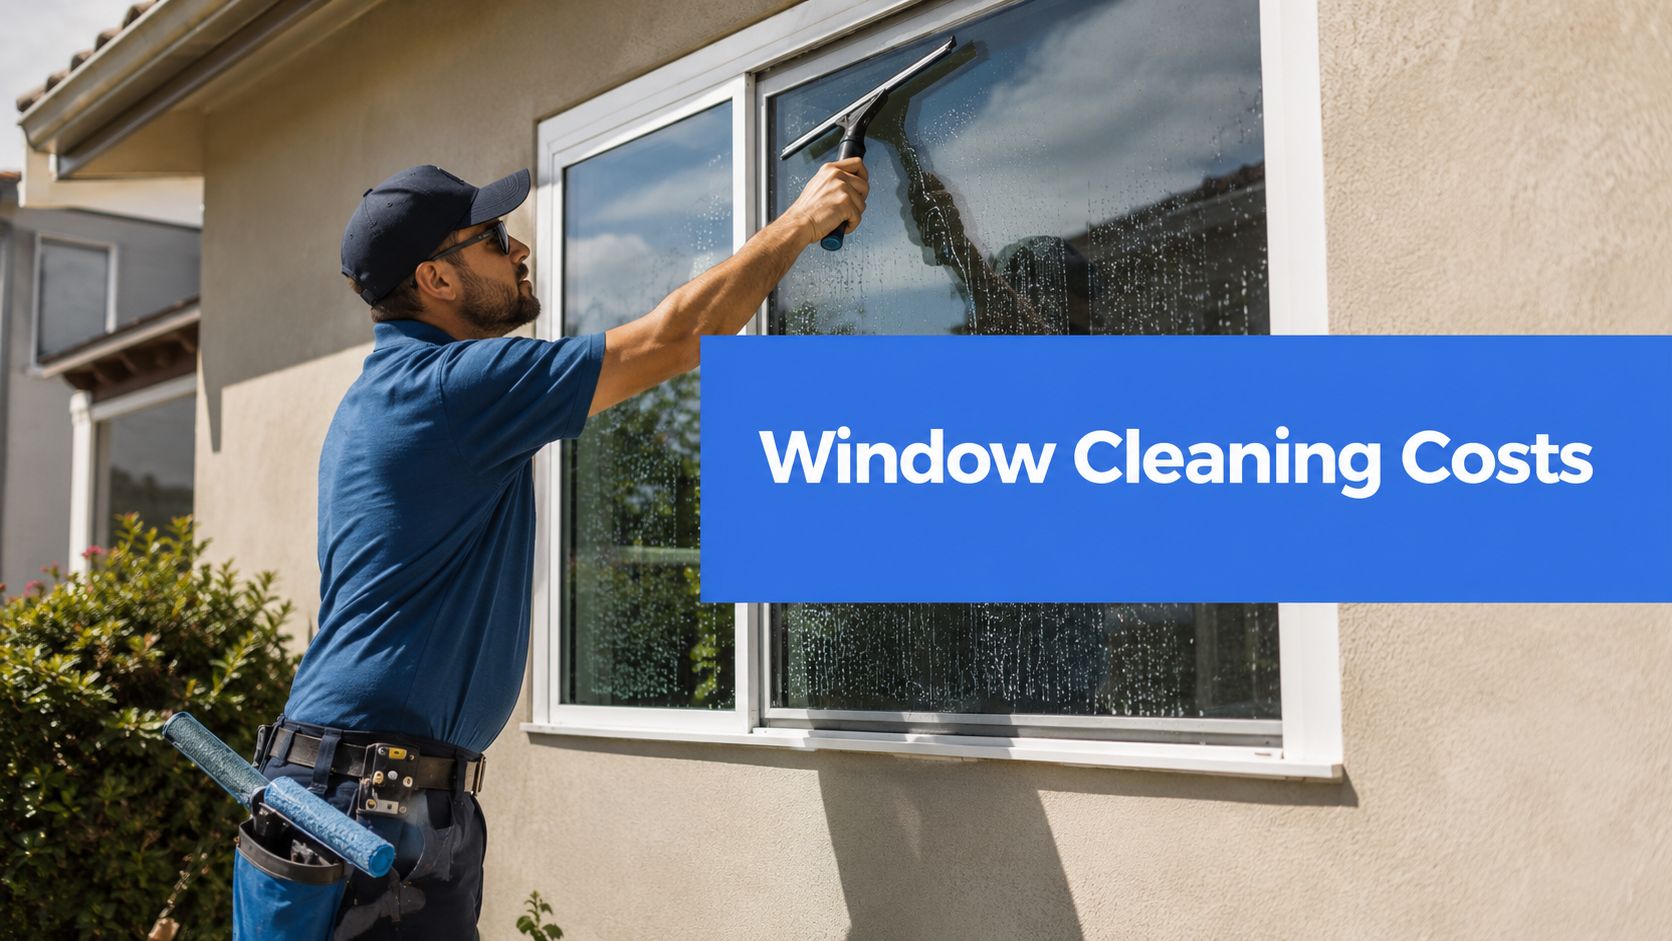
Getting that perfect, streak-free shine isn't about magic; it's about having the right gear. When it comes to professional window cleaning, there are only two methods used by the pros: the timeless squeegee method or a more modern pure-water system. Your first step, before a single drop of water is sprayed, is to decide which path you're taking and assemble your tools accordingly.
What you'll need really depends on the technique you choose. Each one has its own specific kit designed to get the job done right and efficiently.
Before we dive into the specific tools, here's a quick comparison to help you decide which professional method might be the best fit for your home.
Both methods deliver outstanding results when done correctly. The squeegee is a fantastic skill to learn, while the pure-water system is a major time-saver for larger jobs.
There's a reason the squeegee has been the gold standard for decades—it flat-out works. It takes a little practice to get the hang of it, but the crystal-clear results are incredibly satisfying.
Here’s what your core kit should look like:
Learning the proper technique is what separates a DIY job from a professional one. If you're ready to master the wrist-flick, check out our guide on how to squeegee a window for that perfect, streak-free finish.
Screens are delicate. You can’t just blast them with a pressure washer or scrub them with a stiff brush. You’ll end up with stretched mesh, or worse, a bent frame.
When it comes to screens, gentle is the name of the game. Your goal is simply to lift off the surface dust and pollen without causing any damage. Most of the time, a soft brush and a light rinse are all they need.
For your screens, just grab these few things:
Alright, you’ve got your tools ready, so let's get down to business. The actual process of washing windows with screens isn't rocket science, but the order you do things in is what makes the difference between a frustrating, streaky mess and that flawless, professional finish. I'll walk you through it exactly how a pro would tackle the job, starting with the screens and ending with sparkling glass.
This quick visual breaks down the first few moves.

See how it starts with the screen? That’s not a random choice. It’s absolutely essential for preventing a fresh layer of grime from smearing all over your just-cleaned window.
First things first: get those screens out. Most modern screens are pretty simple, held in by tension springs or little clips. Just gently push on one side of the frame while pulling the tabs—whatever you do, don't force it. Older screens can be a bit trickier, so take a second to see how they're secured. Bending a screen frame can make getting it back in a nightmare.
Once it's out, lay it down on a clean, flat spot like your driveway or a patch of lawn. Don't just lean it against a wall where it can tip over and get bent or torn.
The number one mistake I see homeowners make is scrubbing their screens way too hard. That mesh is more delicate than you think and can easily stretch or rip. A light touch is all it takes to get that built-up dust and pollen off.
Grab your soft-bristle brush and give both sides of the screen a gentle sweep. This knocks off most of the loose stuff right away. Then, give it a light rinse with a garden hose on a gentle setting. If you've got some greasy gunk on there (common on kitchen windows), a little dish soap and water on your brush works wonders. Just be sure to rinse it completely clean so it doesn't get sticky.
After rinsing, give the frame a few gentle taps to shake off the extra water. Set it somewhere to air dry completely while you move on to the glass.
With the screen safely out of the way, it’s time to focus on the window itself. Before you get anything wet, use a small brush or a handheld vac to clear out the tracks and sills. Get rid of all those loose cobwebs, dead bugs, and dirt. This little step prevents that gunk from turning into a muddy sludge as soon as you add water.
Now, let's get that soapy water on the glass. Dunk your strip applicator in the bucket and give it a light squeeze—you want it saturated, but not dripping all over the place. Scrub the entire pane of glass, working in overlapping strokes both up-and-down and side-to-side. You want to make sure you've loosened every bit of dirt.
The real magic of window cleaning is all in the squeegee work. We pros generally use two main techniques:
No matter which method you use, keeping a consistent 30-degree angle between the blade and the glass is absolutely critical. This is the sweet spot that lets the blade glide perfectly and channel all the dirty water down and away.
Once the main part of the glass is done, grab a clean, dry microfiber cloth for the detailing. This is the secret to a truly professional job. Carefully wipe around the very edges of the glass to catch any tiny drips or soap lines the squeegee left behind. It's a small step that makes a huge difference.
Finally, give the window sill and tracks one last wipe-down to clean up any water that's collected. Once the frame is dry and the screen has had plenty of time to air dry, you can pop it back into place. That’s it—a perfectly clean window and screen, letting in all that beautiful sunlight.
Let's be honest—not every window cleaning job is a walk in the park. Sometimes, you’re up against stubborn spots that laugh at soapy water or weather that seems designed to ruin your streak-free finish. When you're washing windows with screens, knowing how to adapt your technique for these challenges is what separates an amateur job from a professional-looking result.
From sticky tree sap to those chalky hard water deposits, some messes need a more specific game plan. If you just rush in with the wrong cleaner or tool, you can end up with scratched glass or a hazy film that’s worse than the original dirt.
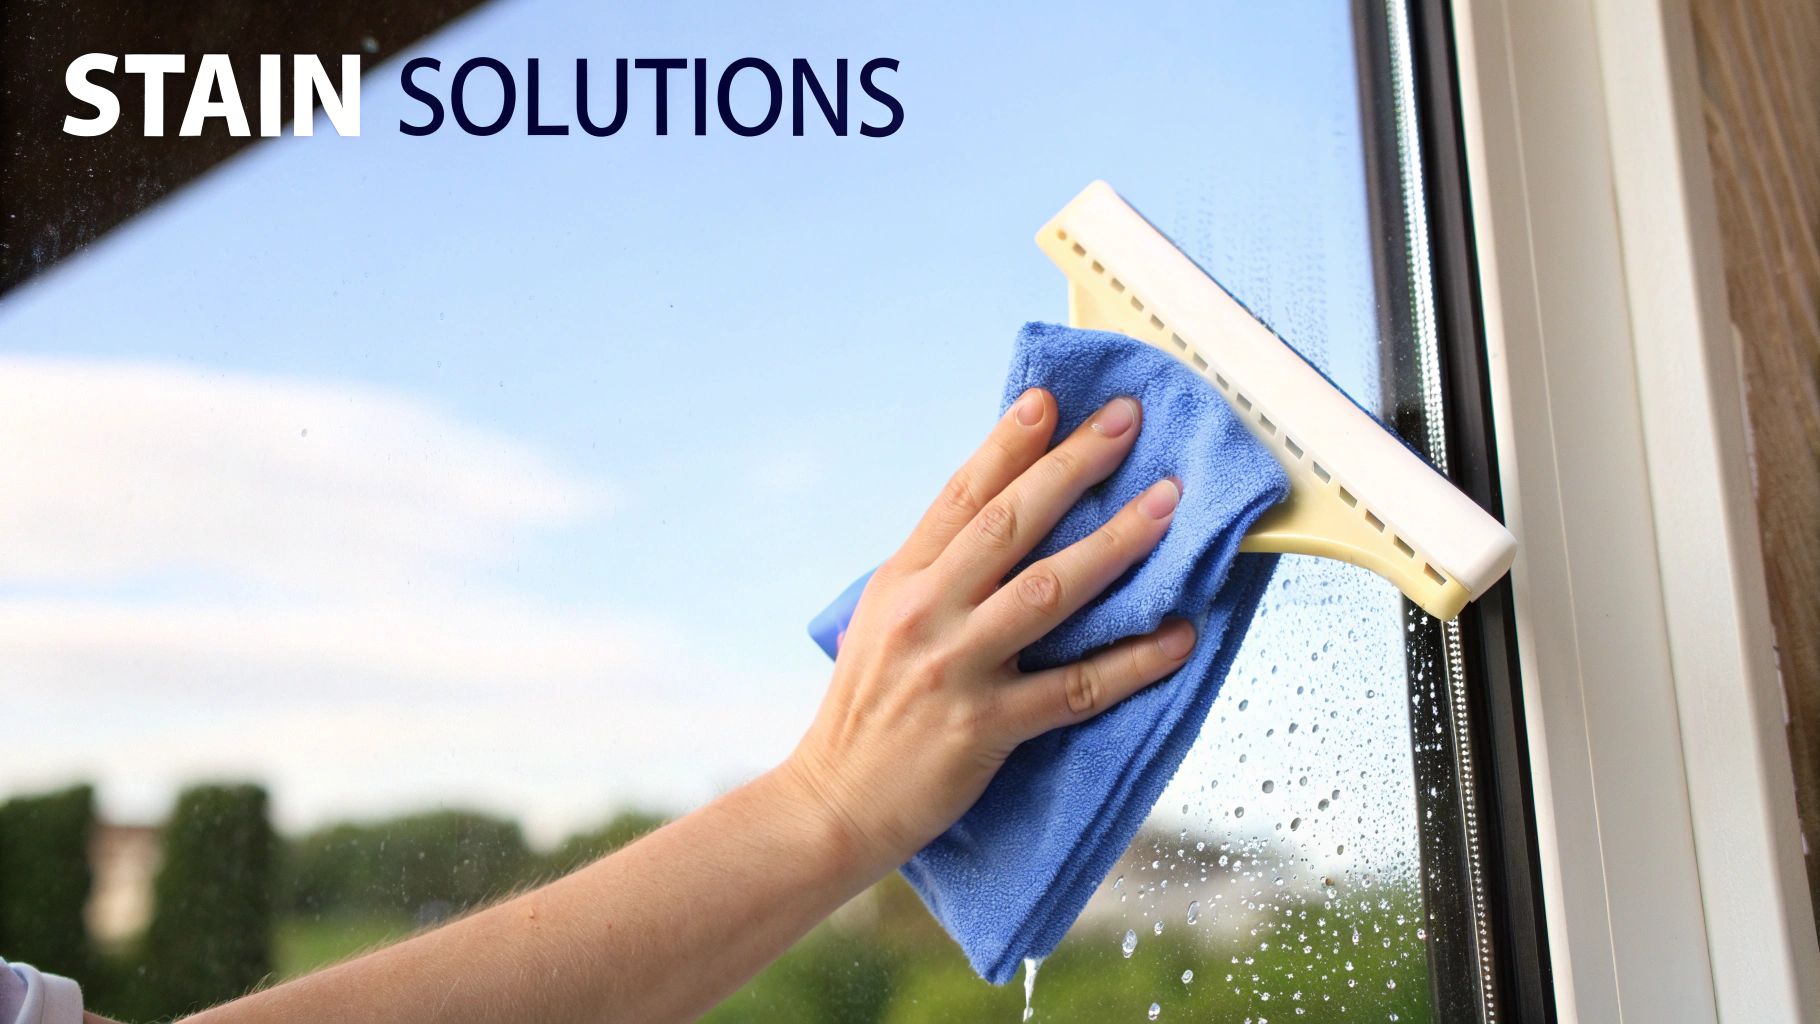
Different kinds of grime require different solutions. The golden rule is to always start with the gentlest method and only move to something stronger if needed. And please, always test any new product on a small, out-of-the-way spot first.
Where you live makes a huge difference. What works perfectly in a cool, damp climate will only lead to frustration in a hot, dry one.
In hot, sunny places like Phoenix or Las Vegas, your biggest enemy is evaporation. The sun will bake your cleaning solution right onto the glass before you have a chance to squeegee it off, leaving a streaky disaster behind.
The most critical mistake you can make is washing windows in direct sunlight. Always work on the shady side of the house or wait for an overcast day to ensure your solution stays wet long enough to be removed properly.
If you have no choice but to work in the heat, try adding a capful of vinegar to your soapy water. It slows down the evaporation time. Also, work in smaller, more manageable sections so you can squeegee each area before it dries.
On the flip side, in cooler regions, condensation can be the problem. If the glass is too cold, moisture can form while you clean, causing smears. Try to wash during the warmest part of the day to avoid this. Folding this task into your seasonal upkeep is a great idea; you can find more spring cleaning maintenance tips for property owners to build a solid routine.
Not all windows are simple panes of glass. Many homes have more complex designs that require a bit more patience and the right tools.
Multi-pane or French windows, with all their little grids, are a detail-oriented job. A smaller squeegee—think 6 to 8 inches—is your best friend here. For storm windows, you have to clean all four surfaces: the inside and outside of the main window and the storm panel. It’s double the work, but it’s the only way to get a truly crystal-clear view. Just make sure every single surface is bone dry before you close them up, or you’ll trap moisture inside.
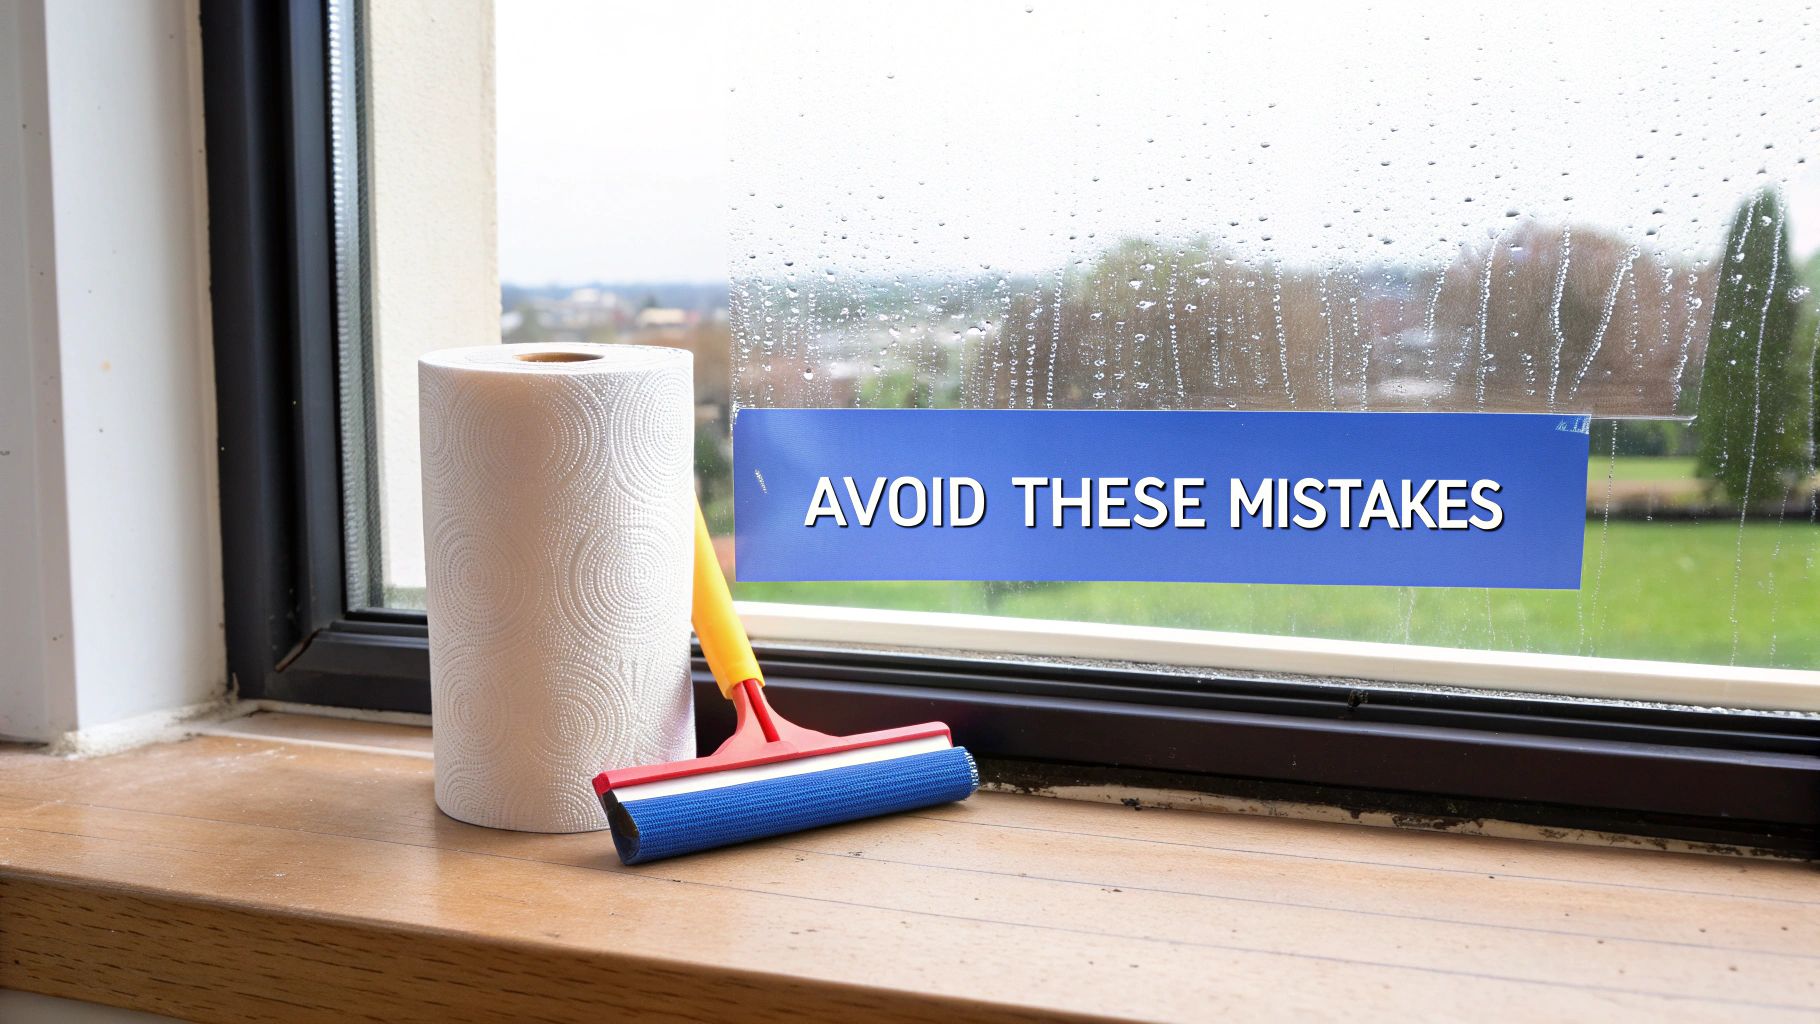
Getting that professional, streak-free shine is often less about what you do and more about what you don't do. I've seen it time and again—even with the best gear, a few simple missteps can turn a straightforward job into a frustrating mess. Learning how to properly wash windows that have screens means knowing how to sidestep these common pitfalls.
The good news is that most people sabotage their own efforts without even realizing it. Once you know what to look for, these mistakes are easy to fix, ensuring your hard work actually pays off with a crystal-clear view.
This is the number one cause of streaks. Hands down. When the sun is beating down on the glass, it heats up fast, causing your cleaning solution to evaporate almost instantly. You're left with a sticky, streaky residue before you even get a chance to squeegee it off.
The most crucial rule for a streak-free finish is to always work on the shady side of the house. If you can't, just wait for an overcast day. This gives you the time you actually need to apply your solution, scrub, and squeegee the water away properly.
Not all cleaners are created equal, and some can do more harm than good. Those harsh, ammonia-based cleaners might seem powerful, but they can damage window tints and even eat away at vinyl or aluminum frames over time.
And please, avoid the temptation to just grab a roll of paper towels. They break down the second they get wet and leave a frustrating trail of lint all over your freshly cleaned glass. A quality microfiber cloth is what you need—it’s designed to absorb water and trap dirt without leaving a trace.
One of the biggest errors I see is washing the glass but completely ignoring the screens. The next time it rains or the wind kicks up, all that dust and pollen sitting on the dirty screen gets splattered right back onto your spotless window. Always, always clean the screens first and let them dry completely before putting them back.
Forgetting the window tracks and sills is another missed opportunity. This is where dirt, dust, and dead bugs love to collect. Wiping them out before you start washing prevents you from creating a muddy mess later on.
Putting off window cleaning just makes the job harder in the long run. When you let grime, pollen, and hard water minerals build up, you’re signing up for a lot more elbow grease later. Surveys in the U.S. show that about 29% of homeowners clean their windows far less often than they should, sometimes just once a year.
Sticking to a regular maintenance schedule, ideally twice a year, prevents this nasty buildup and makes each cleaning session quicker and easier. You can check out some interesting window cleaning industry statistics to see how your own habits stack up.
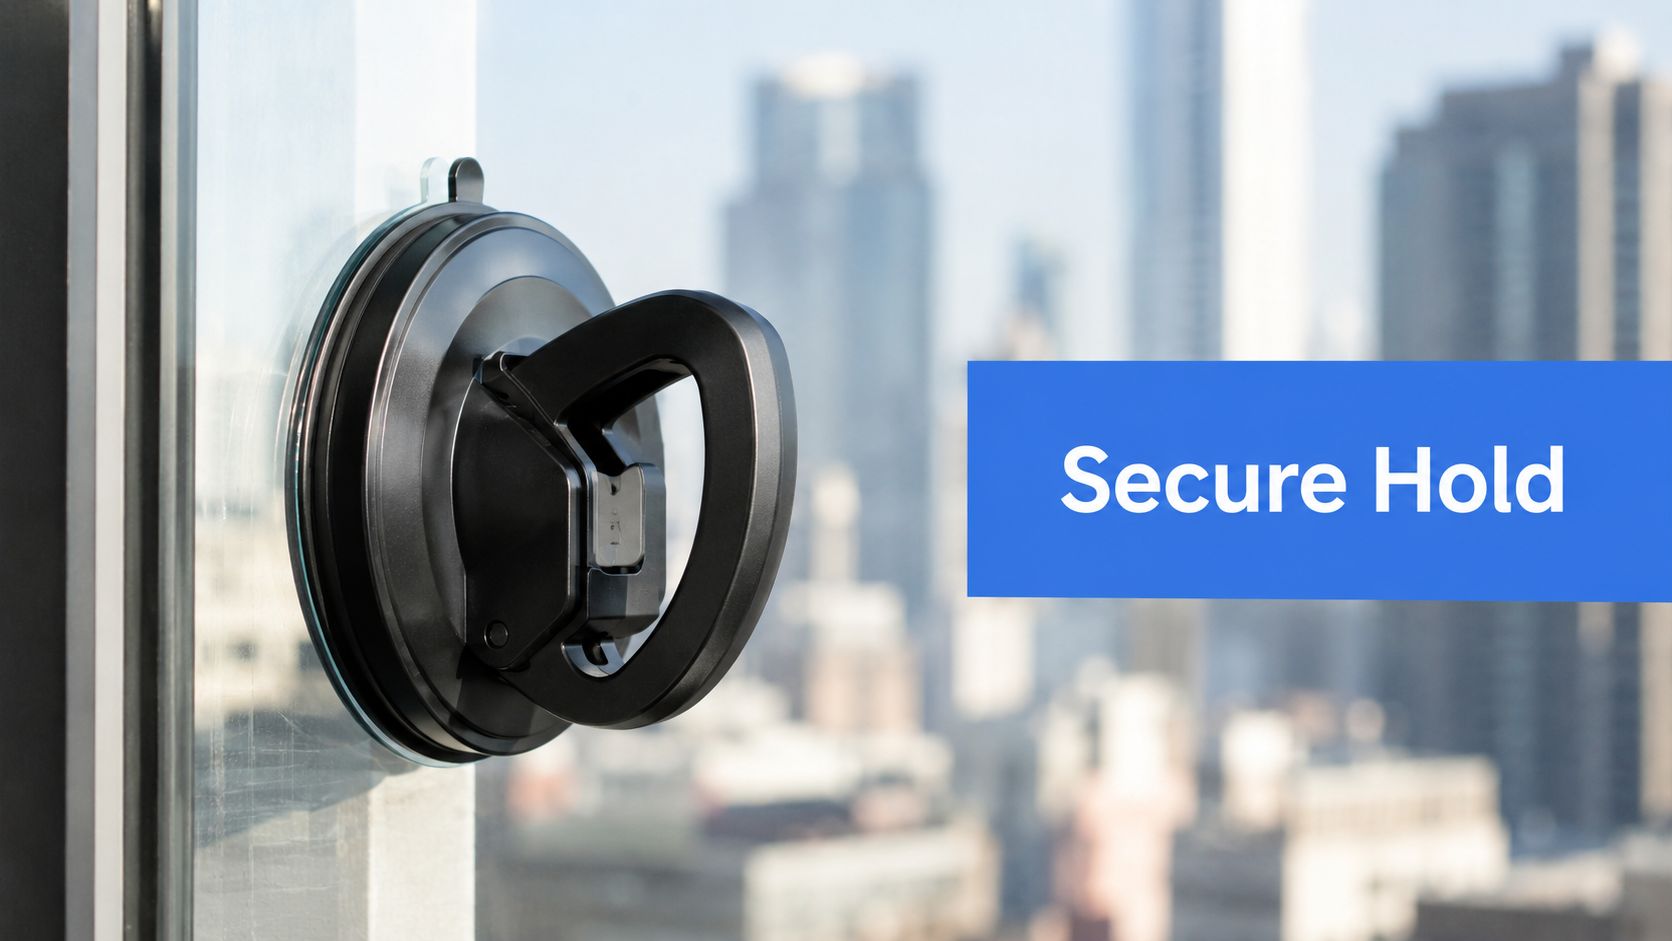
Look, I get it. There's a real satisfaction that comes from a DIY project well done. But when it comes to window cleaning, sometimes the smartest move you can make is putting down the squeegee and picking up the phone. It's not admitting defeat—it's about recognizing your limits to make sure the job gets done right and, most importantly, safely.
The most obvious time to call for backup is when safety becomes a real concern. If you're looking up at second-story windows, staring at hard-to-reach glass over a vaulted ceiling, or dealing with any kind of multi-level building, the risks just aren't worth it. A pro crew rolls up with the proper safety harnesses, commercial-grade ladders, and the right insurance. What feels like a hazardous, wobbly task for you is just another Tuesday for them.
It's not always just about the height. The actual condition of your windows and screens can turn a simple job into a nightmare. Years of built-up grime, stubborn hard water stains, or that chalky residue left over from a construction project often require more than a bottle of Windex and some elbow grease.
This is where professional techniques make all the difference. There are only two methods that professionals use: the classic squeegee for that perfect, hands-on finish, or a pure-water system. This system uses deionized water that scrubs away dirt and dries completely spot-free without any chemicals. It's a game-changer for tackling years of buildup that soapy water just can't handle.
A professional service isn't just about saving you time and a sore back. It's about getting a deeper, longer-lasting clean from someone who knows how to handle your specific window types without causing damage.
Sometimes, the job is bigger than just cleaning the glass. You might find that while you're cleaning your screens, you notice rips, small holes, or bent frames. A good wash won't fix that kind of damage.
In those cases, you'll want to look for professional window screen repair services to get them back in shape. It's often most efficient to tackle a deep window cleaning and any necessary screen repairs all at once. If you want to see what that involves, you can check out our detailed screen cleaning and repair services.
The growing demand for this kind of expert work is pretty telling. The global window cleaning services market was valued at around USD 141 billion in 2024 and is on track to hit over USD 257 billion by 2032. North America holds a huge piece of that pie, which shows just how many homeowners see the value in calling a professional.
Ultimately, hiring a pro isn't just a cleaning expense—it's an investment in your property's appearance, safety, and long-term value.
Even after laying out the whole process, a few questions always seem to pop up. Let's tackle some of the most common ones I hear from homeowners, so you can finish the job with confidence and get those fantastic results you're after.
For most homes, a good rule of thumb is twice a year. I always recommend a thorough cleaning in the spring to get rid of all the winter grime, and then another one in the fall to clear away the summer's dust and pollen before bad weather sets in.
Of course, where you live really matters. If your home is in a dusty climate like Phoenix, surrounded by trees that drop a lot of pollen, or right next to a busy road, you'll probably find that cleaning them three or even four times a year is necessary. Staying on top of it doesn't just keep your view clear—it actually prevents grime from building up and causing long-term damage to your window frames and glass.
I get this question all the time, and my answer is always a firm no. It's highly recommended you avoid using a pressure washer on your windows or screens. That highly concentrated blast of water is more than powerful enough to crack the glass, break the seals between double-panes (which leads to that awful fogging), or shred your screen mesh in seconds.
A pressure washer might look like a quick fix, but trust me, it’s a recipe for expensive repairs. A gentle touch is always the way to go. For your screens, a garden hose on a light spray setting is all you need. For the glass, stick with a good old-fashioned squeegee or a pure-water pole.
You really don't need to spend a lot of money on special store-bought cleaners to get a streak-free shine. One of the best and cheapest DIY solutions is simply a few drops of basic dish soap in a bucket of warm, distilled water.
The dish soap works perfectly as a lubricant, helping your squeegee glide smoothly while it cuts through dirt and greasy film. If you're up against some really stubborn grime, you can add a splash of white vinegar for a little extra cleaning power.
The secret is to not go overboard—too much soap is the number one cause of streaks. And using distilled water is a pro tip, especially if you have hard water. It has no minerals, so it dries perfectly clear without leaving any spots behind.
Ready to skip the work and guarantee a flawless finish? The team at Professional Window Cleaning uses the best tools and techniques in the business to make your windows sparkle. Get your free estimate today!
Read our blog posts regularly and keep learning.