Care and Maintenance
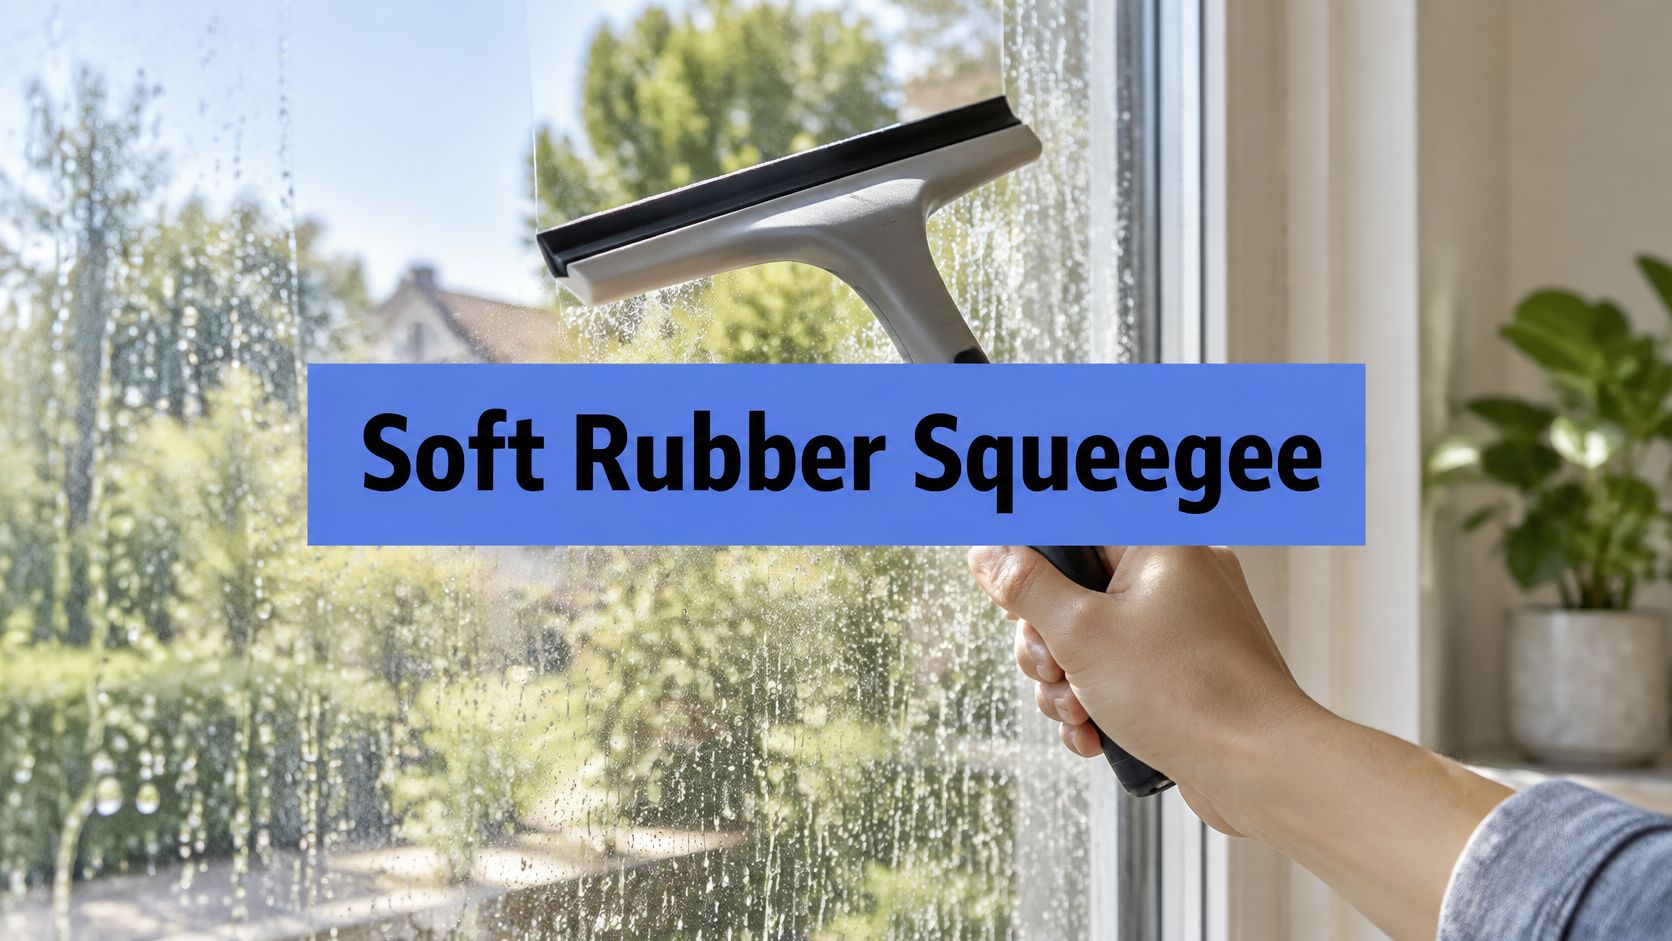
Soft Rubber Squeegee: What It Is and When to Use It
Learn what a soft rubber squeegee is, how it compares to other blades, and when pros choose it for streak-free window cleaning in homes and high-rises.


You're standing in front of a window that looks clean until the light hits it at an angle, and then the truth shows up. The glass has cloudy rings, drip marks, and a chalky film that doesn't budge with a regular wipe. That's where Bio Clean Water Stain Remover earns its keep, because this isn't a spray-and-wipe glass cleaner, it's a restoration product for mineral buildup.
A lot of homeowners go after hard-water stains the wrong way. They grab dish soap, a general-purpose cleaner, or a paper towel, then wonder why the haze gets worse. Mineral deposits behave differently from ordinary dirt, and once you treat them like grime, you usually end up spreading residue around instead of lifting it off.
A homeowner usually sees a spotted pane and assumes it's dirt from the street or pollen from the yard. They reach for the nearest cleaner, wipe once or twice, and the glass still looks cloudy. That's the moment the job stops being routine cleaning and starts being mineral removal.
Hard-water staining isn't sitting loosely on the surface like dust. It bonds to glass and leaves behind a film that can look white, hazy, or etched. In dry, sprinkler-heavy places like Phoenix, Scottsdale, Las Vegas, and parts of Denver, that buildup can show up fast because water keeps drying on the same spots again and again, which is why guides on water stains on glass matter more than people realize.
Soap helps with grease. Water helps with loose soil. Neither one breaks down the kind of mineral crust that hard water leaves behind, so repeated wiping just moves the problem around. The stain can look worse after cleaning because the residue gets smeared into a wider patch, especially when the cloth lifts only the top layer and leaves the bonded material behind.
Practical rule: if the mark changes shape but doesn't actually lighten, you're probably not dealing with simple dirt.
The right expectation matters here. Bio Clean Water Stain Remover can restore glass that's clouded by mineral deposits, but it's not magic, and it won't erase damage that has already become etched into the surface. If the glass is physically worn, scratched, or permanently marked, more product and more pressure won't fix it. That's where patience helps, because pushing harder on the wrong problem is how good glass gets damaged trying to look perfect.
Before any cleaner touches the pane, diagnose what you're looking at. Surface mineral haze responds differently than deep etching, and damaged glass won't behave like either one. A quick corner test tells you more than a full-window gamble, especially on coated or low-E glass where you don't want surprises halfway through the job.
Protect the surrounding materials next. Painter's tape and plastic sheeting keep the remover off vinyl, paint, and screens, and they also keep rinse water from creeping into places you'll forget to dry later. If the frame is already fragile, tight masking is cheaper than repairing discoloration afterward.
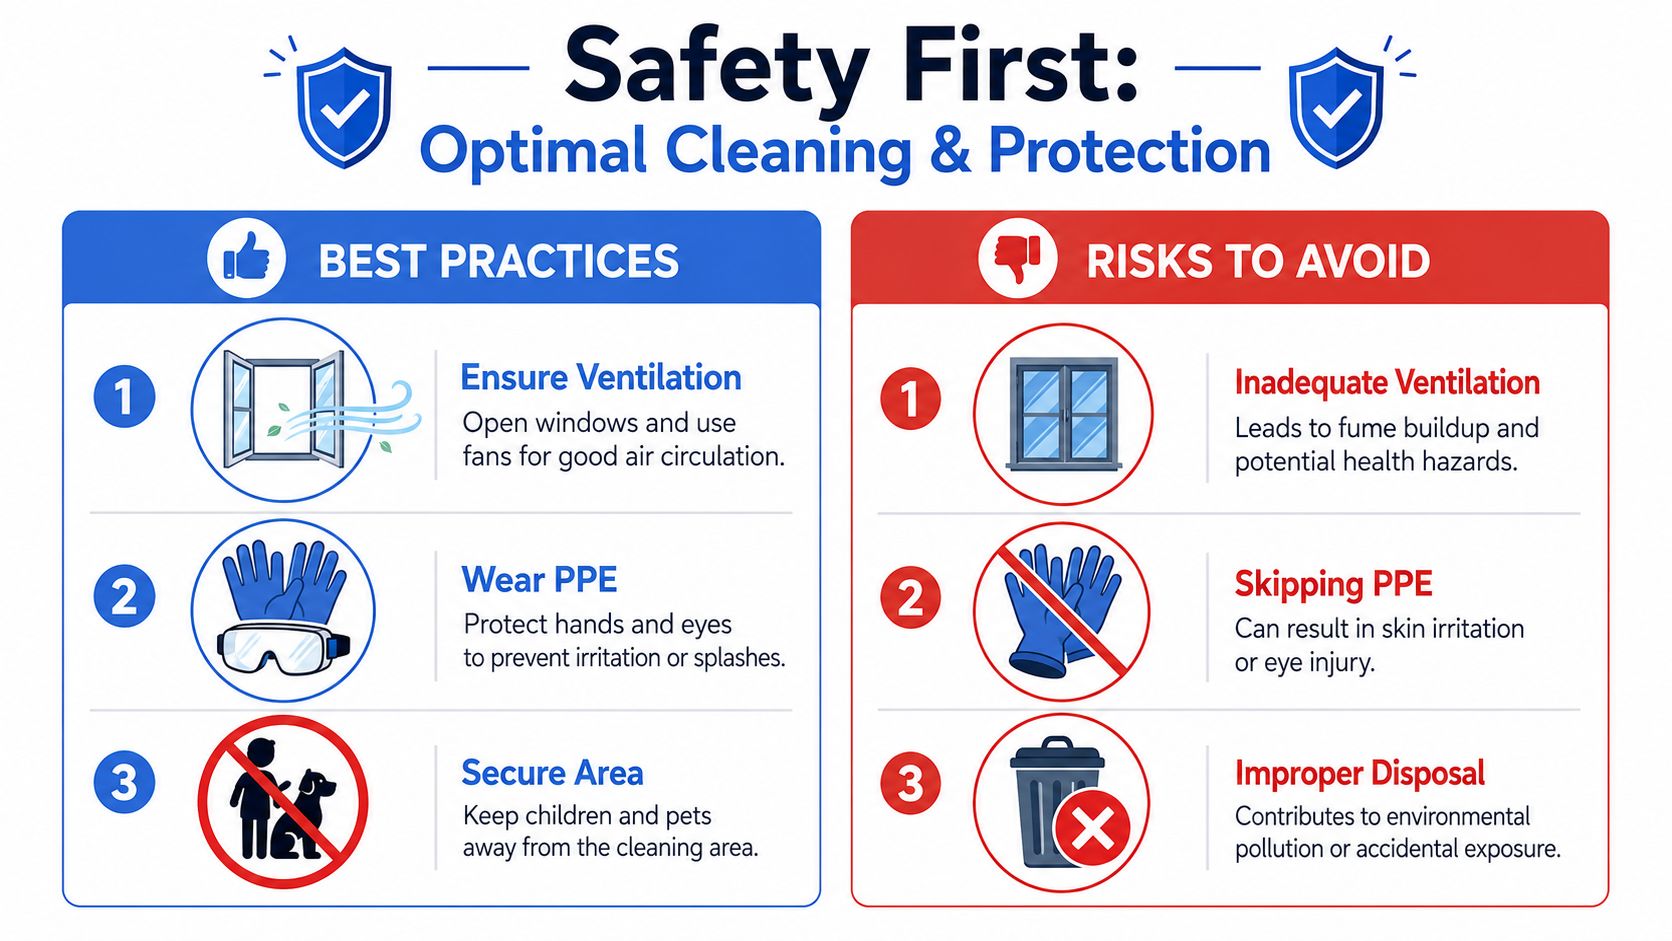
The product's Safety Data Sheet matters here because it classifies the cleaner as corrosive and calls for protective handling. Use chemical-resistant gloves, eye protection, long sleeves, and ventilation, and keep kids and pets out of the area while you work. The supplier SDS also lists emergency contact numbers, including 800-424-9300 and 800-222-1222, which tells you this product belongs in the same conversation as other hazardous restoration chemicals, not casual household spray.
Have everything within arm's reach before you start. That keeps the surface from drying while you hunt for a towel or rinse bucket.
A good pre-check also tells you when to stop and call a pro. If the pane is high, coated, damaged, or part of a finished system you can't safely isolate, the smarter move is to leave it alone and bring in a window cleaner who can judge the glass in person. One clean test spot beats a full pane with a permanent mistake on it.

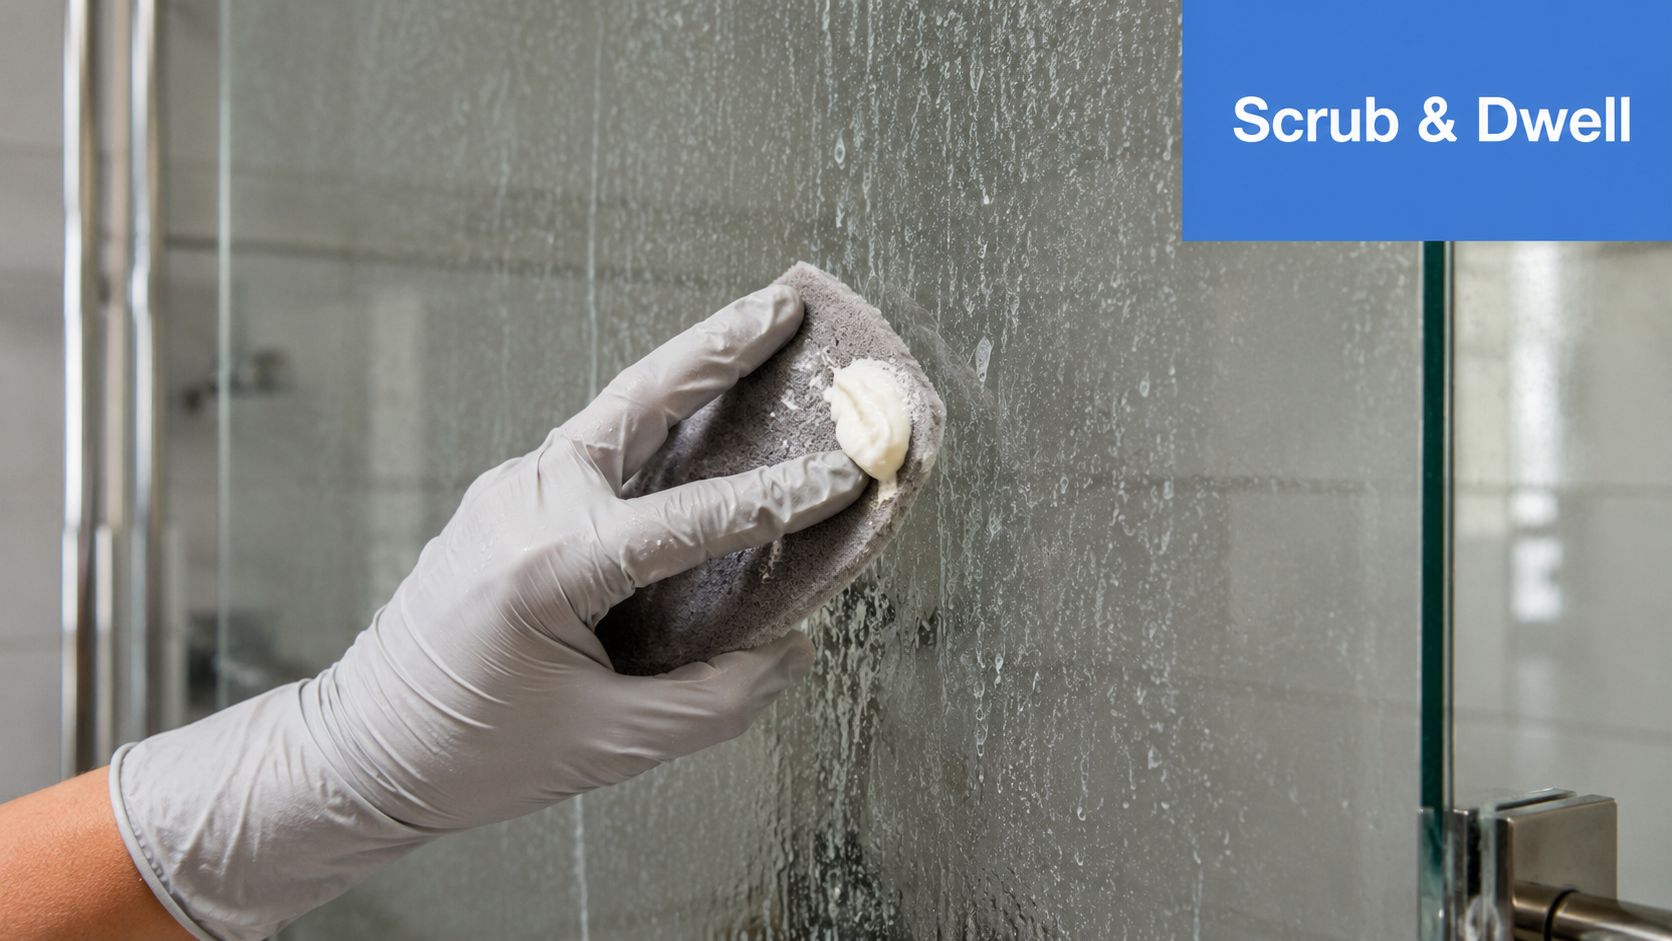
This product works by controlled scrubbing, not by sitting there and dissolving everything on its own. The usage guide says a little goes a long way, and that matches field experience. Put a small amount on a damp microfiber cloth, a non-abrasive pad, or, on stubborn buildup, 0000 superfine steel wool. The point is to work the mineral deposit, not to drown it.
Use steady, even pressure and let the applicator do the work. Hard pushing on glass usually just tires out your arm and risks scratching the wrong surface if you've grabbed the wrong pad. A published usage guide says built-up stains may benefit from letting the product sit for 30 to 60 seconds before scrubbing, which lines up with the way restoration products behave in the field. Bio-Clean hard-water stain removal guidance supports that dwell time, but the essential part is still the scrub.
Then inspect the pane before you keep going. Wipe a small area clean, rinse it, dry it, and check the result in angled light. If the stain is still there, repeat the process instead of loading on more product at once. A full pane can take roughly 10 minutes per glass panel in practical use, which tells you this is a pacing job, not a speed wipe.
Residue left behind is the usual reason a window dries streaky after a hard-water treatment.
That rhythm keeps the glass from getting overworked. If the cleaner has done its job, the wiped area should look clearer before you move on. If you keep seeing the same haze after careful passes, the problem may be etching rather than residue, and more scrubbing won't change that.
Glass is usually the target, but the parts around it need their own handling. Frames, tracks, and screens don't react the same way, and treating them like one surface is how a simple restoration job turns messy. A technician looks at each material separately because overspray, dwell time, and absorption all change the risk.
Painted wood and anodized aluminum frames need faster rinsing than glass. Letting the remover sit too long can discolor a finish or leave a dull edge where the product creeps under the masking. Tracks are different, because they trap mineral crust and grit together, so a soft brush and a little patience usually help more than just wiping the top layer.
Screens are the most vulnerable part of the assembly. They soak up liquid, hold onto residue, and can stain in a way that never looks quite right again. If a screen is in the way, remove it before working near the glass so you're not cleaning around a sponge.
| Surface | Dwell Window | Best Applicator | Rinse Urgency |
|---|---|---|---|
| Glass | Brief, repeat as needed | Microfiber, non-abrasive pad, or 0000 steel wool for tough spots | High, before drying |
| Frame | Very short | Damp cloth only | Very high |
| Track | Moderate | Soft brush or cloth | High |
| Screen | Avoid direct application | Remove first | Immediate if exposed |
That table is the whole decision process in compact form. The big mistake is using one setting for every part of the window. Keep the remover where it belongs, and your cleanup stays controlled instead of turning into a trim repair.
A streak after cleaning doesn't always mean the product failed. Sometimes it means the residue stayed on the surface and dried there, which is a rinse problem, not a chemistry problem. A fresh rinse and a clean microfiber pass usually solve that faster than adding more remover.
True residue haze feels like a film that shifts when you wipe it. Embedded etching doesn't move that way. If the mark stays put under angled light and doesn't change after a careful pass, the glass may already be physically marked, and no amount of aggressive scrubbing will restore it.
Drip marks below the work zone usually come from over-wetting the frame or missing the edges during dry-down. Those marks are preventable with better staging, especially if you keep a detailing towel under the lower sash while you work. The cleanup should end with a dry edge check, not a final glance from across the room.
If two careful passes don't move the stain, stop. Grinding harder usually costs more than a service visit.
A useful test is simple. Run a dry finger lightly across the spot, then look at it in angled daylight. If the texture and the appearance both stay unchanged, you're likely looking at damage rather than removable buildup. At that point, the smartest move is to protect the pane, not punish it.
The takeaway is plain. Residue gets rinsed, etching gets identified, and drip marks get controlled at the edges. Those are three different fixes, and mixing them up wastes product and time.
A lot of people treat safety gear like paperwork, but with a corrosive cleaner, it affects the result. If the room is stuffy, the applicator slips more, residue spreads more easily, and cleanup gets clumsy. Ventilation, gloves, and eye protection aren't just for compliance, they make the work cleaner.
The SDS guidance is direct. It calls for immediate rinsing after skin or eye contact, and it says spills should be absorbed with non-combustible material and contaminated waste sealed and removed promptly. That means used rags, pads, and absorbent material belong in a bag or sealed container, not in an open trash can where someone can touch them later. The supplier emergency line on file, 800-424-9300, exists for exactly the kind of accidental exposure a rushed homeowner wants to avoid.
I'd also keep the runoff away from storm drains, garden beds, and irrigation lines. This isn't a lawn product, and it doesn't belong in places where water moves into the soil or public drainage. If you want the job to stay safe from start to finish, treat the cleanup material with the same respect you gave the bottle itself. Why phosphoric-acid cleaners demand careful handling is a useful reminder that strong surface cleaners are performance tools, not casual household habits.
The easiest hard-water job is the one you never let harden. Rinse-and-dry habits after sprinkler splash, shower use, or routine washing keep mineral deposits from setting up in the first place. Once the spots stay light instead of crusting over, Bio Clean Water Stain Remover becomes an occasional restoration tool instead of something you reach for every week.
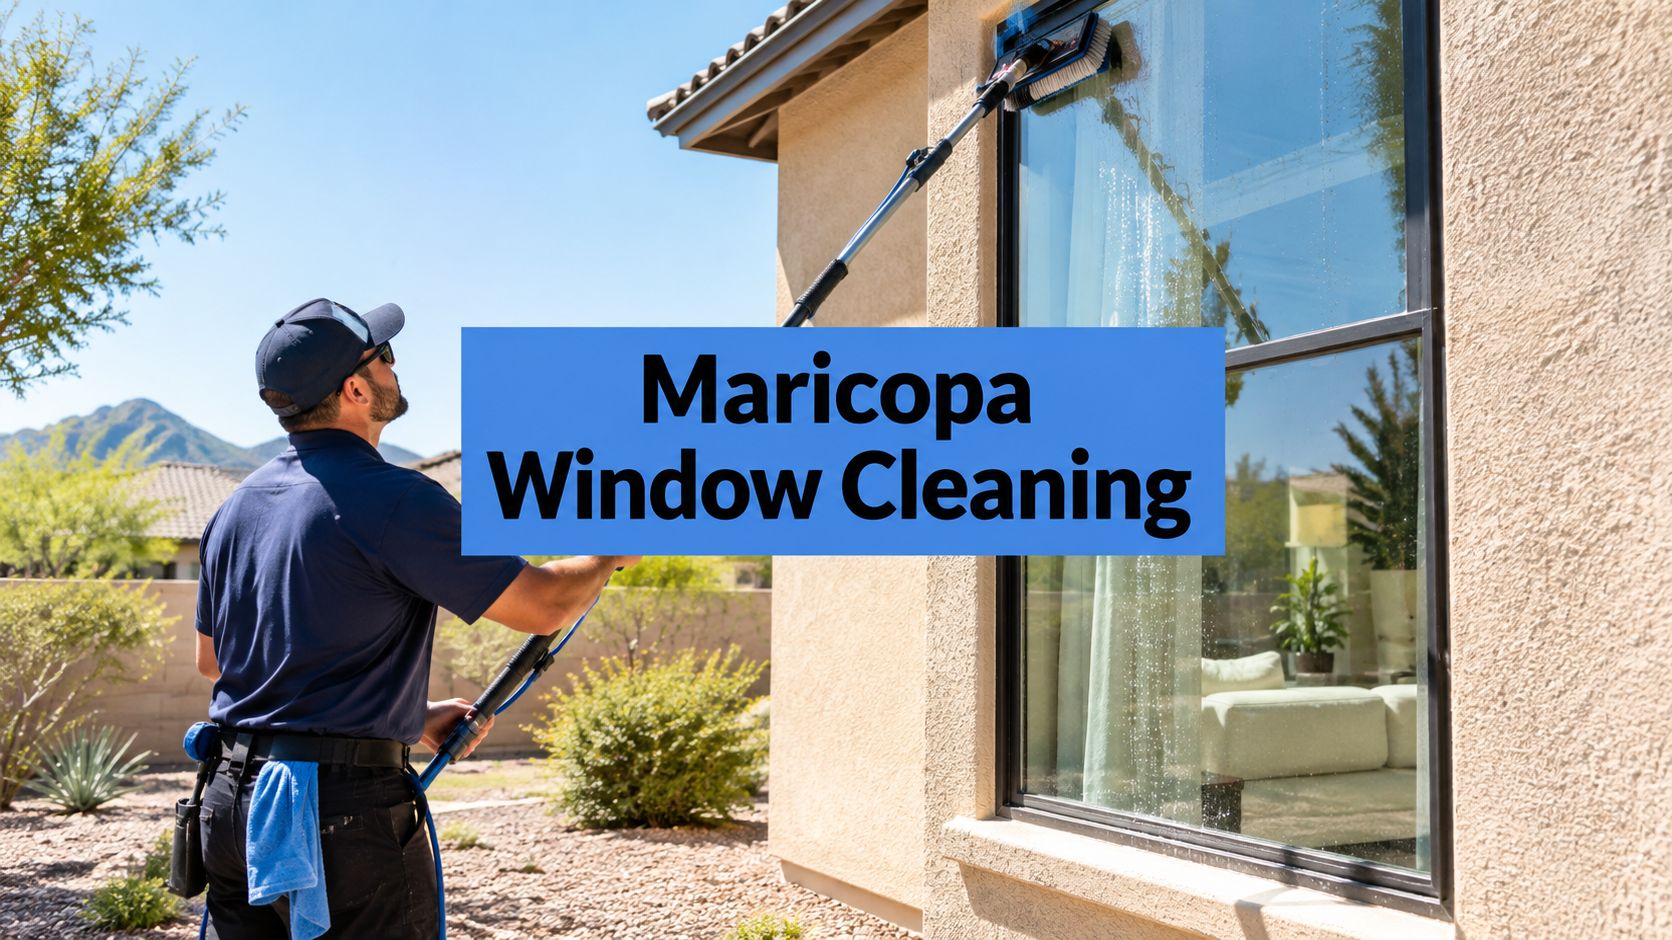
The cutoff point matters too. Tall ladders, post-construction glass, low-E coatings, and warranty-sensitive panes are better handled by a professional crew with the right method for the job. In window cleaning, there are really only two professional methods, a squeegee or a pure-water system, and those are the tools that make sense when the glass needs broader care, not just spot restoration.
Professional Window Cleaning has been cleaning windows for over 26 years, and its service area includes Arizona, Nevada, and Colorado. If you're comparing options for a larger or harder-to-reach job, the Las Vegas service page is a practical place to start for regional support.
The mental checklist stays simple. Diagnose the stain, protect the surroundings, use the remover with mechanical control, rinse thoroughly, and stop when the glass tells you the problem is deeper than residue. That's the difference between a clean pane and a damaged one.
If your windows need more than a spot treatment, Professional Window Cleaning can handle the full glass, frame, and height challenge with the right method for the surface. Visit Professional Window Cleaning to get help with hard-water staining, routine maintenance, or a larger window cleaning project.
Read our blog posts regularly and keep learning.