Care and Maintenance
Building Exterior Maintenance Made Simple
Practical building exterior maintenance guide with seasonal checklists, costs, safety tips, and when to hire pros for Arizona, Nevada, and Colorado properties.


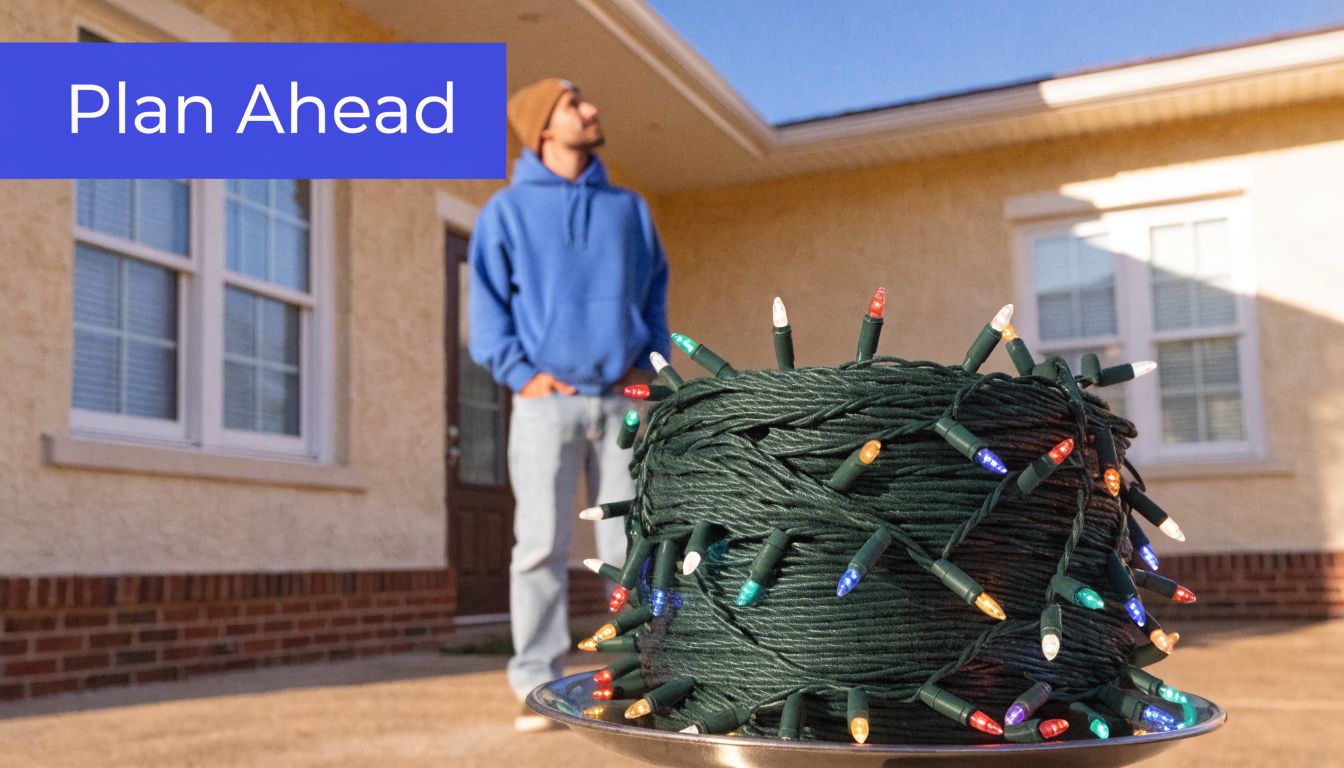
The season usually starts the same way. You pull down a bin from the garage, open the lid, and find a knot of cords, half-working strands, missing clips, and a plan that somehow depends on getting up on a ladder before the weather turns.
That’s where most holiday lights installation problems begin. Not with the lights themselves, but with rushing. The homes that look clean, balanced, and bright from the street usually come from a simple process: plan the layout, choose the right materials, install with purpose, and treat safety like part of the job instead of an afterthought.
Working around exterior glass, rooflines, trim, and high-access areas teaches the same lesson year after year. Good-looking results come from method, not luck. That’s as true on a home in Las Vegas as it is on a steep winter property in Denver. Holiday lighting is creative work, but it’s still trade work. The details matter.
You see the trouble before you plug in the first strand. The garage line is longer than you remembered, the front walk needs light but not a cord across it, and the peak over the entry is high enough that one bad ladder angle can turn a decorating job into an injury claim.
Most homeowners don’t need more lights. They need a plan that fits the house, the access points, and the power layout.
A rushed setup creates the same problems every year: dark sections over the garage, one side of the house glowing harder than the other, cords running where people walk, and rooflines that look uneven from the street. A professional approach fixes those issues before the first clip goes on. It also addresses a problem DIY articles usually skip. If someone gets hurt on your property and the installer is uninsured, that risk can land on the homeowner.
Start by deciding what the house should say at night. Clean and restrained works well on many homes. Other properties can carry a fuller design with windows, columns, shrubs, and a front walk. The common mistake is hanging every strand you own instead of choosing the features that deserve attention.
That choice matters even more on houses with height, steep pitches, or layered rooflines. On homes we service in Las Vegas, the challenge is often long front elevations and sharp curb visibility. In Denver, snow, cold, and slick surfaces change how we plan access and timing. The design still matters, but logistics decide whether the job stays safe and looks finished.
Three areas usually do the heavy lifting:
Once those focal points are clear, the rest of the job gets simpler. Measurements are more accurate. Material orders stay tighter. Power runs can be planned instead of improvised in the dark.
Practical rule: If a feature does not improve the view from the street, leave it dark.
That restraint usually saves money and improves the result. It also opens the door to smarter service bundling. Many property owners already schedule window cleaning, gutter cleaning, or exterior touch-up work before lights go up, because a clean facade and clear access make the display look better and the installation go faster. Holiday lighting is seasonal, but the planning behind it should support the property year-round.
Good displays are drawn before they’re hung.
That doesn’t mean you need a formal blueprint. A quick sketch of the front elevation, garage line, entry, and major outdoor elements is enough. The point is to make decisions on paper while you’re warm, not on a ladder while holding a bundle of clips in one hand.

Start by marking the lines that deserve attention. On most homes, that means the main roof edge, garage roofline, front entry, and a few outdoor features. If the house has strong windows or columns, outline them. If it has a lot of architectural detail already, keep the lighting simpler.
Then measure every run. Don’t guess. Rooflines, window perimeters, railings, and trunk wraps all add up quickly.
A clean plan usually answers these questions:
A lighting design should match the architecture, not fight it.
Here’s a practical way to approach this:
| Home style | Lighting approach that usually works |
|---|---|
| Traditional or symmetrical homes | Uniform roofline lighting, balanced windows, simple entry accents |
| Modern homes | Clean lines, fewer colors, strong emphasis on geometry |
| Rustic or mountain homes | Warm tones, tree wraps, softer layering around natural materials |
| Large commercial fronts | Repetition, visibility from distance, clear perimeter definition |
Color matters, but restraint matters more. One consistent approach usually looks more expensive than a mix of bulb styles and color temperatures.
A strong display doesn’t need every feature lit. It needs the right features lit well.
For exterior work, LED lights are usually the better choice. They run cooler, hold up well season after season, and fit the kind of dependable install most property owners want.
The non-negotiable part is rating. Buy outdoor-rated lights, cords, and accessories, and use UL-listed products for exterior installations. That matters in every climate. Dry air, wind, sun exposure, snow, and freezing moisture all expose weak materials fast.
A home in the desert Southwest and a home in Colorado stress lighting differently. In hot, bright conditions, cheap plastics and brittle insulation tend to show their age fast. In colder markets, stiffness in cords and hidden moisture at connection points create a different set of headaches. Good materials cost more up front, but they save time, replacement runs, and mid-season failures.
Before you buy, match the material to the plan.
The best holiday lights installation projects don’t start with what’s left in a storage bin. They start with a design that fits the property.
Holiday lighting looks festive from the street. Up close, it’s ladder work, electrical work, and fall-risk work. Treat it casually and the job can turn on you fast.
That’s not theoretical. Holiday lights cause an average of 150 home fires each year in the U.S., and about 5,800 people are treated in emergency rooms annually for injuries from holiday decorating falls, according to holiday safety data from ESFI. Most homeowners don’t think about those numbers while unpacking bins. They should.

A proper toolkit isn’t about looking professional. It’s about removing avoidable risk.
The core setup should include:
If you want one ladder safety refresher before any exterior work, review this guide on the correct angle for a ladder. Most ladder mistakes happen before anyone leaves the ground.
A safe install has a rhythm to it. Inspect, test, stage, then climb.
Use this order:
Don’t let urgency make the decision. If the weather, roof pitch, or access feels wrong, the job should wait.
The fastest-looking method is often the one that causes damage. Staples, nails, and improvised fasteners can nick wire jackets, crack trim, mark fascia, and create failure points you won’t see until the lights start flickering.
That same logic applies to old cords and bargain accessories. If a strand looks questionable on the driveway, it won’t improve once it’s clipped to the eave. Replace it.
For homeowners who want a broader exterior electrical checklist beyond holiday decor, Jolt Electric's home safety plan is a useful read. It’s the kind of resource that helps you think past the display and look at the house’s overall electrical readiness.
Before any install, ask four questions:
| Question | If the answer is no |
|---|---|
| Are the lights and cords in solid condition? | Replace damaged materials |
| Is the ladder setup stable and level? | Reposition or stop |
| Are all components rated for outdoor use? | Don’t install them outside |
| Can the work be done without overreaching? | Change the access plan |
Holiday lights installation should feel methodical. If it feels rushed, awkward, or unstable, something in the setup is wrong.
The difference between a homemade display and a professional-looking one usually comes down to attachment. Not brightness. Not budget. Attachment.
Straight lines, consistent bulb orientation, hidden slack, and damage-free mounting create the look people notice from the street. That starts before anything goes onto the house.

Professional installation methodology emphasizes pre-install ground-level testing and layout to achieve near-100% first-time success, with installers maintaining even 6-12 inch spacing and staying within the manufacturer’s connection limits, which are typically 3-5 sets, as outlined in this professional installation guide.
That tracks with what works in the field. If a strand flickers on the driveway, it becomes a callback on the roof. If the plugs don’t line up with the outlet plan on the ground, the problem doesn’t get smaller once the ladder is out.
Lay each run out flat and match it to the section of the home where it belongs. That does three things:
Different surfaces need different hardware. One universal bag of clips rarely gives the best result.
For most residential work:
What doesn’t work is forcing one clip type onto every surface. That’s how bulbs tilt at odd angles, lines start to wave, and trim gets scuffed during removal.
Clean installation is repetitive on purpose. Same clip direction, same spacing, same bulb orientation.
Each area has its own standard.
Rooflines need consistency more than density. Keep the line straight, point bulbs in the same direction, and maintain visual rhythm across peaks, returns, and garage breaks. A small inconsistency near the front door won’t read from the sidewalk. A wandering roofline will.
Windows should look framed, not crowded. Keep corners tidy and avoid bulky clip placement where the frame is visible in daylight. Around entry doors, hide slack toward the side or top, not across the centerline where it draws the eye.
A useful visual reference for attachment work is below.
Outdoor lighting should support the house, not compete with it. On tree trunks, start low and keep wrap spacing even. On shrubs, aim for coverage that reads as glow rather than a pile of bulbs. On columns, follow the same spacing from base to top so the wrap doesn’t tighten and loosen as it climbs.
These are the common ones:
A strong holiday lights installation should still look orderly in daylight. If the clips are chaotic, cords are exposed, or the lines wander, nightfall won’t hide it.
Electrical planning is where a lot of attractive displays fall apart. The layout may be sharp, the clips may be right, and the lights may be high quality, but if the power plan is sloppy, the whole job becomes unreliable.
Most problems show up in predictable ways. A section goes dark. A breaker trips. A plug connection lands where sprinklers or snowmelt can reach it. Or the display works fine until the homeowner adds one more strand over the garage and everything starts acting up.
The basic rule is still the one that matters most. Stay within the manufacturer’s limit for connected strands, and distribute the display across available exterior circuits instead of forcing too much into one outlet area.
For larger homes, a quick map helps:
Outdoor-rated extension cords matter here, but routing matters too. Don’t run cords where foot traffic, landscaping tools, or closing gates can damage them.
A timer is one of the simplest upgrades you can add. It reduces wear from constant manual plugging and unplugging, keeps operation consistent, and avoids lights running all night when nobody is enjoying them.
Moisture control matters just as much. Keep plug connections off the ground and out of places where water collects. In colder climates, ice and freeze-thaw cycles can turn a marginal setup into a service problem quickly. If your roof edge or gutter line tends to collect winter buildup, Prime Gutterworks' heat cable advice is useful background for understanding how roof drainage and edge conditions affect anything mounted near that zone.
Some homes only need a homeowner’s judgment. Others have HOA rules, commercial property standards, or access restrictions that change the install plan. Color limitations, installation windows, removal dates, and façade rules are all common friction points.
The practical side of this also shows up in pricing. In professional bidding, installers base labor and materials on linear feet, design complexity, and difficulty multipliers, and a typical residential job can range from $400-$800, with 35-45% profit margins after overheads, according to this professional bidding guide. That’s a useful reminder that power planning, access, and roof complexity aren’t side details. They drive the actual workload.
The electrical plan should be boring. If it feels improvised, it probably is.
You start with a simple plan. A few roofline strands, a wreath over the entry, maybe some trees in the front yard. Then you look up and realize the second-story peak sits over stone, the outlet is on the far side of the house, and the gutter line is packed with angles that punish rushed work.
That is usually the moment to bring in a pro.
We say that as a company that has spent more than 26 years working on exterior glass, access-heavy properties, and difficult elevations in places like Las Vegas and Denver. Holiday lighting is not just decorating work. On the right house, it is ladder work, roof access, fall exposure, electrical planning, and finish protection rolled into one service call.
The professional market has grown because homeowners want the job done safely and done once. Growth also attracts installers who are little more than a ladder and a pickup truck. If they are uninsured, the savings on the quote can disappear fast if there is property damage or an injury on your site.
That is the part many homeowners miss. Price tells you very little about who is carrying liability coverage, who has workers on payroll versus day labor, and who will answer the phone when half a roofline goes dark the week before Christmas.
Any professional install should offer more than hanging lights for a day:
Ask direct questions before you book. Good contractors answer them quickly.
If you want a clearer explanation of coverage and liability, read this guide on bonded vs. insured for exterior service companies before signing a proposal.
The cheapest installer often becomes the most expensive choice once damage, callbacks, or liability enter the picture.
Some properties justify professional installation immediately.
| Property condition | Why pro installation makes sense |
|---|---|
| Multi-story elevations | Safer access and cleaner line control |
| Steep or broken rooflines | Better clip selection and safer movement |
| Commercial or HOA visibility | Higher appearance standards and less room for mistakes |
| Large glass façades or premium finishes | More care around trim, seals, and surface protection |
| Tight holiday schedules | Faster installation, removal, and fewer mid-season service calls |
We see this often in Denver, where snow and freeze-thaw conditions punish sloppy attachment, and in Las Vegas, where sun exposure can expose cheap materials and poor routing faster than homeowners expect. Climate changes the install plan. So does building height, roof shape, and how visible the property is from the street.
For homeowners comparing service models, Home AV Pros lighting services show another version of how established providers package design, installation, and maintenance as one offering.
A professional crew can also spot opportunities to bundle work in a way that saves time and improves the property year-round. If the same access setup can support holiday lighting, post-season window cleaning, and exterior touch-up work, you reduce repeat ladder use, repeat scheduling, and the half-finished look that lingers after decorations come down. That bundled approach is especially useful on taller homes, storefronts, and properties with a lot of exterior glass.
Wrap each strand loosely around a cord reel or a flat piece of cardboard. Keep clips sorted in labeled bags, and store everything in a sealed plastic bin so moisture and pests don’t get into the wiring.
Inspect them every season before installation. If a strand has cracked insulation, damaged sockets, corrosion, or repeated failure points, retire it. Good LEDs can last for several seasons, but condition matters more than age.
Permanent systems are low-profile LED setups installed along the roofline or other architectural edges for year-round use. They’re designed to stay in place and change color or pattern as needed for holidays, events, or everyday accent lighting.
Yes. It often makes sense to bundle seasonal lighting with exterior maintenance, especially when the same access equipment and property staging can support both jobs. That approach is especially useful on taller homes, commercial properties, and buildings with a lot of exterior glass.
If you want help with holiday lights installation or post-season exterior cleanup, Professional Window Cleaning serves residential, commercial, and high-rise properties across Arizona, Colorado, and Nevada. We’ve been in business since 1999, and after the lights come down, we can make the glass look brand new with the two professional methods that deliver results: the squeegee and the pure-water system.
Read our blog posts regularly and keep learning.