Care and Maintenance
Cedar Siding Maintenance: A Pro's Guide for 2026
Protect your home with our expert guide to cedar siding maintenance. Learn inspection, cleaning, and refinishing tips for lasting results in any climate.


A quick wipe-down seems easy enough, right? Most people think a simple scrub with baking soda and vinegar is all it takes to clean their window tracks. While that’s a decent start, it barely scratches the surface of what’s really going on in there and why it matters so much.
It’s easy to get frustrated staring at dirty window tracks, but the issue is a lot more serious than just looks. With over 26 years of hands-on experience, our team at Professional Window Cleaning has seen firsthand how neglected tracks can cause a whole host of problems for homeowners in cities like Las Vegas, NV and Phoenix, AZ.
That caked-on grime isn't just ugly. It's the start of a domino effect that can impact your home's function, your family's health, and even your wallet.
All that dust, pollen, and debris that collects in your window tracks does more than just sit there. Over time, it hardens into a dense, gunky mess that can physically jam the window's sliding mechanism. Soon, you’re struggling just to open or close a window, putting a ton of strain on the frame and hardware and setting yourself up for costly repairs.
This isn’t just about standard windows, either. The buildup can seriously hinder the performance of larger installations like sliding glass doors, turning them into a major headache.
Worse yet, that gunk is the perfect breeding ground for allergens. The mix of trapped moisture and organic matter creates a haven for:
As professionals serving areas like Denver, CO and Scottsdale, AZ, we’ve seen desert dust turn into a blockage as hard as cement. This isn't just an inconvenience; it actively shortens your window's lifespan.
The problems don't stop there. Neglected tracks can even affect your home's atmosphere and energy bills. It’s shocking, but over time, that buildup can cause a 30-50% reduction in natural light. Experts at Detroit Sponge have noted that in dusty regions, as much as 2 pounds of debris can accumulate per year, blocking airflow and making your rooms feel dim and gloomy.
This obstruction does more than darken your home—it messes with the window's seal. When the track is clogged, the window can't close tightly. This creates tiny gaps that let air leak, compromising your home's insulation and making your HVAC system work overtime. Regular cleaning isn't just a chore; it’s essential for keeping your home comfortable and your windows working properly for years to come. For homeowners in Las Vegas, NV, this is especially critical for keeping cooling costs down.
The secret to cleaning window tracks without the headache is simple: gather your tools before you start. Having everything on hand turns a frustrating chore into a quick, satisfying task. No more running back and forth for a brush you forgot.
You probably have most of what you need already. But trust me, a few small upgrades can be the difference between scrubbing for an hour and getting the job done in minutes.
For a standard clean, you can get amazing results with items you likely have stashed under a sink or in a closet. These tools are perfect for routine touch-ups and tackling everyday grime.
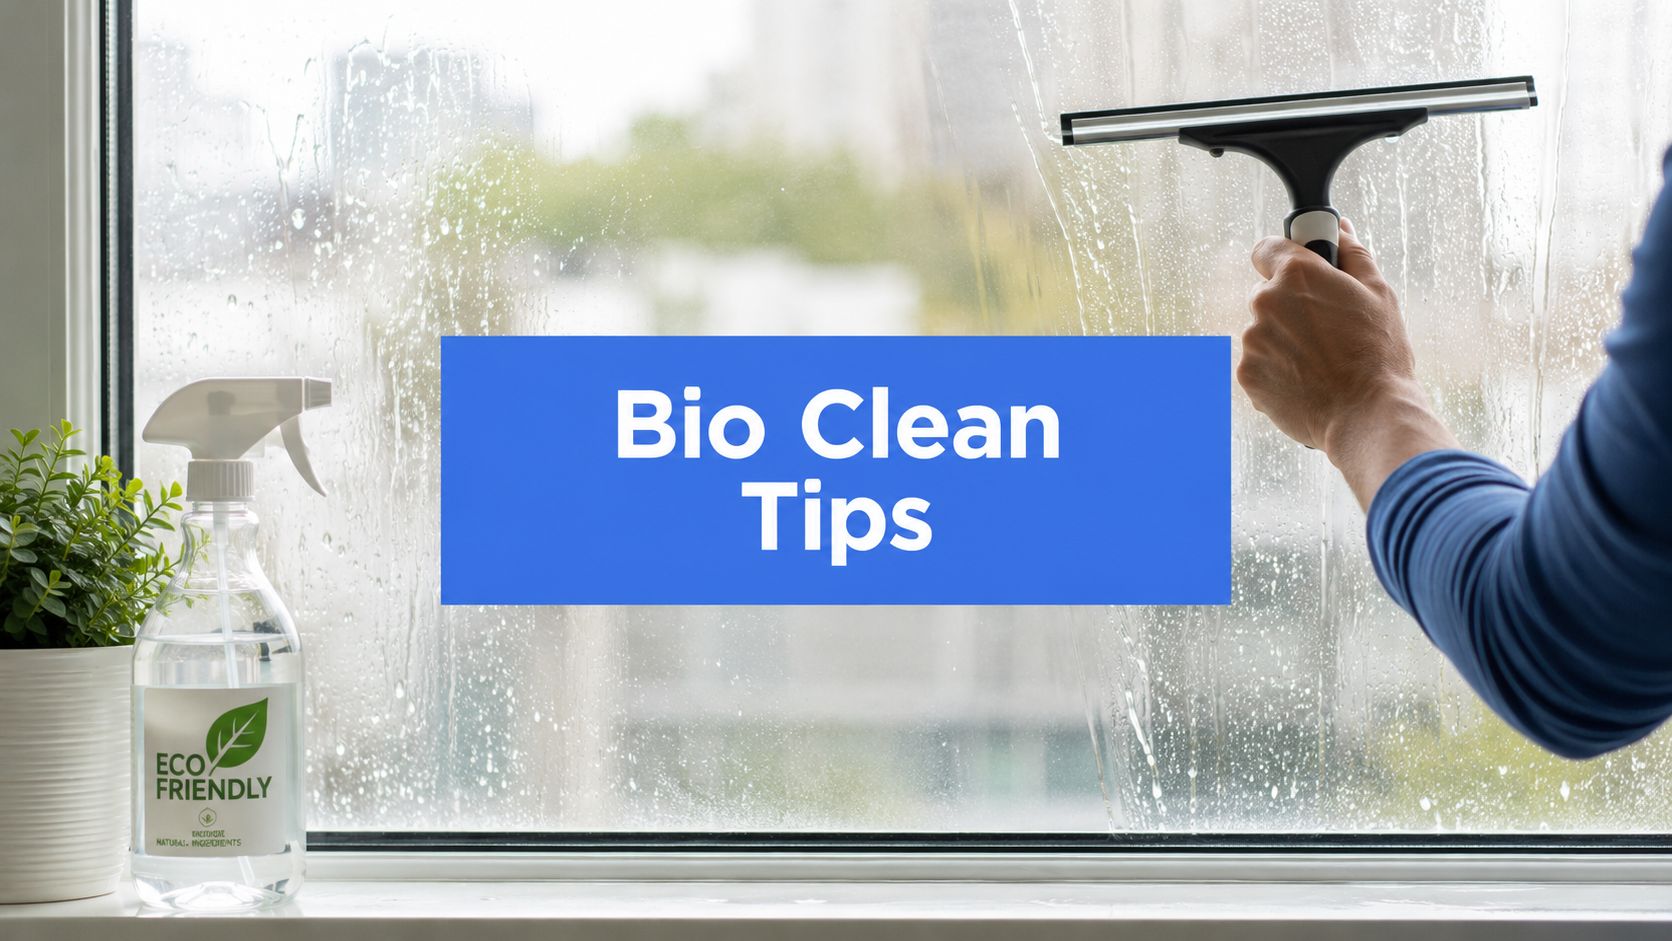
We always say a good microfiber cloth is a cleaner's best friend. It grabs onto dirt and soaks up moisture without leaving lint behind, giving you that perfect, polished finish. Professional window cleaners, with over 26 years of experience like us, rely on two primary methods for glass: a squeegee or a pure-water system. However, for tracks, the right prep tools are just as crucial.
Before you grab your supplies, it can be helpful to see what the pros use. We’ve put together a handy comparison of the essentials versus some pro-level gear that can really speed things up.
While the basics will get you far, a couple of smart upgrades can make a world of difference, especially on those tougher jobs in places like Phoenix, AZ.
If you're dealing with years of buildup or you just want to work smarter, not harder, investing in a couple of specialized tools is a game-changer. These are the items we rely on to tackle tough jobs efficiently, especially in places like Scottsdale, AZ, where fine desert dust creates its own unique cleaning challenge.
Consider adding these to your arsenal:
For a deeper dive into the tools we use every day, check out our complete guide to professional window cleaning supplies. It covers everything from the basics to the advanced gear that helps us deliver that flawless, professional finish every time.
There’s a right way and a wrong way to clean window tracks. After 26 years in this business, we at Professional Window Cleaning have seen it all, and we've honed a method that gets them spotless every single time. It's not a simple checklist; it's a proven, three-phase process we call: Loosen & Lift, Dissolve & Scrub, and Wipe & Finish.
Following this approach is what separates a quick wipe-down from a true, professional-grade clean. This is how you get results that not only look great but also protect your windows for the long haul in cities like Denver, CO.
Here’s the biggest mistake we see homeowners make: they grab a spray bottle and douse the track right away. All that does is create a stubborn, gritty mud that’s ten times harder to clean. Our professional process always starts completely dry.
First, grab your vacuum and its crevice tool. Suck up all that loose dirt, dust, and the collection of dead bugs and cobwebs that always seems to gather in there. Really get into the deep corners where debris loves to hide. Next, take a stiff-bristled track brush (or an old toothbrush) and vigorously scrub the entire track to agitate anything left behind. Vacuum one last time. This "loosens and lifts" all the surface-level gunk, setting you up for a much easier deep clean.
If you need to get your window screens out of the way first, our guide on how to remove a window screen shows you how to do it without accidentally bending the frame. Trust us, that dry pass might feel like an extra step, but it easily cuts your total cleaning time in half.
Now that the loose debris is gone, it’s time to deal with the caked-on grime. For this, we often rely on a simple but incredibly effective DIY solution: baking soda and white vinegar. The fizzing chemical reaction does the hard work for you.
Sprinkle a good amount of baking soda directly into the track, paying extra attention to the grimiest spots. Then, slowly pour or spray a little white vinegar on top. You’ll see it bubble up immediately—that’s the reaction breaking down all that tough, built-up residue.
Let the mixture sit and work its magic for 5-10 minutes. This little bit of patience allows the foam to penetrate and dissolve the gunk, which makes the scrubbing part almost effortless. This is a crucial step for homeowners in dusty climates like Las Vegas, NV.
Once the fizzing has died down, get your brush and start scrubbing. Work the paste into every groove and corner, and you'll see the grime lift away with very little muscle required. If you run into some really stubborn, ancient grime, a handheld steam cleaner is a fantastic chemical-free tool for melting it away.
The final phase is all about the cleanup and adding those finishing touches that ensure your windows operate smoothly for months to come. Start by wiping out all the baking soda paste and loosened grime with a damp microfiber cloth. You’ll probably need to rinse and wring out the cloth a couple of times to get it all.
For those impossibly tight corners, try wrapping the cloth around the tip of a putty knife or a flathead screwdriver.
Once the track is clean, go over it one more time with a completely separate, dry microfiber cloth. It is absolutely crucial that the track is 100% dry before you close the window. Any moisture left behind is just an open invitation for more dirt and even mold to show up.
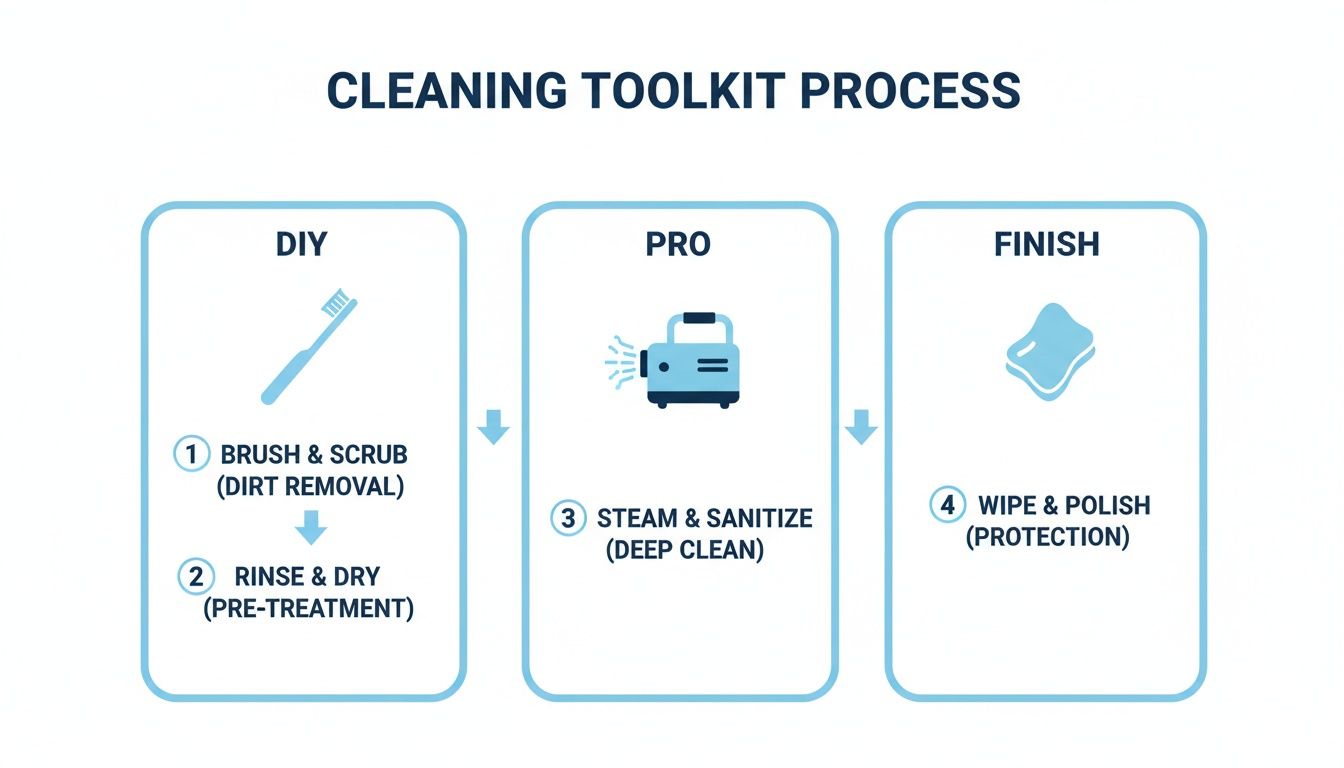
This visual shows how you can start with just a few household items but can also bring in more powerful tools like a steamer when the job calls for it.
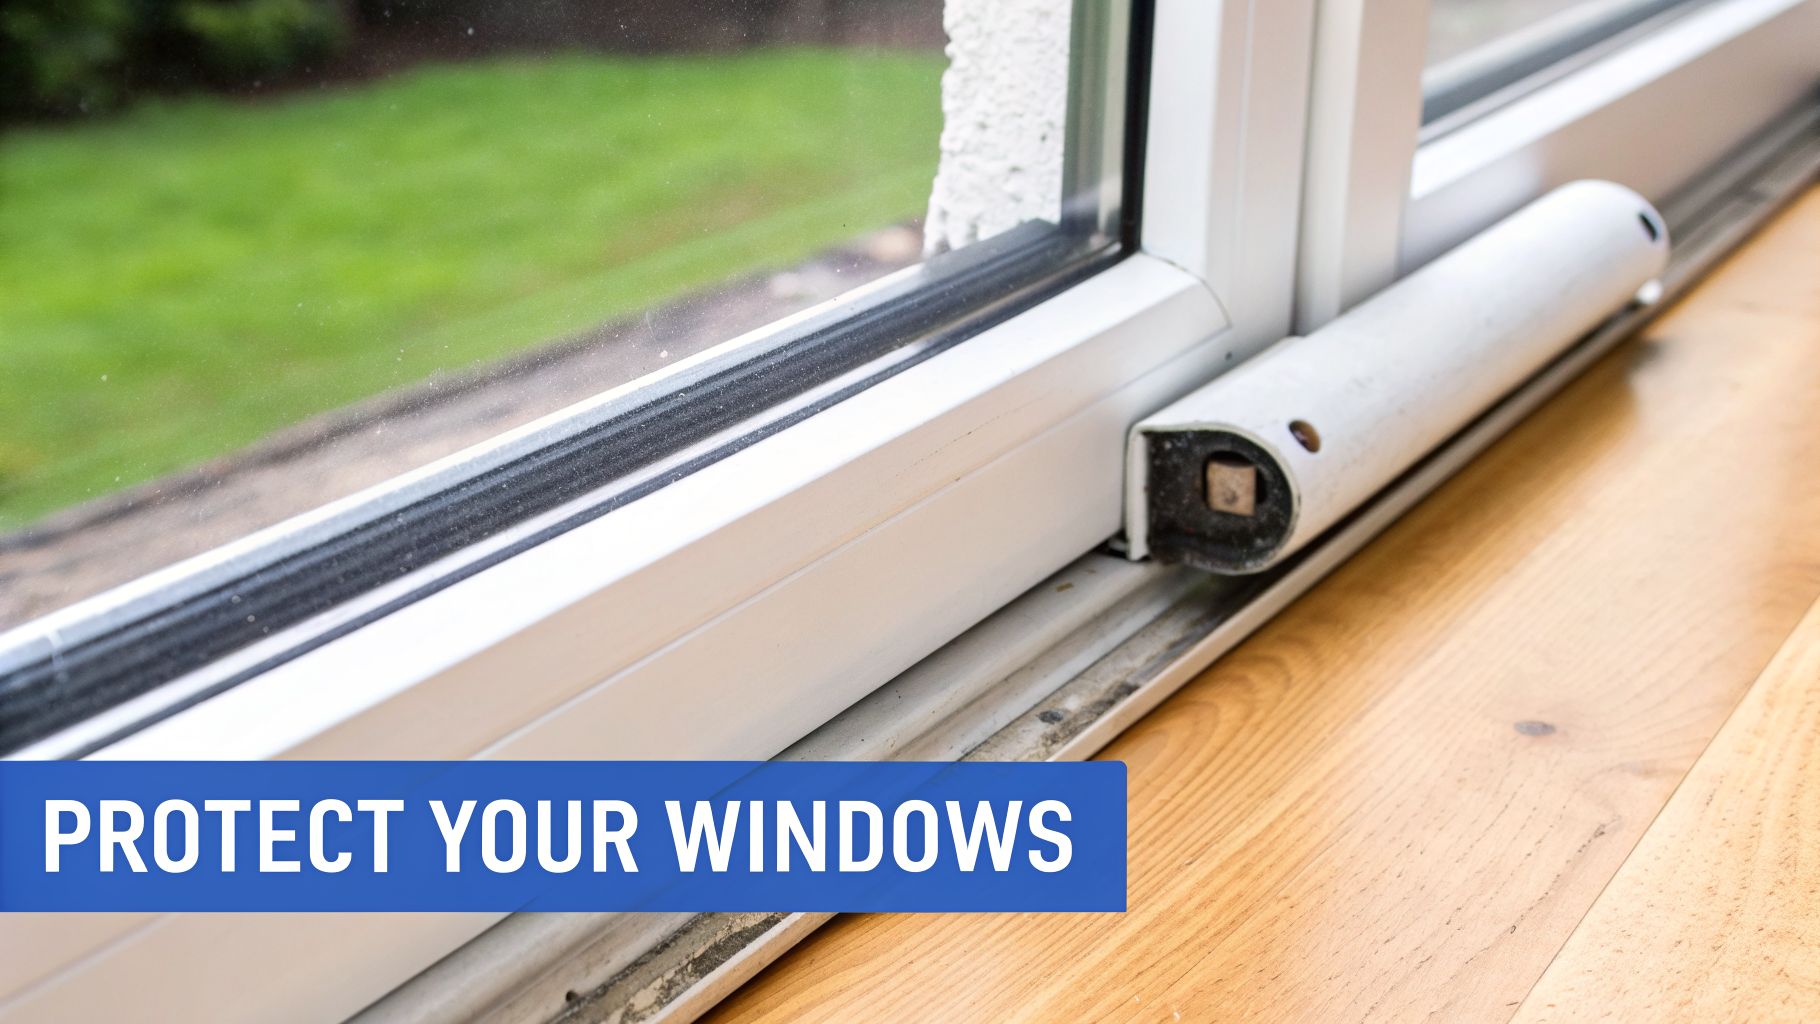
Here’s a final pro tip that most people skip: lubrication. In places like Phoenix, AZ, where big temperature swings make window parts stick, this is non-negotiable. Apply a small amount of silicone-based lubricant to the clean, dry track. Slide the window back and forth a few times to spread it evenly. This simple step ensures your windows glide like new and protects the mechanism from premature wear. And while you're focused on keeping things clean, you might also want to know how to clean Roman shades to keep your window treatments looking just as good.
Dirty tracks are more than just an eyesore. Did you know window track grime is a hidden factor in up to 25% of home energy losses? In scorching places like Scottsdale, AZ, where summer temps can top 110°F, that matters. In dusty climates, our technicians often find 1-3 inches of debris packed in tracks, which can drive up A/C bills by as much as 15%. For more on the growing demand for professional cleaning, check out the data from Fortune Business Insights.

So, you've finished the initial cleanup, but a closer look reveals something more stubborn than just dirt. Those black spots, fuzzy patches, or orange-brown streaks mean you’re dealing with mold, mildew, or rust. These aren't just ugly—they demand a more targeted game plan.
Taking care of these issues right away is about more than just looks. It’s about protecting your home's air quality and making sure your windows last. The good news is, you can often knock out these tough stains yourself with a few simple tricks before even thinking about calling a pro in Denver, CO.
Finding mold lurking in your window tracks is definitely unsettling. You’ll usually spot it as black or greenish patches in damp corners, and it often comes with a telltale musty smell. Your first instinct might be to grab the bleach, but hold off. Bleach can damage window frame finishes and fill your home with harsh fumes.
There’s a much safer and surprisingly effective alternative: hydrogen peroxide. It’s a fantastic mold-killer that tackles the spores and the stains they leave behind.
This approach doesn't just clean the stain; it sanitizes the area, making it harder for mold to come back.
Rust usually shows up on aluminum or metal tracks once their protective coating has worn down, exposing the metal to moisture. These reddish-brown stains can be a real pain, but you can usually get rid of light surface rust without scratching up the track. This is a common issue our Professional Window Cleaning team sees in humid environments.
A simple paste made from two things you probably already have in your kitchen works wonders. The lemon juice provides a mild acid to dissolve the rust, while the salt acts as a gentle scrubbing agent.
Here’s how to make your own rust-fighting paste:
When dealing with tough stains, patience is key. Rushing the process or scrubbing too aggressively can scratch or damage the track finish. Always test your cleaning solution on a small, inconspicuous area first.
What about that grime that looks like it’s been there for a decade? For the kind of gunk that’s been baked on by the sun or has fossilized into a combination of dirt and mold, a handheld steam cleaner is a game-changer. We see this all the time on jobs in places like Las Vegas, NV, where the intense sun turns debris into concrete.
Pressurized steam melts away years of buildup with very little scrubbing and zero chemicals. It gets deep into every nook and cranny, dissolving grime and sanitizing surfaces at the same time. Just aim the nozzle along the track and follow it with a microfiber cloth to wipe away everything the steam loosens. It’s an incredibly powerful solution for those really tough jobs that are just one step shy of needing a professional call-out.
Of course, the right strategy really depends on where you live. What works in a quiet suburb won't cut it against the relentless dust of Phoenix, AZ, or the thick pollen that blankets everything during a Denver, CO spring. You have to adapt your approach to your environment.
Honestly, a little prevention makes a world of difference. Adding a quick track check to your regular cleaning routine is the secret to avoiding a major scrub-down later. Professional Window Cleaning has been cleaning windows for over 26 years, and this is the advice we give all our clients.
Here’s a simple routine we always recommend to homeowners:
This minimal effort keeps your tracks from ever getting to that "disaster" stage, saving you a ton of time and frustration down the road.
While good habits are key, some issues are bigger than a simple cleaning. It's crucial to know when to put the cleaning tools down, because trying to force a solution can cause permanent damage to the window, frame, or its mechanics.
With 26 years of experience in this business, we’ve seen homeowners accidentally cause hundreds of dollars in damage trying to scrub away a mechanical problem. Knowing when to stop is just as important as knowing how to clean.
It’s time to call for professional help if you spot any of these red flags:
When you run into these situations, it's best to call in the experts. At Professional Window Cleaning, we do more than just clean—we assess the entire window system. We can identify and handle these complex issues, then finish the job with a perfect, top-to-bottom clean using the only two methods professionals use for glass: a squeegee or a pure-water system. It’s a comprehensive result that DIY efforts just can’t replicate.
Even after a thorough cleaning session, it’s normal to have a few lingering questions. We get them all the time from homeowners in places like Scottsdale, AZ. Here are our expert answers to the most common questions we hear about keeping window tracks in perfect shape.
For most homes, we recommend a deep clean every 3 to 4 months. This is the sweet spot to prevent serious gunk from building up and to keep your windows sliding effortlessly.
However, your local environment plays a big role. If you’re in an area with a lot of dust, sand, or pollen—like our clients in Phoenix, AZ—you’ll want to do a quick cleanup more often. We advise them to simply vacuum their tracks once a month. This little bit of upkeep stops debris from getting caked on and makes your quarterly deep clean a breeze.
You know the stuff. That sticky, black gunk is usually a lovely mix of dirt, dust, pollen, and moisture that’s collected over time. It’s the perfect recipe for grime.
If you notice it in damp corners or on windows that get a lot of condensation, it could also be mold or mildew. Check for a fuzzy look or a musty smell. If you suspect it’s mold, go back to the hydrogen peroxide method we covered earlier. It’s the safest way to kill the spores and get rid of the stain for good.
We can't stress this enough: please don't use harsh chemicals like bleach or ammonia on your window tracks. They might seem like a quick fix, but they can easily cause more harm than good, a fact we often share with our clients in Denver, CO.
Bleach can permanently damage or discolor the finish on your vinyl and aluminum tracks. Worse, it can release toxic fumes that are dangerous to breathe, especially in a small space.
A simple solution of dish soap and water or our go-to baking soda and vinegar paste is all you need. They are more than strong enough to cut through even the toughest grime without putting your windows—or your health—at risk.
It's frustrating when you do all that work and the window still fights you. If you’ve given the track a thorough cleaning, the next step is lubrication. Grab a silicone-based lubricant and apply a thin layer to the clean, dry track. Slide the window open and closed a few times to spread it evenly.
If it still jams after that, you’re likely dealing with a mechanical problem. It could be anything from a simple alignment issue to worn-out rollers or another damaged part. At this point, your best bet is to call in a professional. Trying to force it could lead to much more expensive damage.
When your DIY efforts just aren't cutting it, or you want a complete, top-to-bottom window cleaning service, Professional Window Cleaning is here to help. Our experts tackle everything from stubborn track grime to a perfect, streak-free shine on every pane of glass. Schedule your professional window cleaning service today!
Read our blog posts regularly and keep learning.