Care and Maintenance
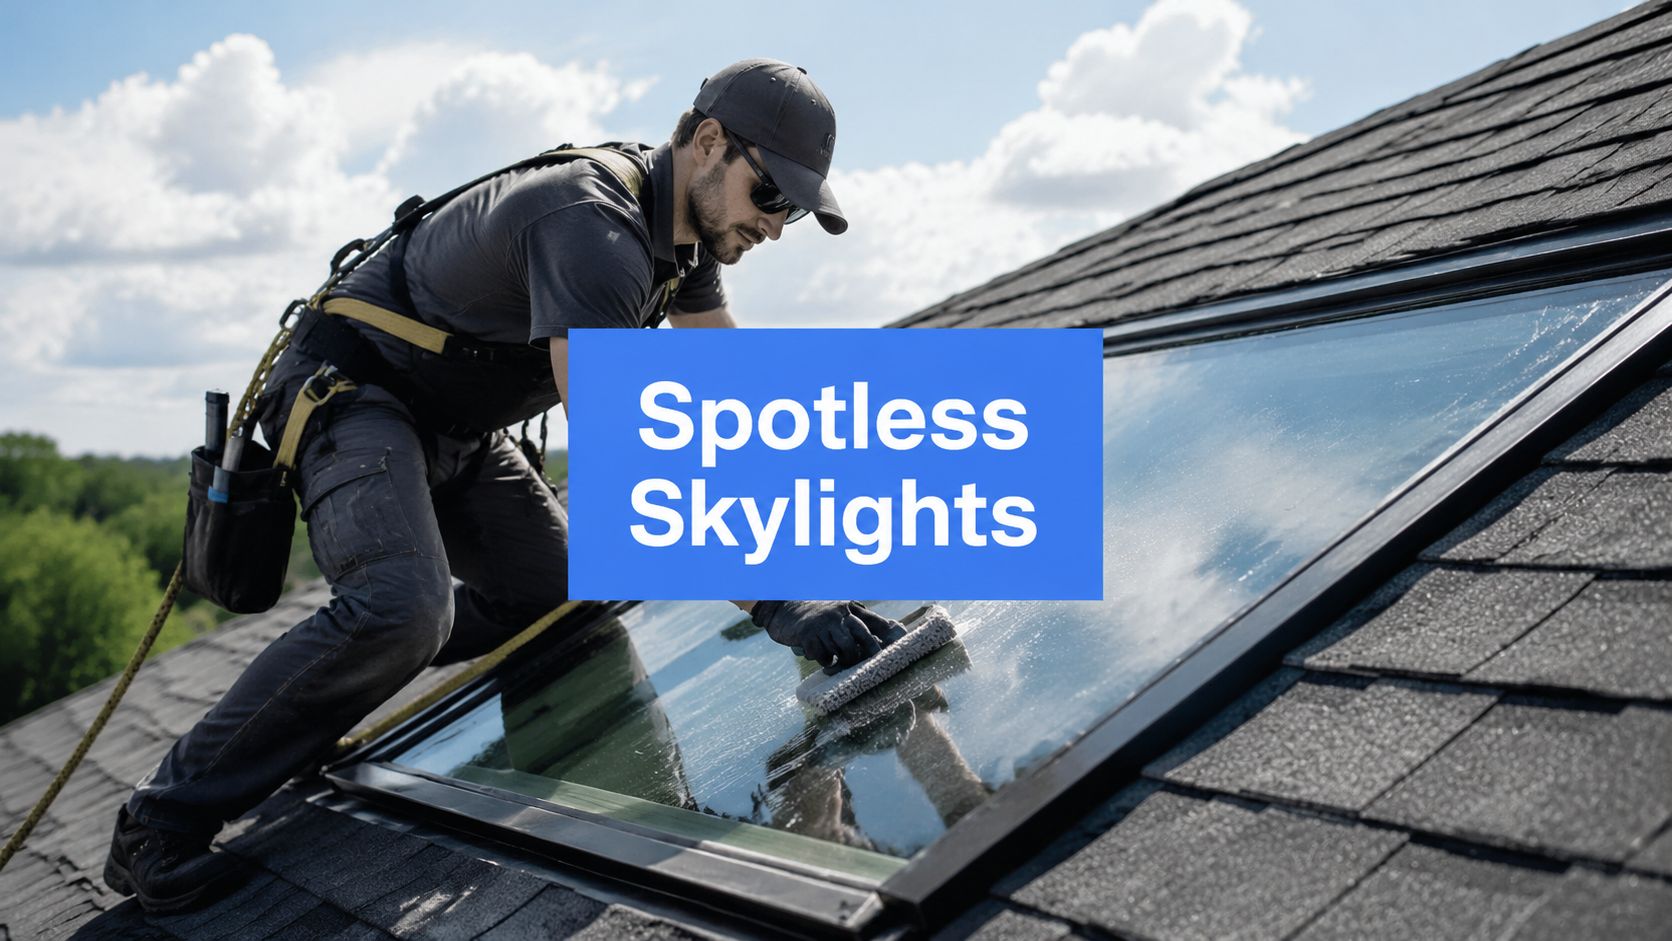
Skylight Cleaning Service: Spotless Results 2026
Achieve streak-free glass with our skylight cleaning service. Get safety checks, pricing, & DIY vs. pro insights in AZ, CO, NV. Learn more!


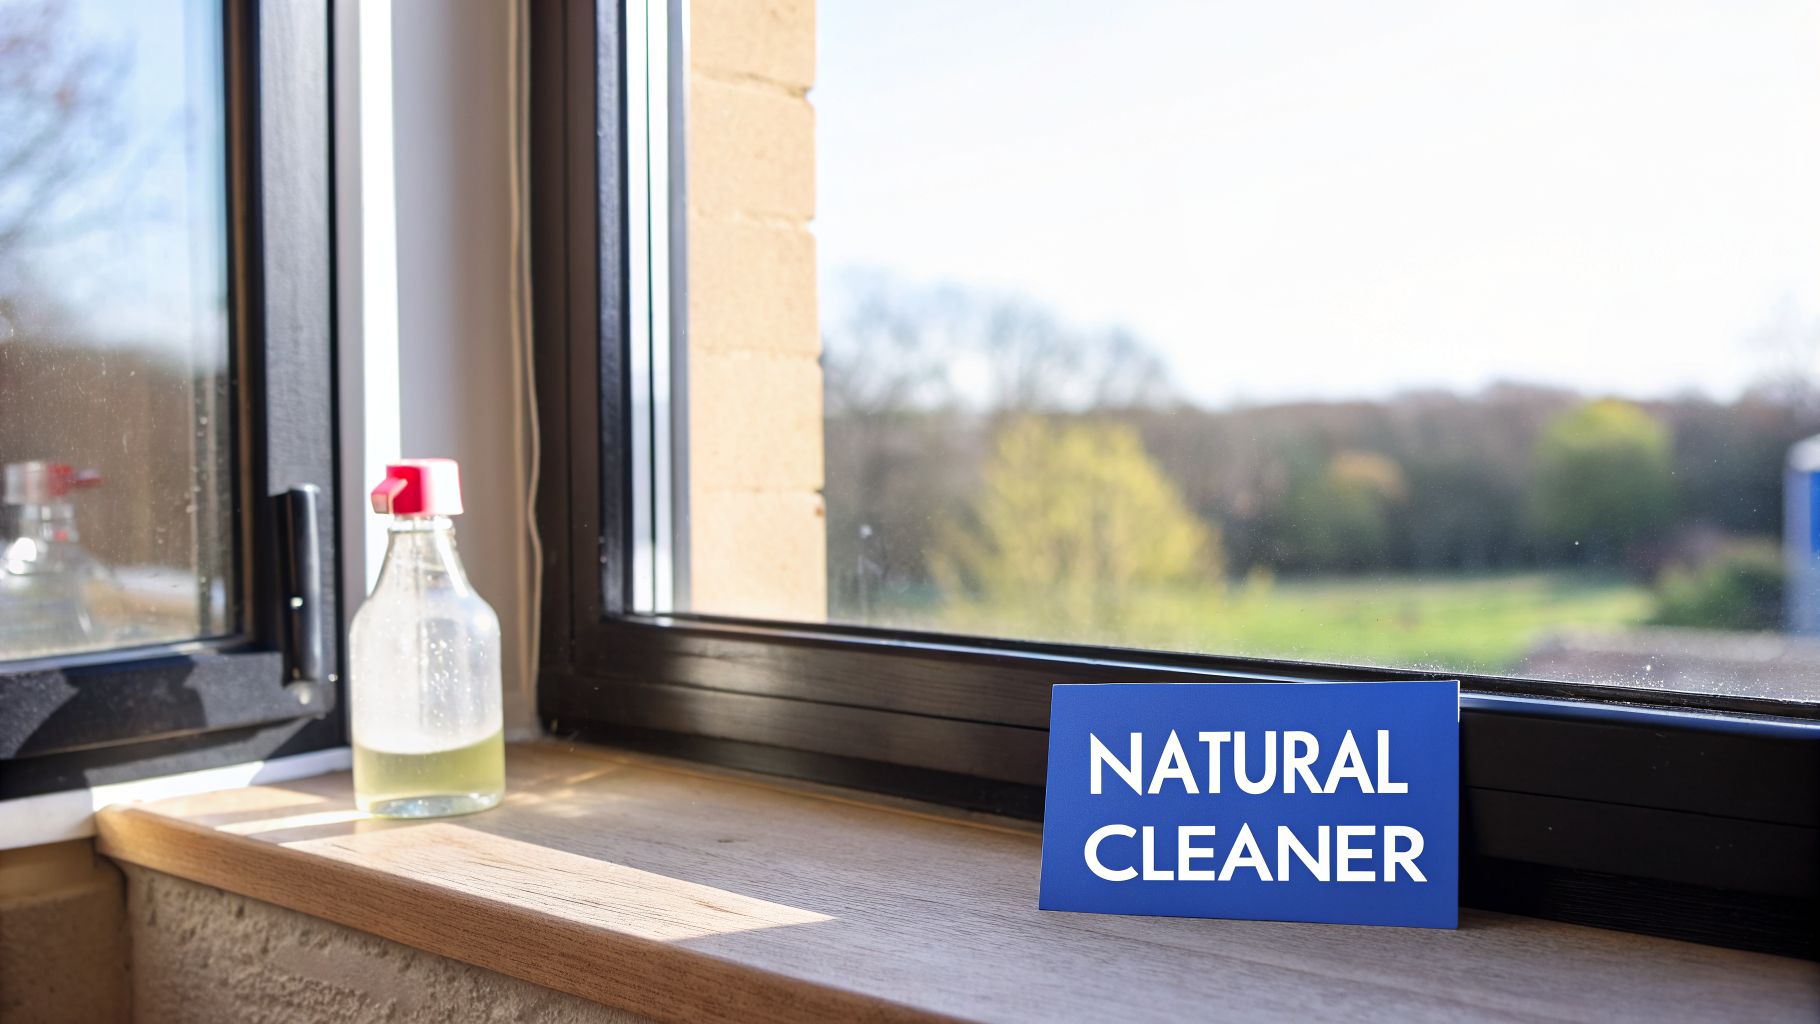
To get your windows impressively clean, you don't need a shelf full of harsh chemicals. The secret might already be in your pantry: a simple mix of equal parts distilled white vinegar and distilled water in a spray bottle is all it takes. This all-natural solution is a powerhouse, cutting right through grime to leave a streak-free shine that rivals many commercial cleaners.
It’s easy to wonder why something as simple as vinegar is still a go-to cleaner when there are entire aisles dedicated to fancy chemical sprays. The answer lies in its natural acidity. The acetic acid in household vinegar is surprisingly effective at dissolving the everyday culprits that cloud up your view—think grimy buildup, oily fingerprints, and even those stubborn hard water spots.
Choosing this simple staple for home maintenance isn't just about getting the job done. It’s about how you get it done.
The science behind it is pretty straightforward. Most of the gunk on your windows—like dirt, dust, and mineral stains from hard water—is alkaline. Vinegar, being an acid, works to neutralize these substances on a chemical level. This breaks their bond with the glass, allowing you to wipe them away easily without leaving any residue. That’s the key to learning how to clean windows with vinegar and getting that invisible-glass look everyone wants.
For over 26 years, our team at Professional Window Cleaning has seen firsthand what works. While a vinegar solution is fantastic for DIY upkeep, it's the professional methods professionals use—expert squeegee work or the use of a pure-water system—that deliver flawless results on every job in cities like Phoenix and Denver.
While vinegar is a powerful, natural option, it’s helpful to know how it stacks up against more traditional cleaners. For instance, an ammonia window cleaner has its own set of properties that work well in certain situations. For most homeowners, though, vinegar’s combination of safety and effectiveness is hard to beat.
This DIY method is perfect for routine cleaning, but it’s just as important to know when to call in the pros. Really challenging jobs, like high-rise buildings in Las Vegas or large-scale commercial properties in Phoenix, demand the specialized equipment and safety protocols that only seasoned experts like our team at Professional Window Cleaning can provide.
Getting that coveted, streak-free shine all starts before you even think about spraying the glass. It begins with getting the right gear. Forget about wads of paper towels or old t-shirts; if you want a finish that looks like the pros were there, you need to build your toolkit with a purpose.
This isn’t about having a mountain of supplies, but having the right ones. Each piece plays a critical role in making sure your glass isn't just clean, but flawlessly clear. This is the foundation for successfully learning how to clean windows with vinegar.
Professional Window Cleaning has been cleaning windows for over 26 years! Here’s what we recommend for your DIY kit:
Now for the real secret: tailoring your cleaning solution to the specific job. A one-size-fits-all mixture won’t cut through tough outdoor grime as effectively as it handles simple indoor fingerprints.
The idea of using vinegar to clean glass is nothing new. In fact, records from 1820s European households show it was commonly used in a 1:1 ratio with water. Fast forward to today, a 2026 survey found that 68% of homeowners in arid states prefer vinegar solutions for their impressive ability to combat hard water stains, a very common issue in places like Las Vegas. You can discover more insights about using vinegar to tackle hard water on bringitoncleaner.com.
For your own home, especially if you're dealing with the dusty, dry conditions we often see in communities like Scottsdale, AZ, adjusting your mixture is the key to success.
Here’s a quick-reference table to help you mix the perfect batch for any situation you might encounter.
Use this table as your starting point. You'll quickly get a feel for what works best for your home's specific needs and learn to adjust your cleaning solution on the fly, just like a pro.
Alright, you’ve got your tools and your vinegar mix is ready. Now for the fun part—actually cleaning the glass. This is where the magic happens, and where a little technique separates a so-so job from that invisible, professional-grade finish. The real secret to learning how to clean windows with vinegar without getting frustrated is to be methodical, just as our crews in Phoenix and Denver have been for over 26 years.
Before you even think about spraying the window, do this one simple thing first: give the frames, sills, and tracks a quick wipe. Use a dry microfiber cloth or a soft brush to knock off any loose dust, cobwebs, or debris. It’s a small step that makes a huge difference, preventing you from turning all that gunk into a muddy mess once the water hits.
This visual guide breaks down the core process into three simple actions.

The flow from spraying, to squeegeeing, to the final wipe-down is the exact system we use to get a perfect, streak-free shine every time.
Forget paper towels—they just leave lint and streaks behind. The squeegee is your most important tool for getting that crystal-clear, "is the window even there?" look. While we often use advanced pure-water systems on big jobs, a good squeegee is one of the only two methods professionals use and the best way to replicate professional results at home.
For most windows in your house, the classic top-to-bottom pull is the way to go.
Got bigger panes of glass, like picture windows or sliding doors? You might want to try the "S-Method." This is where you snake the squeegee back and forth across the glass without lifting it. It definitely takes some practice, but once you get the hang of it, it's incredibly fast and efficient. For a homeowner with large patio doors, like many in the suburbs near Denver, CO, mastering this can be a real game-changer.
Okay, you’ve got the basic moves down. Now let’s talk about the little details that our pros use to guarantee a perfect job every single time.
One of the biggest mistakes people make is picking the wrong time to clean. You should always clean your windows on an overcast day or when the glass is in the shade. Direct sun heats up the glass and makes your vinegar solution evaporate almost instantly. That leaves behind streaks and mineral spots before you even get a chance to squeegee them off.
Here’s another pro tip: keep one microfiber cloth completely dry and use it only for detailing. After you've squeegeed the window, use this cloth to quickly wipe up any stray drips along the edges of the pane or on the windowsill. It's the final touch that makes the entire window frame look just as spotless as the glass.
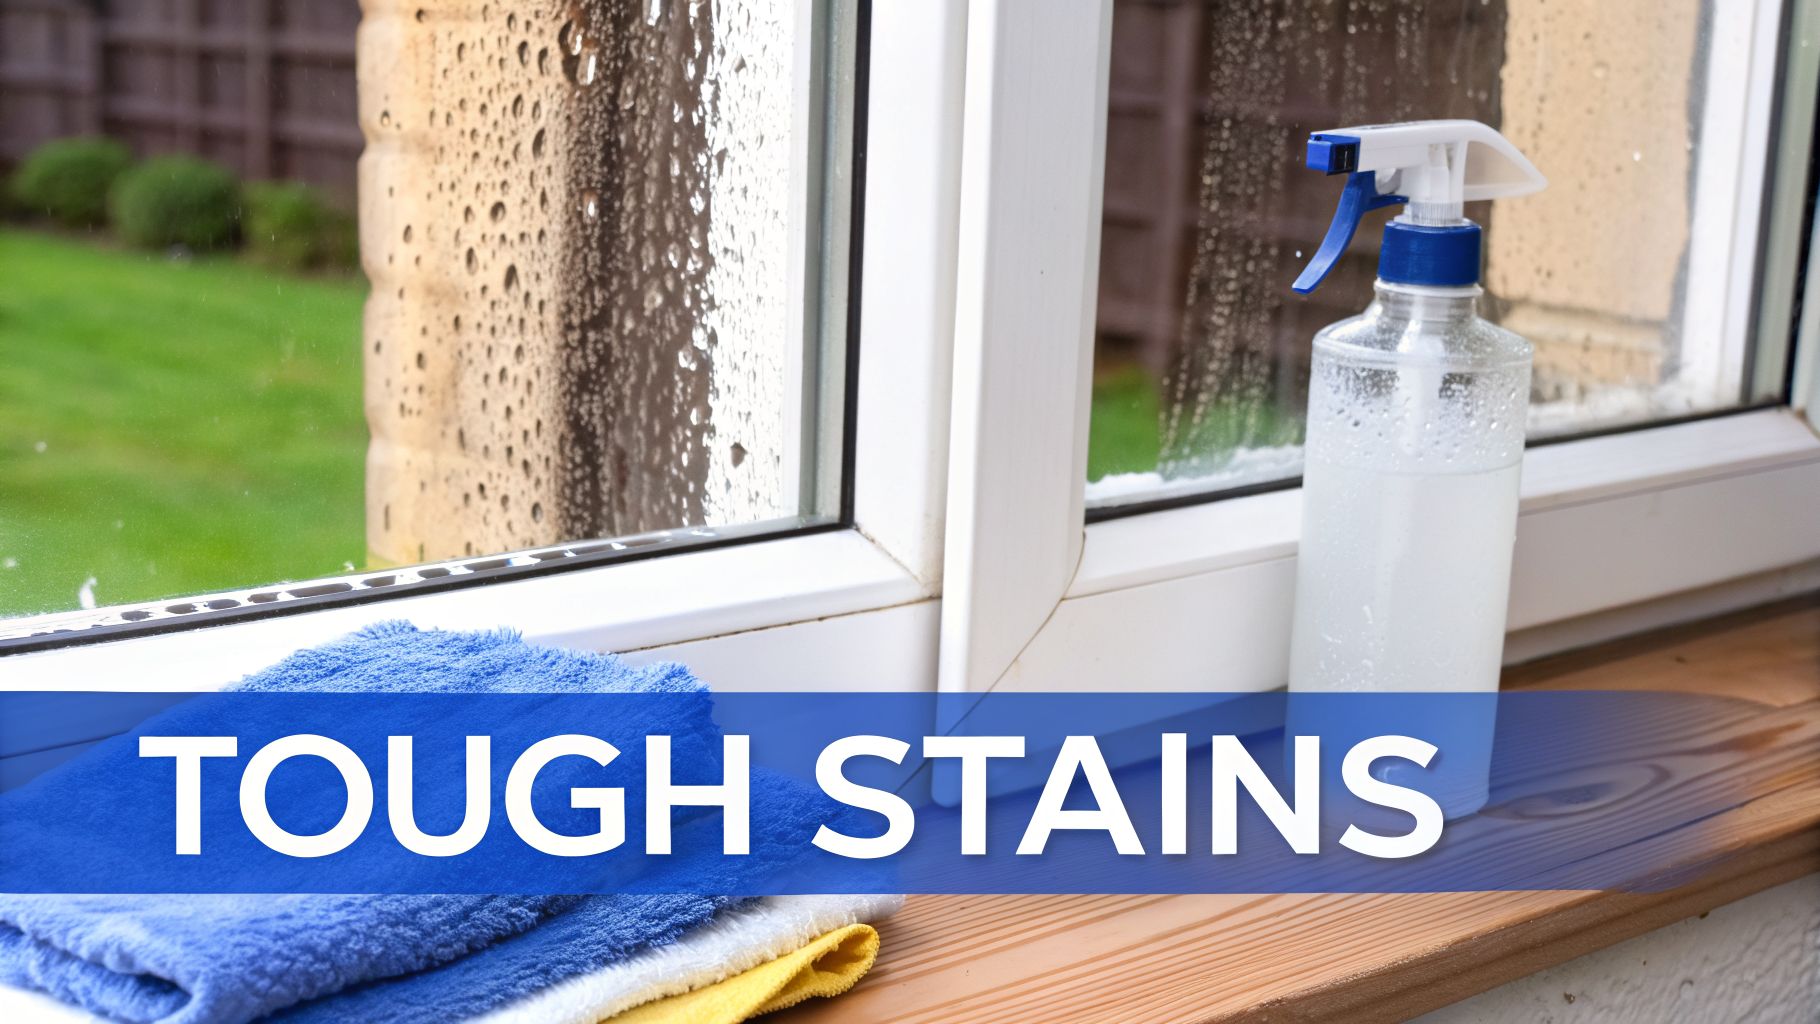
Sometimes, a standard spray-and-wipe just won’t cut it. We’ve all been there—you encounter a stubborn mess that clings to the glass and laughs at your first attempt. When you're learning how to clean windows with vinegar for these tougher jobs, the secret is adjusting your approach and giving the solution time to work.
From dried-on bird droppings to baked-on tree sap, these problems require a bit more muscle. The good news is that you can often defeat them without resorting to harsh, abrasive chemicals that could damage your glass.
Hard water stains are the bane of homeowners in desert climates like Las Vegas, NV, and Phoenix, AZ. Those chalky, white spots are mineral deposits (calcium and magnesium) left behind after water evaporates, and they can be incredibly difficult to budge.
For these stubborn spots, your regular diluted mix won't be strong enough. Instead, you'll need to reach for a more concentrated vinegar solution, or even pure distilled white vinegar.
First, generously spray the concentrated vinegar directly onto the hard water stains. You want the area to be thoroughly wet so the vinegar can get to work.
This next part is the most crucial step: let the vinegar sit on the glass for at least 5-10 minutes. This gives the acetic acid time to break down and dissolve the mineral bonds. Don't rush it.
After it's had time to dwell, use a non-abrasive scrub pad or a balled-up microfiber cloth to gently scrub the area in a circular motion. You should feel the deposits starting to loosen. Once the stains are gone, just spray the window with your standard cleaning solution and squeegee it clean for that perfect streak-free finish.
Few things are more frustrating than discovering a sticky patch of tree sap or a crusty bird dropping on your perfectly clean window. The key here is to soften the substance before you try to wipe it away—this is how you avoid scratching the glass.
For these sticky situations, a cloth soaked in your hot vinegar solution works wonders. Place the warm, damp cloth directly over the spot and let it rest for a few minutes. The heat and acidity will soften the mess, allowing you to lift it off gently without any scraping.
Professional Window Cleaning has been cleaning windows for over 26 years! The most common mistake we see homeowners make is using a razor blade or harsh scrubber on these tough spots, which almost always results in permanent scratches on the glass. Patience is your best tool.
While vinegar is a fantastic cleaner, it isn't a cure-all. Its acidic nature can cause damage to certain materials commonly found around windows.
This natural cleaner's history is surprisingly long. Its window-cleaning power dates to ancient Rome around 100 AD, where diluted acetic acid was used to polish glass. Modern surveys show vinegar has a 72% efficacy rate on dust and grease, and its pH of 2.4 neutralizes 85% of alkaline dirt, preventing streaks far better than some soaps. You can learn more about the findings on the effectiveness of natural cleaners at NGWindows.com.
While mastering how to clean windows with vinegar is a fantastic skill for everyday home maintenance, it’s just as important to recognize when a job is beyond the scope of a DIY approach. Your vinegar solution is perfect for ground-floor smudges, but some projects quickly cross the line from a simple chore into a genuine safety hazard.
Knowing when to put down the spray bottle and pick up the phone is all about protecting yourself and your property. For many homeowners in Scottsdale, AZ and Denver, CO, the idea of teetering on a wobbly ladder to reach a second-story window is a non-starter—and for good reason.
When windows are two or three stories high, or awkwardly placed over a sloped roof or delicate landscaping, the risks multiply. Professionals come equipped with specialized ladders, safety harnesses, and water-fed poles to tackle the job safely and effectively. It’s simply not worth risking a serious fall just to get a clear view.
Large commercial properties, from storefronts to office buildings, present an entirely different challenge: the need for absolute efficiency and perfection. A streaky window on a commercial building can detract from its professional image. Our teams are equipped to handle vast expanses of glass quickly, ensuring a flawless look that reflects well on your business.
For over 26 years, we've perfected the only two methods professionals use. For detailed interior work, nothing beats the classic squeegee. For large-scale exterior jobs, our modern pure-water systems use deionized water to leave a perfect, spot-free finish without any chemicals.
Professional Window Cleaning has been cleaning windows for over 26 years! We have seen vinegar solutions evolve into a great first-line defense for homeowners. But when it comes to delivering flawless results on a 50-story high-rise, it just doesn't cut it alone. Professional tools and techniques are essential to avoid issues like the 12% risk of frame damage on certain vinyl types from improper technique. You can explore more about what makes the best cleaners effective with these insights from ConsumerReports.org.
While DIY methods are fantastic for many window cleaning tasks, there are definitely situations where specialized equipment and expertise are a must. For larger homes, commercial properties, or buildings with complex window designs, you might want to consider reaching out to professional window cleaning services.
From towering residential homes in Denver, CO, to sprawling commercial complexes in Las Vegas, NV, our passion at Professional Window Cleaning is delivering that brand-new look, no matter the challenge. When safety, scale, or perfection are your top priorities, calling in an expert is always your best bet.
Even with the best DIY instructions, it's normal to have a few questions before you start scrubbing. Getting the small details right is what separates a decent result from that professional, crystal-clear shine we're all after in cities like Phoenix and Las Vegas.
Let's walk through some of the most common questions we hear from homeowners to make sure you feel totally confident.
This is probably the number one question people ask, and it’s a fair one! The good news is, while you'll notice the distinct vinegar scent during cleaning, it won't stick around.
Acetic acid, the workhorse ingredient in vinegar, evaporates right along with the water as your windows dry. The smell typically vanishes within 15 to 30 minutes, especially with a bit of airflow. Once it's gone, you're left with nothing but a fresh, neutral scent—no lingering chemical perfumes like you get with many store-bought cleaners.
It can be tempting to reach for whatever vinegar is in the cupboard, but for window cleaning, you absolutely want to stick with distilled white vinegar.
Apple cider vinegar, while great for other things, contains natural sugars and impurities (tannins) that can leave a sticky or slightly colored film on your glass. That's the last thing you want. Distilled white vinegar is clear and pure, making it the industry standard for a guaranteed streak-free finish. If you're curious about other cleaning agents, you can learn more about vinegar and ammonia-based cleaners.
This is a critical question because the wrong cleaner can easily ruin expensive window tinting. For most high-quality, factory-applied window films, a very weak vinegar solution (think 1 part vinegar to 10 parts water) is generally fine.
The catch is that the acid can potentially harm older, cheaper, or aftermarket films. This can cause bubbling, peeling, or discoloration over time, which is an expensive fix.
The safest approach is to always test your solution on a small, inconspicuous corner first before committing to the entire window. If you have any doubt, especially with custom or expensive tints, consulting the film’s manufacturer or calling a professional service is the best way to prevent costly damage. Professional Window Cleaning has been cleaning windows for over 26 years!
When your windows need more than just a quick DIY touch-up, Professional Window Cleaning is here to help. With over 26 years of experience serving communities across Arizona, Colorado, and Nevada, we have the passion and expertise to make every home and business look brand new. For a flawless finish on any window, big or small, contact us for a free estimate at https://www.professionalwindowcleaning.com.
Read our blog posts regularly and keep learning.

