Care and Maintenance
Best Commercial Glass Cleaner: How to Choose
Compare the best commercial glass cleaner options, from ammonia formulas to pure-water systems. Find the right cleaning method for your building type.


You're looking at a window that's gone cloudy, spotted, or difficult to operate. The glass may have a mineral film, the frame may be buried under failing paint, and a draft may be entering through a gap you can't see. Wiping the pane can improve its appearance, but it won't restore the window.
After more than 26 years in professional window cleaning, I've learned that lasting results come from treating the window as one working assembly. Clean the glass first, inspect the frame and sash, repair the glazing, then address air and water movement. That sequence prevents a polished pane from being installed beside a failing seal or a freshly painted sash that still leaks.
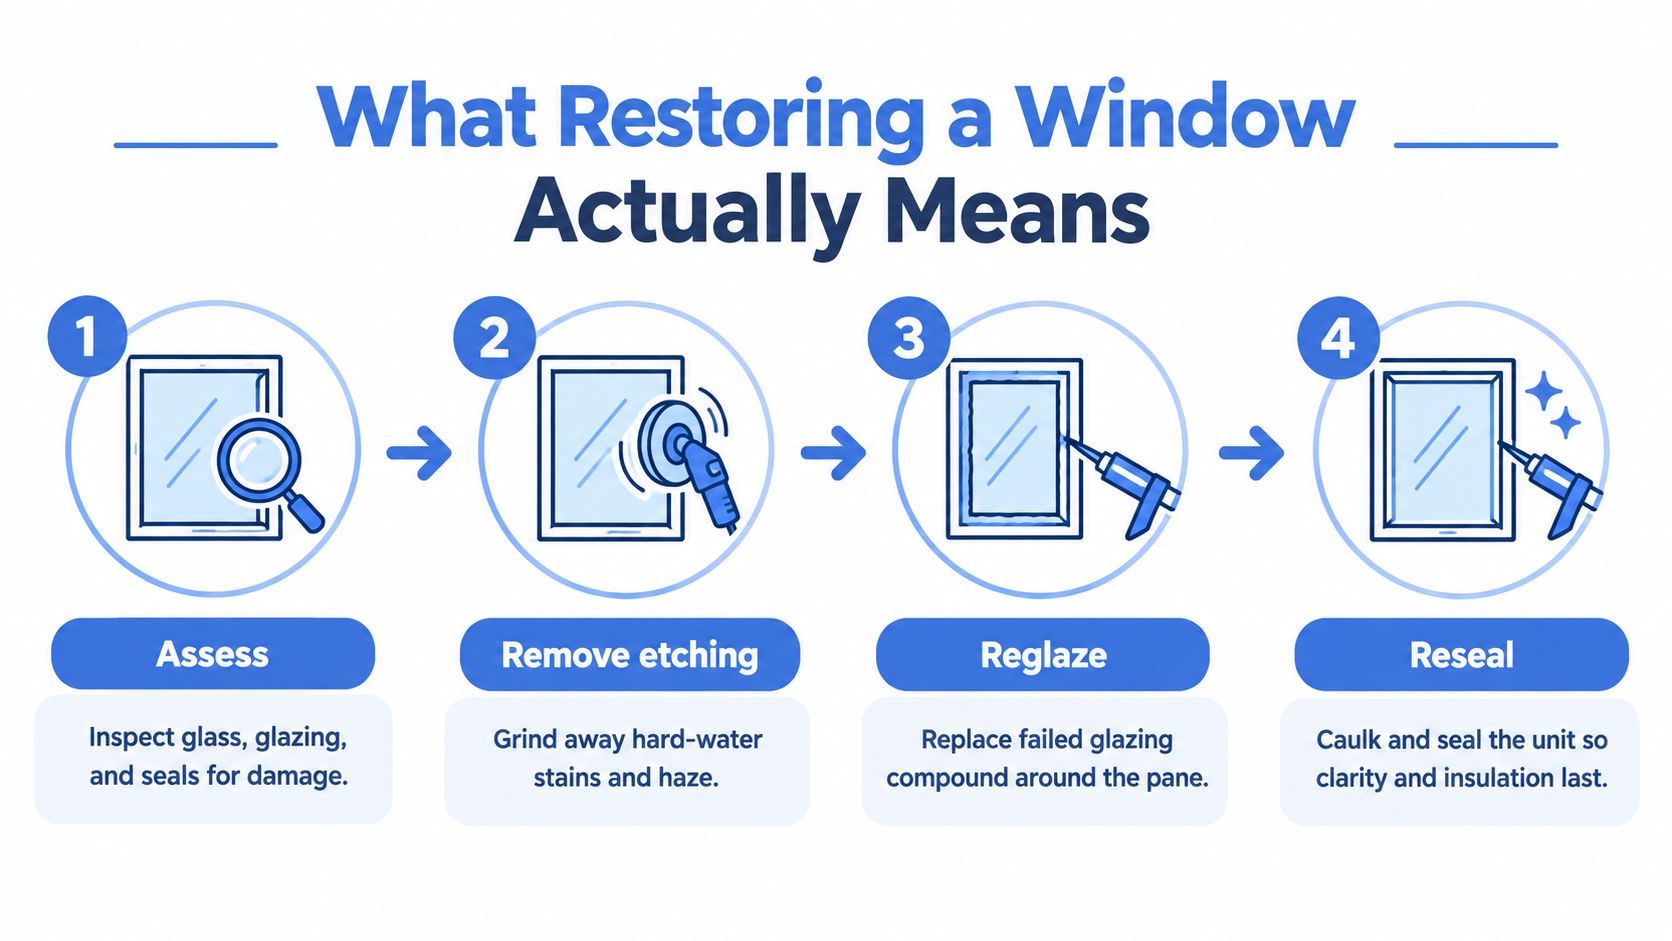
Window restoration is a sequence of assessment, surface correction, repair, and protection. It may involve removing hard-water staining, correcting haze, replacing failed glazing compound, repairing damaged timber, and improving seals. The right endpoint depends on the window. A historic sash may deserve careful repair, while a badly distorted frame may no longer justify extensive work.
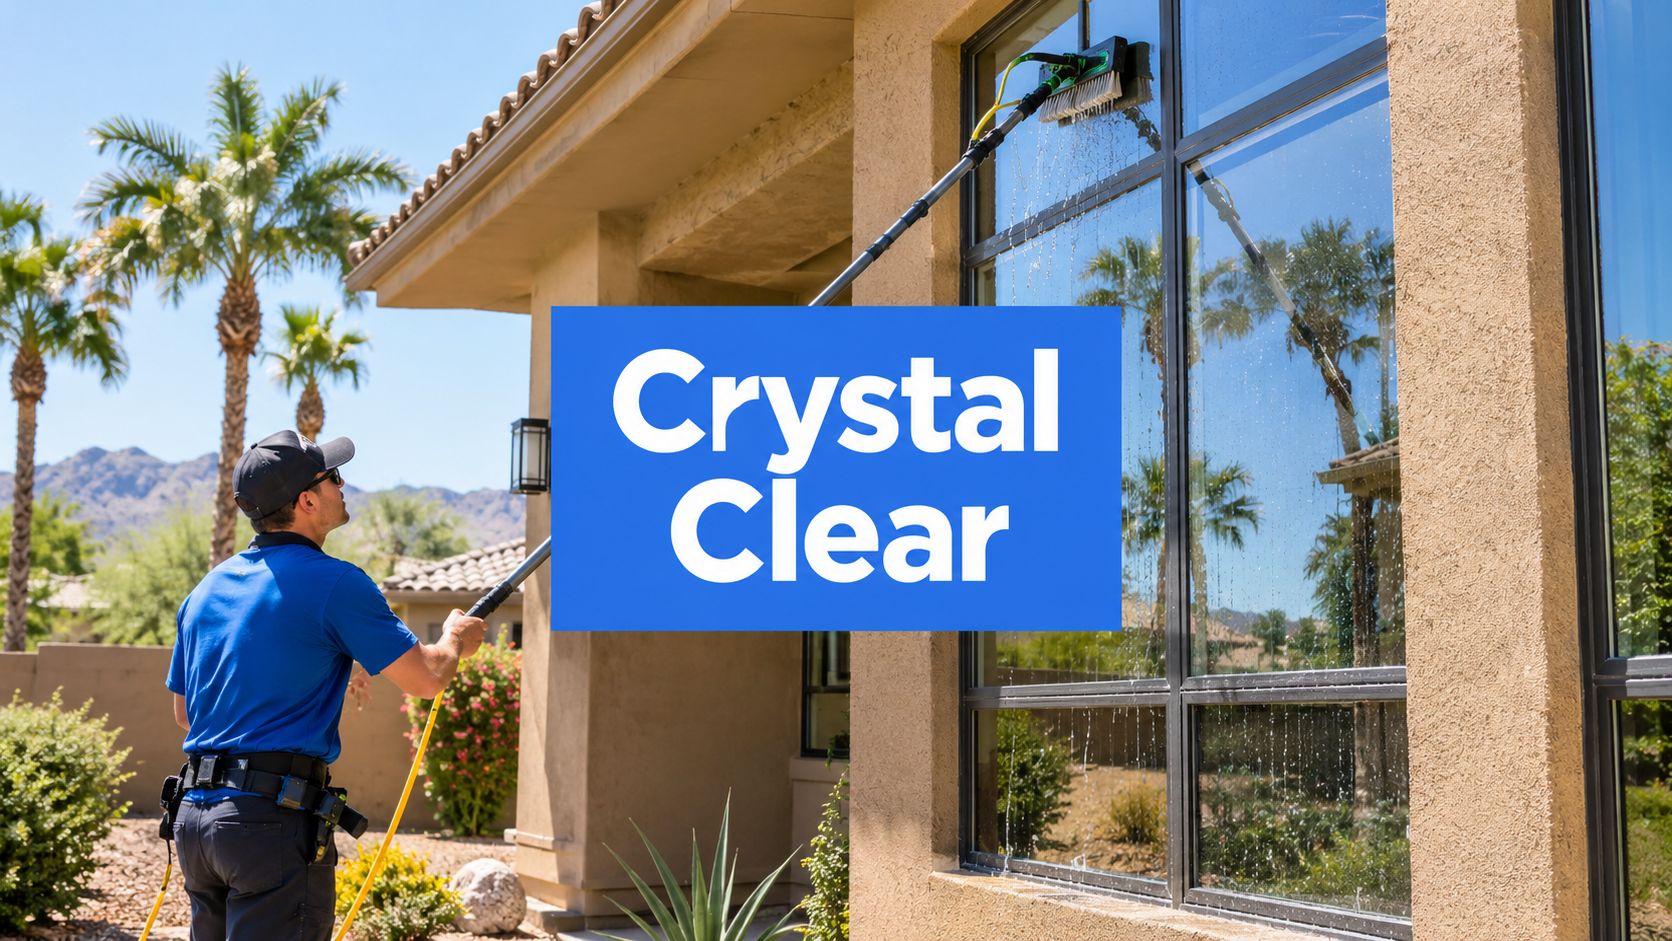
Professional cleaning provides the necessary starting point. There are only two methods professional window cleaners use: the traditional squeegee method and the pure-water system. A squeegee method uses a scrubber, cleaning solution, and rubber blade for interior glass and reachable exterior panes. A pure-water system uses filtered or deionized water, brush agitation, and a water-fed pole to clean exterior glass, including upper windows, without leaving mineral spots when the system is working correctly.
Neither method repairs rotten wood or failed insulating glass. Both remove the dirt and surface film that can hide those problems. A clean pane also gives polishing compounds, glazing materials, and sealants a surface that can be evaluated properly.
Historic windows often contain original frames, sashes, single glazing, and handmade glass. In England before the 16th century, many windows were unglazed openings covered with shutters, paper, oiled cloth, or horn. Glass became widely used in the 16th century, sash windows appeared in the mid-17th century, the oldest known surviving sash window dates to 1670, and counterbalanced sash systems entered use in the late 17th century, as documented by The NBS history of windows, glass, and glazing.
That history matters because replacing an old pane with a modern sealed unit can remove important material evidence. For decorative or period properties, these Art Deco window restoration tips can help you think about pattern, proportion, and original detailing before choosing a replacement.
The practical rule is simple: restore what can still perform, and replace only what has become structurally or technically unsound. Cleaning reveals the condition, but diagnosis determines the work.
Before removing putty or reaching for a scraper, classify the opening. “Fix the window” isn't a useful scope because a fogged vinyl slider, a painted wood double-hung, and an aluminum storefront require different tools and different expectations.
Use four questions:
A condition survey should document each opening, including its location, paint condition, sill, frame, rails, stiles, muntins, and sash components. Numbering windows and photographing them before disassembly prevents parts from being returned to the wrong opening.
| Window Type | Common Material | Typical Condition | Realistic Approach |
|---|---|---|---|
| Single-pane sash | Wood | Loose putty, paint failure, worn cords | Clean, repair timber, reglaze, weatherstrip, and restore the balance system |
| Double-pane slider | Vinyl or aluminum | Internal fogging or damaged seals | Diagnose the insulating glass unit and consider sash or glass-unit replacement |
| Casement | Wood, aluminum, or fiberglass | Failed gasket, loose hardware, mineral film | Clean the glass, repair hardware, renew gaskets, and inspect perimeter seals |
| Fixed storefront | Aluminum | Oxidation, sealant failure, stained glass | Clean and polish where appropriate, renew compatible sealant, replace failed units when needed |
| Historic divided-light sash | Wood | Fragile glass, peeling coatings, localized rot | Preserve original components when sound, use careful disassembly, and reglaze selectively |
| Fiberglass frame | Fiberglass | Drafts, coating wear, or damaged seals | Inspect the frame and perimeter, then use compatible seal and insulation repairs |
Material affects thermal behavior and repair options. For a broader overview of frame materials, including the role of fiberglass, this fiberglass frame insulation guide provides useful background.
Don't confuse internal fogging with surface haze. If the cloudiness sits between the panes, exterior cleaning won't remove it. If the sill is soft, the frame is bowed, or the sash no longer sits square, polishing the glass is only cosmetic.
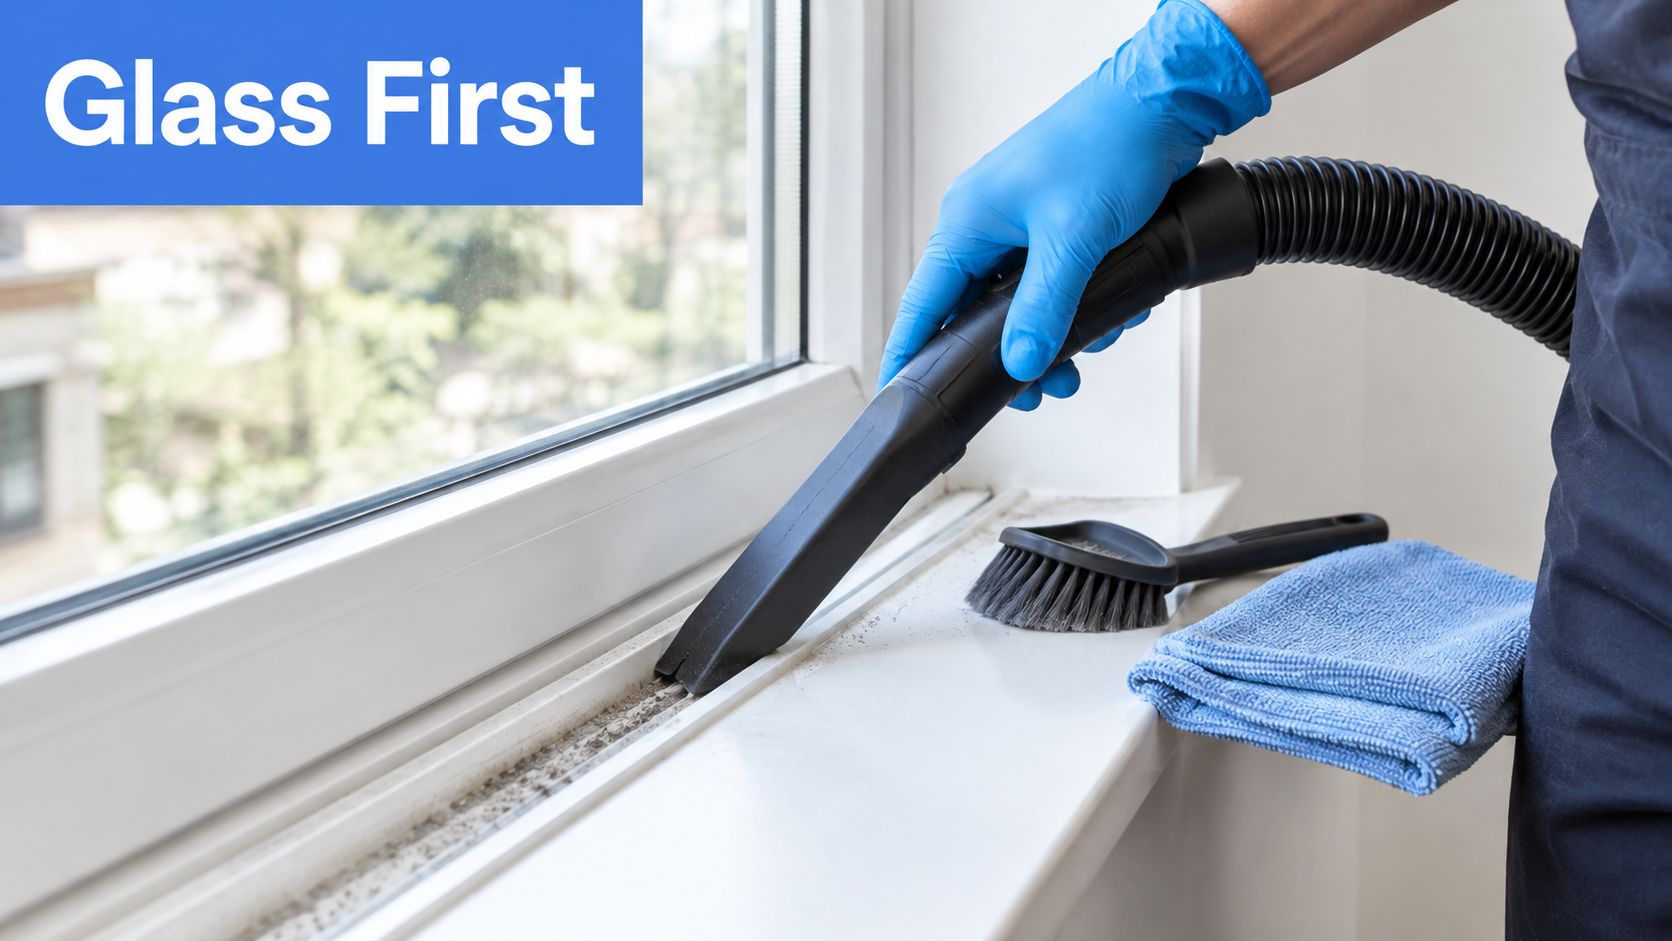
Glass restoration starts below the pane. Vacuum the sill, corners, and track before wet cleaning. Loose grit can sit under a scrubber or squeegee and scratch the surface, especially on older glass with a softer finish.
For mineral deposits, begin with a mild oxalic or citric acid solution and a white nylon pad. Keep the product controlled, protect adjacent finishes, and rinse thoroughly. Acid may remove deposits sitting on the surface, but it won't correct genuine glass etching.
Etched glass needs mechanical polishing. A cerium oxide product or a professional glass polish can reduce the damaged surface, but polishing creates heat and can distort the pane if the operator stays in one area too long. Work gradually, keep the compound moving, and inspect from changing angles.
Haze can also come from old wax, polymer, or cleaning-product residue. Isopropyl alcohol or a dedicated glass stripper can remove that film before polishing. Don't polish through a coating and assume the glass itself is damaged.
The cleaning industry commonly uses the squeegee and pure-water approaches for routine professional glass work. The modern squeegee is widely traced to 1936, when Ettore Steccone patented a lightweight brass tool with a flexible rubber blade, according to this history of professional window-washing systems.
Match the squeegee channel and rubber to the pane size. Keep the blade at a consistent angle of about 30 degrees, maintain a dry edge, and overlap strokes by roughly one inch, as described in this professional squeegee technique guide. Fanning or S-strokes can cover larger panes efficiently, but only when the rubber remains clean and the overlap is consistent.
A pure-water system is useful for upper exterior glass. A working operator checks the water quality, agitates the pane with the brush, and rinses until the surface is free of loosened mineral film. The water then dries without the soap residue associated with conventional washing. Pure-water systems became practical for this work in the late 20th century, with a significant development in 1997, when Craig Mawlam launched a telescopic pole integrated with water purification, as explained in this water-fed pole technique history.
For specific mineral problems, use this guide to clean hard-water stains on glass before escalating to abrasive polishing.
A clean pane now gives you an honest view of scratches, cracks, edge damage, and failed glazing. It also prevents you from sealing dirt into the perimeter during the next phase.
Wood-window restoration works best when the sash comes out. Label the stops, parts, and opening before removal, then place the sash on a stable work surface. On older properties, test coatings for lead and use lead-safe containment and removal practices rather than dry-sanding through multiple paint layers.
Remove old putty with controlled heat or a steamer. Excessive heat can crack glass or scorch timber, so soften a small area and lift the compound with a sharp putty knife. Remove glazing points carefully, support the pane, and don't force glass that has bonded to the bedding.
Dry-fit replacement parts before applying adhesive, epoxy, primer, or glazing compound. This step exposes incorrect dimensions while the assembly can still be adjusted. Consolidate localized decay with an appropriate wood repair system, replace sections that have lost their strength, and back-prime end grain before reassembly.
Historic preservation guidance commonly follows a sequence of drying deteriorated wood, treating decay, applying boiled linseed oil in repeated applications, and filling cracks and holes. The right repair depends on the extent of deterioration. Filler is not a substitute for missing structure.
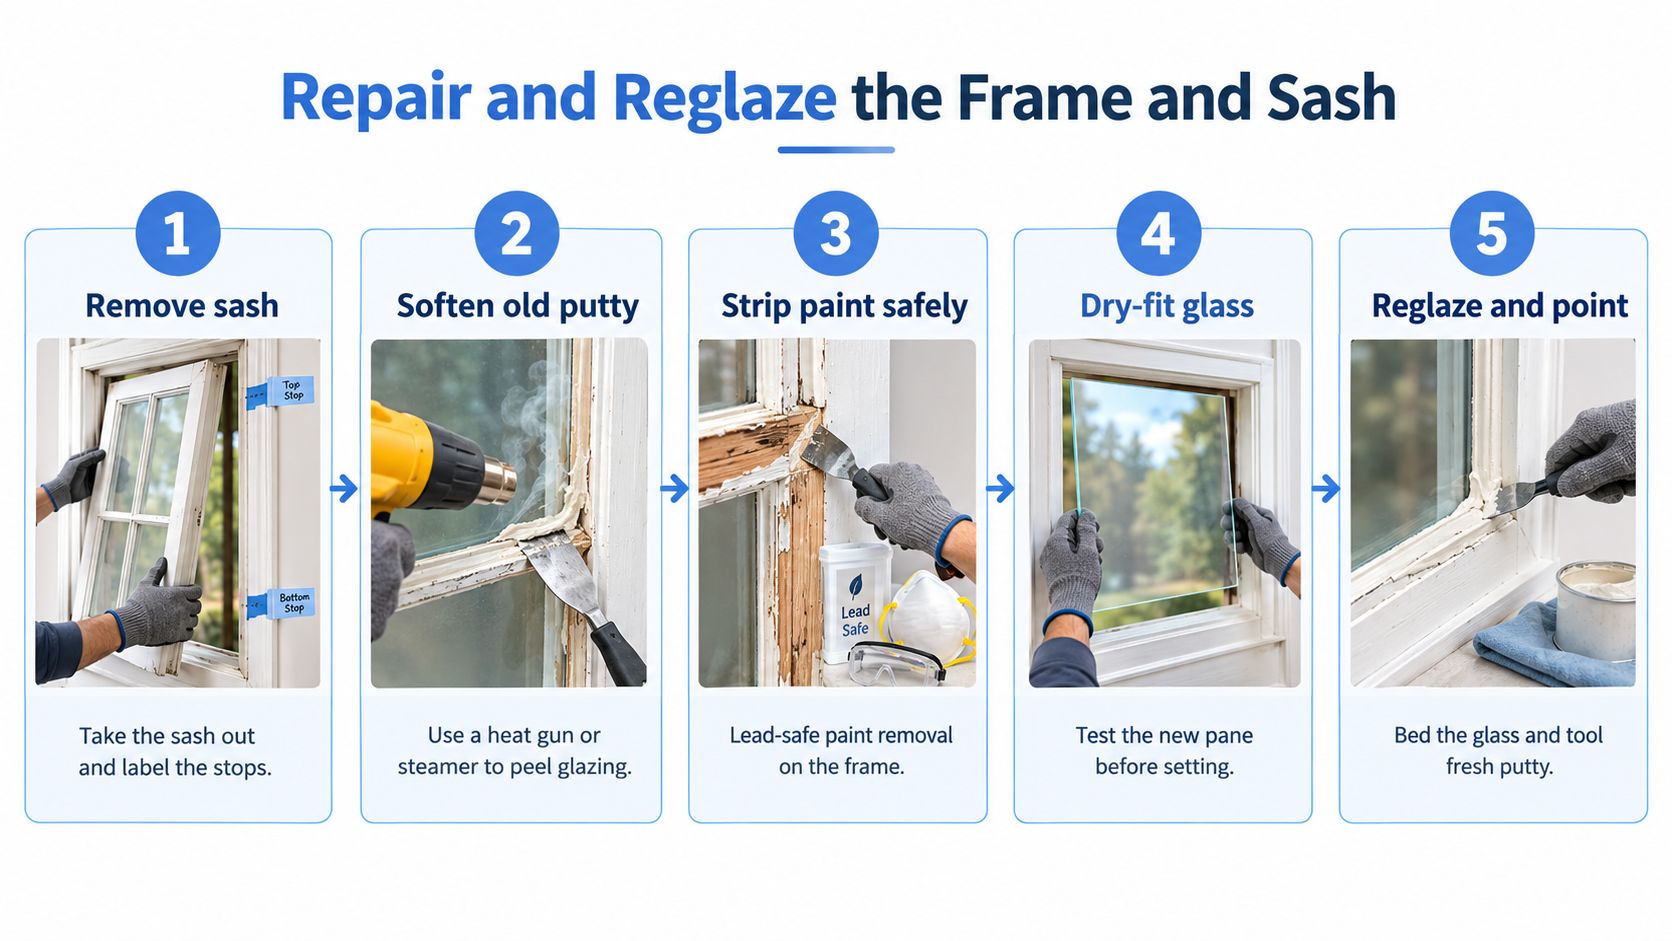
Set the pane on fresh bedding, then install glazing points to hold it securely. For a traditional repair, form the glazing compound into a narrow bead, tool it into a clean bevel, and keep the sightline consistent around the entire lite. Linseed-oil putty is a traditional choice for exposed historic sashes, while an acrylic glazing product such as DAP 33 may suit a properly primed sash when compatible with the coating system.
Let the putty skin and cure according to the product requirements before painting. Prime the compound before the finish coat, and carry the paint slightly onto the glass to protect the joint. Skipping that step can lead to early chalking and water entry.
Check sash cords, chains, pulleys, springs, or other balance hardware while the sash is accessible. Replace frayed cords, worn balances, and damaged pulleys before reinstalling the unit. A window that looks freshly painted but binds in its channel isn't restored.
Seal the sill and use a flexible, compatible caulk where the frame meets the brick molding. For aluminum surfaces, preparation and coating compatibility matter more than just adding another layer, which is why this guide to repainting aluminium window frames is useful for metal-frame projects.
Replacement isn't automatically the better answer. A sound existing frame with manageable air leakage can often benefit from weatherstripping, storm panels, and perimeter sealing without losing original material. Preservation and energy guidance also indicates that the energy penalty of keeping older windows can be overstated when air infiltration is addressed, and restored or retrofitted windows can achieve competitive thermal performance, as discussed in this window retrofit research paper.
Fog between insulating glass panes usually indicates a failed edge seal, not a dirty exterior. Calcium halos around the spacer and persistent moisture between lites support the same diagnosis. A short visual inspection with a scope or careful close examination can confirm whether the problem is inside the unit before anyone applies sealant to the outside.
For true divided-light sashes, a specialist may replace desiccant components where the construction allows it. Aluminum windows may accept a compressed gasket retrofit. Around a rough opening, use low-expansion foam carefully, keeping it away from moving sash parts and avoiding pressure that can bow the frame.
Storm panels, low-e interior film, and removable magnetic acrylic can provide staged improvements. They're especially useful when the existing frame is sound but the owner isn't ready for full replacement. The correct choice depends on ventilation, appearance, maintenance access, and the condition of the primary window.
| Problem | Repair Method | Approx. Cost per Window | Expected Life |
|---|---|---|---|
| Draft at a movable sash | Weatherstripping and adjustment | Not stated | Depends on material and exposure |
| Loose perimeter joint | Compatible caulk and joint preparation | Not stated | Depends on substrate and exposure |
| Air leakage at rough opening | Low-expansion foam and interior air sealing | Not stated | Depends on installation quality |
| Cold single glazing | Interior or exterior storm panel | Not stated | Depends on panel construction and care |
| Fogged insulating glass | Replace the failed glass unit or sash | Not stated | Depends on the replacement unit |
I don't treat a bowed frame, rotted sill, or widespread failed thermal break as a minor seal issue. Those conditions affect structure and geometry. Once the frame can't hold the sash square or keep water out, replacement begins to make more sense than repeated surface repairs.
Across a larger property, this distinction matters financially. A 2026 market report estimates the global door and window repair service market at $30.26 billion, up from $28.44 billion in 2025, with 6.4% annual growth, according to Research and Markets. Restoration is therefore both a preservation decision and an economic one, especially when many openings share the same defect.
The safest decision depends on the material, height, hazard, and failure mode. A homeowner can handle controlled cosmetic work, but disassembly becomes a different trade when glass, lead coatings, counterbalances, or upper-floor access are involved.
| Tier | Suitable Work | Typical Time and Cost | Move Up or Down When |
|---|---|---|---|
| DIY | Light haze, single-pane polishing, fresh weatherstripping, small interior putty repairs, storm-panel installation | Qualitative only, because project conditions vary | Move up if glass cracks, coatings may contain lead, or the sash binds |
| Call a pro | Multi-pane fogging, lead-paint sash stripping, upper-floor sash-cord work, seal failure requiring disassembly | Qualitative only, because access and construction vary | Move toward replacement if the frame or sash lacks structural integrity |
| Replace | Severe structural decay, failed thermal components, widespread insulating-glass failure, or an opening that can't meet egress requirements | Qualitative only, because specifications vary | Return to restoration if inspection finds a sound frame and repairable sash |
DIY work is appropriate when the defect is visible, accessible, and reversible. Light mineral haze, careful single-pane polishing, and removable weatherstripping fall into that category. Stop if the pane has deep scratches, the coating is unknown, or the cleaning product attacks adjacent finishes.
A professional should handle upper-floor sash cords, balance repairs, lead-era paint removal, and insulated-glass disassembly. The risk isn't only personal safety. Incorrect removal can damage stops, muntins, weights, or historic glass, turning a manageable repair into a replacement.
Replacement wins when the frame is bowed, the sill has lost structural material, or the sash can't be made square. It may also be required when a bedroom opening fails current egress requirements and the original opening is undersized. For broken windows after an accident or storm, document the damage and review board up costs and insurance steps before authorizing emergency work.
A preservation brief from San Antonio notes that severe deterioration can make sash or insert replacement more effective than full restoration. That's the honest boundary. If the sash can't operate by hand after the work, the job isn't finished, regardless of how clean the glass looks.
A restoration kit should match the defect. Scraper blades, razor holders, lambswool applicators, white non-abrasive pads, sharp putty knives, lint-free microfiber, and spritz bottles cover routine cleaning and preparation. A brass brush helps remove old glazing residue, while a heat gun softens paint and putty when used with controlled temperature and safe work practices.
For polishing, keep a compatible cerium-oxide compound or a product such as ICR-2960, along with a rotary polisher when the glass needs mechanical correction. Denatured alcohol can help remove residue from suitable surfaces. Wood repairs call for sanding blocks or a dustless sander, glazing compound, primer, finish paint, and hog-bristle brushes for oiling or coating timber.
A maintenance plan keeps a restored window from returning to its original condition. Rinse frames and sills, inspect putty for hairline cracks, check weatherstripping compression, and look for interior sealant gaps that allow drafts. Schedule an exterior pure-water cleaning before heavy pollen accumulation if the property is exposed to seasonal debris.
The repair market reflects that continuing need. A separate forecast values the window repair services market at $3.2 billion in 2025 and projects $5.5 billion by 2034, with a 6.5% compound annual growth rate from 2026 to 2034, as reported by Research and Markets. Homeowners also treat window projects as substantial expenditures, with an average replacement spend of about $14,000 and a median of $10,000, from the same source. That makes maintenance and well-targeted restoration worth considering before replacing every sound component.
Professional Window Cleaning has been cleaning windows for over 26 years and handles residential, commercial, post-construction, hard-water, mineral-deposit, and oxidation-related cleaning. If your property is in Las Vegas, Phoenix, Denver, or Scottsdale, visit Professional Window Cleaning to arrange an assessment and start with the glass and surface conditions before deciding whether deeper restoration is justified.
Read our blog posts regularly and keep learning.