Care and Maintenance
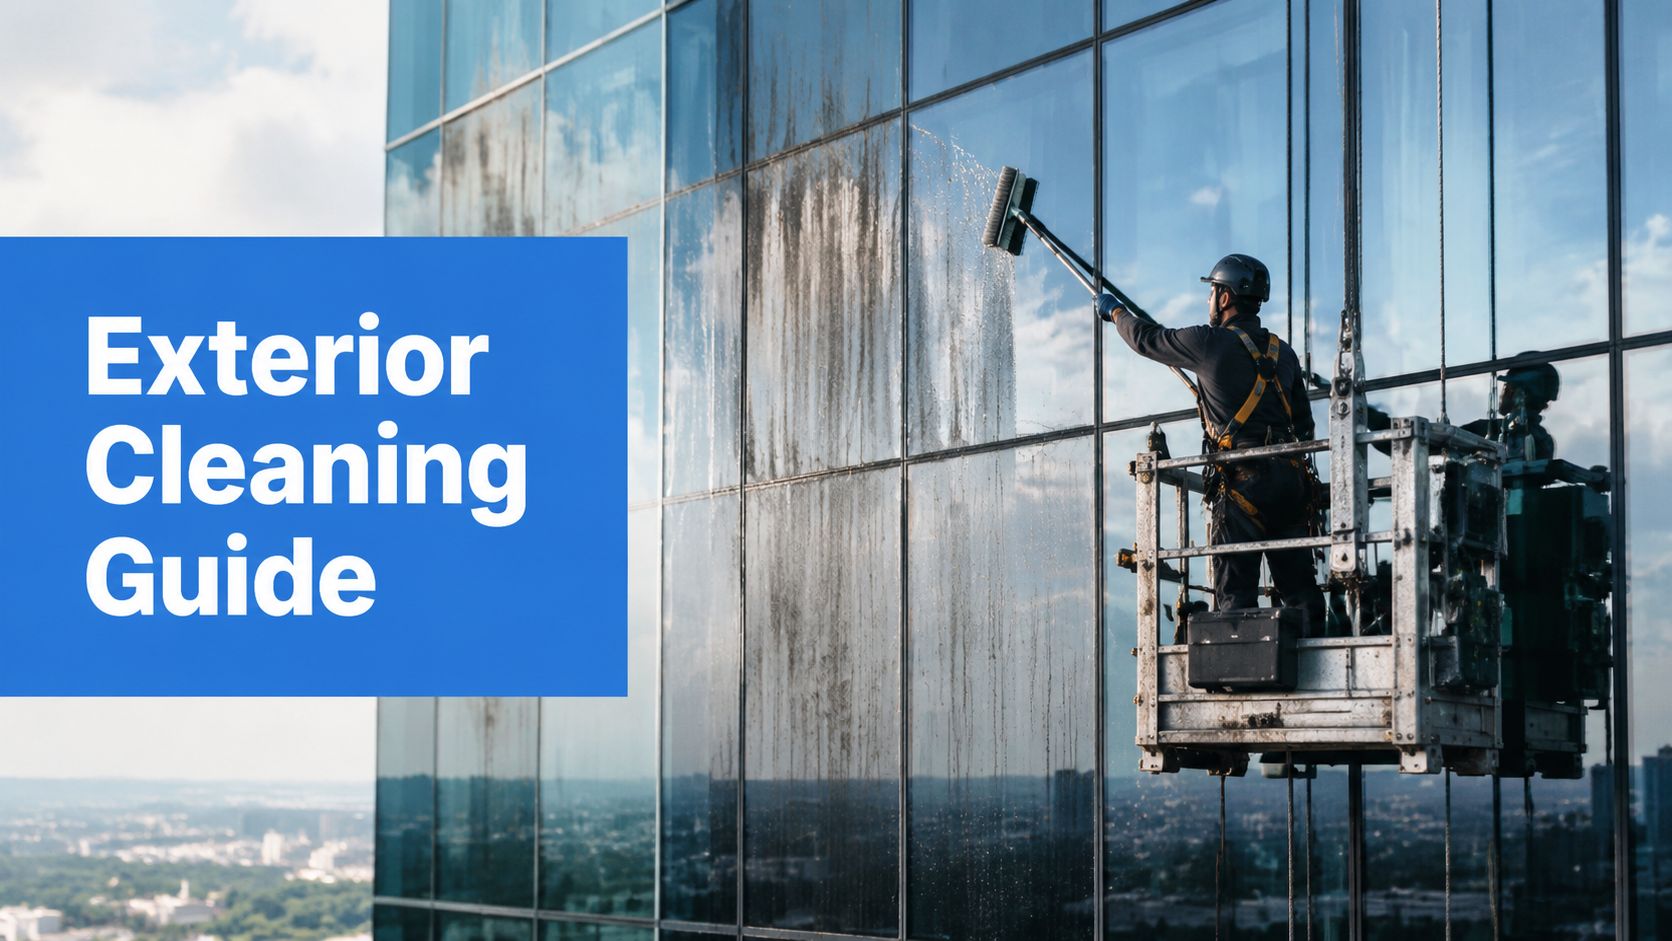
Professional Window Cleaning Solutions: Guide & Tips
Get professional window cleaning solutions: methods, eco-friendly tips, pricing, and how to choose a provider in Phoenix, Denver, LV.


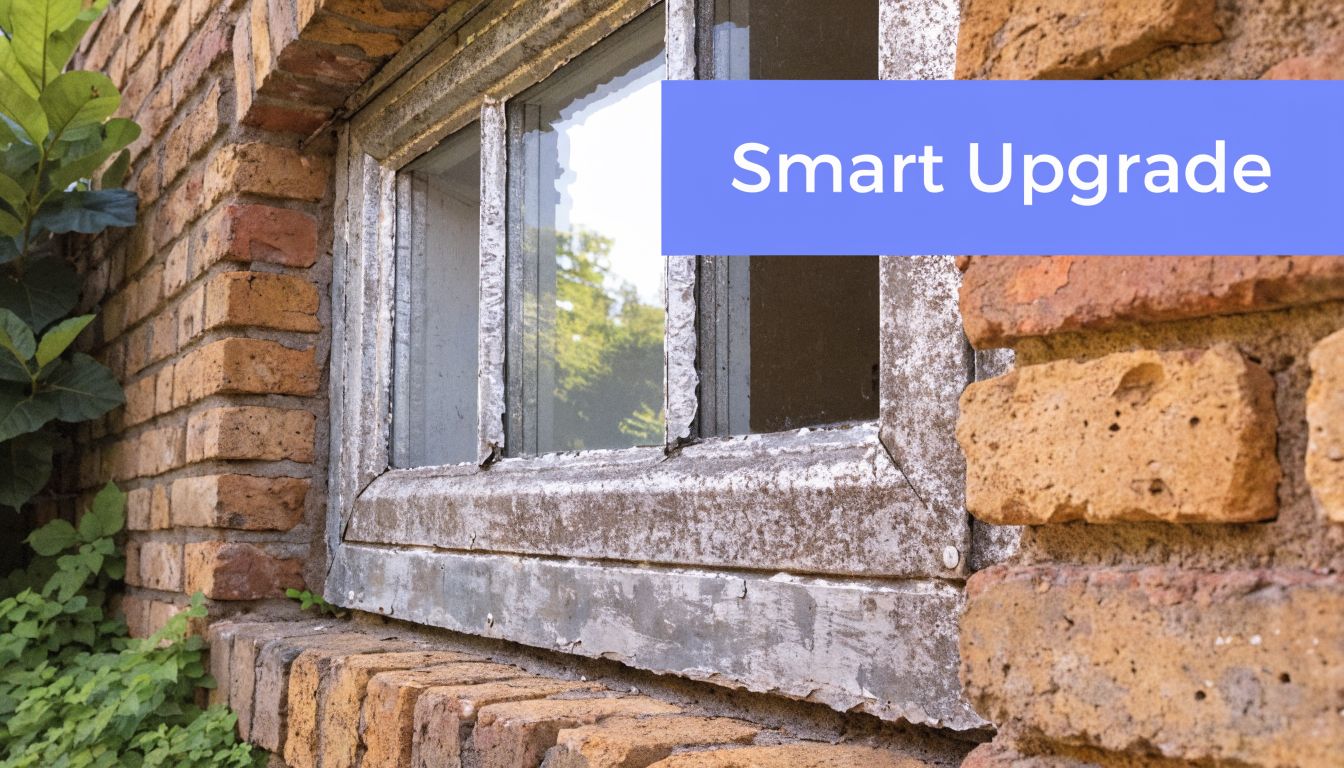
If you're looking at aluminium window frames that have gone chalky, faded, or patchy, you're probably weighing the same question most owners do. Do I repaint them, or am I about to start a job that peels in a year and looks worse than before?
Repainting aluminium window frames can be an excellent upgrade when the frames are still structurally sound. The catch is that aluminium is unforgiving. A rushed clean, the wrong primer, or one heavy coat can ruin the result. After years in exterior maintenance, that's the part I see over and over. The finish fails long before the frame does.
A good repaint job sits in the middle ground between a quick DIY refresh and full replacement. Done properly, it sharpens the look of a home or commercial property, protects the frame, and avoids the disruption of tearing out working windows.
You see it all the time on older properties. The aluminium frame is still doing its job, but the finish has gone flat, chalky, stained, or dated enough to drag down the whole elevation.
That is where repainting earns its place. If the frame is structurally sound, refinishing it can improve the look of the building, extend the service life of the coating, and avoid the mess and cost that come with removing working windows. On occupied homes and commercial sites, that reduction in disruption matters as much as the appearance.
The true value is not just cosmetic. A properly specified repaint system addresses the two failure points that ruin aluminium frame jobs early: poor surface preparation and the wrong coating system. Get either one wrong and the finish can lose adhesion, mark easily, or weather unevenly long before the frame itself has any actual problem.
Keeping the existing frame in place is often the biggest advantage.
That matters on retail frontages, clinics, schools, strata properties, and apartment buildings where replacement means access issues, noise, tenant coordination, and follow-on repairs to surrounding finishes. It also makes sense where the frame profile still suits the building and the problem is mainly aged colour or surface wear. If screens are in the way, remove them first so you can inspect and mask properly. This guide on how to remove a window screen safely is a useful starting point.
Repainting is usually worth serious consideration when:
If you're planning several exterior upgrades together, Templeton Built gives useful context for how window-frame refinishing fits into a broader façade remodel.
A good repaint gives you a uniform colour, consistent sheen, cleaner sightlines against the glass, and a surface that stays easier to wash down. It can make an older building look maintained again without changing out serviceable joinery.
It also exposes bad workmanship fast.
On aluminium, you notice the shortcuts right away. Overspray on glass, rough masking lines, sags in the corners, dry spray on edges, and peeling around handles or rubber seals are all signs that the job was treated like general painting instead of specialist coating work. Dark colours and commercial shopfront frames are especially unforgiving.
That is the trade-off. Repainting is a smart upgrade when the frame is worth keeping and the finish is built on proper prep, the right primer, and controlled application. It is the wrong fix for loose sections, serious corrosion, failed seals, or access conditions that put a DIY job outside safe working limits.
Preparation decides whether the paint bonds or fails. Aluminium doesn't give you much forgiveness. Its surface is smooth, and paint won't grip it well if dirt, grease, oxidation, or residue are left behind.
A technically sound repaint sequence for aluminium window frames is to deep-clean to remove dirt, grime, and grease, rinse and let dry fully, lightly abrade the surface with 80-120 grit sandpaper, then apply a primer before topcoating, as outlined in The Paint Shed's guide to painting aluminium window frames. That sequence matters because aluminium's smooth surface offers poor mechanical key, so adhesion depends heavily on cleaning and priming.
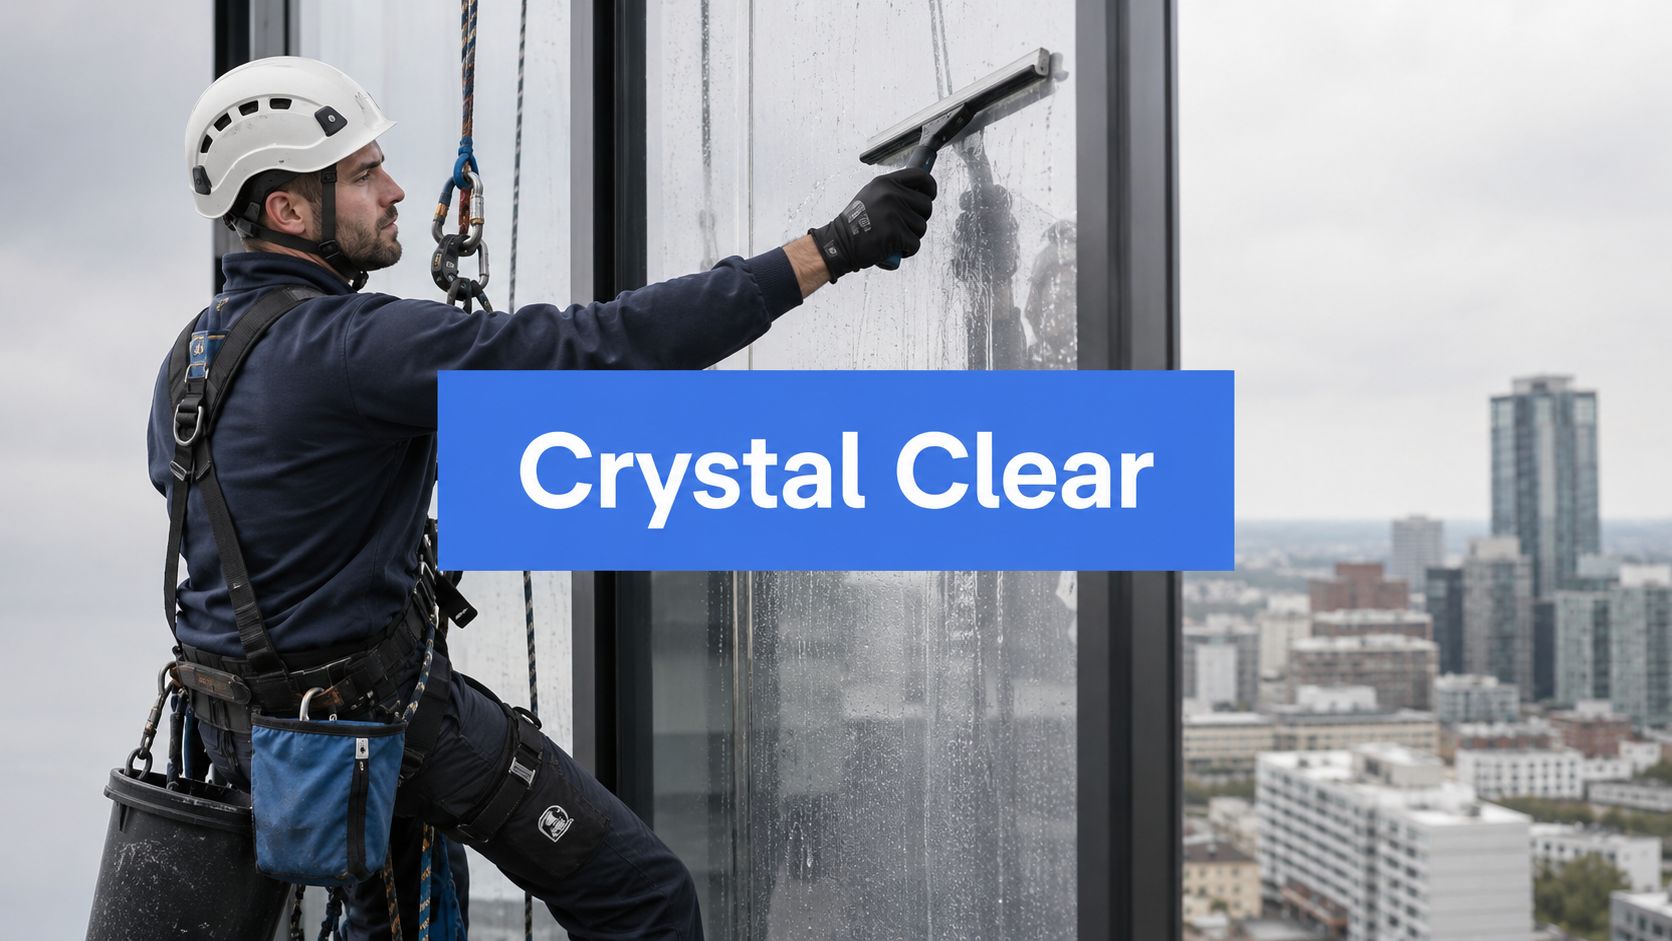
Before sanding or masking, get the frame completely clean. On maintenance crews, there are only two professional methods we rely on for window cleaning work. A squeegee system or a pure-water system. Both are about one thing: removing contamination instead of just moving it around.
For repainting, that first wash isn't cosmetic. It removes the film that causes adhesion issues later.
Focus on these contaminants:
If screens are in the way, take them off first and clean the opening properly. This short guide on how to remove a window screen helps avoid bent frames and broken tabs during setup.
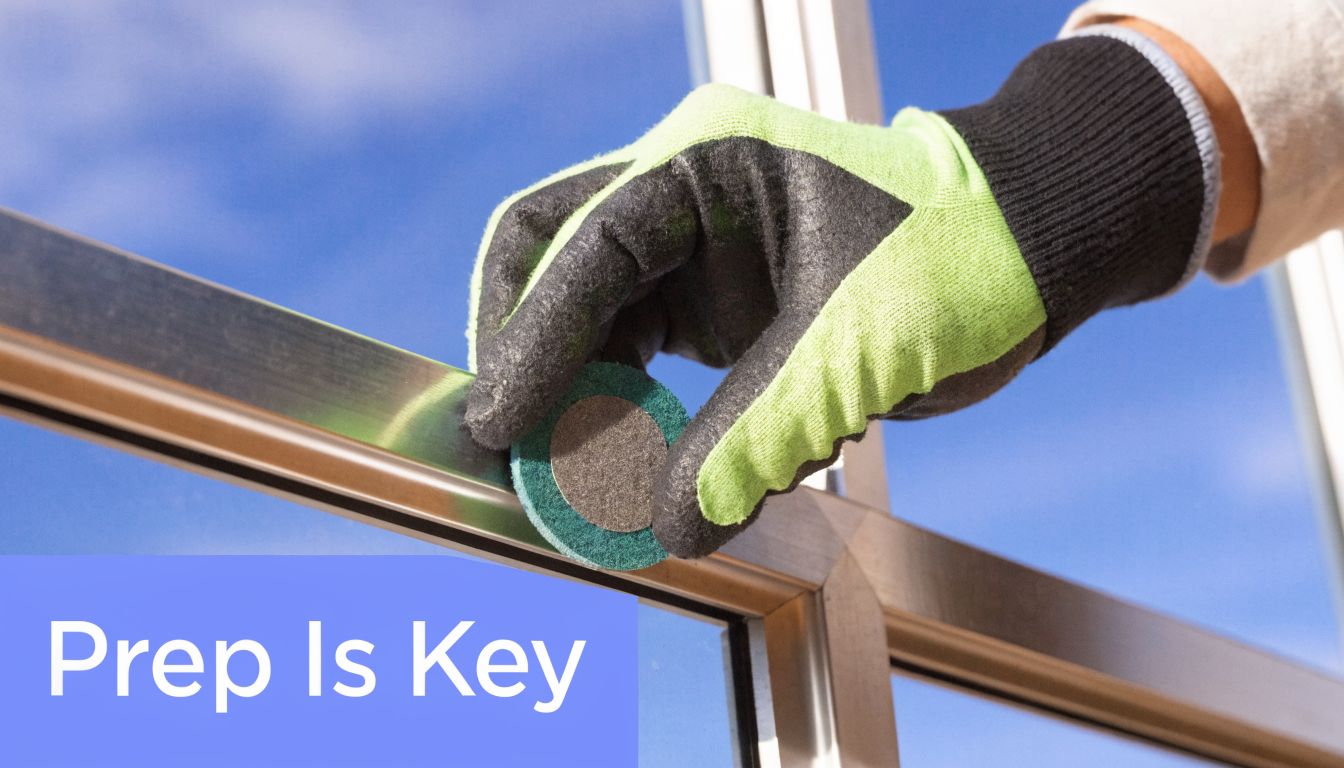
Once the frame is clean and fully dry, lightly abrade the surface. You're not trying to gouge metal. You're creating a consistent key for primer.
Use 80-120 grit sandpaper where the surface is sound but too slick for coating. If there's loose material, feather the edges so the repaired section doesn't print through the topcoat later. Corners and profile edges need the same attention as the flat runs. That's where skipped prep usually shows up first.
Practical rule: If the frame still feels glossy and slick everywhere, it probably isn't ready for primer.
Masking takes patience, but it saves cleanup and gives you sharp sightlines against the glass. Homebuilding guidance, summarized in the verified material above, recommends painter's or masking tape on the glass and paper masking for spray work to prevent overspray. That's standard practice for a reason.
Mask more than you think you need. Protect the glass, adjacent walls, sill, hardware, seals where appropriate, and the floor area below. Overspray travels.
A visual walkthrough helps here:
Most failures start in one of these places:
If you want a durable finish, treat preparation as the primary job and painting as the final stage.
Using the wrong coating system on aluminium is one of the fastest ways to waste a weekend. The frame may look good for a short time, then start lifting at edges, scratching too easily, or peeling where the surface wasn't properly bonded.
Primer matters because aluminium is not a friendly substrate for ordinary paint. It needs a product designed to bond to metal, especially after abrasion and cleaning. Then the topcoat has to hold colour and film strength outdoors.
For repainting aluminium window frames, I look for three things:
Some jobs use a specialist aluminium primer followed by a dedicated topcoat. Others use direct-to-metal systems when conditions and substrate allow. Product selection should always follow the manufacturer's instructions for that exact system.
| System Type | Adhesion | Durability | Best For |
|---|---|---|---|
| Specialist aluminium primer plus topcoat | Strong when prep is thorough | Strong long-term performance when applied correctly | Most full-frame repaint projects |
| Self-etching style primer system | Designed to improve grip on metal | Durable when paired with the right topcoat | Slick or difficult aluminium surfaces |
| Direct-to-metal paint system | Can be suitable on properly prepared frames | Varies by product and exposure | Smaller projects or simpler maintenance work |
| Aerosol touch-up system | Acceptable for minor spot work | Best for localized repairs, not full premium refinishing | Chips, small defects, isolated touch-ups |
That table is intentionally practical. Labels differ by brand, but the decision doesn't. You need a system meant for aluminium, not a generic leftover paint from another job.
The topcoat determines the visible result. It dictates sheen, smoothness, and color retention.
Brush-applied coatings can work for utility areas or touch-ups, but they rarely produce the clean, factory-like finish owners expect on a front elevation. Spray-friendly coatings are usually the better path when appearance matters. If you're comparing metal paint approaches more broadly, Wheeler Painting & Restoration Services has a useful piece on how to achieve lasting metal paint results with the right prep and product fit.
Don't choose paint by label alone. Choose a complete system. Cleaner, abrasion, primer, and topcoat all need to work together.
A few bad decisions show up repeatedly on failed jobs:
If you want the finish to hold, think like a finisher, not just a painter.
Application changes everything. You can do the prep correctly, choose a good coating system, and still ruin the outcome with poor technique.
The reason is simple. Aluminium frames are narrow, smooth, and highly visible. Every lap mark, heavy edge, and dry spray line stands out.

Brushes and small rollers have their place. They're useful for minor repairs, awkward corners, or very small jobs where setup time would outweigh the benefit of spray equipment.
But if you're trying to replicate a smooth architectural finish, spraying is the better method.
Here's how the options stack up in real use:
For performance and failure control, the main principle is to use multiple light coats with full intercoat drying rather than covering in one pass. Thin coats reduce runs and create a tougher finish. A single coat can be dry in about 20-30 minutes, but recoat timing depends on the manufacturer's data sheet, as noted in Inspirations Paint's aluminium respray guidance.
That one point separates durable work from amateur-looking work.
If you lay it on heavy, you'll usually get one or more of these problems:
A good spray pass is steady and boring. That's exactly what you want.
Work in a consistent pattern. Start moving before the trigger pulls, keep a uniform distance, overlap passes evenly, and don't linger on edges. Frames need discipline because the profile changes every few inches. Flat face, inner return, edge, corner, then back to flat face.
If paint gets on the glass, deal with it carefully after the coating has set enough to avoid smearing. This guide on how to clean paint off windows can help prevent turning a minor mistake into scratched glass.
Spraying doesn't forgive hesitation. Stop-and-start movement leaves heavy spots fast, especially on narrow aluminium sections.
On a professional-grade job, inspect the frame from more than one angle.
Check for:
That final inspection is where a lot of DIY projects disappoint. They look fine head-on, then rough from the side.
A lot of repaint jobs look excellent on day one, then start losing points in the first week because the coating gets treated like it's fully hardened when it isn't. Tape comes off too late and tears an edge. Sashes get shut hard. Frames get wiped down because they feel dry to the touch. That's how a decent paint job starts failing early.
Drying and curing are different stages. Dry means the surface can tolerate light contact. Cure is the longer process where the coating reaches its proper hardness, adhesion, and resistance to scuffs, cleaners, and weather.
Freshly painted aluminium needs time and a bit of discipline. On opening windows, that means gentle use until the coating has hardened properly. On fixed frames, it means keeping hands, tools, ladders, and abrasive dust away from the new finish.
Heat can mislead people. In places with strong sun and dry conditions, including Las Vegas, the surface can flash off fast and still be soft underneath. Follow the paint system's recoat, handling, and cure times, not what the surface seems to be telling you.
A sound post-paint routine includes:
A properly prepared and coated aluminium frame can hold up for years. A poorly prepared one can start chipping, flaking, or wearing through far sooner than owners expect.
The difference is usually not the final coat. It is the work underneath it. I see the same failure points over and over: oxidation left on the frame, glossy surfaces not keyed properly, incompatible primer and topcoat combinations, and heavy application that skins over before it cures through. If the prep was rushed or the wrong coating system went on, maintenance will not rescue it.
Exposure matters too. Coastal salt, irrigation overspray, traffic film, and strong UV all shorten the service life of any painted frame. South- and west-facing elevations usually show wear first.
Once the coating has cured, maintenance should stay simple. Wash frames with mild detergent, water, and a soft cloth or non-abrasive sponge. Rinse off grime before it builds up around joints, glazing beads, and tracks.
Avoid aggressive scrubbing pads, solvent-heavy cleaners, and scraping dried debris off the paint unless you know the coating can tolerate it. A lot of finish damage gets blamed on paint quality when the actual cause is rough cleaning or repeated knocks from everyday use.
Check the frames once or twice a year. Look closely at corners, lower rails, drainage points, and hardware contact areas. Those are the spots where moisture, grit, and movement usually start breaking a coating down.
This is also the point where DIY and professional standards separate. If you are maintaining a few accessible residential windows, routine washing and touch-up assessment are manageable. If the frames are on a multi-unit building, a storefront line, or anything high-rise, long-term upkeep needs proper access planning and a crew that can inspect the whole elevation safely and consistently.
DIY repainting can work well on a few accessible frames in good condition. It stops making sense when height, scale, substrate condition, or finish expectations move beyond what a small setup can handle safely.
Owners often underestimate the job. Painting at ground level is one thing. Repainting aluminium window frames on a multi-story commercial property is a different trade problem altogether.
Some projects should go straight to a professional assessment:
In dense urban areas and taller properties, access and protection planning become major parts of the work. That's especially true on multi-level sites in Denver, where working at height demands the right equipment, crew control, and safety discipline.
A lot of DIY guides stop at "yes, you can paint aluminium." That's not enough.
The better question is whether repainting is the right lifecycle decision for that building. One industry guide notes that professionally applied powder coating can last decades, while even a good paint job may need recoating every 5-10 years. It also points out that property managers need a professional assessment that weighs cost, lifespan, and disruption for predictable maintenance planning, as explained by Ideal Window Solutions.
That doesn't mean repainting is the wrong choice. It means it should be chosen for the right reason.
Professionals bring more than spray gear. They bring process control.
On larger or hotter sites, including demanding markets like Phoenix, that means managing contamination, sequencing access, protecting glass and surroundings, and determining when repainting is suitable and when another route makes more sense.
Some frames need paint. Some need powder coating. Some need replacement. The skill is knowing which is which before the masking starts.
If you need experienced help with exterior glass, access-heavy properties, or maintenance work around residential, commercial, or high-rise buildings, Professional Window Cleaning serves properties across Arizona, Colorado, and Nevada. With more than 27 years in the field, the team understands the level of preparation, detail, and site care that durable exterior work demands.
Read our blog posts regularly and keep learning.