Care and Maintenance
Parapet Wall Clamps a Guide to High-Rise Safety
Learn how parapet wall clamps provide essential fall protection for high-rise window cleaning. Our guide covers safety, selection, and OSHA standards.


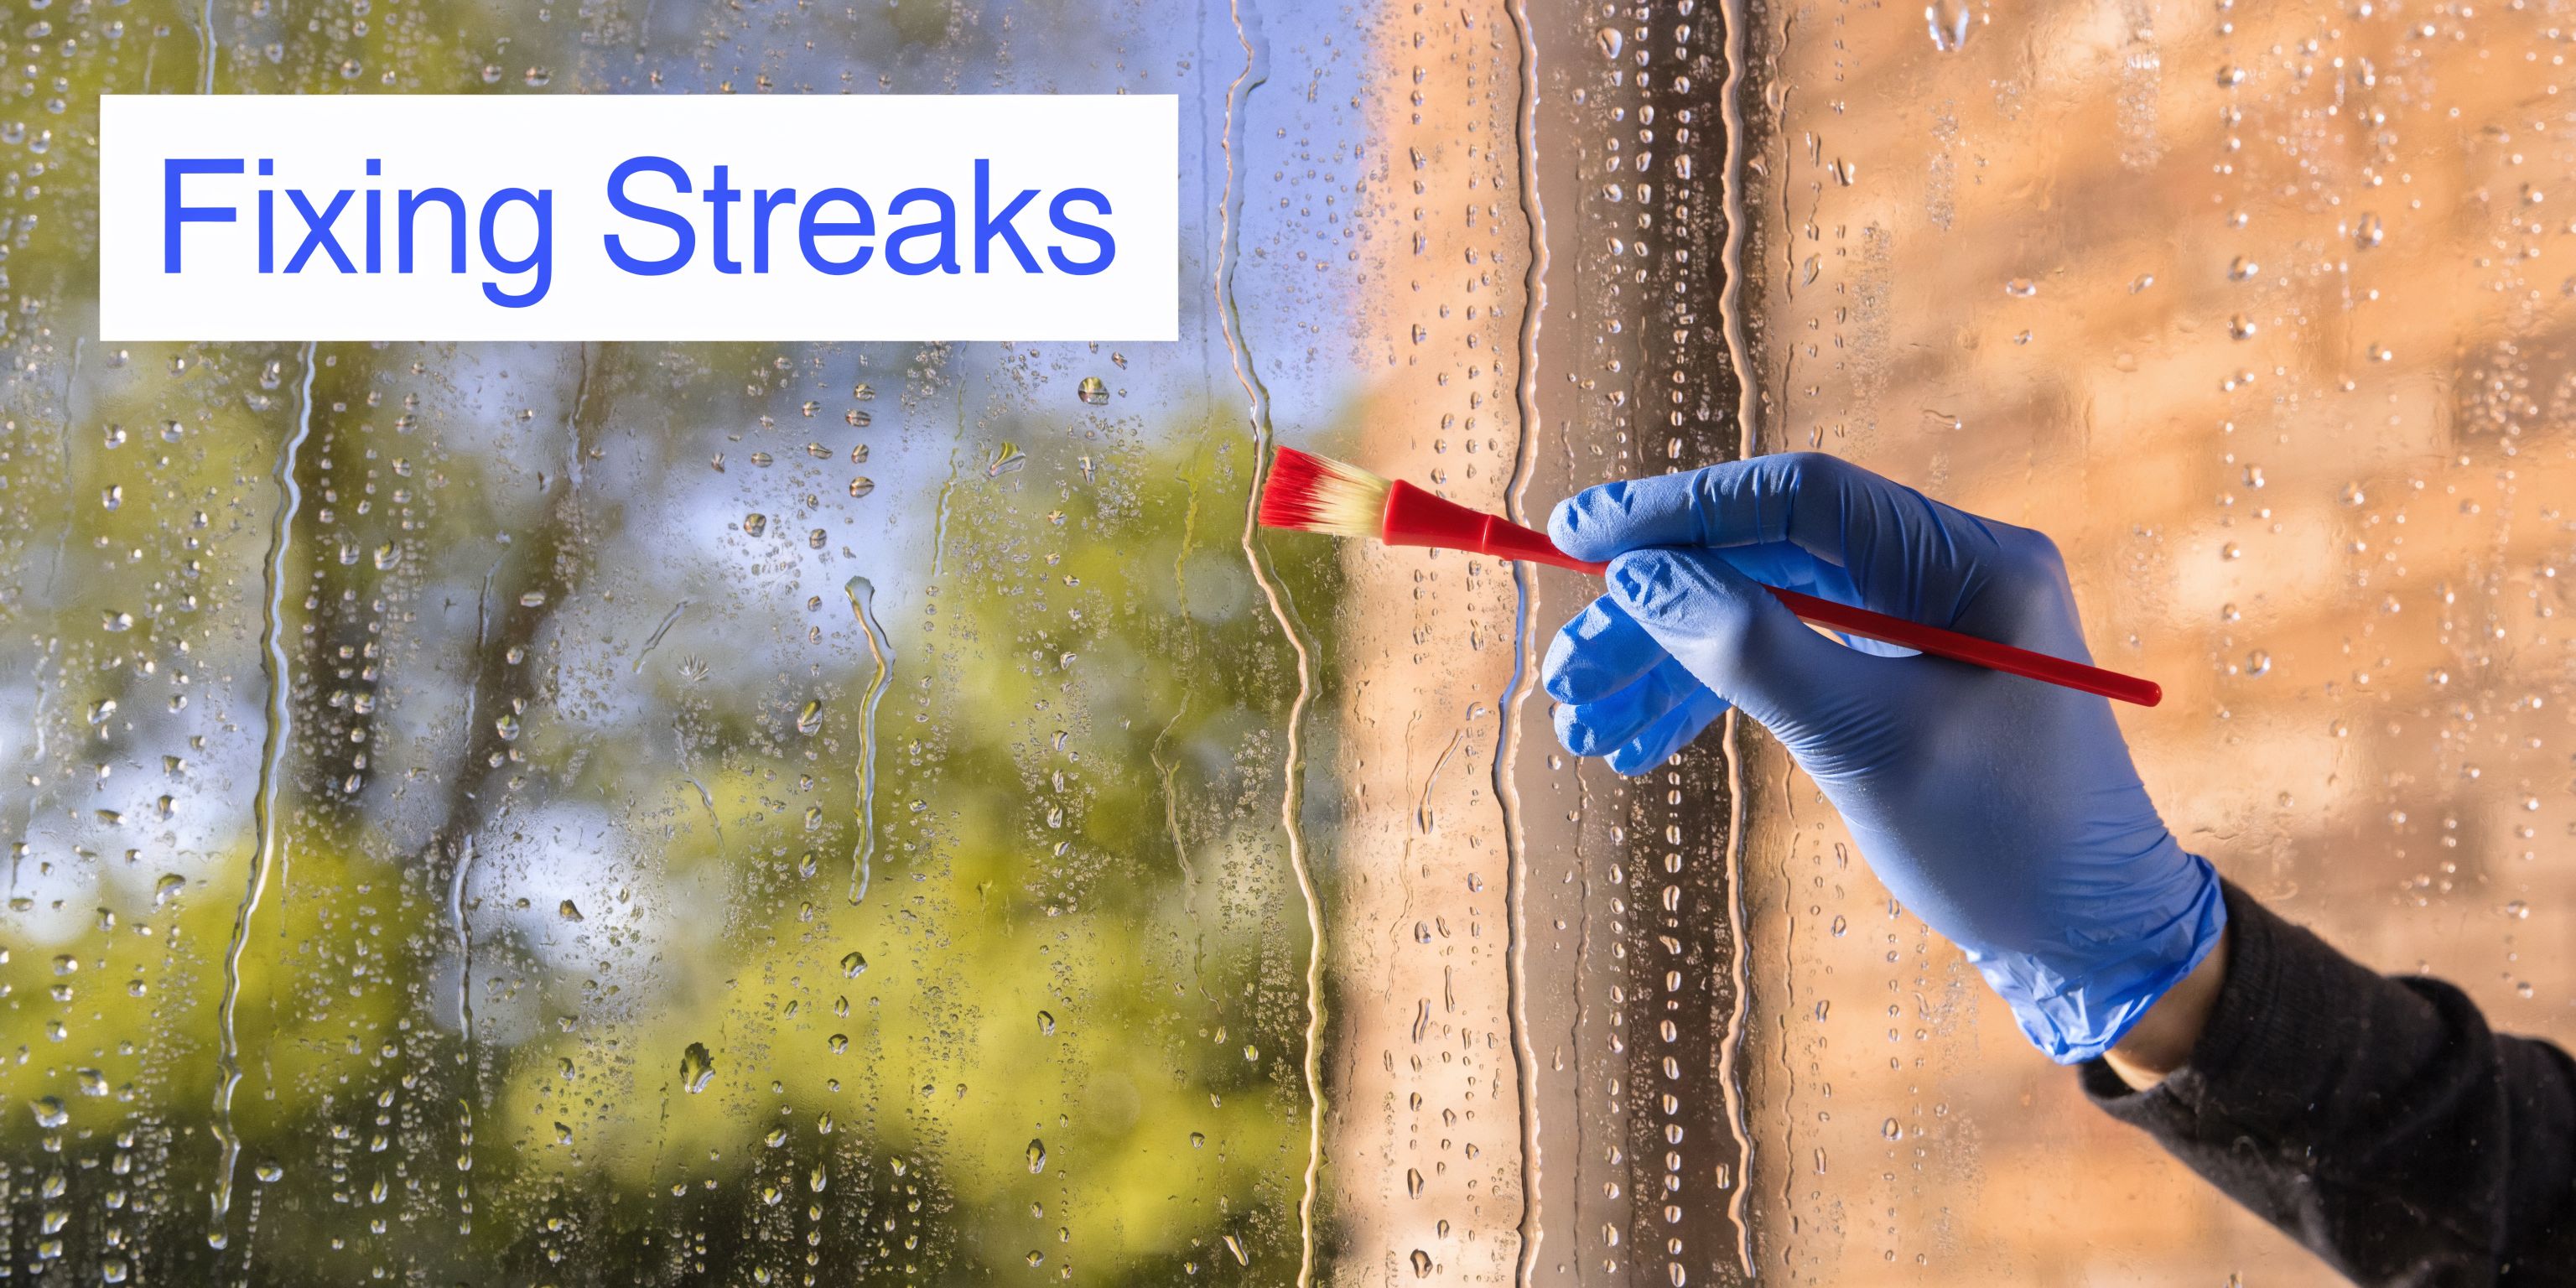
You spray the glass, wipe with paper towels, step back, and the whole window looks worse. Smears in the middle. Lint on the edges. A cloudy film that only appears when the light hits it.
That’s the moment many decide interior window cleaning is impossible to get right.
It isn’t. But the method matters.
After more than 26 years in this trade, one thing stays constant. Professionals use two primary cleaning methods in window cleaning: a squeegee or a pure-water system. For interiors, pure water isn’t the answer. Inside a home or office, you need control, precision, and dry surroundings. That means the traditional squeegee method.
Store-bought spray cleaners and paper towels are built for convenience, not finish quality. They can remove fingerprints, but they rarely leave glass looking invisible. Paper towels shed fibers. Overapplied spray leaves residue. Re-wiping the same haze just moves soil around.
That’s why professional interior window cleaning looks different from common DIY advice. The target isn’t “clean enough.” The target is streak-free glass with clean edges, dry sills, and no lint left behind.
Most poor results come from a few predictable mistakes:
Professionals don’t scrub and hope. We wet the glass evenly, remove the solution fully, and detail only what remains at the edges.
Practical rule: If you’re drying the whole pane with towels, you’re making the job harder than it needs to be.
A lot of generic guides ignore what dry climates do to interior glass. That’s a mistake in places like Phoenix, Denver, Scottsdale, and Las Vegas.
Low humidity in places like Scottsdale or Las Vegas can fall below 20% RH, which speeds up indoor dust buildup from HVAC circulation, and high-altitude areas like Denver can increase static buildup by 25% to 50%, making dust cling harder to interior surfaces, according to this climate-focused reference on dry-region cleaning conditions: https://www.youtube.com/watch?v=HBuzLaj-49I
That’s why interior window cleaning in Arizona, Colorado, and Nevada needs a more disciplined prep process than people expect. In dry homes and commercial spaces, dust isn’t just sitting on the sill. It’s airborne, static-charged, and ready to stick to wet glass the second you start.
A flawless result starts before the first stroke. If your tools are wrong, your technique won’t save you.
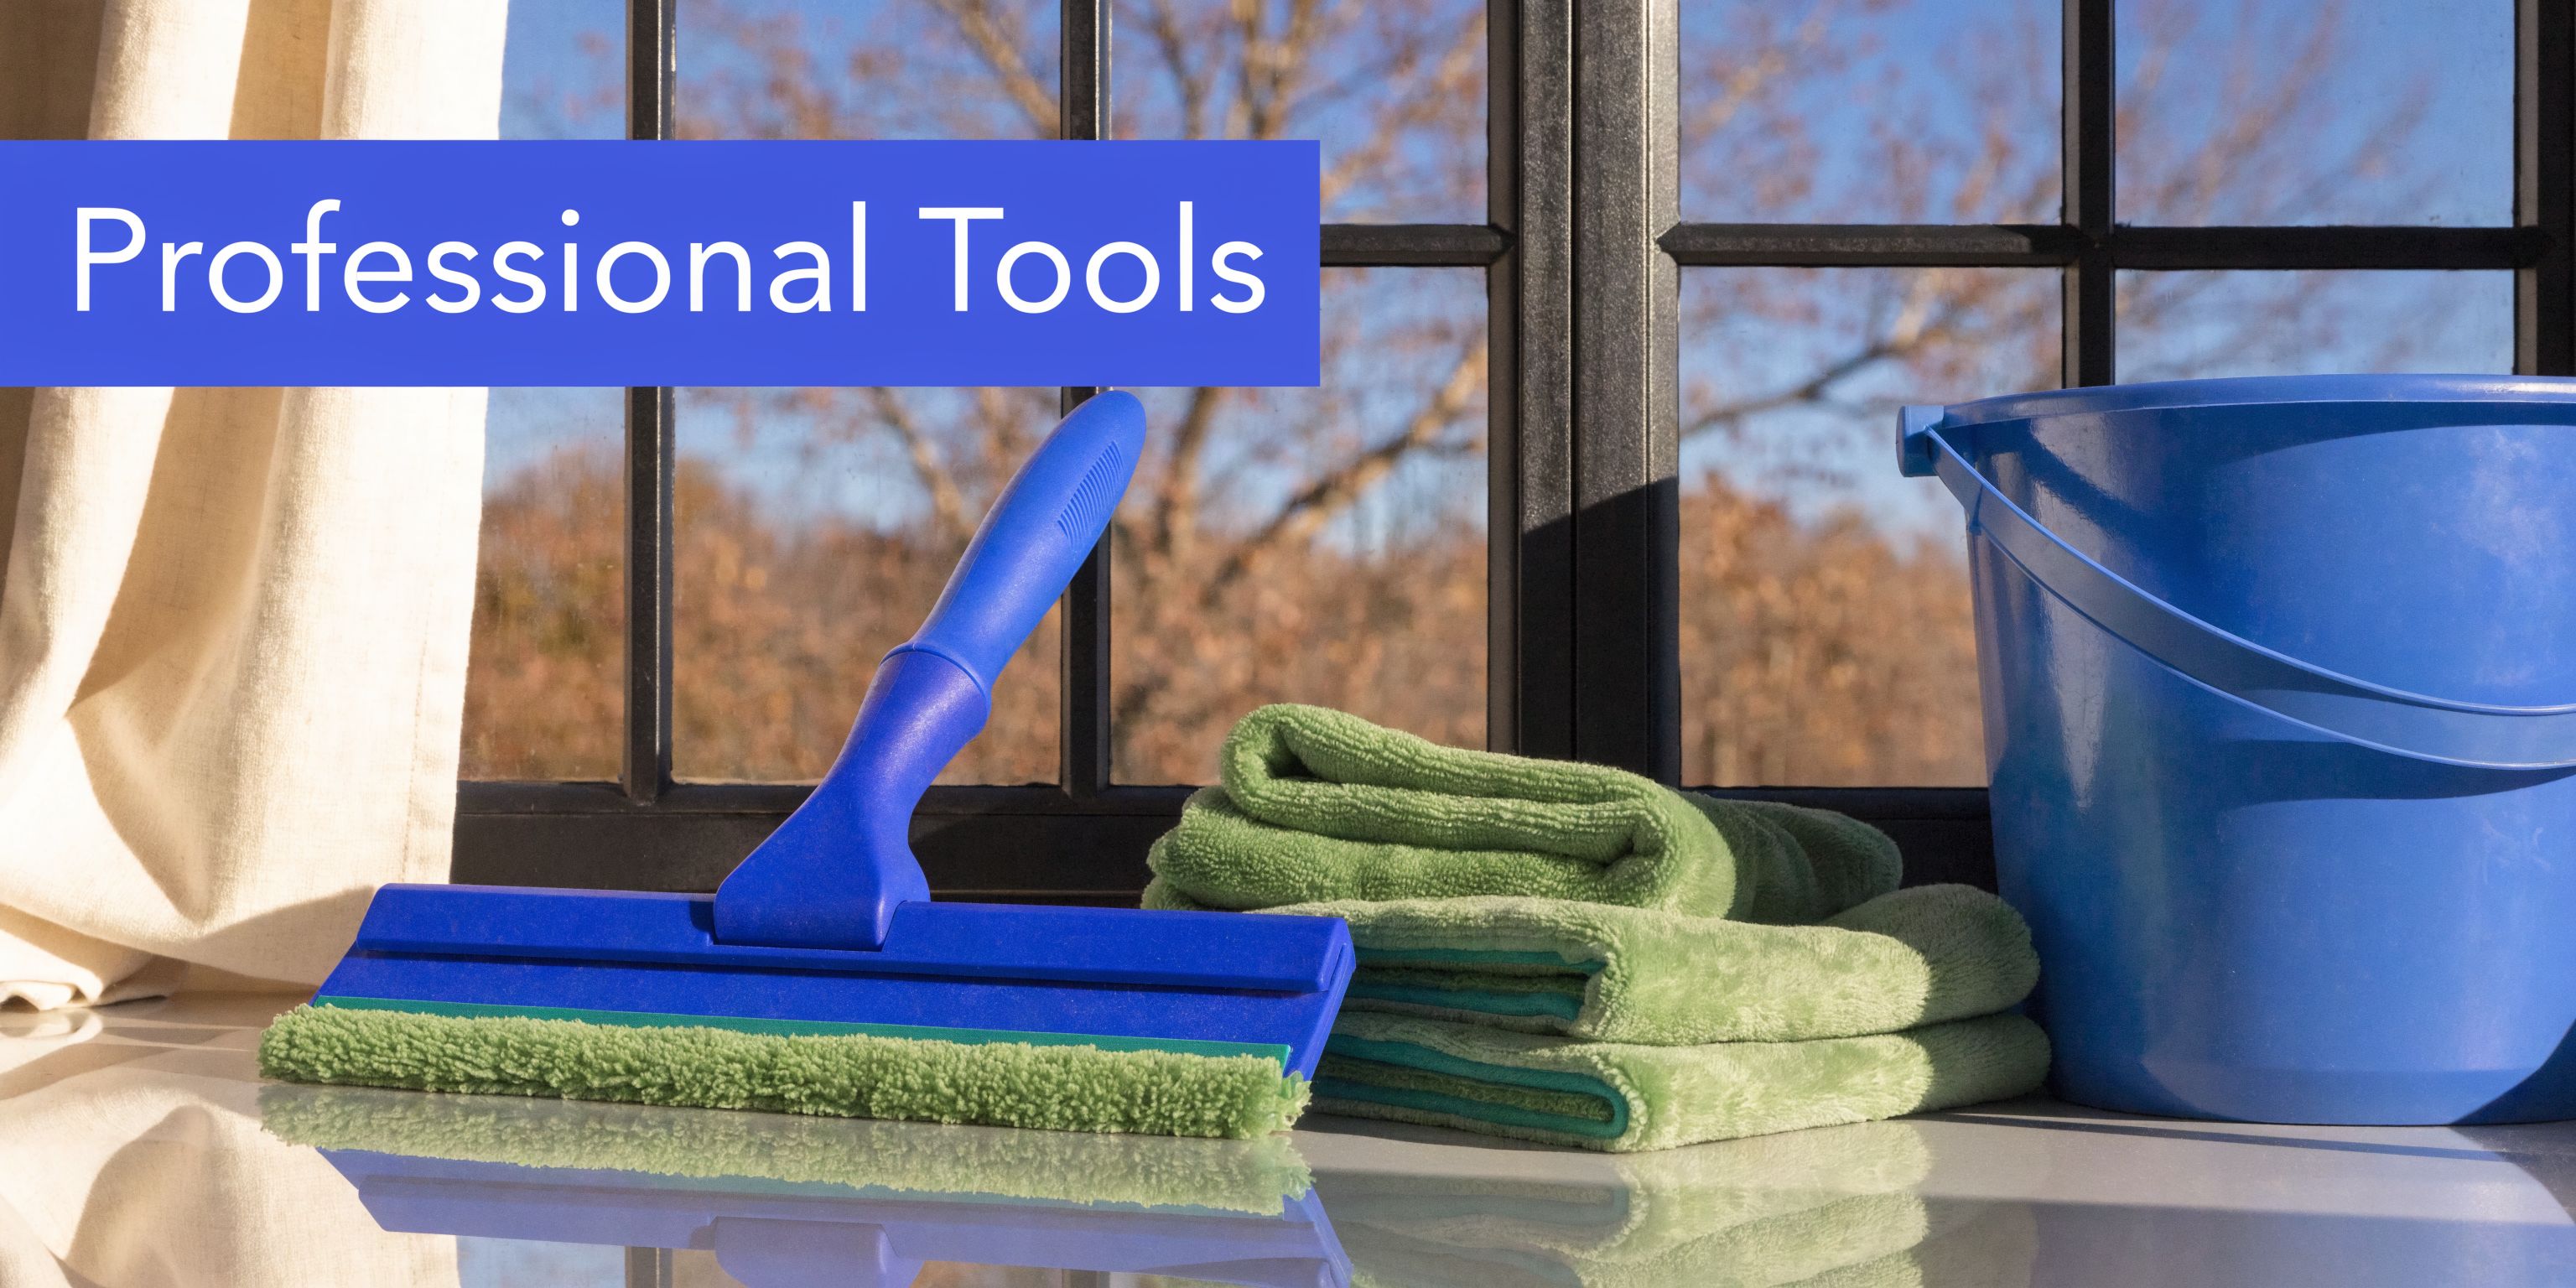
The center of any interior window cleaning kit is the squeegee.
For interior work, a 6 to 12 inch blade is standard, and using the wrong size creates problems fast. An oversized blade is awkward in corners and tight panes, while one that’s too small can significantly increase streaks. A fresh, un-nicked rubber blade should be replaced every 1 to 3 months or after about 500 windows to maintain a 97%+ streak-free result on the first pass, based on trade guidance from J. Racenstein: https://jracenstein.com/expert-advice-learning/how-to-start-a-window-cleaning-business
That tells you two important things. First, blade condition matters as much as skill. Second, the “old squeegee from the garage” is usually the reason a good technique still leaves lines.
A simple kit works better than a cluttered one.
Here’s what earns a place in a pro setup:
Most consumer products create more work indoors than they solve.
| Tool or product | What goes wrong |
|---|---|
| Paper towels | Leave lint and don’t remove water evenly |
| Newspaper | Messy on hands and trim, poor edge control |
| Heavy spray foam cleaners | Often leave residue on glass and frames |
| Large exterior mop | Too wet for interior work |
| Pure-water pole systems indoors | Poor fit for carpets, furniture, and close detailing |
The goal isn’t to own more gear. It’s to use the right few items with discipline.
Professional interior window cleaning doesn’t require a bright blue bottle and a strong perfume. A light solution gives you glide without loading the glass with residue.
Use a minimal mix. The verified trade method allows 1 to 2 drops of detergent per liter of water or a vinegar-based mix for application, but inside most homes and offices, a light soap solution gives better control and less risk around surrounding materials. Keep it light. More soap never means cleaner glass. It usually means more detailing later.
A good solution helps the rubber glide. A bad solution forces you to scrub and polish after the fact.
One practical option for homeowners who don’t want to build a kit from scratch is to hire a service that arrives with commercial-grade squeegees, fresh rubber, microfiber, and controlled solution ratios. That’s the main value of a trained crew. Not magic. Just the right tools used correctly.
You spray the glass, wipe once, and the whole job gets harder. Dust on the sill turns to grime. A few drops hit stained wood or painted trim. Then that slurry ends up on the blade, and every pass leaves a line. Interior window cleaning is won or lost before the squeegee touches the pane.

Set the room before you mix a bucket. Put a clean towel or drop cloth on the sill and floor below. Move fabric chairs, paperwork, electronics, and décor out of the splash zone. Open blinds or curtains all the way so you can work the full edge of the glass without twisting around obstacles.
Then clean the frame, track, and sill dry. That order matters in Arizona, Colorado, and Nevada, where fine dust settles on interior ledges faster than many homeowners expect. In Scottsdale, Denver, and Las Vegas, I see the same problem over and over. Dry airborne grit collects along the perimeter, then turns into paste the second someone wets it.
Paste causes trouble fast. It smears onto the glass, sticks in the rubber edge, and forces extra detailing that should never have been needed.
Use a dry microfiber or soft detailing brush on the frame, sill, and track before any solution touches the window. If there is heavy buildup in the track, vacuum it out first. Water should hit clean surfaces, not loose dirt.
That one habit separates controlled interior work from the sloppy method people associate with spray bottles and paper towels. The professional approach is cleaner because it limits moisture from the start and keeps contamination away from the blade. If you want a visual on how setup supports blade control, this guide on how to use a squeegee properly indoors helps connect the prep to the technique.
A clean pane beside dusty blinds still looks unfinished. Interior glass reflects everything around it, so dirt on nearby coverings shows up more once the pane is clear.
If the window has shutters, clean them before the glass or at least dust them thoroughly first. A practical reference on how to clean plantation shutters can help if that part of the opening needs separate attention.
These are the errors that create interior streaks and callbacks:
Professional interior results come from control. Keep the area dry, clear the dirt before it turns to mud, and give yourself a clean path for the squeegee. That is how you get crisp glass without drips on the floor or grime dragged back across the pane.
At this point, interior window cleaning turns from wiping into craft.
The motion looks simple when an experienced cleaner does it. It isn’t random. Angle, pressure, overlap, and timing all work together. Miss one of those, and the pane shows it.
A visual walkthrough helps. Keep this process in mind as you work.
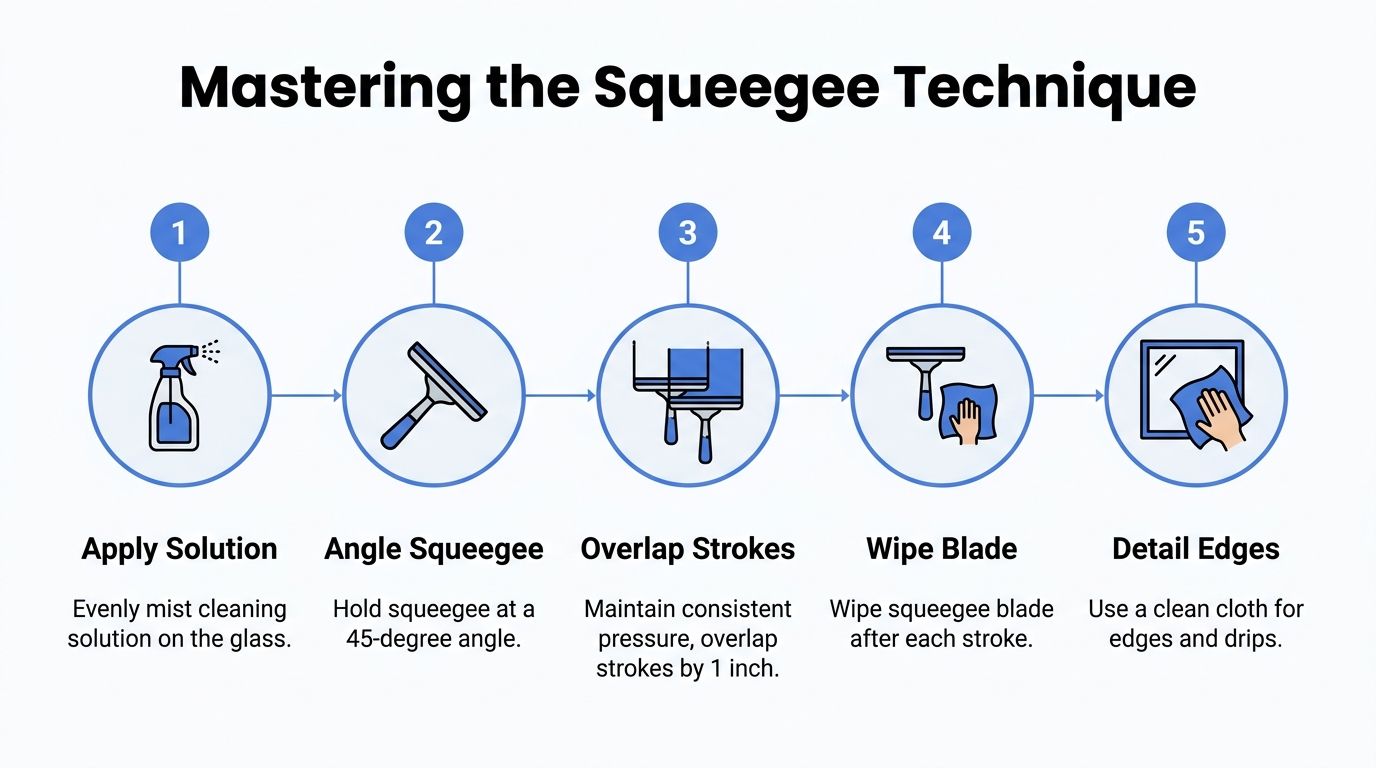
Apply solution with a sponge applicator or scrubber from top to bottom. Wet the pane fully, but don’t flood it. Interior work requires control.
The glass should look uniformly wet. It shouldn’t have large drips racing onto the sill.
Then pick up the squeegee immediately. Don’t let the solution sit and dry.
The blade should meet the glass at roughly 30 to 45 degrees. Too flat and it chatters or skips. Too steep and it pushes water instead of removing it.
Keep enough pressure on the rubber to maintain contact, but not so much that the blade judders. Smooth contact matters more than force.
For a practical demonstration of hand position and motion, this internal guide on how to use a squeegee is worth reviewing.
Two methods matter indoors.
For divided lights and smaller residential glass, the straight pull is the cleanest option. Set the blade at the top edge and pull straight down in one smooth motion.
Reset slightly over the previous path and repeat.
Key details:
This method gives excellent control around muntins, trim, and narrow glass.
Large interior panes respond better to fanning, also called the S-pattern. This keeps the blade in contact with the glass while you guide water across and downward in one continuous motion.
It takes practice, but once your wrist loosens up, it becomes efficient and elegant. The key is maintaining a wet edge so the blade always moves into moisture, not into a dry patch.
Trade guidance notes that the fanning method can cover 2 to 3 times more area once mastered, with proficiency often coming after about 50 windows, and consistent overlap and pressure can raise first-dry streak-free results to 99% in skilled hands, according to the same J. Racenstein trade resource cited earlier in this article.
This step gets skipped constantly by beginners. Then they wonder why a clean window develops lines halfway down.
After each pass, wipe the rubber with a clean cloth. Dirt, moisture, and tiny debris on the blade transfer directly to the next stroke.
If the blade isn’t clean, the next pass isn’t clean.
Here’s a quick visual reference before you practice the motion yourself:
After squeegeeing, use a clean microfiber cloth to detail the perimeter. This is edge work, not a second cleaning pass.
Touch the cloth to:
If you buff the whole pane with microfiber after squeegeeing, something earlier in the process was off. Usually it was too much soap, a dirty blade, or poor overlap.
A clean squeegee pass feels almost quiet. The blade glides. It doesn’t hop. It doesn’t squeal. It doesn’t leave random tears of water behind.
That’s why interior window cleaning takes patience. Verified trade guidance notes that interior cleaning can take considerably longer per window than exteriors because the finish standard is tighter and the surroundings require more care. You’re not just cleaning glass. You’re working around flooring, paint, furniture, and reflected light that exposes every flaw.
A lot of people assume streaks mean the glass is still dirty. Frequently, that isn’t the primary problem.
Streaks usually mean one part of the process broke down. The fix is technical, not forceful.
Different marks point to different causes.
| What you see | Likely cause | Better fix |
|---|---|---|
| Fine straight line | Nicked or dirty rubber | Replace or wipe blade |
| Haze across whole pane | Too much solution or residue | Re-clean with lighter mix |
| Random drag marks | Dust or debris on glass | Improve prep and scrub first |
| Spots that remain after drying | Mineral deposits or stubborn film | Target the spot, don’t rewash everything |
If a pane keeps flashing dry before you finish, the issue may be heat or direct sunlight. Solution that dries too fast leaves residue behind and makes the blade drag.
Shaded conditions are easier to control. Indoors, that can mean cleaning a different side of the house first or waiting until direct light moves off the glass.
In dry regions like Phoenix and Las Vegas, interior mineral spotting can show up on certain windows and especially on glass near moisture-heavy rooms. Shower-adjacent glass, kitchen windows, and long-neglected panes are common examples.
For stubborn hard water marks, very fine #0000 steel wool can be used carefully on suitable glass, with testing first in a corner. For heavier film, use a more deliberate scrub before the squeegee step. Don’t attack the whole pane with aggressive tools right away.
Some haze also comes from years of aerosol cleaners, cooking residue, smoke, or vinyl outgassing. In those cases, the answer is usually better pre-scrubbing and less product, not more.
Streaks aren’t a cue to grab more towels. They’re a clue that something in the process needs correction.
Waiting too long between cleanings changes the job. Soil bonds to the surface, residue bakes on, and the risk of permanent deterioration rises.
A 2024 survey of 1,000 US homeowners found that 25.7% replaced windows primarily due to damage that could have been mitigated with proper maintenance, a reminder that neglected cleaning accelerates glass damage and makes restoration harder over time, as cited by IPC Worldwide: https://www.ipcworldwide.com/windows-and-surfaces-cleaning-go-higher-in-total-safety/news/
That’s why regular interior window cleaning isn’t cosmetic fluff. It protects the glass from buildup that becomes expensive later.
You find out where DIY stops making sense about halfway through the job. The first two panes look decent, then the afternoon light hits the glass and shows every missed edge, every drag line, and every bit of dust you stirred up instead of removing. That happens a lot in Arizona, Colorado, and Nevada, where dry air and fine dust settle indoors faster than many homeowners expect.
Some interior glass is perfectly manageable with a proper squeegee kit and a little patience. Some jobs are better handed to a crew that does this every day.
DIY works well when the job is simple, reachable, and limited in size. If the panes are already in fair condition and you are doing maintenance instead of recovery work, you can get strong results with the professional squeegee method.
A homeowner usually does fine with:
There is a learning curve. Blade angle, pressure, and detailing discipline matter. Still, for a few windows in a living room, bedroom, or office, DIY can be a smart way to keep glass under control between professional visits.
Large homes, storefronts, offices, medical suites, and interiors with tall or awkward glass are a different category. High transoms, stairwell glass, French panes in volume, and windows surrounded by finished flooring leave less room for trial and error.
Window Genie’s industry statistics report that interior-only services often average $4 to $8 per window, whole-home visits commonly fall between $150 and $302, and recurring service plans may include 10% to 20% discounts, according to their industry overview: https://www.windowgenie.com/blog/window-cleaning-industry-statistics/
That price is not just for labor. It covers speed, consistency, problem-solving, and risk control. A trained crew already knows how to deal with dusty sills, touchy trim, old residue, and glass that shows every flaw under direct indoor light.
| Decision factor | DIY interior window cleaning | Professional service |
|---|---|---|
| Tool setup | You buy, maintain, and replace the kit | Crew arrives with blades, scrubbers, towels, and floor protection |
| Time | Slower while learning and correcting mistakes | Faster, especially on full homes and commercial spaces |
| Finish quality | Good on simple panes if technique is sound | More consistent across mixed glass and difficult layouts |
| Risk to floors and trim | Higher if water control is sloppy | Lower with established process and repetition |
| Best fit | Small, straightforward maintenance jobs | Larger properties, businesses, and difficult-access interiors |
A homeowner cleaning six easy panes has one set of concerns. A property manager handling a multi-unit building has another. So does a retail owner who needs clean interior glass before opening, without drips on floors or streaks showing under entry lighting.
In dry service areas, the challenge is not only dirt. It is fine airborne dust, HVAC circulation, and residue that keeps coming back. That is one reason interior maintenance schedules matter more in Phoenix, Denver, Las Vegas, and surrounding markets than many general cleaning guides admit.
For many clients, hiring a professional is about avoiding rework. They want the glass done once, done cleanly, and done without sacrificing half a day to a job that still needs touch-up after the sun moves.
If you are comparing service details the same way you compare cleaning methods, a clear set of frequently asked questions is always useful.
A few questions come up on almost every job. These are the answers that save people the most frustration.
The right schedule depends on the home and the environment.
Verified guidance for homes is simple:
Those frequency ranges come from the industry stats cited earlier in this article from Window Genie. In dry, dusty service areas, the shorter end of the range is often the practical choice.
It can work, but it isn’t the trade secret people think it is. The bigger issue isn’t whether vinegar can cut grime. It’s that many people use too much solution and then try to wipe the glass dry by hand.
For most interior glass, a very light soap solution gives the squeegee better glide and leaves less fuss behind when used correctly.
Start dry. Remove loose debris first, then wipe the remaining dust from frames and tracks before the glass gets wet.
If you’re working through other home-maintenance questions at the same time, a good model for practical service-page organization is a well-built set of frequently asked questions. Clear answers save time, especially when several cleaning tasks overlap.
Cloudiness usually points to residue, old film, or a worn blade, not a lack of effort. If the glass was heavily exposed to smoke, cooking grease, aerosol products, or hard water, a normal wash may not be enough.
In those cases, increase the quality of prep and scrubbing before you increase the amount of cleaner. More liquid rarely solves a film problem.
For glass, no. They’re fine for catching drips off the sill in a pinch, but not for detailing the pane. A clean microfiber cloth is the right finishing tool because it won’t shed lint into corners and edges.
If your windows need more than a quick wipe, Professional Window Cleaning handles residential, commercial, and high-rise glass in Arizona, Colorado, and Nevada. Since 1999, the focus has stayed the same: careful prep, proper squeegee work, and interior glass that looks clean in every light.
Read our blog posts regularly and keep learning.