Care and Maintenance
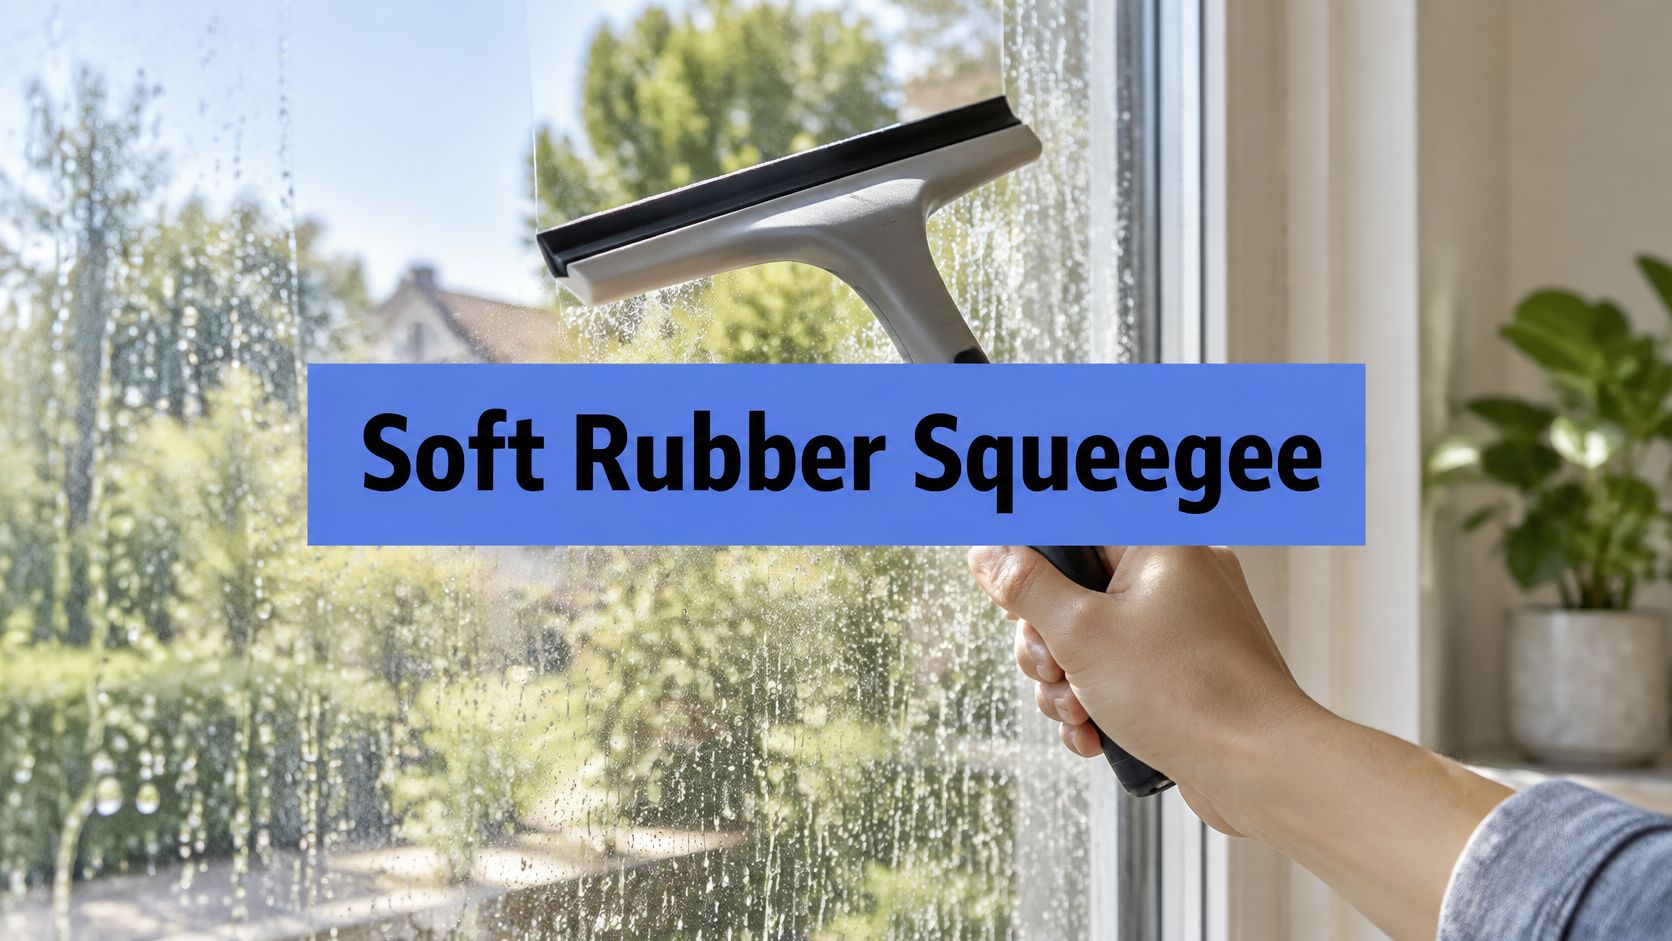
Soft Rubber Squeegee: What It Is and When to Use It
Learn what a soft rubber squeegee is, how it compares to other blades, and when pros choose it for streak-free window cleaning in homes and high-rises.


You peel away an old price sticker from a window and expect the glass to be clear underneath. Instead, a stubborn gray smear catches the light, your cloth drags across it, and the first instinct is to reach for a razor or the strongest solvent nearby. That first move often creates more trouble than the adhesive itself.
Removing adhesive from windows safely starts before scraping. Read the residue, identify the glass, check the surrounding frame and seals, then soften the bond so the tool has less work to do. The same principle appears in conservation work, where transparent tape and adhesive residues on glass-based materials are handled through staged solvent treatment rather than a single wipe, sometimes involving 4 to 7 baths followed by an ethanol rinse before aqueous treatment (conservation guidance on tape and adhesive removal).
Professional Window Cleaning has been cleaning windows for over 26 years. The company serves homeowners, commercial properties, high-rise buildings, and specialty facilities in places including Las Vegas, Phoenix, Denver, Scottsdale, Tempe, Chandler, Gilbert, and Flagstaff. The careful habits below apply whether you're handling one indoor decal or a pane covered with old film residue.
A homeowner in Las Vegas once described the job perfectly without realizing it. An old promotional decal had peeled away from a sun-facing window, leaving a transparent amber haze. The glass looked clean from straight on, but at an angle the residue showed every place a cloth had pushed it around. Scraping dry seemed like the obvious answer. It wasn't.
Adhesive grips glass through both chemical bonding and mechanical contact. The remaining film can be thinner than a fingernail while still resisting a casual wipe. Sunlight hardens and bakes residue, while aging window film may leave a brittle layer that breaks into small flakes near the gasket. If you drag a blade through those flakes, grit can sit beneath the edge and scratch the pane.
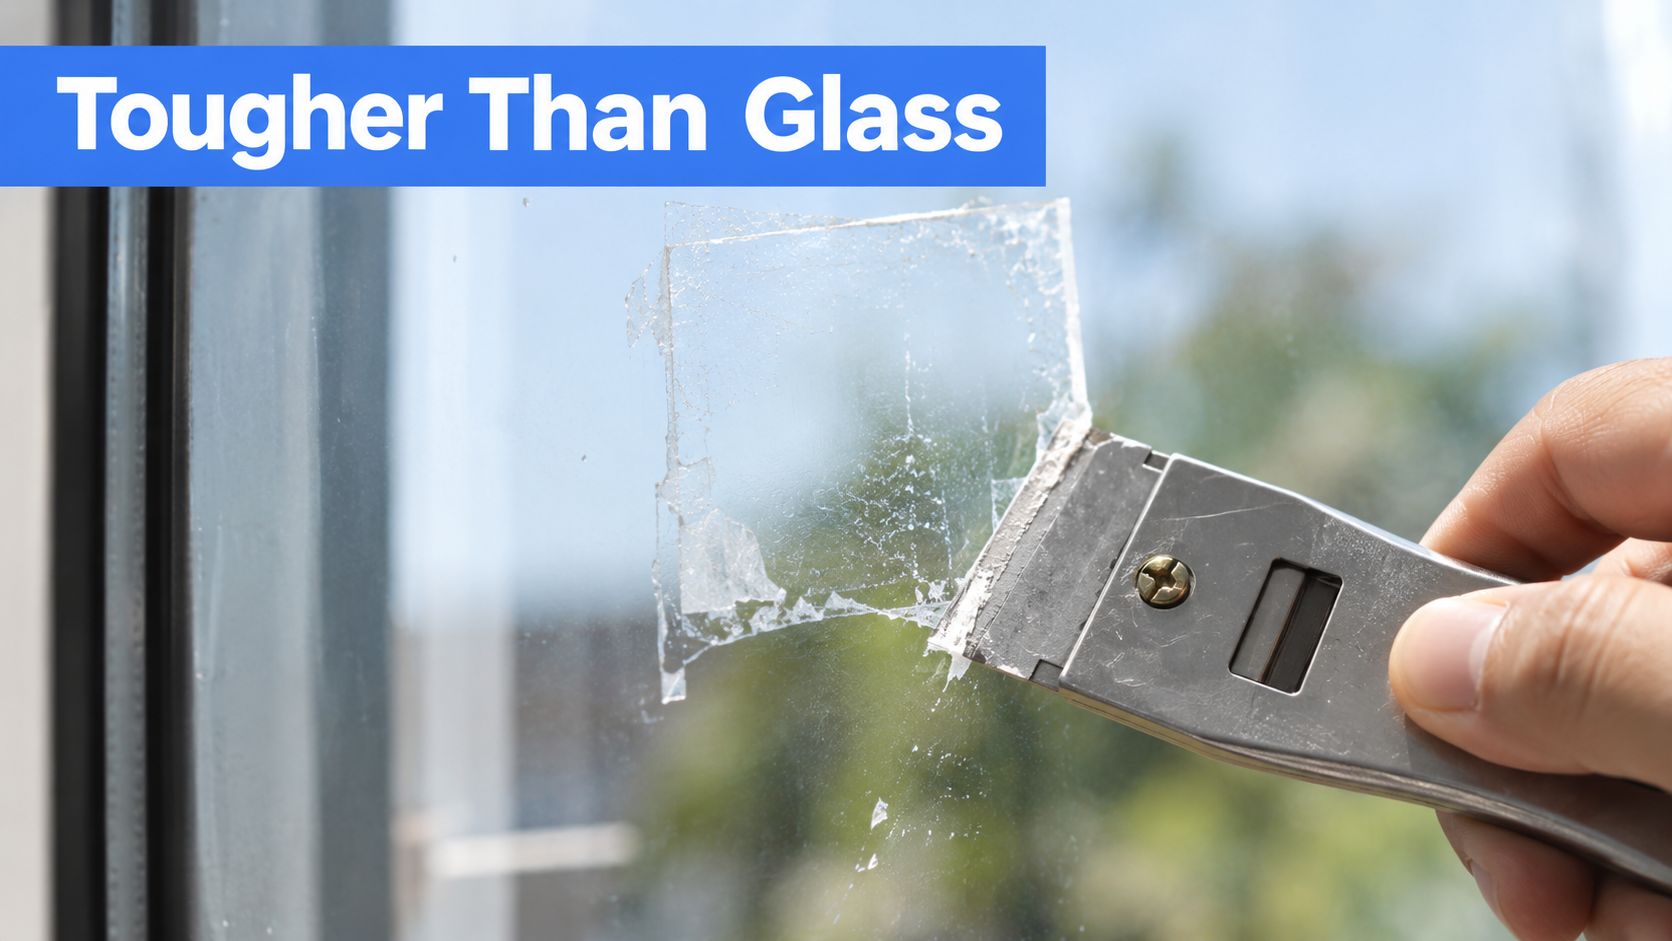
Plain annealed glass generally allows careful, lubricated scraping, but that doesn't make every pane a candidate for a metal blade. Tempered glass can reveal scratches caused by tiny particles caught beneath the scraper. Coated, tinted, printed, or low-E glass needs more caution because the surface treatment may be more vulnerable than the glass beneath it.
Start by asking four practical questions:
Practical rule: The blade should remove softened residue, not supply all the force.
A smooth glass surface can respond well once the adhesive is softened. Guidance on vinegar treatment reports more than 92% removal on glass and stainless steel within 10 minutes at 40°C, while removal on polypropylene was 68%, because adhesive can migrate into micro-pores (glass adhesive-removal guidance). That comparison reinforces why glass is favorable, but it doesn't eliminate the need to identify the residue and protect adjacent materials.
A complete kit keeps you from improvising halfway through the job. Most avoidable damage happens when someone reaches for a kitchen knife, a dry razor, or a rough pad because the proper tool is in another room.
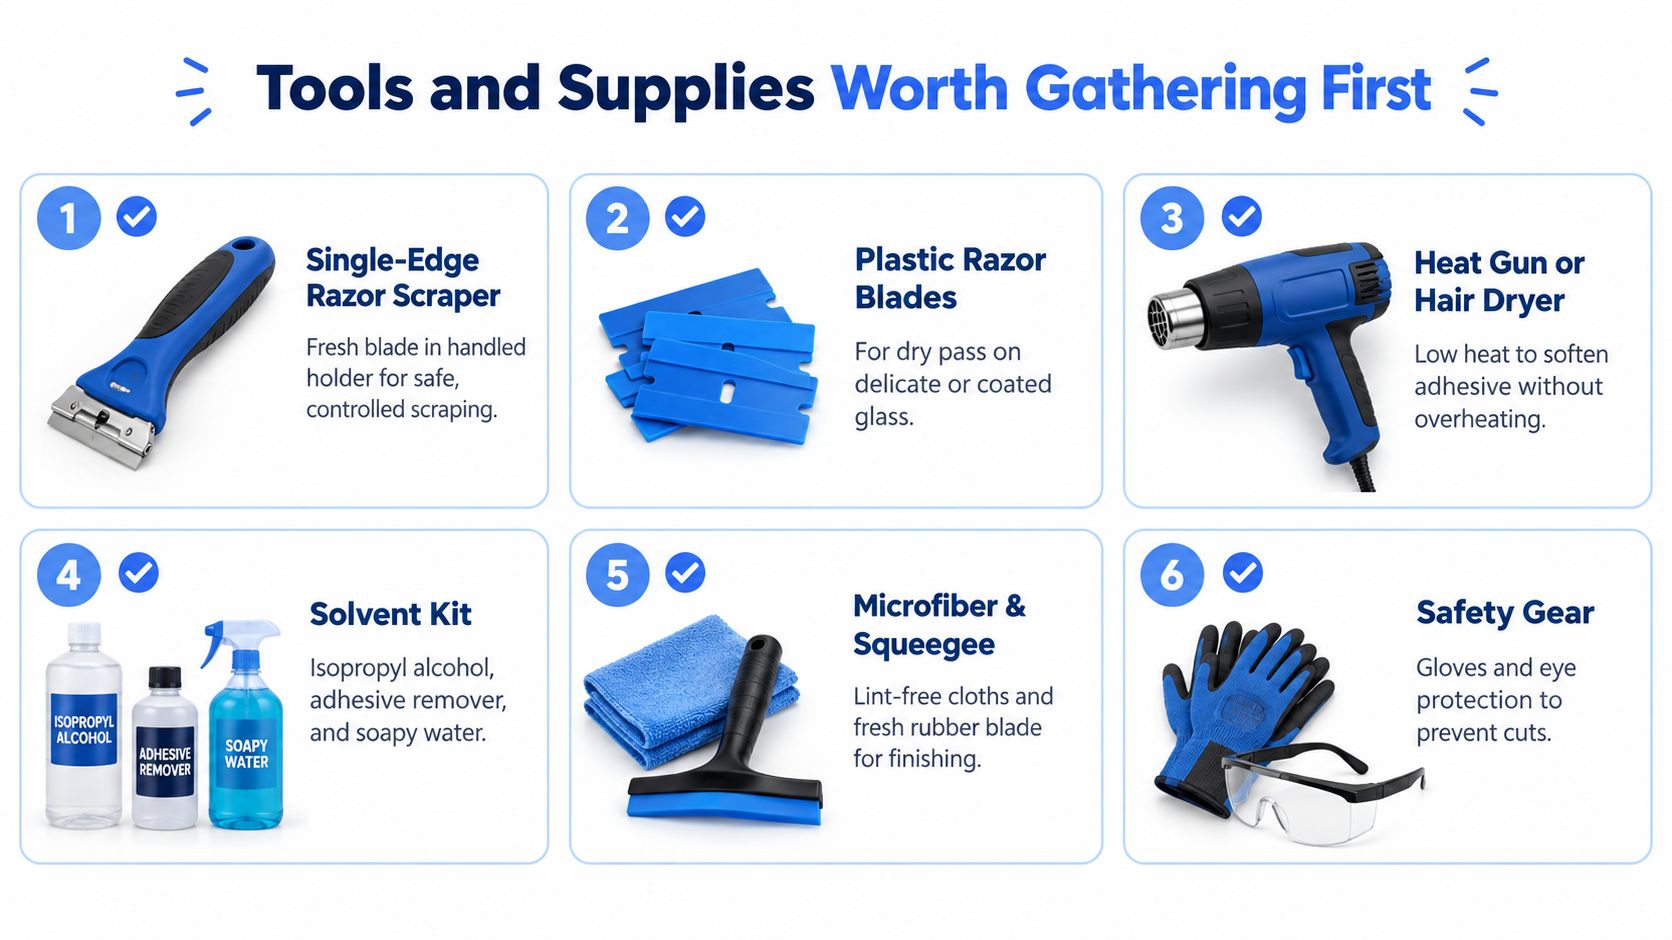
Use a single-edge razor scraper with a handle and a fresh blade. The holder keeps your fingers away from the edge and helps you maintain a consistent angle. Bring plastic razor blades as well, especially when the glass is coated, tinted, printed, or unfamiliar. A plastic edge won't replace careful testing, but it gives you a lower-risk starting point.
Keep separate microfiber cloths for separate tasks. One should apply the solvent, another should collect loosened residue, and a final dry cloth should buff away remaining haze. A soft nylon pad helps with textured residue that a blade can't lift cleanly, but avoid abrasive scouring pads and steel wool.
A spray bottle filled with clean water is useful for rinsing solvent from the pane and frame before it dries. Painter's tape can protect seals and nearby finishes, while a trash bag keeps scraped adhesive from landing back on the glass.
A hair dryer or heat gun can soften adhesive without introducing chemicals. If you use a heat gun, keep it on the lowest setting and move it continuously. Heat should loosen the bond, not overheat the pane, frame, seal, or tint.
Wear nitrile gloves and eye protection. Adhesive removers can irritate skin and eyes, and many products are flammable. Safety documents for window-film adhesive removers emphasize ventilation, gloves, eye protection, and keeping products away from flames and heat sources (current adhesive-remover safety guidance).
If the window is in an occupied home, school, office, or high-rise interior, open suitable ventilation before applying solvent. Don't combine products, and don't place alcohol, citrus remover, or solvent-soaked cloths near a flame, heater, or spark.
The solvent should follow the adhesive, not the other way around. A product that works on a light sticker smear may spread old film adhesive, and a product that cuts construction residue may attack a nearby painted frame or plastic seal.
| Residue Type | Best Option | Avoid On |
|---|---|---|
| Fresh paper-label adhesive | Warm soapy water, followed by a plastic scraper | Water-sensitive frames and untested finishes |
| Light sticker residue | Vinegar or a compatible glass-safe remover | Natural stone and delicate coatings |
| Aged window-film residue | Controlled heat, then 91% isopropyl alcohol or d-limonene with a suitable dwell period | Untested tint, plastic, rubber, and painted surfaces |
| Rubber-like tape transfer | Heat and a plastic edge, followed by a compatible solvent | Dry scraping and excessive pressure |
| Heavy cured adhesive | Specialist adhesive remover after a patch test | Acrylic, coated glass, seals, and painted frames without compatibility confirmation |
A short dwell period matters more than aggressive rubbing. For glass residue, one practical method uses a solvent-soaked microfiber cloth, allows about 60 seconds of dwell time, then wipes in straight, single-direction passes. Immediate wiping can reduce effectiveness by roughly 40%, according to window-film adhesive removal guidance.
For tougher window film, manufacturer instructions recommend keeping the glass wet and soaking the adhesive for 3 to 5 minutes until it turns milky white before shaving it downward. Another professional guide recommends glass temperatures around 120°F to 140°F, or 49°C to 60°C, with 91% isopropyl alcohol or d-limonene under plastic wrap for 10 to 15 minutes, followed by long strokes with a fresh blade at a 30° to 45° angle (window-film adhesive remover instructions).
Use vinegar cautiously around frames and never treat a coated pane as plain glass until you've tested a hidden corner. Neutralize solvent residue with a clean water wipe before applying another product.
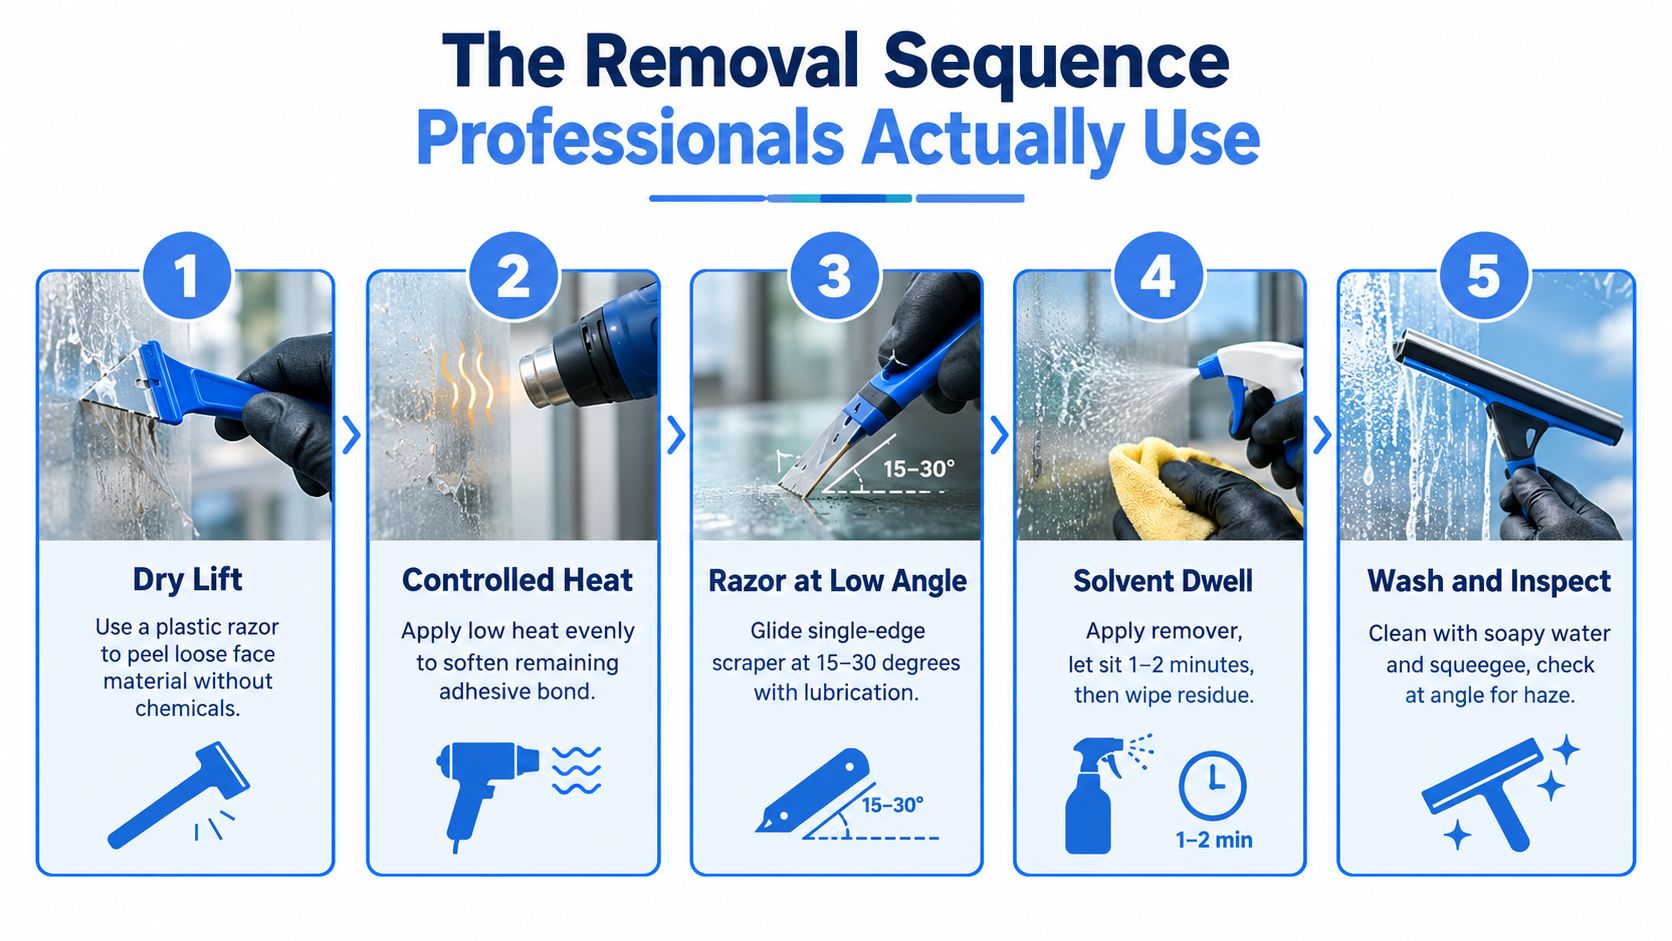
Begin with observation, not chemicals. Photograph or inspect the residue, identify loose film, and test a small corner with the least aggressive tool that might work. If the surface is unknown, start with a plastic razor and keep metal away until the pane proves suitable.
Use the plastic razor for a dry pass over loose face material. Keep the edge shallow and push only enough to lift material that is already separating. This prevents unnecessary solvent use and removes the layer most likely to contaminate your cloth.
Apply low, controlled heat next. Hold the tool several inches away, keep it moving, and warm a manageable area rather than chasing the entire pane at once. Stop if the glass, frame, seal, or tint becomes uncomfortably hot. Heat should make the adhesive more workable, not make the surface difficult to control.
Fold a lint-free cloth, apply the selected solvent to the cloth rather than flooding the frame, and press it against the residue. Allow a measured dwell period, commonly 30 to 90 seconds for a small test area, then inspect the adhesive. If it has turned gummy and lifts cleanly, continue. If it merely smears, stop and reconsider the solvent or allow more controlled dwell.
Keep the glass lubricated with soapy water, window cleaner, or another suitable liquid. Professional guidance warns against scraping dry because lubrication reduces friction, heat, and drag (lubricated razor-blade cleaning guidance).
Use a fresh blade at a shallow angle, roughly 30 degrees for controlled work, and push in a single direction. Lift the blade, clean it, and begin another pass. Don't saw back and forth. Rotate the scraper with your hand and maintain the angle instead of twisting your wrist into the glass. Work parallel to the nearest frame edge and recheck the gasket, where residue often hides.
Pause midway and inspect under changing angles of light. Finish each small area with a clean microfiber wipe before moving on. For additional sticker-specific guidance, see this professional approach to sticker removal from glass.
A sharper blade isn't automatically safer, and a stronger solvent isn't automatically faster. The safest removal process lets moisture, heat, or chemistry weaken the adhesive so the scraper carries residue away with light pressure.
Metal blades dragged across grit are a common source of scratches. So is circular scrubbing, which redistributes softened adhesive and can leave visible swirl marks when sunlight or sidelight hits the pane. A worn blade is particularly dangerous because it skips, catches, and gouges instead of gliding.
| Mistake | Why It Damages Glass | Safer Approach |
|---|---|---|
| Scraping dry glass | Friction and trapped grit increase drag | Keep the surface wet with a suitable lubricant |
| Using a worn blade | Nicks make the edge skip and catch | Replace the blade and lift it between passes |
| Scrubbing in circles | Adhesive spreads and marks become harder to control | Use straight, single-direction strokes |
| Applying strong solvent immediately | The product may affect tint, coatings, seals, or frames | Patch-test, then choose the mildest compatible option |
| Heating one spot too long | Excess heat can stress glass and nearby materials | Keep heat low, moving, and controlled |
| Scraping across a chip or edge defect | The blade can catch and extend the damage | Stop, isolate the defect, and use a safer method |
Tempered glass deserves special caution. If a blade catches on a nick, the edge can chip further, while particles beneath the scraper may create scratches that weren't visible during the first inspection. Coated and tinted glass should generally begin with a plastic blade and a compatibility test, not a confident metal scrape.
Don't let ammonia-based products run into insulated-glass seals or sit against frames. Solvent exposure can also create fumes in occupied rooms, so ventilation and fire control matter as much as residue removal. Keep chemical containers closed, use gloves and eye protection, and remove solvent-soaked cloths from heat sources.
Stronger chemicals don't compensate for poor preparation. They often make the mistake harder to reverse.
For a closer look at blade selection and handling, use this razor-blade guidance for professional glass cleaning. The goal is simple: soften first, scrape lightly, and stop whenever the pane reveals a surface problem.
The final pass determines whether the window looks restored or merely stripped of its sticker. Once the adhesive is gone, wash away solvent traces with a compatible glass-cleaning solution, then make a controlled squeegee pass from top to bottom. Professional window cleaners primarily use either a traditional squeegee or a pure-water system using purified water, rather than treating adhesive removal as a separate replacement for normal window cleaning (professional window-cleaning methods).
Use a fresh rubber blade and overlap each pass slightly. Keep the rubber in contact with the glass, then detail the edges with a clean microfiber folded into a small pad. Run that cloth around the perimeter, especially beside the gasket and in corners where a broad scraper can't reach.
Stand to the side and view the pane under raking light. A window can look clear from the center while retaining a solvent haze along the edge. If you find a smear, treat that area rather than recleaning the entire pane. A final clean-water wipe helps remove leftover chemistry before it attracts dust.
Exterior glass may benefit from a light, glass-safe hydrophobic sealant after the pane is clean and dry. The purpose is practical, it can make future cleaning easier and help later residue lift with less effort. Test the product on the specific glass and follow its label, particularly where tint or coatings are present.
Interior windows that collect condensation need a separate finishing approach. A vinegar-water wipe can help remove solvent film from suitable glass, but keep acidic cleaners away from marble, limestone, and other acid-sensitive materials. A resource such as this guide by GP Mobile Car Wash is also useful when hard-water deposits appear alongside adhesive residue on vehicle glass.
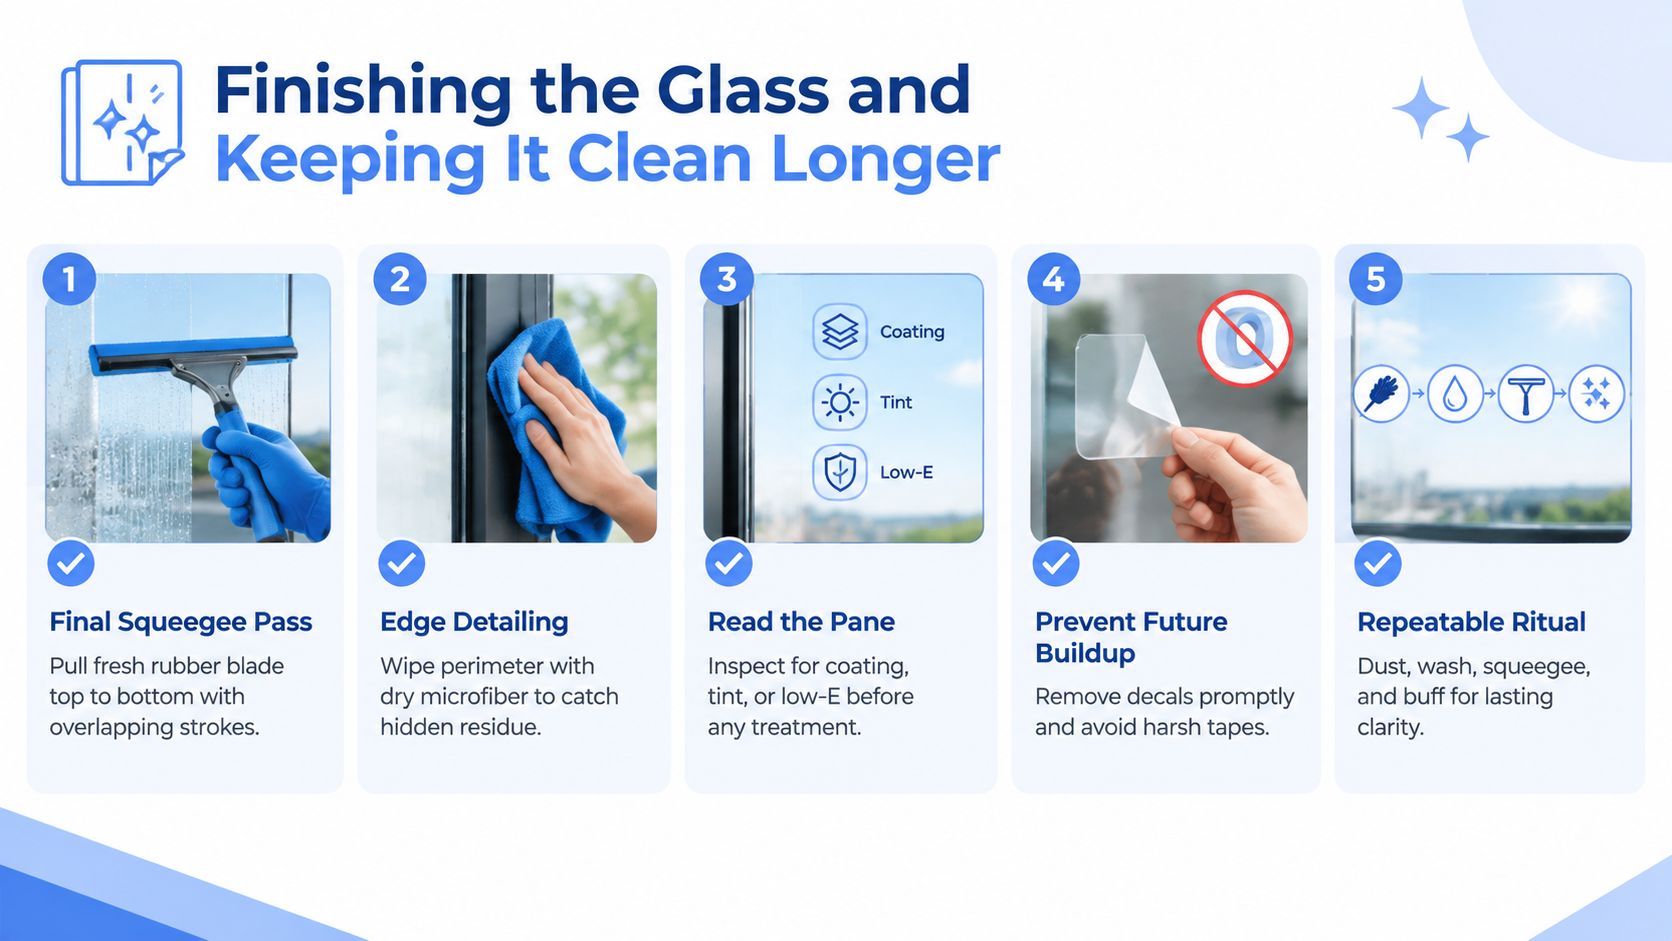
Keep a short ritual in the utility drawer:
Leave the pane cleaner than it arrived, but don't force a finish that the glass or coating can't safely accept.
Professional Window Cleaning can assess adhesive residue, clean the surrounding glass, and choose between traditional squeegee work and pure-water cleaning for residential, commercial, or high-rise properties. If the pane is coated, tinted, difficult to access, or at risk from dry scraping, visit Professional Window Cleaning to arrange experienced help.
Read our blog posts regularly and keep learning.