Care and Maintenance
Window Cleaning Maricopa AZ: Local Homeowner's Guide
Window cleaning Maricopa AZ services keep your home bright and curb appeal high. Compare local pros, pricing, and scheduling options today.


You peel a price tag off a new pane and half the label stays glued in place. A quick grab for a razor seems like the fix, until a faint scratch or a smeared trail turns a simple cleanup into something you can see every time the light hits the glass. That's the problem with sticker removal from glass, it isn't about yanking harder, it's about weakening the adhesive without hurting the surface.
On installed windows, the stakes are different from a jar on a kitchen counter. You're dealing with full-size panes, nearby seals, tint, frames, and the kind of streaks that show up from across the room. The goal is a clean, repeatable method that leaves the glass clear, not just technically sticker-free.
Homeowners often treat a sticker like it is loose paper and pull from the first corner they can find. On installed glass, the adhesive usually holds tighter than the backing, so the label tears and leaves a gummy layer behind as you pull. Once that happens, the job stops being a peel and becomes a controlled softening process.
Adhesive bond lines respond to heat, moisture, and solvent dwell time, not brute force. Standard guidance for glass sticker removal points to hot, soapy water for about 10 to 20 minutes, rubbing alcohol or vinegar for 10 to 30 minutes, and hair-dryer heat for roughly 30 to 60 seconds to a few minutes before you lift or scrape the label away, because those conditions soften the bond and reduce the chance of scratching the pane (WikiHow on removing a sticker from glass).
That is why the job goes sideways when someone starts with a dry edge and a metal blade. The adhesive breaks into fragments, residue spreads, and the pane often needs more cleanup than it would have if the sticker had been softened first. Professional crews know the work is really about controlling the adhesive, not attacking it.
Practical rule: if the sticker is fighting back, stop pulling and let chemistry do the work.
Common guides for removing stickers from jam jars or wine bottles often overlook what changes on a full-size window. Installed glass demands more caution because every pass affects a larger visible area, and any scratch or haze is much harder to hide on a storefront, a windshield, or a living room window. The same basic physics still applies, but the cost of impatience is higher on installed panes.
A razor can still be part of the process on the right glass, but only with control and the right angle. For a clear explanation of blade use on windows, see this guide on using a razor blade for cleaning glass.
Start with the whole pane, not just the sticker. On installed glass, the surrounding details decide the method, so check for tint film, decorative coatings, seals, and painted frames before you touch the edge. A plain sheet of clear glass gives you more room to work than a coated pane or a vehicle window with vulnerable borders, and that difference matters when the goal is a clean finish without scratches or haze.
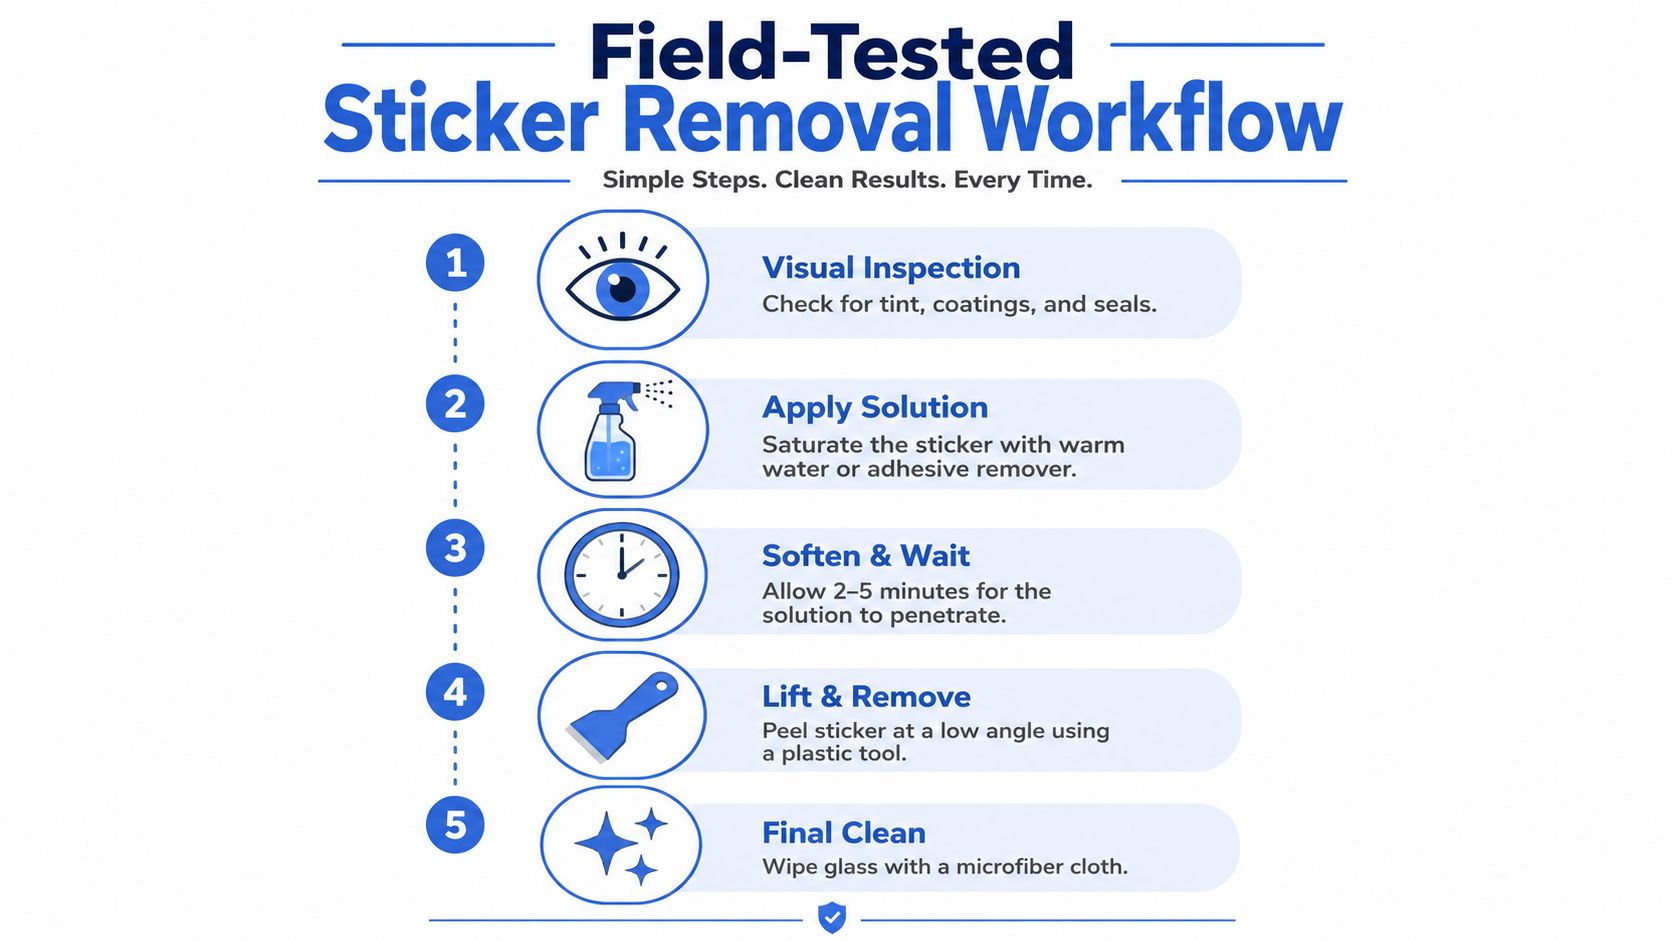
The most reliable workflow is simple. Soften the adhesive with moisture or heat first, then lift the sticker at a low angle, and only after that deal with the residue. That order matters because softened adhesive releases in larger pieces instead of shredding into sticky fragments across the glass.
Fresh labels usually respond to a 60 to 120 second warm-soapy-cloth dwell before you try to lift an edge, while older residue may need longer solvent contact times like the ones covered in the next section (All Sticker Printing on how to remove stickers from glass). If the sticker tears, stop and re-wet or reheat it. Dry peeling only increases the residue load and makes cleanup slower.
The pane should feel like it is giving up the sticker, not like you are prying it off.
A plastic scraper or even an old credit card is the first tool I would reach for on most glass. It is safer near edges and far less likely to leave a trace than metal. On plain, flat glass with softened adhesive, a razor can still be used carefully at a 45-degree angle, but the blade should only come out after the surface has been lubricated with soapy water or glass cleaner, as shown in our guide on using a razor blade safely for cleaning. For a broader comparison of blade use and hand pressure, WikiHow razor guidance is another useful reference.
Once the sticker is off, wash the pane with soap and water, then wipe it with glass cleaner in straight strokes. A final look from the side catches smears that disappear when you look straight on. That angled inspection matters on storefronts and vehicle glass because missed residue stands out fast in direct light, and the same care shows up in trade advice on Angi on removing stickers from glass.
On larger windows, the finish matters more than the first pass. If the glass is wide, high, or awkward to reach, a crew that already works with pure water and squeegees can often leave a cleaner result with less risk. That is also why protecting car paint with SwiftJet is a useful reminder from a different kind of surface care, because delicate finishes punish rough handling fast.
On a full-size window, the right product depends on the adhesive, the glass, and how much cleanup you want to do after the sticker lifts. Fresh paper labels usually respond to heat and water. Older residue often needs a solvent that can stay on the spot long enough to weaken the bond. Oils can work too, but they usually create a second cleaning step before the pane looks right again.
Hot soapy water is the cleanest place to start on many stickers. It is gentle, easy to control, and less likely to leave a mess on nearby trim or a broad pane that needs a streak-free finish. White vinegar and isopropyl alcohol are better once the adhesive has hardened, although both can leave a light film that needs to be rinsed off. For a closer look at solvent choice and why rubbing alcohol is often the practical middle ground, see our detailed guide on using rubbing alcohol to clean windows.
Cooking oil, peanut butter, and baking soda paste can soften sticky residue, especially on older marks, but they are messy on installed glass. They work by breaking down the adhesive and adding a little lift, then they still need soap and water so the pane does not haze later. WD-40 and Goo Gone are faster commercial options, but they also leave a film that has to be washed away if you want the glass to finish clean. That same careful approach needed for protecting car paint with SwiftJet applies here too, use enough product to loosen the residue, but not so much that cleanup becomes harder than the sticker itself.
| Product | Typical Dwell Time | Best For |
|---|---|---|
| Hot soapy water | About 10 to 20 minutes | Fresh labels and paper stickers |
| White vinegar | About 10 to 30 minutes | General adhesive softening on flat glass |
| Rubbing alcohol | About 10 to 30 minutes | Sticky residue after the top layer is gone |
| Hair dryer | About 30 to 60 seconds to a few minutes | Loosening sticker edges before peeling |
| WD-40 | A few minutes | Stubborn residue that needs a stronger breakdown |
| Goo Gone | About 5 to 10 minutes | Tough adhesive spots on plain glass |
The trade-offs are simple once you have worked a few panes. Vinegar and alcohol are easier to finish cleanly. Oils and commercial removers can do more work on stubborn adhesive, but they usually leave something behind that has to come off in the final wash. That is normal on real jobs. It is also why a cleaner picks products based on the glass in front of them, not just the sticker on it.
A small bottle of the right solvent saves time, but it does not replace a proper rinse and wipe-down. On large windows, storefront glass, and any pane that will be seen in bright light, the finish matters as much as the removal itself.
House windows, windshields, tinted film, and high-rise panes all look like glass, but they don't forgive the same mistakes. The adhesive may be similar, yet the risk changes with the surface, the access, and what sits behind the pane. A sticker on a kitchen window and a sticker on a top-floor storefront are not the same job.
On home glass, the first concern is the seal and the frame. Moisture and solvent can creep where they don't belong, so I keep the treatment localized with a damp cloth or folded towel instead of flooding the whole area. Plastic tools are the safer default, especially near painted wood, vinyl, or aluminum trim.
Windshields and side glass need more restraint. Defroster lines, tint film, and edge seals mean you should avoid aggressive scraping near the perimeter, and you should be cautious with stronger solvents because they can affect nearby materials. A hair dryer, alcohol, or vinegar is usually safer than a blade near tinted or coated automotive glass, and sudden temperature changes are a bad idea on cold glass (StickerIt on car windshield glass; Angi on windshield caution).
High-rise work adds access and safety issues that DIY methods can't solve. A sticker on a tall storefront or an upper-floor pane may require ladders, lifts, water-fed poles, or rope access, which is exactly why professional crews exist. Professional Window Cleaning serves homes, businesses, and high-rises across Arizona, Colorado, and Nevada, including Las Vegas, Phoenix, Denver, and Scottsdale, where large installed panes are routine rather than rare.
That's the point where sticker removal stops being a small fix and becomes part of a larger glass-cleaning workflow. The method still starts with softening, but the logistics, safety, and finish expectations are different on a multi-story building.
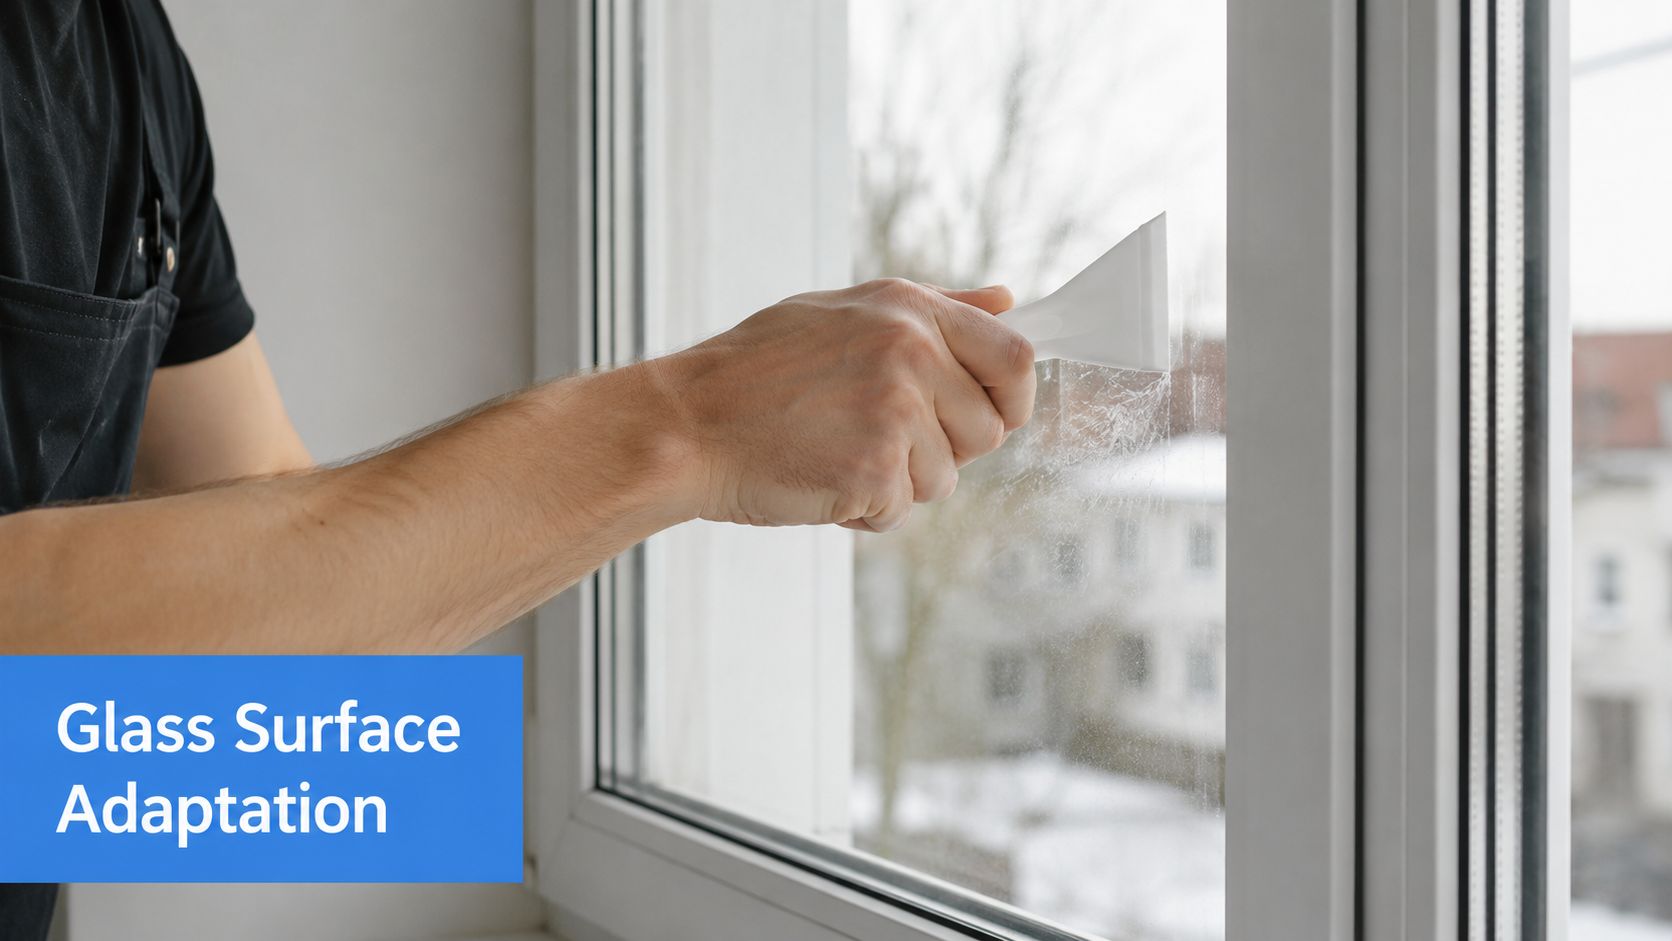
Stubborn residue usually has a reason. Sun-baked adhesive hardens, older labels fragment, and a dry scrape spreads the mess instead of lifting it. If the sticker is still clinging after the first pass, the answer is almost never “push harder.”
First, re-wet or re-heat the spot. A second dwell cycle often works better than the first because the solvent has had more time to penetrate the bond line. If that still doesn't do it, switch to a stronger remover such as alcohol, Goo Gone, or WD-40, then give it the proper sit time before wiping.
When a blade finally makes sense, use a fresh razor and keep it at a shallow angle on flat, lubricated glass only. If you feel chatter, stop. Chatter is how streaks and scratches start, and it usually means the adhesive still hasn't softened enough.
Avoid this habit: repeated dry scraping almost always makes the residue worse by breaking it into smaller patches.
A lot of people think the sticker is gone once the backing lifts. The test is what the glass looks like after it dries. Wash with soap and water, then use glass cleaner and inspect the pane from the side so you can catch the thin film that head-on light hides.
That angled check matters on storefronts and car glass because streaks show up immediately. If you still see a haze, it usually means there's oil, adhesive, or cleaner residue left behind, not that the glass was damaged. Clean it again before deciding the job is done.
The biggest mistake is mixing impatience with the wrong tool. Once those two show up together, the residue multiplies and the finish quality drops fast.
There's a point where the smartest move is to hand the job off. If the sticker is on a tall storefront, a skylight, a multi-pane facade, or a windshield you can't safely access, the risk of a scratch or a fall outweighs the time you'd save trying to do it yourself. Professional crews already work with the two core window-cleaning methods, a squeegee or a pure-water system, and they know how to pair those with the right solvent or scraper approach when sticker residue is part of the job.
That matters because a sticker isn't just an eyesore on high or hard-to-reach glass. It can turn into a seal problem, a tint problem, or a ladder problem if the wrong technique gets used in the wrong place. A trained crew also knows when the pane is better handled with gentle chemical softening first, then cleaned as part of the normal wash cycle.
Professional Window Cleaning has been cleaning windows for over 26 years, and sticker and decal removal is part of routine service on homes, businesses, and high-rise buildings. If the pane is installed, visible, and difficult to reach, bringing in a crew is often the cleaner decision, not the more expensive one.
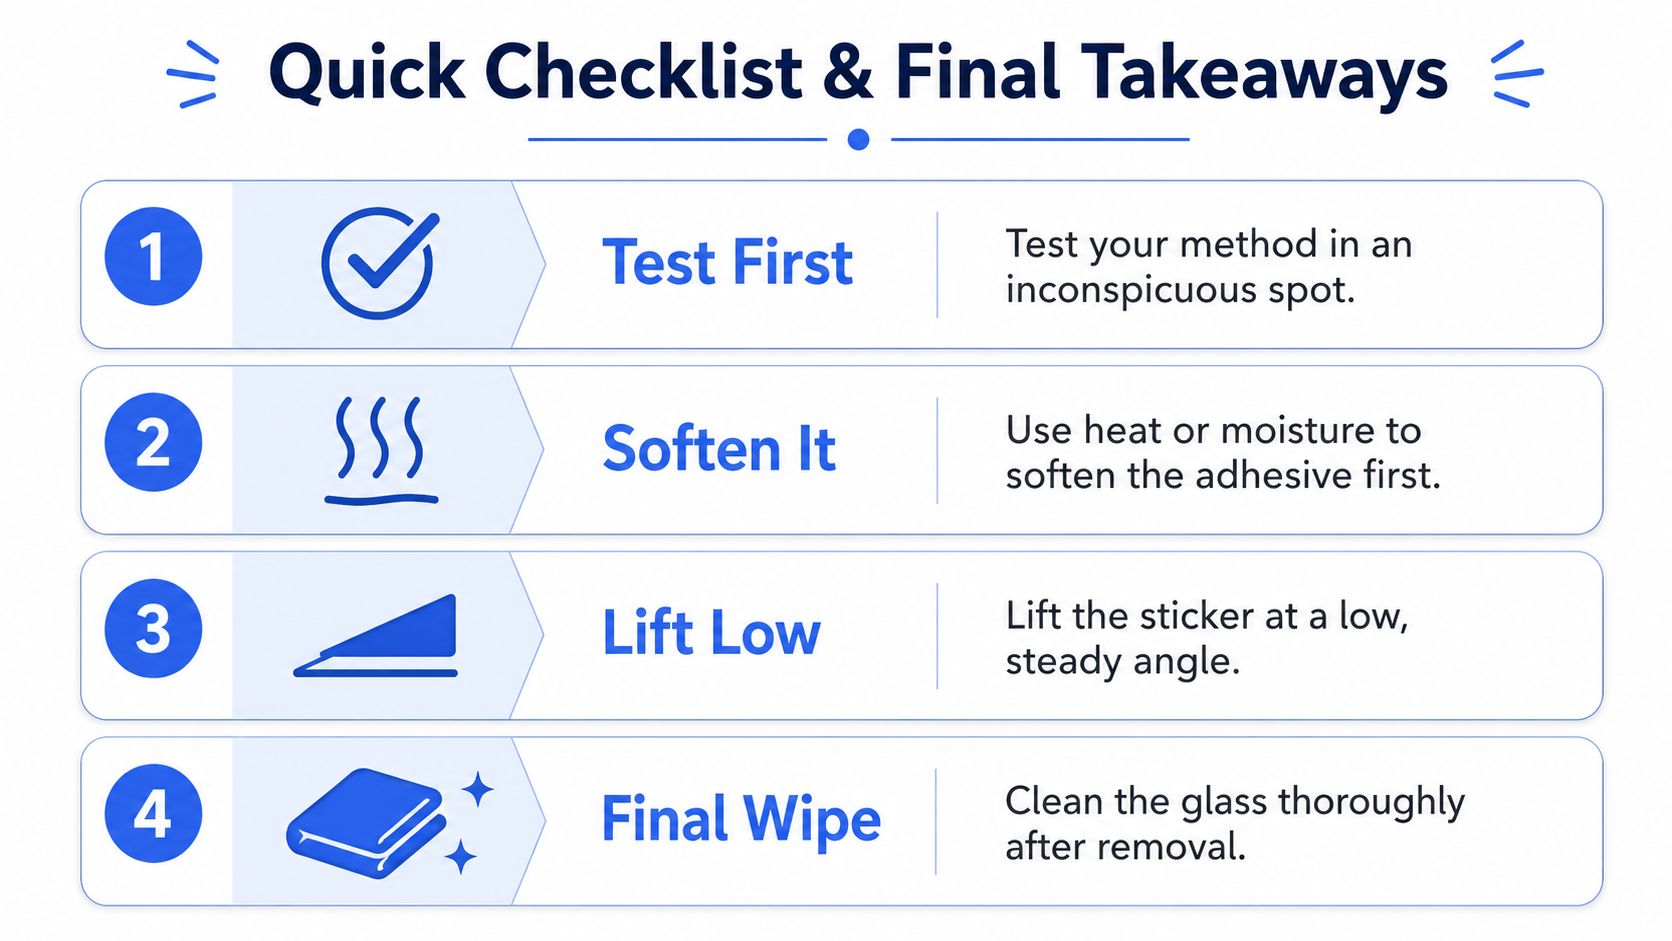
A good removal job usually comes down to patience, the right angle, and clean glass at the end.
Core principle: dwell time beats force every time. Most scratches and most ugly residue jobs start because someone scraped too soon.
A small window can usually be handled with a hair dryer and a plastic card if the sticker is fresh and the glass is easy to reach. Tall panes, tinted glass, coated glass, and awkward placements are a different job, because the risk of streaks, missed residue, or accidental damage goes up fast when you cannot work square to the surface. For a local, streak-free result, reach out to Professional Window Cleaning and get the glass handled the right way.
Read our blog posts regularly and keep learning.