Care and Maintenance
Your 2026 Guide to Commercial Building Maintenance Services
Master commercial building maintenance services with our 2026 guide. Learn core services, budgeting, vendor selection, & how to plan for your property.


You bet. You can absolutely use rubbing alcohol to clean windows, and the results are often a surprisingly streak-free shine. A simple mix of rubbing alcohol and water is one of the best DIY solutions out there, cutting right through stubborn grime and evaporating in a flash. This helps you avoid the water spots and annoying streaks that so many commercial cleaners leave behind.
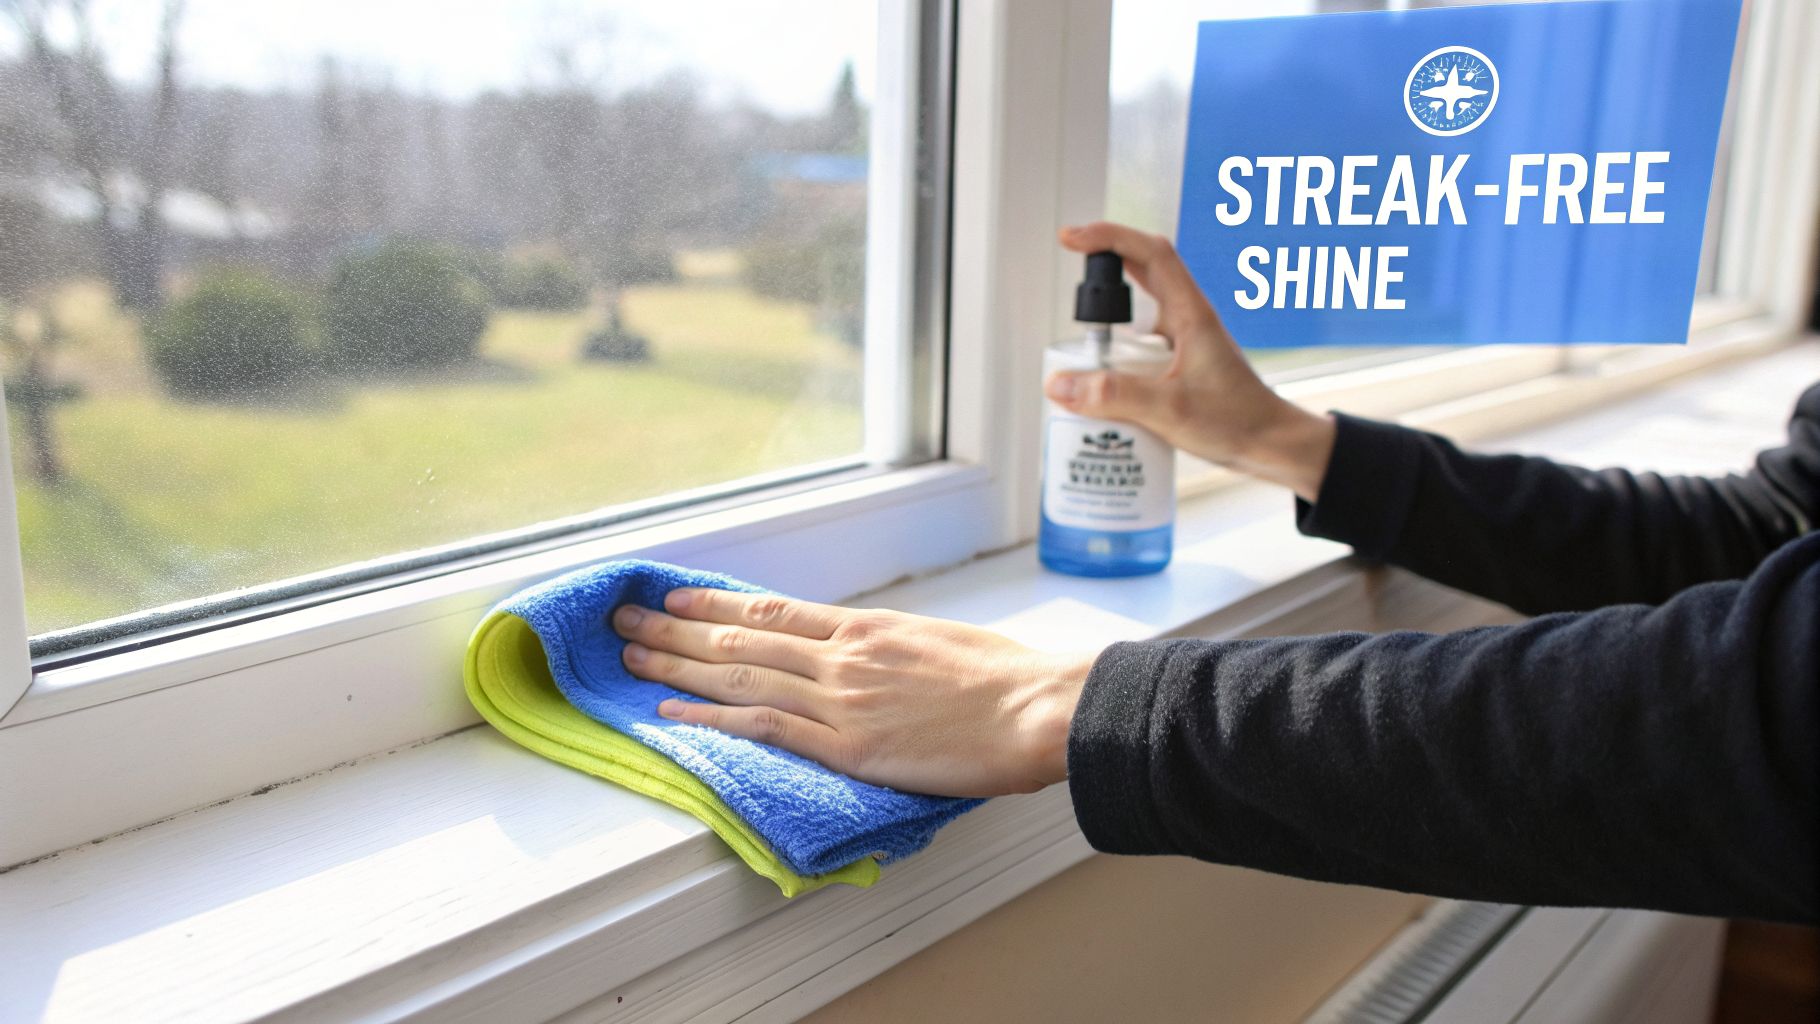
When you’re chasing that perfectly clear, invisible-glass look, the answer isn’t always in a brightly colored bottle from the store. More often than not, a simple item from your medicine cabinet—isopropyl alcohol—can outperform them all. Its power comes down to a few key properties that make it almost perfect for glass surfaces.
First off, rubbing alcohol is a fantastic solvent. In plain English, that means it has an amazing ability to dissolve and lift away the gunk that plain water just can't handle on its own.
The real magic behind using rubbing alcohol for window cleaning is how quickly it disappears. Unlike water, alcohol is highly volatile, meaning it evaporates almost instantly once it hits the glass. This rapid evaporation is the key to preventing mineral deposits—what we all know as water spots—from forming in the first place.
This is a huge advantage in sunny, dry climates like those in Phoenix and Las Vegas. Out there, water can dry on hot glass before you even get a chance to wipe it away, leaving a mess of streaks. An alcohol-based solution gives you a much better shot at a flawless finish.
At Professional Window Cleaning, we've seen countless homeowners in Scottsdale get frustrated with streaky windows. While we professionals use only two methods—a pure-water system or a squeegee—a well-mixed alcohol solution is one of the best DIY methods we've found for mimicking those professional results.
By combining the cleaning power of a solvent with the quick-drying nature of alcohol, you create a simple but incredibly effective cleaner. It tackles the dirt and then vanishes, leaving nothing behind but sparkling, clear glass. It’s the reason this household staple has become a go-to trick for so many people who demand pristine windows.
So, how does a simple rubbing alcohol solution stack up against other popular window cleaning agents? Here’s a quick comparison to see the pros and cons of each.
| Feature | Rubbing Alcohol Solution | Ammonia-Based Cleaner | Vinegar Solution |
|---|---|---|---|
| Effectiveness | Excellent at cutting grease and grime; evaporates quickly. | Strong cleaning power, effective on heavy dirt. | Good for mineral deposits and general cleaning. |
| Streak-Free | High. Rapid evaporation prevents water spots. | Moderate. Can streak if not wiped quickly or properly. | Moderate. Can leave streaks if the ratio is off. |
| Fumes/Odor | Strong alcohol smell, requires good ventilation. | Pungent, harsh fumes. Can be irritating. | Strong, acidic smell. Lingers but is non-toxic. |
| Safety | Flammable. Can damage certain tints and coatings. | Can damage window tints, rubber seals, and some frames. | Acidic; can damage stone sills (marble, limestone) over time. |
| Cost | Very low. Inexpensive and readily available. | Low. Widely available and affordable. | Very low. A common, cheap household item. |
While commercial cleaners and vinegar have their place, the fast evaporation and grease-cutting ability of rubbing alcohol often give it an edge for achieving that coveted, perfectly streak-free shine.
Long before you even touch a squeegee to glass, the real work begins. Getting that professional, streak-free shine comes down to two things: mixing the right cleaning solution and having the right tools on hand. While rubbing alcohol is a fantastic choice for cleaning windows, the real magic is in how you mix it.
The perfect ratio depends on one simple thing: how dirty your windows are. A light dusting requires a different approach than a window that hasn't been cleaned since last year.
Professional Window Cleaning has been cleaning windows for over 26 years, and we've perfected these simple recipes. They're exactly what you need to get started.
Sometimes, you need to bring in a little extra help. For a deeper dive into other recipes we use, check out our complete guide on creating your own window cleaning solution.
Here's a pro tip: add a single drop of dish soap to your spray bottle. And we mean one drop. It acts as a surfactant, helping the solution glide smoothly across the glass and giving it more time to work on tough spots. Be warned—too much soap is the #1 cause of streaks, so less is definitely more.
This is where most DIY window cleaning efforts fall apart. Using the right tools isn’t just a recommendation; it’s the secret to a flawless finish. Put down the paper towels and old rags—they’ll only leave behind a frustrating trail of lint.
While there are many different types of cleaning tools for household chores, the pros stick to a very specific kit for windows. After cleaning countless panes, we've found you only need two key items to get professional results:
Our professional teams, like those working in places like Scottsdale, often rely on advanced pure-water systems for a perfect finish on commercial jobs. But even with all that tech, the humble squeegee remains a cornerstone of the industry. Mastering it starts with having the right one in your hand.
Alright, your solution is mixed and your tools are laid out. Now comes the part that truly separates the amateurs from the pros: the squeegee work. This isn't just about dragging a piece of rubber across the glass; it’s a specific technique we’ve honed over years in the field. Mastering it is the key to turning your rubbing alcohol to clean windows solution into a perfectly clear, streak-free finish.
First, let's talk timing. One of the best-kept secrets in window cleaning is to avoid working in direct, hot sunlight if you can. The heat makes your alcohol solution evaporate almost instantly—often before you can even squeegee it off. That’s a guaranteed recipe for streaks. An overcast day is your best friend here.
This simple flow shows the essential steps our pros follow, from mixing the solution to that final, satisfying wipe.
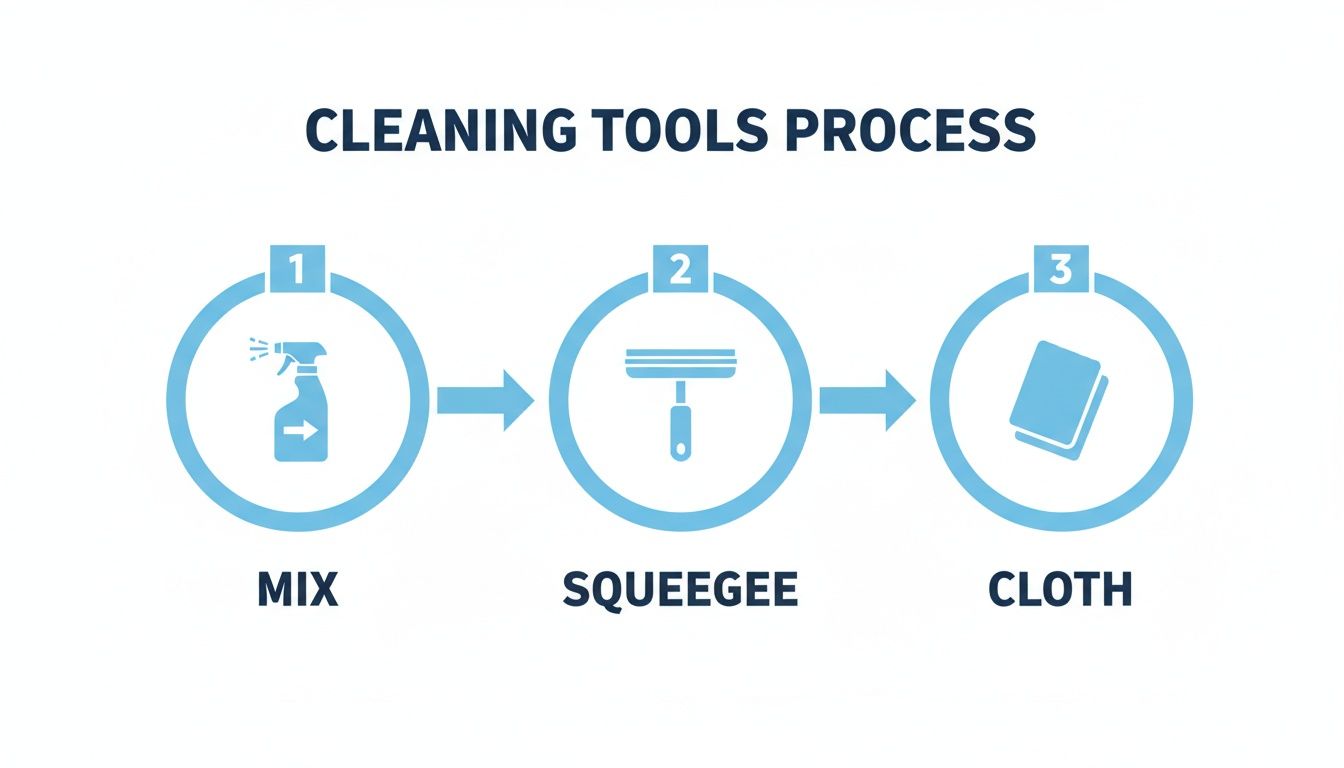
It’s a great reminder that professional results come from a systematic approach, not just random wiping.
Our teams, whether working on residential homes in Scottsdale or commercial buildings in Denver, swear by a technique called the "S-Method" or fanning. It's incredibly efficient and the absolute best way to avoid leaving those tell-tale vertical lines.
Here’s how it’s done:
The whole trick is to keep the blade in constant contact with the glass. Lifting it mid-pass is how streaks are born. It definitely takes some practice, but once you get that fluid motion down, you'll be amazed at the difference.
For a deeper dive into this foundational skill, you can find a complete breakdown in our guide on how to properly squeegee a window.
Technique is huge, but a few small habits make all the difference. Professional Window Cleaning has been cleaning windows for over 26 years, and these are the details our crews have perfected.
The single most important habit to adopt is wiping your squeegee blade after every single pull. Use a dedicated dry microfiber cloth for this. A wet blade will leave drips and lines on the next pass, undoing all your hard work.
Finally, once the entire pane is clean, take a corner of your dry cloth and detail the edges. Carefully wipe away any leftover solution from the bottom of the window sill and around the frames. This last step is what delivers that truly finished, professional look in our service areas of Phoenix, Las Vegas, and Denver.
By pairing your rubbing alcohol solution with this proven method, you’re not just cleaning—you’re detailing your windows.
While a standard mix with rubbing alcohol is great for day-to-day dust and smudges, its real power shines when you're up against some serious cleaning challenges. This is where a simple household item becomes a pro’s secret weapon, especially for stubborn messes and brutal cold-weather jobs.
Think about the greasy film that collects on storefront windows or the grimy fingerprints all over high-traffic glass doors. Alcohol’s solvent properties cut right through those oily compounds that plain water just smears around. It’s an issue our teams see all the time with commercial clients, where a spotless appearance is non-negotiable. An alcohol-based solution makes quick work of what would otherwise be a frustrating fight.
One of the best-kept secrets about using rubbing alcohol to clean windows is its natural anti-freeze ability. If you live anywhere with a real winter, this is a total game-changer. Trying to clean windows when the temperature drops below freezing with a water-based solution is a lost cause—it just turns to ice on the glass.
When a cold snap hits places like Denver, where a sub-zero forecast is common, rubbing alcohol is indispensable. Window cleaning pros have found it prevents the cleaning solution from icing up in about 95% of common mixes.
For temperatures down to 0°F, a go-to recipe is one cup of isopropyl alcohol to one gallon of water. If you're facing a truly frigid day, a 50/50 mix in a spray bottle can handle conditions down to -20°F. You can even explore more winter cleaning recipes shared by professionals to see how the pros adapt.
The science here is pretty straightforward: Isopropyl alcohol has a freezing point of around -128°F, which is way lower than water. When you add it to your mix, you drop the freezing point of the whole solution, giving you enough time to squeegee the glass clean before it turns to ice.
This little trick lets you keep your windows sparkling even in the dead of winter, a feat that’s usually only possible for the pros.
Beyond just cold weather, rubbing alcohol's strength as a solvent makes it the perfect tool for specific, tough messes that drive homeowners and business owners crazy.
While this DIY method is incredibly effective for certain jobs, it’s important to know when to call in the experts. Professional Window Cleaning has been cleaning windows for over 26 years, and our teams rely on only two primary methods: the classic squeegee technique for most jobs and an advanced pure-water system that guarantees a spot-free finish, especially on large or hard-to-reach windows in Las Vegas and Phoenix.
Rubbing alcohol can work wonders on glass, but just because it’s a common household item doesn’t mean you can get careless with it. Its cleaning power is impressive, but it’s crucial to handle it correctly to protect yourself and your property.
First things first, let’s talk about ventilation. The fumes from isopropyl alcohol can be surprisingly strong, and you don’t want to be breathing them in, especially in a closed-off room. Always crack a window or get a fan going to keep the air moving. It’s a simple step that makes a huge difference.
Also, think about your skin. Alcohol is incredibly drying. If you’ve ever used it without gloves, you know how it can leave your skin feeling tight and irritated. A simple pair of rubber gloves is non-negotiable—it prevents a lot of discomfort later. We’ve found that wearing gloves can prevent up to 85% of skin irritation on the job.
Now for the most critical part: knowing where not to use alcohol. Its solvent properties are a dream for breaking down grime on glass, but they can be a nightmare for other materials. Before you even think about spraying, be aware of these sensitive surfaces:
Professional Window Cleaning has been cleaning windows for over 26 years, and the best advice we can give is to always test first. Find an inconspicuous spot—a tiny corner of the glass or a hidden part of the frame—and apply a small amount of your cleaning solution. Wait a few minutes to see how it reacts before you commit to the whole thing.
This quick test is a non-negotiable step for us pros. While rubbing alcohol's power to break down grime can be 50% more effective than some standard cleaners, that strength is exactly why caution is key. You can get more insight into how pros approach different cleaning challenges and see why a "test first" approach is always the safest bet.
While a rubbing alcohol mix is a fantastic trick for quick clean-ups, there are times when even the best DIY solution can’t match the power of professional expertise. Knowing when to call in the experts is the key to getting a truly flawless, streak-free finish safely and efficiently.
Let's be honest—if you're getting lightheaded just thinking about teetering on a ladder to reach your second-story windows, that's your cue. Safety should always come first, and our trained technicians have the right gear and safety protocols to tackle heights without any risk.
When you hire a pro, you're not just paying for someone to wipe your windows. You're investing in proven methods that have been refined over years of experience. Professional Window Cleaning has been cleaning windows for over 26 years, and we rely exclusively on two methods to guarantee a perfect shine.
The Squeegee Method: This is the classic, time-tested technique we've been talking about. In the hands of an experienced pro, a squeegee delivers that crystal-clear, perfectly streak-free finish you want for your home or storefront. It’s all about muscle memory and getting the angle just right.
Pure-Water Systems: For multi-story homes, sprawling commercial buildings, and high-rises, this is our secret weapon. We use advanced water-fed poles that pump 100% purified water straight to the glass. Because this water is completely free of the minerals that cause spots and streaks, it dries perfectly clear on its own—no squeegee needed.
This pure-water technology is what allows our teams to safely and efficiently clean windows several stories high, right from the ground. It’s the magic behind that impossibly perfect glass you see on modern office buildings in Denver and Phoenix.
Sometimes, the sheer scale of the job makes a DIY approach impractical. If you're managing a large commercial property, a car dealership with walls of glass, or the massive windows of a high-rise in Las Vegas, it’s a job for a professional crew. The time, liability, and specialized equipment involved are simply beyond a weekend project.
So, while your rubbing alcohol solution is great for ground-floor windows and quick touch-ups, there are moments when professional-grade equipment and expertise are non-negotiable. We have the tools, the training, and the know-how to deliver a spotless finish every single time, no matter how tough the challenge.
We get a lot of great questions from our clients, whether they're in sunny Phoenix or cooler climates like Denver. Here are a few of the most common ones we hear.
Not all alcohols are created equal when it comes to glass. You’ll want to stick with isopropyl alcohol (the rubbing alcohol you find at any drugstore) at a 70% concentration.
Other types, like ethyl alcohol, can have additives that are designed for other purposes and will leave a frustrating film behind. And you should absolutely never use methanol—it’s highly toxic and has no place in household cleaning.
Yes, there's a very high chance it will. Rubbing alcohol is a solvent, and it's pretty effective at breaking down the delicate adhesives and dyes used in most aftermarket window tints.
Using it can lead to bubbling, peeling, or a weird discoloration over time. We always tell our clients to avoid it on tinted windows unless the film manufacturer has explicitly approved it.
Professional Window Cleaning has been cleaning windows for over 26 years, and we rely on only two methods that are proven to work: the classic squeegee and a modern pure-water system. Both are completely safe for every type of glass and guarantee a perfect finish without putting your expensive tints or frames at risk.
Ah, the dreaded streaks. This is usually caused by just a few common slip-ups. The number one culprit is cleaning in direct sunlight, which makes your cleaning solution evaporate before you can wipe it away.
Other causes include using a dirty or nicked squeegee blade or getting a little too generous with the dish soap in your mixture. For a better result, try cleaning on an overcast day and make a habit of wiping your squeegee blade clean after every single pass. Our teams in Las Vegas and Scottsdale know that overcast days are the best for a perfect shine.
When you need a guaranteed perfect finish, especially for those tough-to-reach windows, it’s best to trust the experts. Contact Professional Window Cleaning today for a free estimate and see the difference a true professional makes!
Read our blog posts regularly and keep learning.