Care and Maintenance
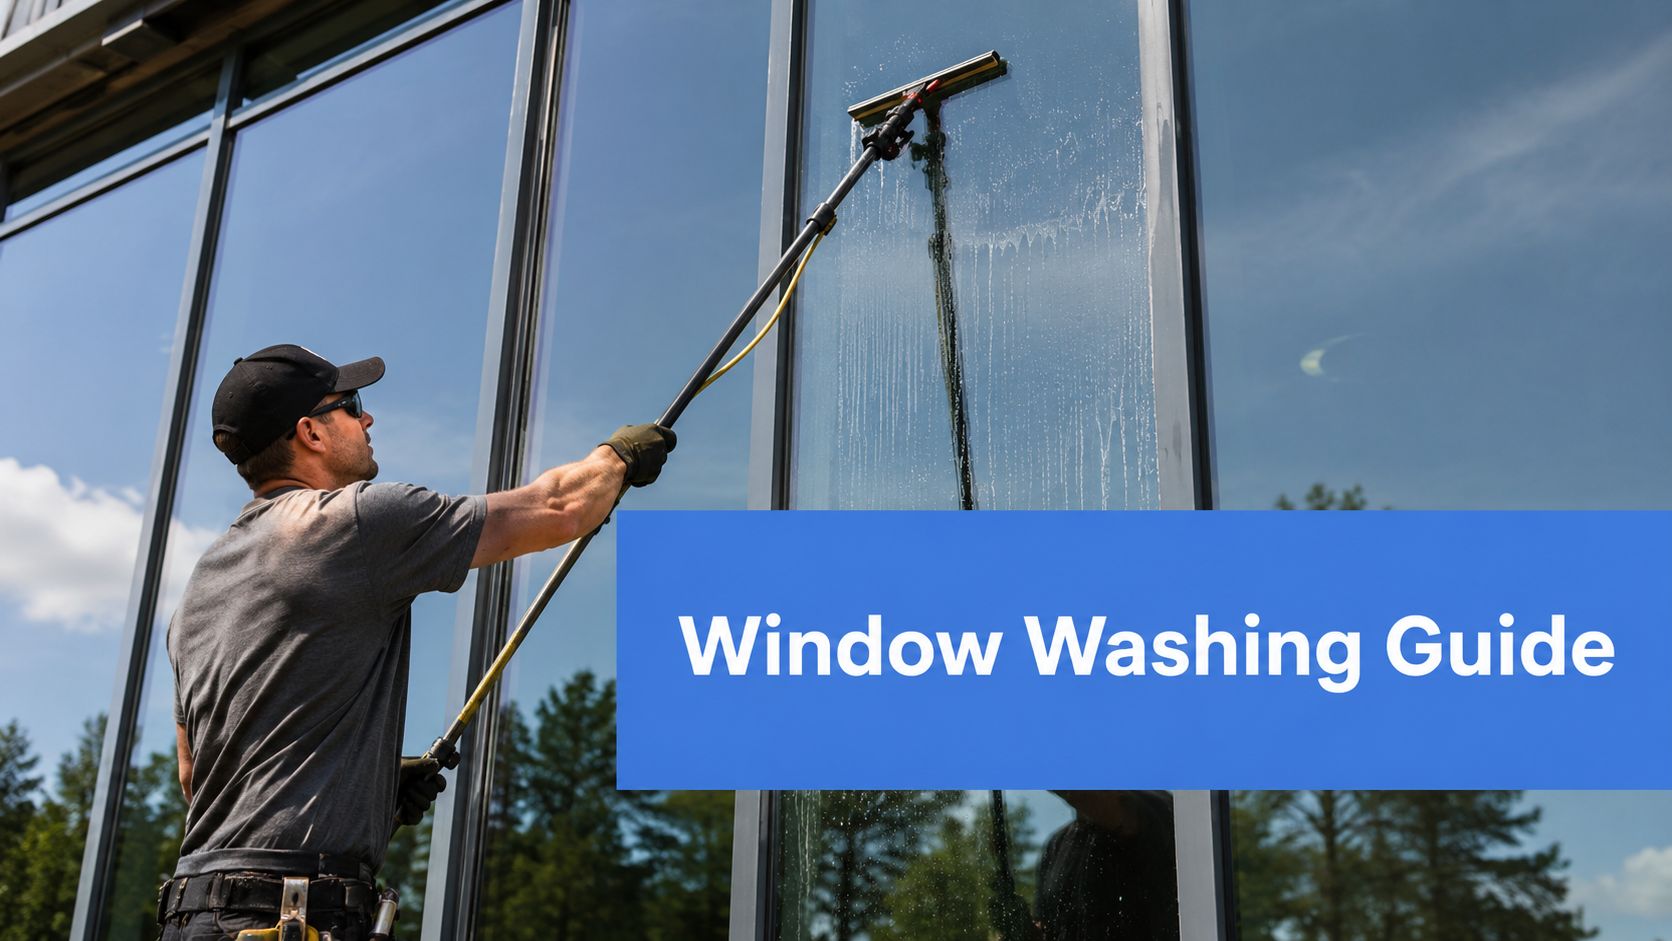
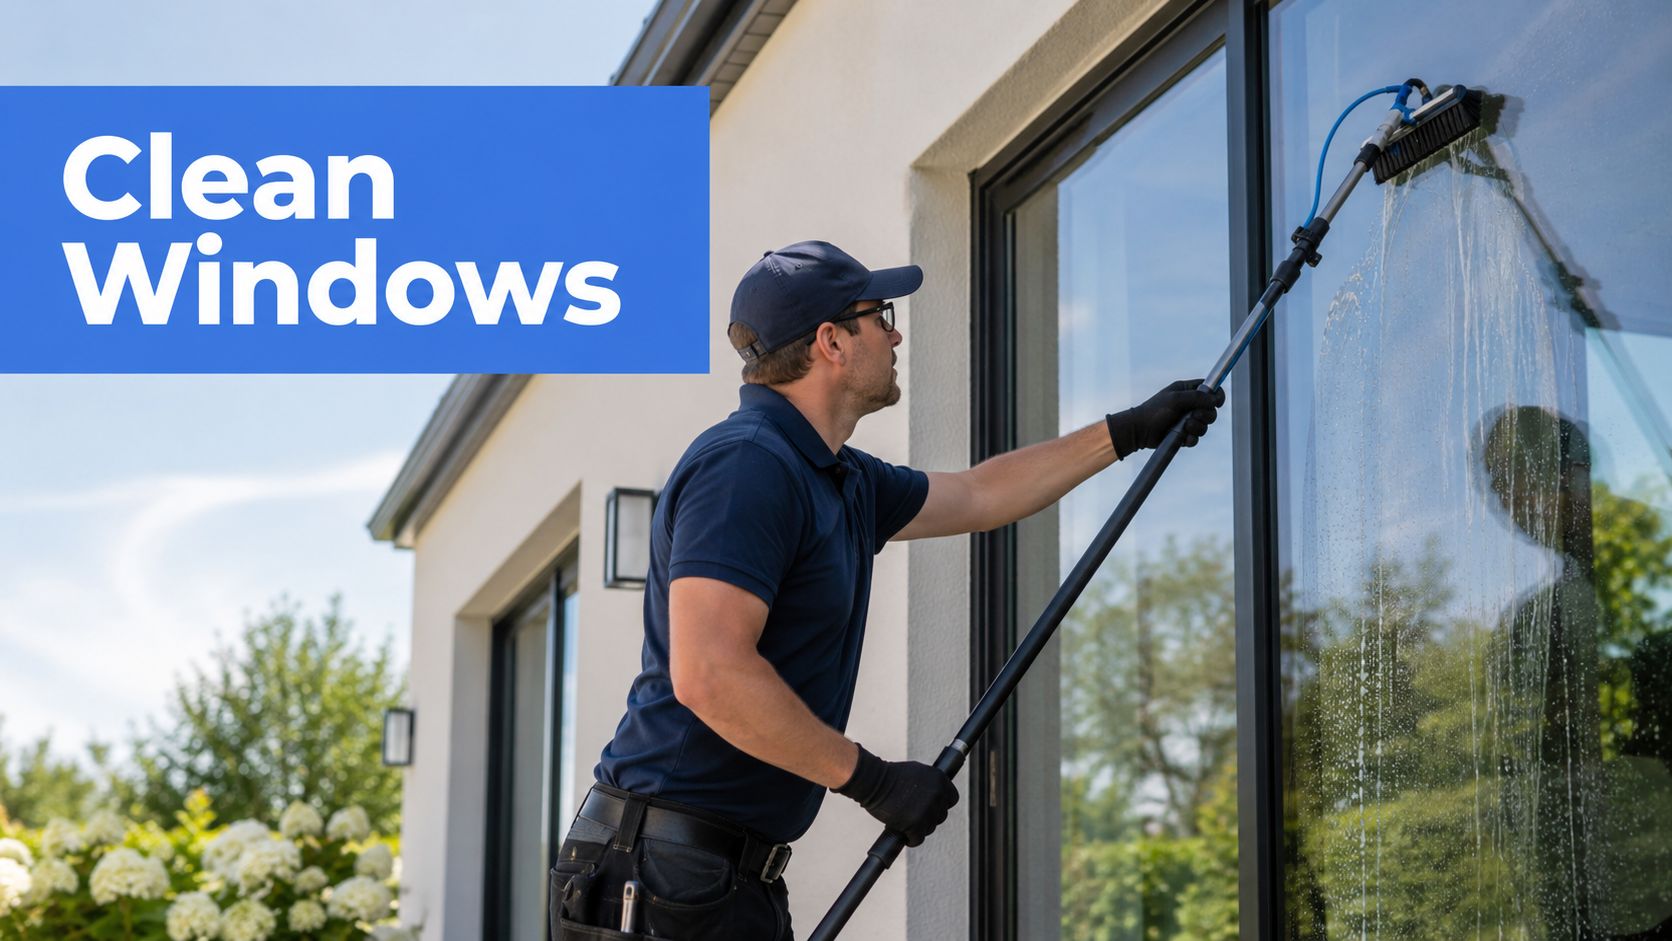
Expert Clean Windows Services: Residential & Commercial
Seeking professional clean windows services? We offer residential, commercial, and high-rise cleaning in Denver & Las Vegas. Get a free quote for 2026!


You're probably looking at a pane of glass with a thin, rubbery smear that won't wipe off, won't rinse off, and seems to spread the more you touch it. That usually happens after old sealant is cut away, a remodel leaves sloppy edges, or a previous repair leaves silicone where it never should have been.
Silicone on glass frustrates people because it doesn't behave like dirt. You can scrub at it with glass cleaner and paper towels for half an hour and still end up with haze, drag marks, and a greasy film that catches the light from every angle. The pane looks worse, not better.
That's the point where silicone removal from glass stops being routine cleaning and starts becoming restoration work.
You cut away an old bead, the thick strip comes off, and the glass still shows a slick outline that grabs every bit of light in the room. Then the wiping starts, the residue spreads, and a small cleanup job turns into a smear across the whole pane.
After more than 26 years in window cleaning, I can tell you the job usually gets harder for one reason. The glass is too dry during scraping. Silicone needs to be shaved off a lubricated surface, not chased around a dry pane. Miss that detail and the residue rolls, drags, and leaves a film that takes twice as long to sort out.
Standard glass cleaner and a rag will not remove bonded silicone. It softens the surface mess, then spreads silicone oils into a cloudy patch that stands out even more in side light.
Dry scraping causes the next problem. A blade can remove silicone cleanly, but only when it stays flat and the glass stays wet. That moisture gives the blade a clean glide, helps lift the residue instead of smearing it, and lowers the chance of chatter marks from a skipping edge. It is one of the biggest differences between a clean result and a frustrating one.
I see this on shower glass, patio doors, fixed panels, shopfronts, and post-build cleanup. Heat, sun exposure, age, and poor previous repairs all make the residue tougher. Some panes clean up well with patient hand work. Some turn into restoration jobs fast.
A good finish is clear from every angle. No greasy halo. No drag lines. No thin strings of silicone left hugging the edge.
Getting there takes control more than force. Remove the raised material first. Keep the pane wet while you mechanically remove the bonded film. Then deal with the trace residue that remains and clean the glass so you are judging the surface, not leftover product.
Safety matters here too. Sharp scrapers, solvent exposure, and awkward work at shower height or near door frames are where people get hurt, especially during cleanup. If you are using gloves and protective gear, follow correct PPE removal techniques so you do not transfer residue or chemicals onto your skin.
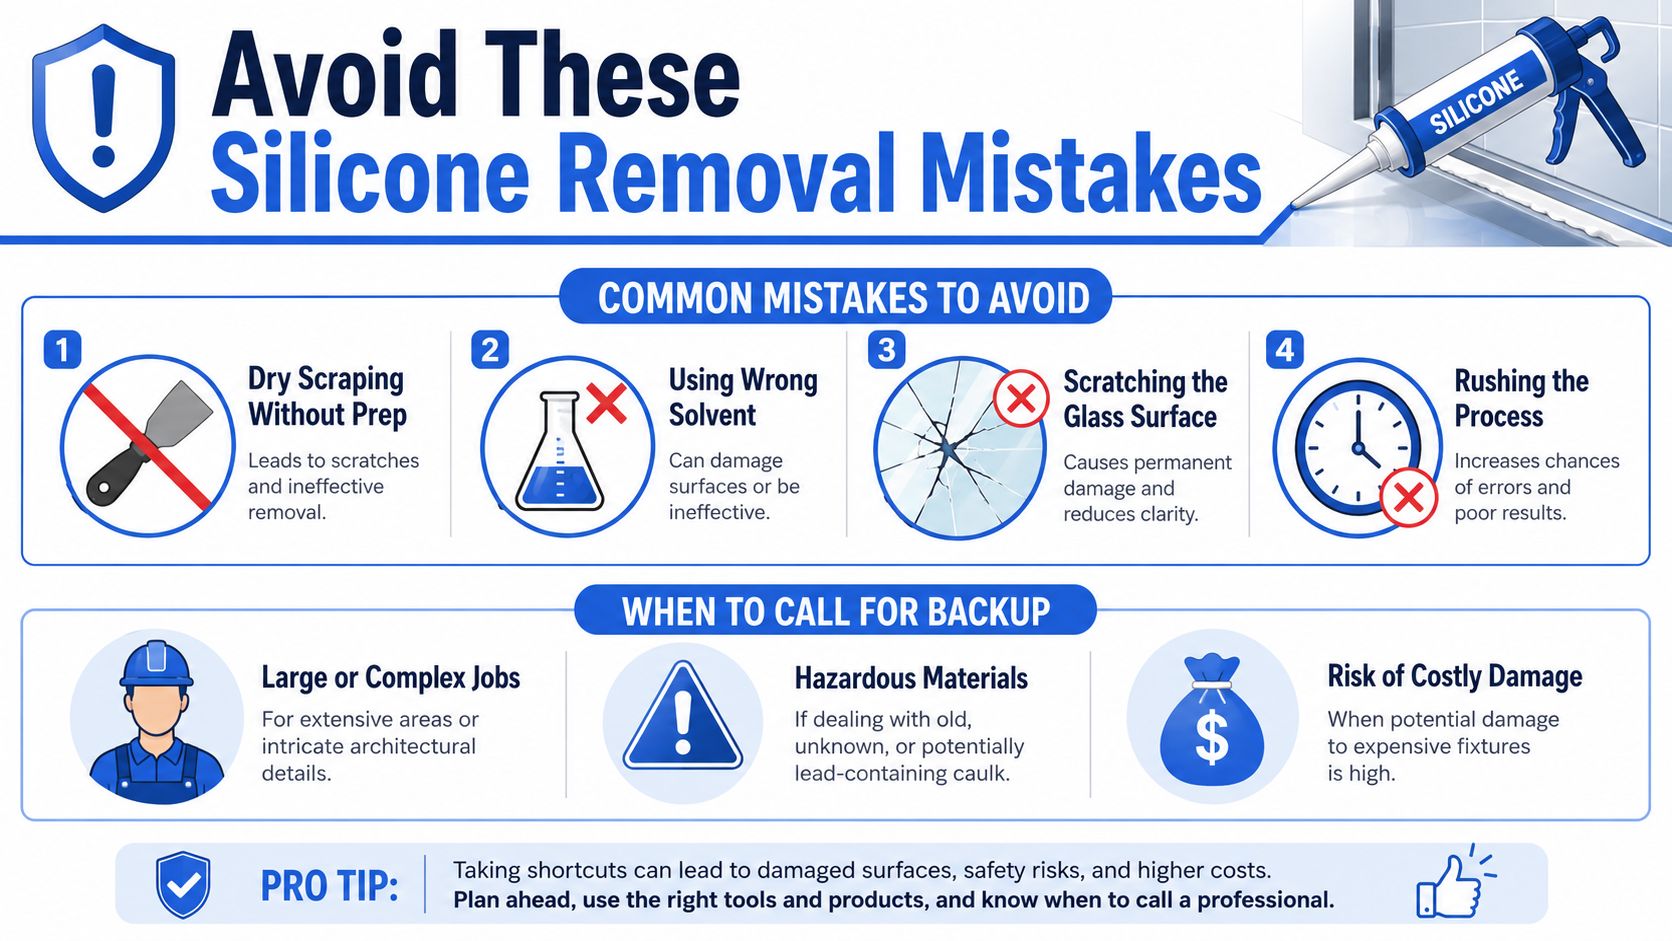
If the silicone is spread across large panels, baked on for years, or sitting near damaged seals, painted frames, or tempered glass with existing scratches, that is the point to slow down or call a pro. Saving an hour is not worth scoring a pane that costs far more to replace.
Before you touch the glass, set up like a pro. Most bad outcomes come from using a dull blade, the wrong scraper, poor lighting, or no protection for your hands and eyes.
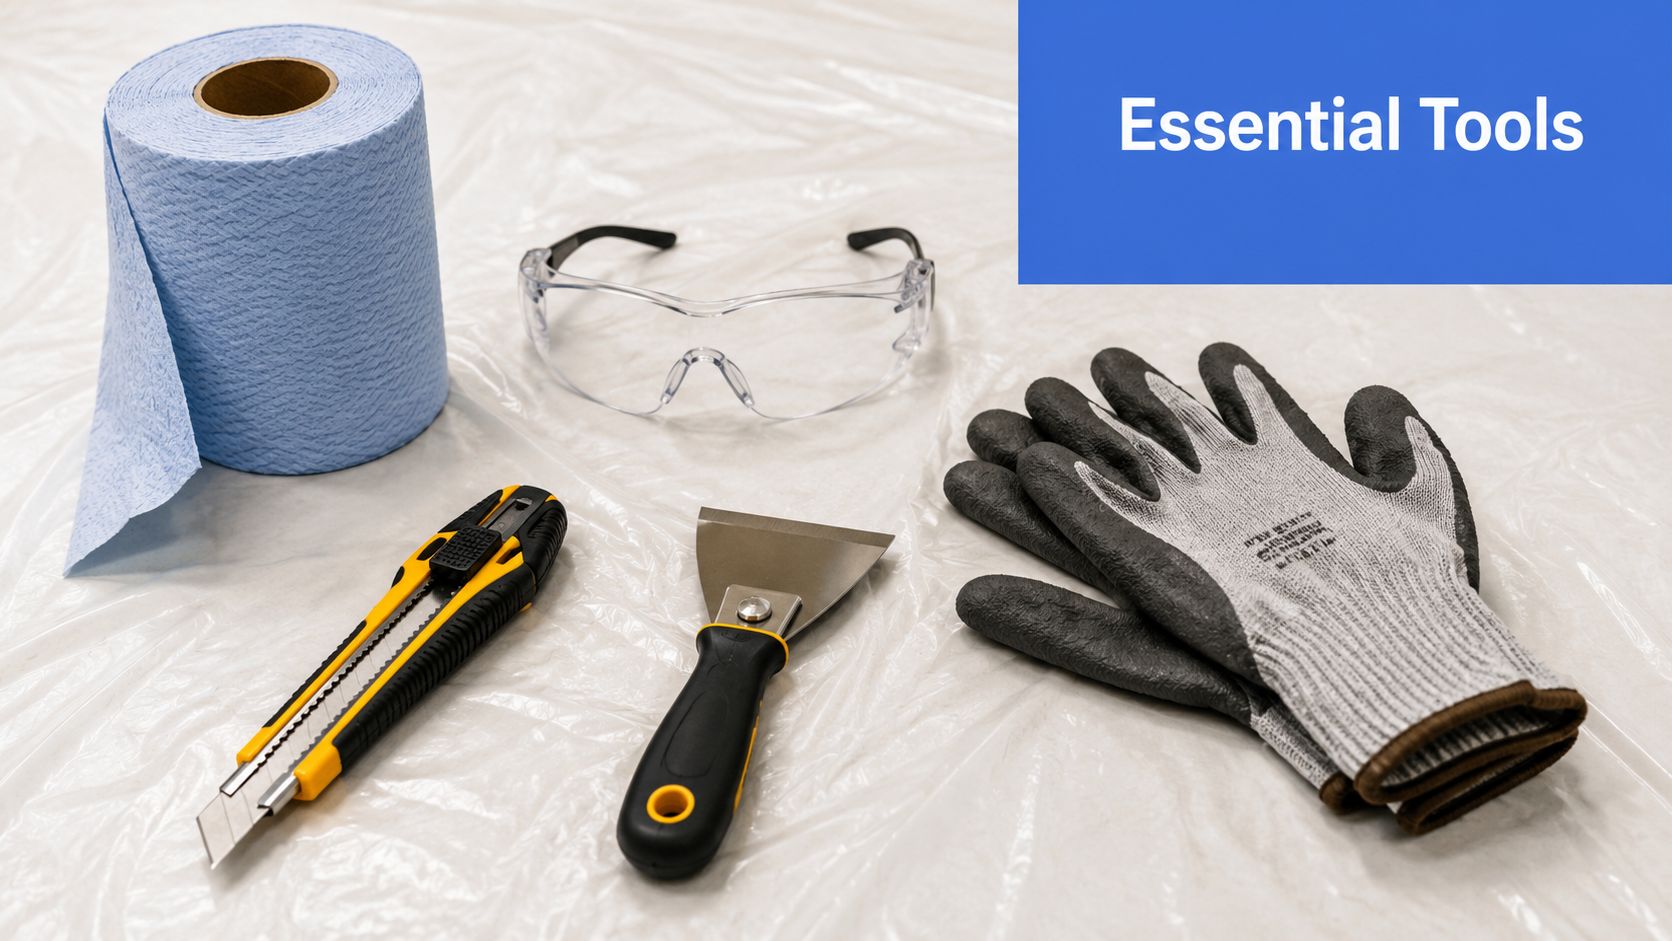
You don't need a huge pile of gear, but you do need the right few items.
Sharp tools and chemical removers both deserve respect.
If you're using gloves, wipes, and solvents in a tight bathroom or enclosed space, it also helps to review correct PPE removal techniques so you don't transfer residue from your gloves to your face, tools, or nearby surfaces.
Before scraping, confirm these points:
| Check | Why it matters |
|---|---|
| Glass is plain and uncoated, or you know what it is | Some specialty surfaces need extra caution |
| Blade is new | Damaged edges create scratches |
| Glass is clean of grit | Tiny debris under a blade can score the pane |
| Frames and trim are protected | Solvents and blades can mark nearby materials |
| You can work slowly | Rushing causes slips and smears |
Practical rule: If you're unsure what kind of glass or coating you're working on, slow down and test your method in a small inconspicuous spot first.
Mechanical removal is where the job is usually won or lost. A lot of DIY attempts go sideways for one simple reason. The glass dries out, the silicone starts smearing, and a small cleanup turns into a greasy mess spread over twice the area.
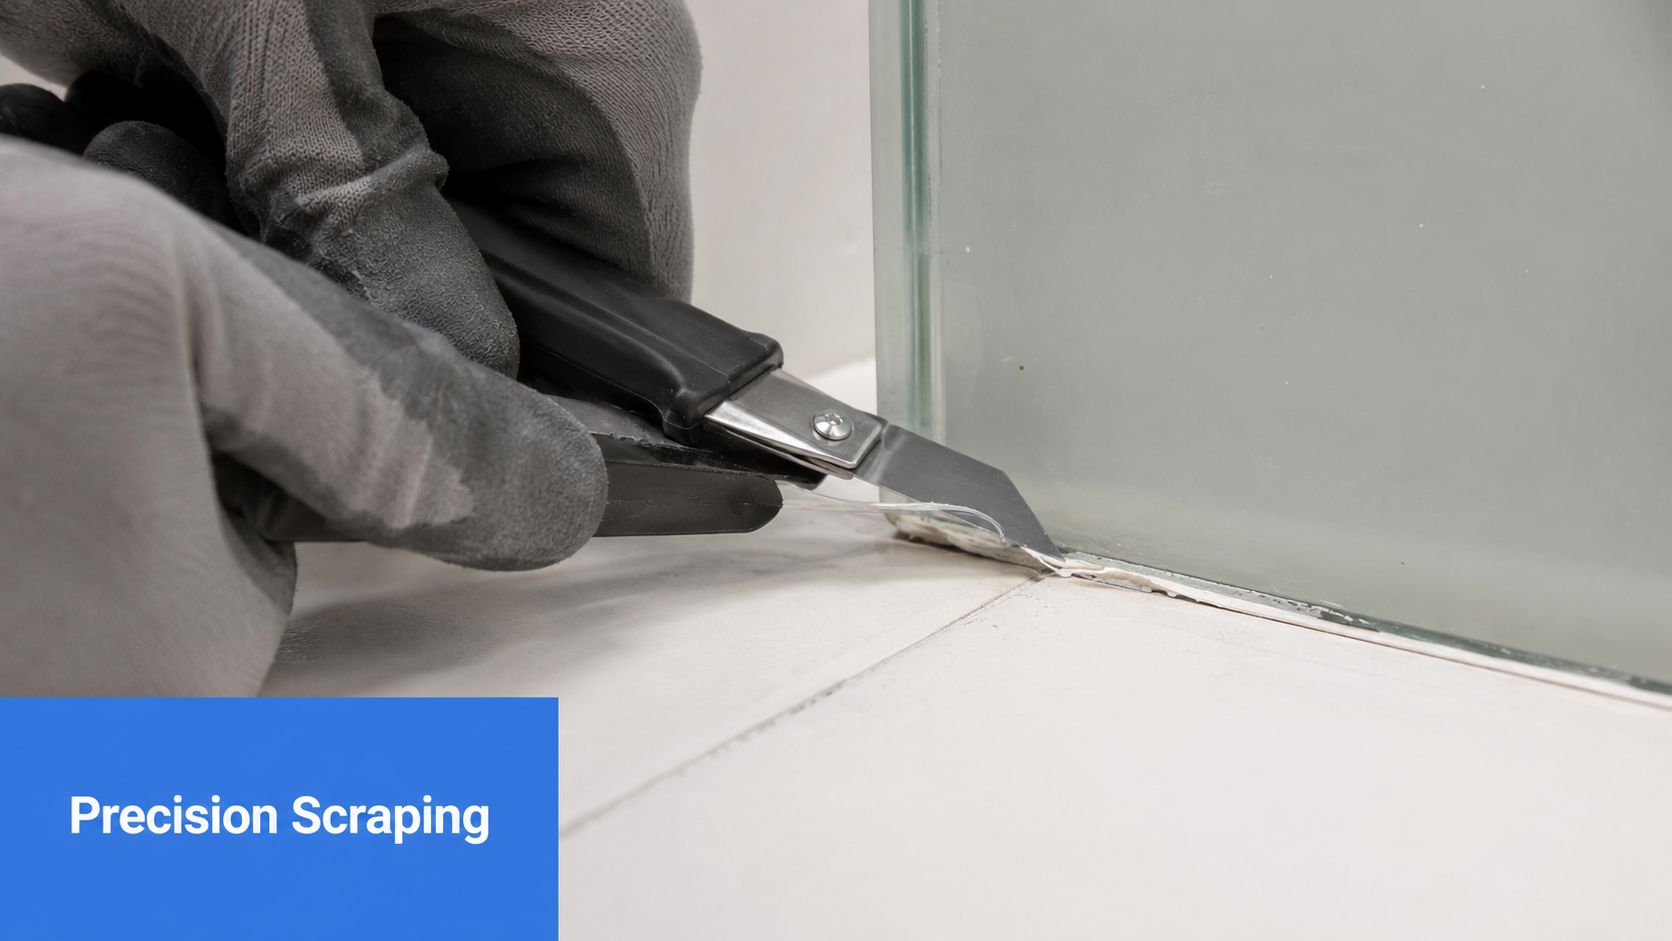
Keep the glass wet the whole time you scrape. Not damp at the start. Wet from the first pass to the last.
That is the habit that separates a controlled removal from a smeared one. On dry glass, silicone drags, skips, and leaves an oily film that takes far longer to clean up. On wet glass, the blade glides better and lifts the residue in a tighter line.
After 26 years around glass, I can say this is one of the most common mistakes on site. People focus on blade sharpness, which matters, but they forget lubrication. Then they press harder, and that is when scratches and wide smears start showing up.
If you want a closer look at safe blade handling, this guide on using a razor blade for cleaning glass covers the basics well.
Use a spray bottle with soapy water and keep it in your free hand. If the pane is in direct sun or the room is warm, expect to spray more often than you think.
Good scraping has a smooth, steady feel. You will feel some resistance, then the silicone releases and rolls ahead of the blade or lifts off cleanly.
Bad scraping feels rough. The blade chatters, grabs, or leaves a smeared trail behind it. When that happens, stop and correct the setup. Add more water, lower the angle, check the blade edge, and start again with less force.
Heat makes this harder. On sun-baked exterior glass, old silicone can cling like rubber one moment and smear like grease the next. That is why pros slow down on hot panes and keep re-wetting the work area constantly.
If the blade starts dragging, use more lubrication and adjust your angle. More force usually makes the job worse.
A quick visual demo can help if you're more hands-on:
Scratches usually come from process mistakes, not bad luck.
Stop if the risk changes. Silicone tight against specialty trim, decorative film, unknown coatings, or chipped glass edges is where a simple scrape job can become an expensive mistake. That is often the point where bringing in a pro is cheaper than replacing damaged glass.
Once the bulk is off, you'll usually still see a film. That's the stage where chemicals help, but only if you choose the right strength for the surface around the glass.

For thin residue on plain glass, a mild solvent often makes sense first. Rubbing alcohol or mineral spirits can help loosen the remaining oily film after scraping. They're easier to control, usually easier to ventilate around, and less likely to create problems on nearby materials if you keep them confined.
Mild products aren't magic, though. If the residue is heavy, old, or spread over a wide area, they may soften the mess without fully releasing it. That means more dwell time, more wiping, and more patience.
Commercial silicone adhesive removers can do a better job on stubborn residue, especially after sloppy remodel work or failed resealing attempts. They also increase the stakes. Some can affect paint, plastic, caulk lines you want to keep, or decorative finishes near the glass.
Use a simple decision framework:
| Situation | Better first choice |
|---|---|
| Light haze on plain glass | Mild solvent |
| Residue beside delicate trim | Mild solvent with tight application |
| Thick remaining film after scraping | Stronger silicone remover |
| Unknown surrounding material | Spot test before anything else |
For related cleanup jobs where bonded material is stuck to glass, trim, or frames, this resource on window paint remover methods helps with the same kind of careful, surface-by-surface decision making.
Apply solvent only where you need it. Flooding the whole pane usually spreads softened residue farther than necessary.
A controlled process works best:
Stronger chemicals can save time on stubborn film, but they also punish careless application faster than a blade will.
If you're working inside a shower enclosure, around vinyl trim, or next to painted millwork, patience matters more than product strength.
Once the silicone is gone, the last step decides whether the pane looks professionally restored or just “better than before.” A clean sheet of glass shouldn't show oily wipe marks, solvent haze, or faint scraper trails when daylight hits it.
After solvent work, wipe the pane thoroughly so no chemical residue stays behind. Then inspect the glass from more than one angle. Straight-on inspection hides problems. Side light exposes them.
At this point, the job becomes window cleaning again, and in this trade there are only two professional methods. Professional window cleaners universally rely on one of two methods for a perfect finish: the classic mop-and-squeegee technique with a cleaning solution, or advanced pure-water systems that use filtered water from water-fed poles to leave a spot-free result, as explained in this overview of squeegee vs pure-water window cleaning methods.
For most homeowners doing silicone removal from glass, a good squeegee is the better finishing tool. It gives you immediate control, clear visual feedback, and a better chance of catching leftover streaks before they dry.
Pure-water systems are excellent in professional exterior work, especially on larger properties, but they're a different setup. They use filtered water designed to leave no mineral residue on the glass. For a one-pane repair or shower cleanup, a quality mop-and-squeegee finish is usually the practical choice.
That final clarity feels especially rewarding on view glass and patio doors in places like Scottsdale, where clean glass should disappear and let the scenery do the work.
If you wear glasses while doing detail work, clean eyewear matters more than people admit. Smudged lenses make it harder to judge haze on glass. This guide on maintaining sharp vision for your eyewear is a useful refresher if you've been working through solvents, dust, and spray all afternoon.
Most failed DIY silicone jobs don't fail because the person didn't work hard enough. They fail because the method goes wrong early, then each correction makes the glass messier or riskier to handle.
There's another professional issue that matters when the final wash comes into play. A frequent operational error occurs when pure water systems are used on windows previously cleaned with traditional soap solutions; the resulting contamination can reduce effectiveness. Professionals are trained to manage these transitions to ensure a flawless clean, as noted in this guidance on common pure-water cleaning mistakes.
That may sound like a niche point, but it shows why some cleanup jobs are harder than they look. Residue control, tool choice, and finishing method all affect each other.
Call for backup when the glass is hard to reach, oversized, expensive, or surrounded by materials that are easy to damage. That includes second-story exterior panes, large commercial storefronts, and high-rise work where access and liability matter as much as cleaning skill.
If the residue is spread across multiple panels, sits beside specialty trim, or you've already smeared it over a larger area, the job often gets more technical. That's when experienced crews bring more than just labor. They bring better process control, safer access methods, and a finish that doesn't leave you staring at streaks for the next year.
Even outside window work, there's a good lesson in how professionals approach delicate finish restoration. A service like full car detailing follows the same logic. Use the least aggressive method first, protect surrounding surfaces, and chase clarity without creating damage.
For larger exterior projects, difficult access, or restoration work on premium glass, hiring specialists is usually the cheaper decision compared with replacing damaged panes. That's especially true in markets with large homes, commercial glass, and tall buildings such as Denver and Las Vegas.
If the silicone on your glass has turned into a bigger project than expected, Professional Window Cleaning can help with residential, commercial, and high-rise window cleaning across Arizona, Colorado, and Nevada. When the goal is clean glass without scratches, haze, or risky guesswork, it pays to bring in a team that's been doing this since 1999.
Read our blog posts regularly and keep learning.