Care and Maintenance
Cloth for Window Cleaning Choices That Deliver Results
Choose the best cloth for window cleaning by comparing microfiber, cotton, lint-free, and chamois options, plus care and selection tips.


You've got a dark patch on the driveway, a chalky ring on the patio, or a blotch near the garage door that keeps coming back after rain. A common first reaction is to reach for a scrub brush, then get frustrated when the mark either doesn't move or returns as soon as the slab gets wet again. That's usually the wrong first move.
Water stains on concrete aren't one problem with one fix. Some are mineral deposits, some are salt blooms, and some are really moisture issues showing through the slab, which is why the best results come from diagnosing the cause before cleaning. Concrete is naturally porous, typical flatwork can absorb about 4% to 8% of its weight in water (DG Floors), so moisture can darken the surface fast and carry dissolved material upward. In practice, that means the stain you see may be a symptom, not the source.
A good removal plan starts with identification, then moves to the least aggressive method that fits the stain. That approach protects decorative finishes, saves time, and keeps you from sealing in a problem that should've been dried out first. If you're in Arizona, Nevada, or Colorado, hard-water residue and repeated wetting show up differently across neighborhoods and seasons, so the right fix depends on what's happening on the slab.
A concrete stain usually tells a story, and the wrong cleanup starts when that story gets ignored. The visible mark may come from mineral deposits, efflorescence, organic growth, rust, or moisture trapped in or under the slab, and each one behaves differently on the surface. Guidance from PuroClean points to trapped moisture, water intrusion through cracks or porous concrete, condensation from humidity, and efflorescence as common causes, so the first job is to identify what is happening before you start scrubbing.
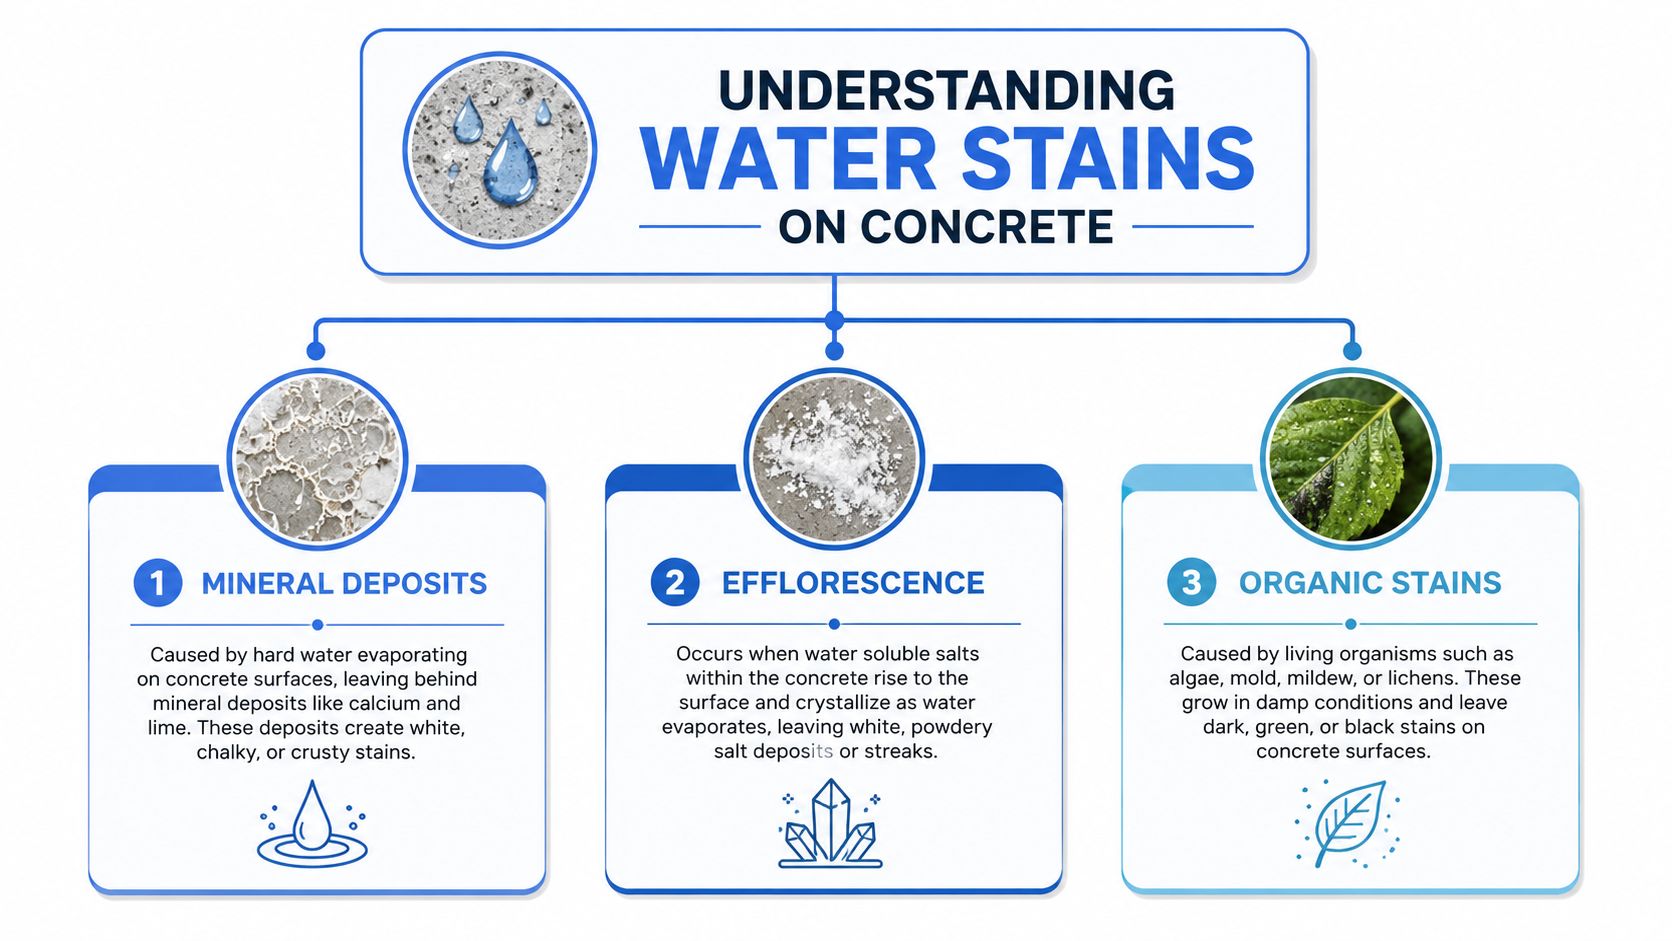
A pale crust, cloudy film, or hard white scale usually points to mineral deposits from repeated hard-water drying. Efflorescence usually shows up as a powdery white residue that brushes away, then returns if moisture is still moving through the slab. Organic stains often read green, brown, or black, especially where shade and dampness let algae or mildew stay on the surface.
Dark, wet-looking patches matter too. If concrete darkens after being sprayed, the slab is still absorbing water, and that means the stain may be tied to moisture movement rather than just surface dirt. Moisture can darken concrete quickly and then spread through the upper layer over time, which is why a quick water test gives useful direction before you choose a cleaner or decide whether the slab needs drying first (DG Floors).
Practical rule: if the mark changes shape, color, or edge definition after the surface dries, treat it as a moisture problem first, not just a cosmetic spot.
Recurring discoloration, adhesive failure patterns, musty odors, rust spotting, or surface condensation are all signs that moisture testing makes more sense than repeated scrubbing on new flooring and older slabs alike (IFTI). That is the difference between removing a stain once and chasing the same water movement every time the slab gets wet again.
A white crust on concrete usually gives you a choice between a light cleanup and a more aggressive correction. If the deposit is loose, powdery, or only sitting on the surface, start with the least aggressive method first. The goal is to remove the mineral load without scarring the paste layer or dulling a finish that still has some life left in it.
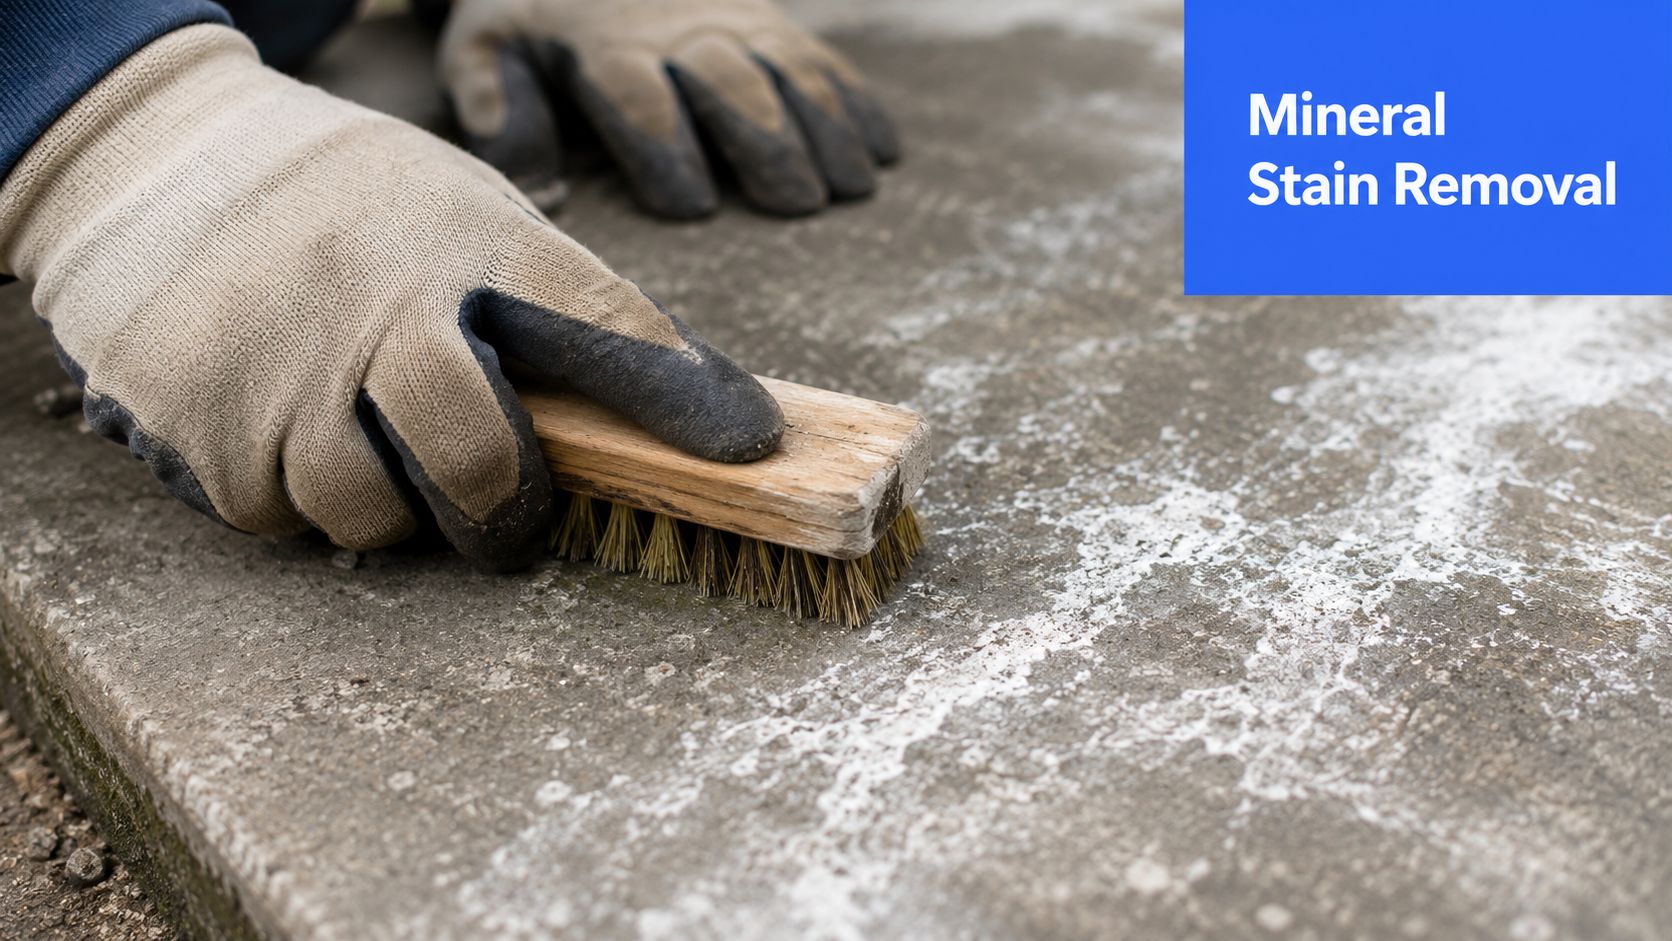
Mix 1:1 white vinegar and water, apply it to the stained area, and let it dwell for roughly 5 to 15 minutes before scrubbing with a stiff nylon brush (Karen's Green Cleaning). Rinse thoroughly, then check the area after it dries. If the deposit softens but stays visible, repeat the process rather than jumping straight to a harsher product. That keeps the surface from being overworked before you know how stubborn the stain really is.
For patio and pool-deck cleanup, controlled rinsing usually beats a hard blast of water. Outdoor slabs collect minerals differently depending on drainage, shade, and how often irrigation or splash water hits them, so a careful wash routine matters more than brute force. A pool deck cleaning approach shows the value of preparing the surface first, then rinsing in a way that moves residue off the concrete instead of driving it deeper.
For stubborn deposits, field guides note that stronger cleaners such as TSP or acid-based products may be needed, but that is where finish risk rises fast. Decorative concrete, sealed overlays, stamped texture, and colored hardscape can etch or dull if you move too quickly into stronger chemistry. High-pressure washing can help in the right context, but only after you have tested a low-pressure approach and weighed the trade-off between cleaning power and surface wear.
The cleaner has to break the bond, not just wet the stain. If you scrub too soon, you mostly move residue around. If you scrub too hard, you can polish the surface while leaving the mineral film in place.
That is why a patient cycle of apply, dwell, scrub, rinse, inspect works better than one rushed pass.
If the stain is on a sealed slab and the surface does not absorb the cleaner, the problem may not be mineral buildup at all. In that case, stop and reassess instead of layering stronger chemistry on top of a moisture issue.
Organic marks and rust call for a different approach. Mildew, algae, and iron stains do not respond the same way as hard-water deposits, and vinegar alone usually burns time without solving the problem. Before you clean, look at the stain pattern and the area around it. Discoloration near condensation, shaded corners, or a persistent musty smell usually points to moisture movement that needs attention, not just a stronger cleaner.
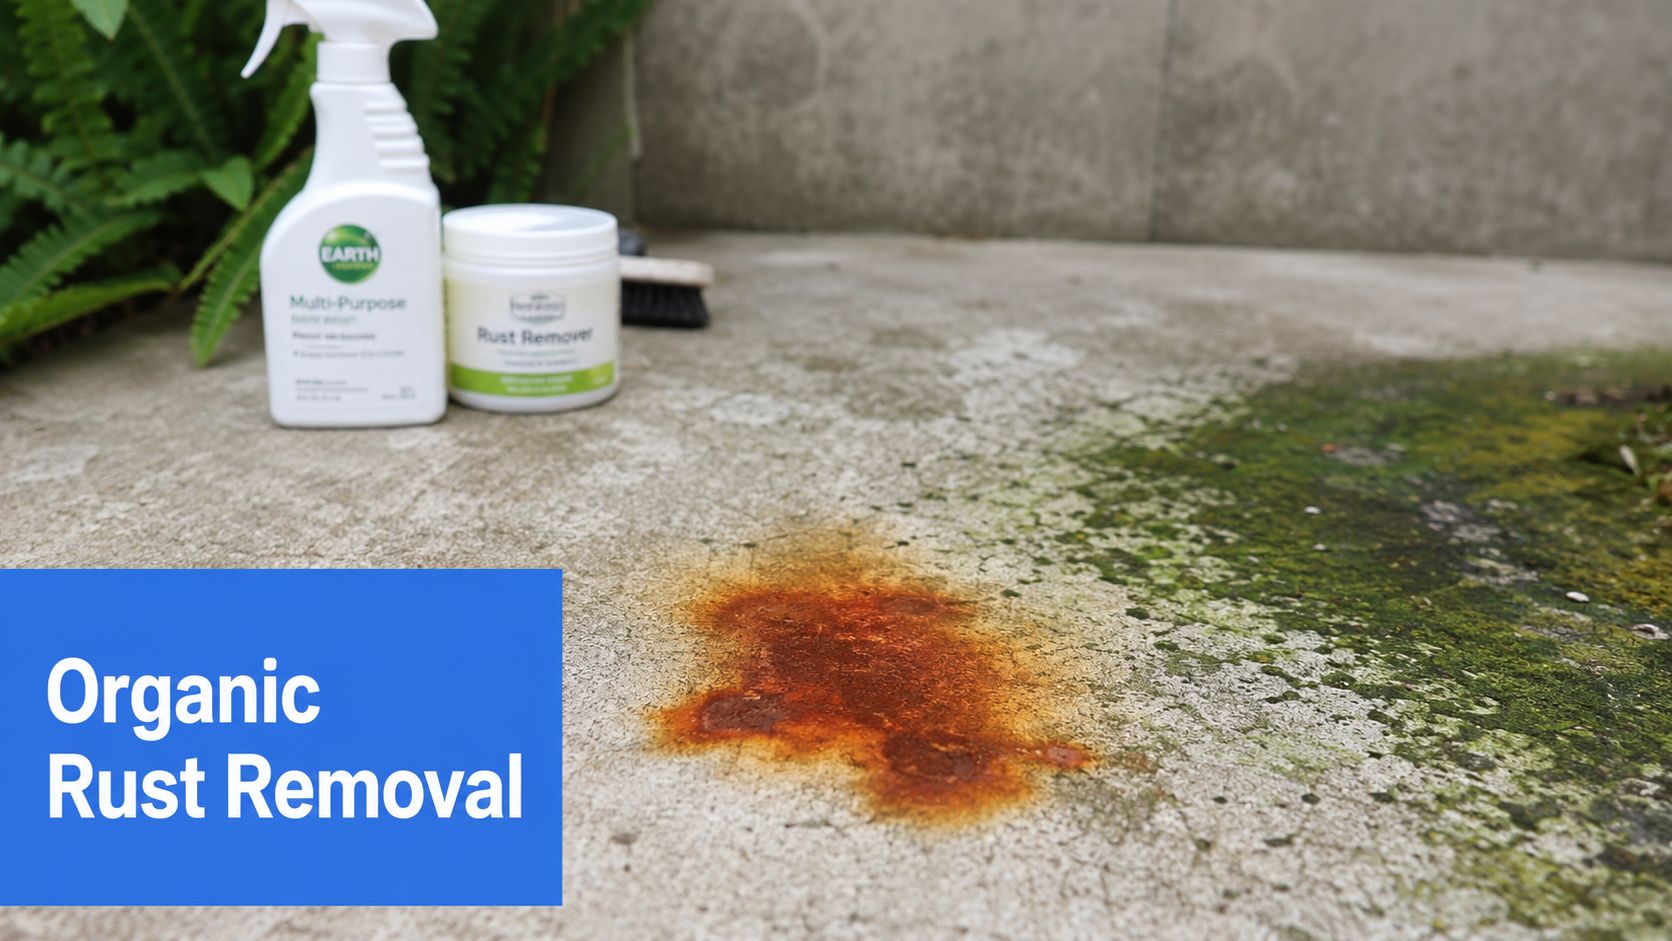
Mildew and algae need a cleaner made for biological growth. A general-purpose degreaser can leave the growth looking lighter without fully removing it. Apply the product to the stained area, let it dwell long enough to break down the buildup, then scrub with a nylon brush and rinse thoroughly. On decorative concrete, stay conservative with the chemistry and test a hidden corner first, because stronger bleach solutions can leave the color uneven.
Rust needs a different treatment. Iron oxide often responds better to a rust remover or a poultice that pulls the stain out of the pore structure instead of just whitening the top layer. Follow the label, let the product dwell without drying out completely, then rinse well so leftover residue does not leave a second mark. If the rust source is still in place, such as a metal furniture leg, railing base, or drainage hardware, stain removal alone only buys you temporary relief.
If rust keeps returning, the slab is not the whole problem. The metal source, water path, or irrigation pattern is usually part of the stain.
The same logic applies to algae in shaded corners and to dark organic staining near downspouts. Cleaning the face of the concrete can improve the look, but recurring moisture keeps feeding the next round of staining if the area stays damp. That is the trade-off on this kind of work, you can clean the symptom fast, or you can correct the source and keep the stain from coming back.
For homeowners who want a contractor to review the finish before it gets damaged, a specialized exterior-cleaning reference like best pressure washing services helps show where careful washing ends and surface risk begins.
A cleaner that lifts a stain can also etch the slab, haze a coating, or burn the skin on your hands. Wear gloves, goggles, and a mask any time you use acids, oxidizers, or powdered cleaners, and keep the space open to moving air. Measure carefully, mix only what you need, and test the product in a hidden corner before you commit to the full area.
Protect everything around the concrete before you start. Keep rinse water away from plants, painted trim, and nearby metal when you can, and mask edges with painter's tape and plastic if you are working beside stucco, wood, or coated masonry. Splashback from a brush or sprayer can leave a wider mess than the stain you started with. If you are using pressure, start low and increase only if the surface can handle it, and if you need a practical example for coated exterior slabs, pressure wash your Colorado patio the right way instead of blasting the finish.
Practical rule: if you cannot name the active ingredient and its effect on concrete, do not put it on a finished slab without a test patch.
Once the slab is clean and dry, choose protection that still lets the concrete breathe. A breathable sealer can help limit repeat staining, but putting it on too soon can trap moisture and create new discoloration under the coating. Hidden water has to be solved before any finish makes sense, and expert leak detection San Antonio is a good reminder that a wet slab often needs source control before it needs a coating.
Do not seal just because the stain looks better after cleaning. If water is still moving through cracks, joints, or one damp spot that never dries, the finish can fail below the sealer and the problem comes back looking worse than before. The better sequence is dry, test, clean, then protect.
A clean slab stays cleaner when water never has a chance to sit, soak in, or keep cycling through the same area. Start with drainage, gutter extensions, downspout placement, and grading, because those controls usually do more for water stains on concrete than any cleaner you can buy. Sealing still matters, but the timing has to be right, after the slab is dry and the source of moisture is under control.
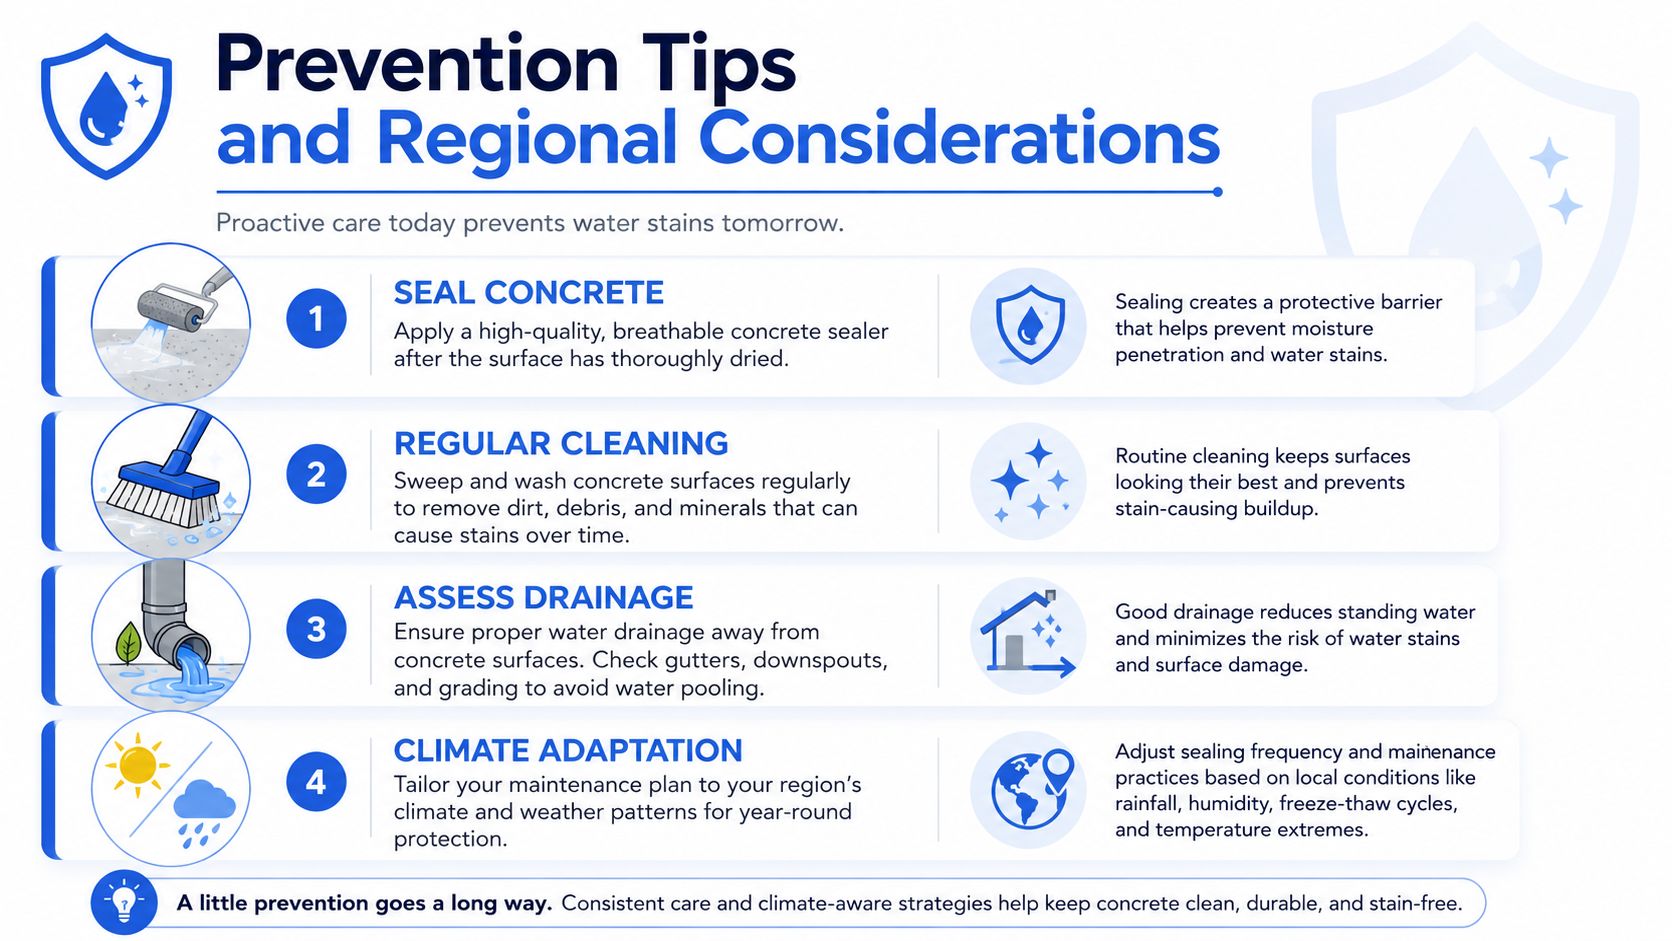
Use this checklist:
In Arizona, Nevada, and Colorado, the main difference is usually how water behaves on and under the slab. Hard-water residue shows up fastest where sprinklers hit the same edge day after day, while freeze-thaw cycles or seasonal swings can make discoloration appear and fade with the weather. A slab that looks stable in a dry stretch can still show hidden moisture movement after a storm or irrigation cycle.
When stains keep coming back, the fix is usually not more scrubbing. It is small corrections done consistently, including drainage work, crack repair, and breathable sealing where the slab is dry enough to accept it. That is the part many owners miss when they chase the surface problem and leave the water path unchanged.
Best long-term habit: treat repeat staining as a water-management problem first, then a cleaning problem.
If the stain pattern points to slab moisture instead of surface residue, a leak specialist may solve the issue faster than trial-and-error cleaning. For hidden slab leaks or moisture that keeps reappearing under concrete in dry climates, expert leak detection San Antonio fits the diagnostic stage before any sealant goes on.
DIY is a good fit when the stain sits on the surface, the cause is easy to identify, and the concrete is still in sound condition. Once discoloration returns after cleaning, or you start seeing cracks, spalling, persistent dampness, or a pattern that points to structural moisture, the job has moved past stain removal and into diagnosis and repair. Water damage in concrete does not stay static, because moisture moves through microscopic pores and can trigger chemical reactions, corrosion, and gradual weakening, so the correction often has to include drying, source control, drainage work, crack repair, or sealing.
Professional assessment pays for itself when the slab is part of a larger system. A technician can check moisture movement, use thermal imaging or moisture meters, and decide whether a cleaning pass is safe or whether the surface needs to dry and be repaired first. That matters on decorative finishes too, because one wrong acid wash can permanently alter the look of stamped or colored concrete.
If you are weighing a service call, the better best pressure washing services do more than blast the slab and hope for the best. They read the surface, choose the right chemistry, and protect nearby materials, which is the difference between a clean result and a damaged one. That approach matters most when you are deciding whether a stain is still a cleaning job or has already become a restoration problem.
Bottom line: if the stain keeps returning, the slab is telling you something. Listen before you scrub harder.
For homeowners and property managers in Las Vegas, Phoenix, Denver, and Scottsdale, that caution matters even more because hard water, irrigation overspray, and weather swings can make the same concrete look different from one month to the next. In Arizona, Nevada, and Colorado, the better move is to judge the cause before you choose the fix. Hard-water spotting near sprinkler edges calls for different treatment than moisture moving up from below, and seasonal swings can make a slab look stable one week and blotchy the next. If you want the stain handled without guesswork, contact Professional Window Cleaning today and get a concrete surface evaluation before the next cleaning cycle makes the problem harder to solve.
Read our blog posts regularly and keep learning.