Care and Maintenance
Commercial Building Cleaning Services: Hire Top Companies
Discover top commercial building cleaning services for your facility. Get details on types, pricing, contracts, and hiring for Phoenix, Denver, and Las Vegas.


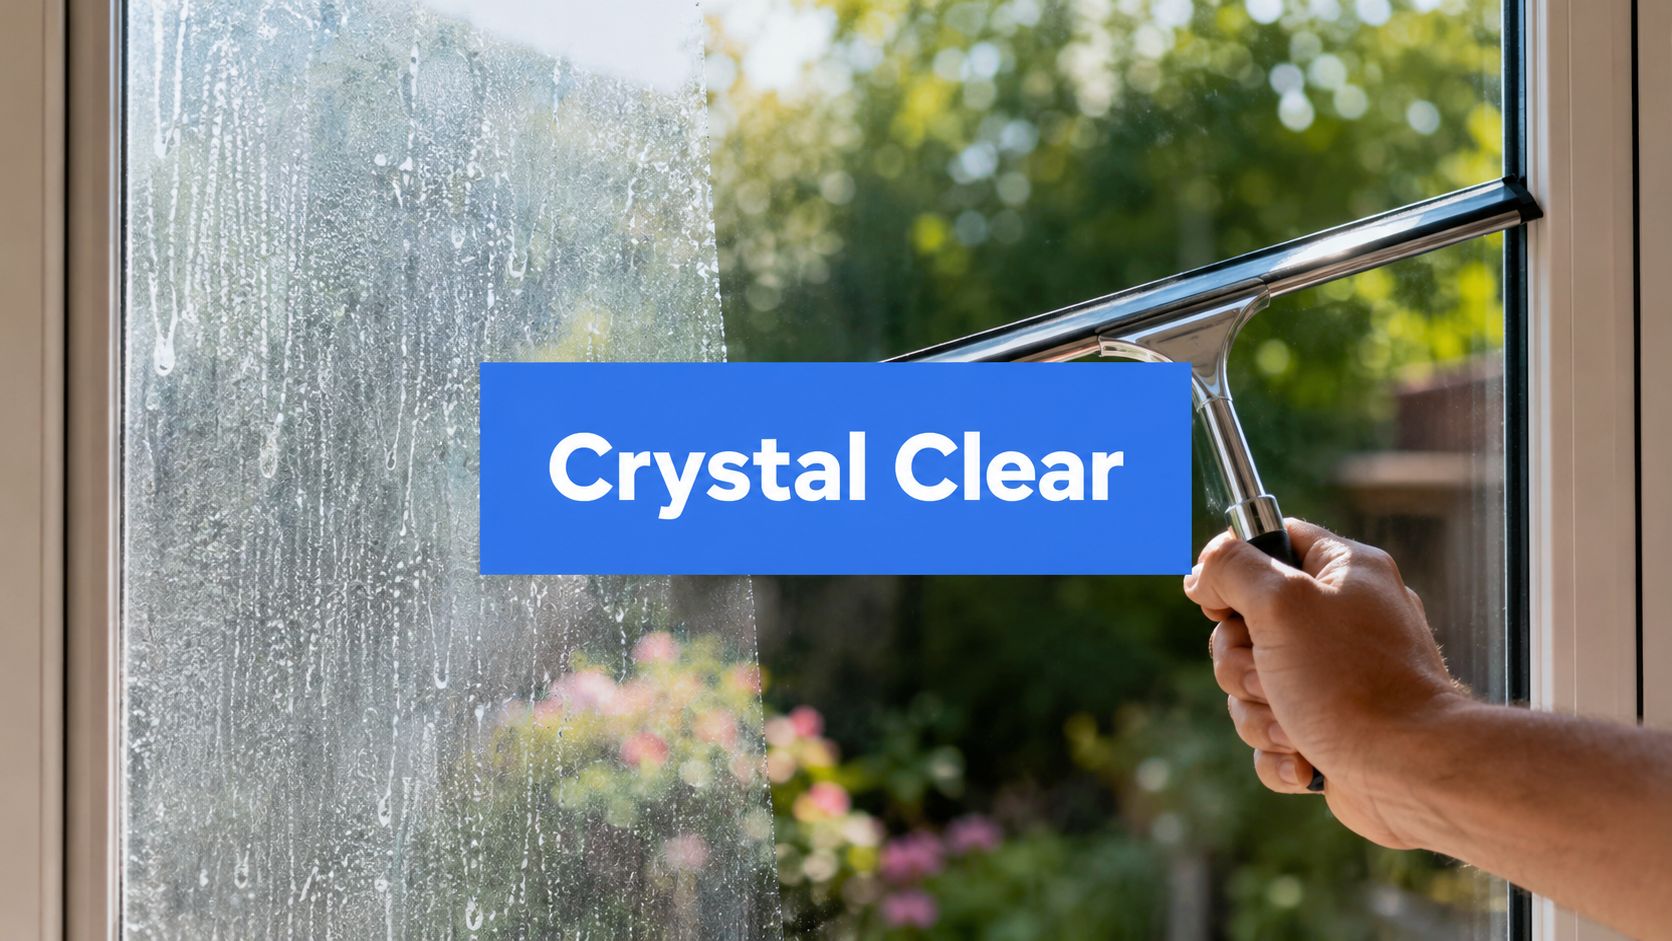
You notice it when the morning light hits the glass just right. One window looks cloudy. By afternoon it clears a little, then the haze returns. Maybe the room near that window feels warmer than the rest of the house in summer, or cooler in winter. A lot of homeowners first treat that as a cleaning problem.
Usually, it isn’t.
Window seal repair sits in that frustrating middle ground between simple maintenance and real building-envelope work. Some parts are absolutely doable for a careful homeowner. Other parts are not DIY jobs, no matter how many videos make them look easy. After more than 26 years around residential, commercial, and high-rise windows in climates ranging from dry desert heat to high-altitude cold, the pattern is clear. Many homeowners wait too long, fix the wrong thing first, or confuse a failed glass seal with worn exterior caulk.
That distinction matters. A failed perimeter seal around the frame can often be re-caulked. A failed seal inside an insulated glass unit is a different problem entirely.
A foggy window irritates people because it looks dirty even after they clean it. The bigger issue is what that fog usually points to. In many cases, moisture has made its way where it shouldn’t be.
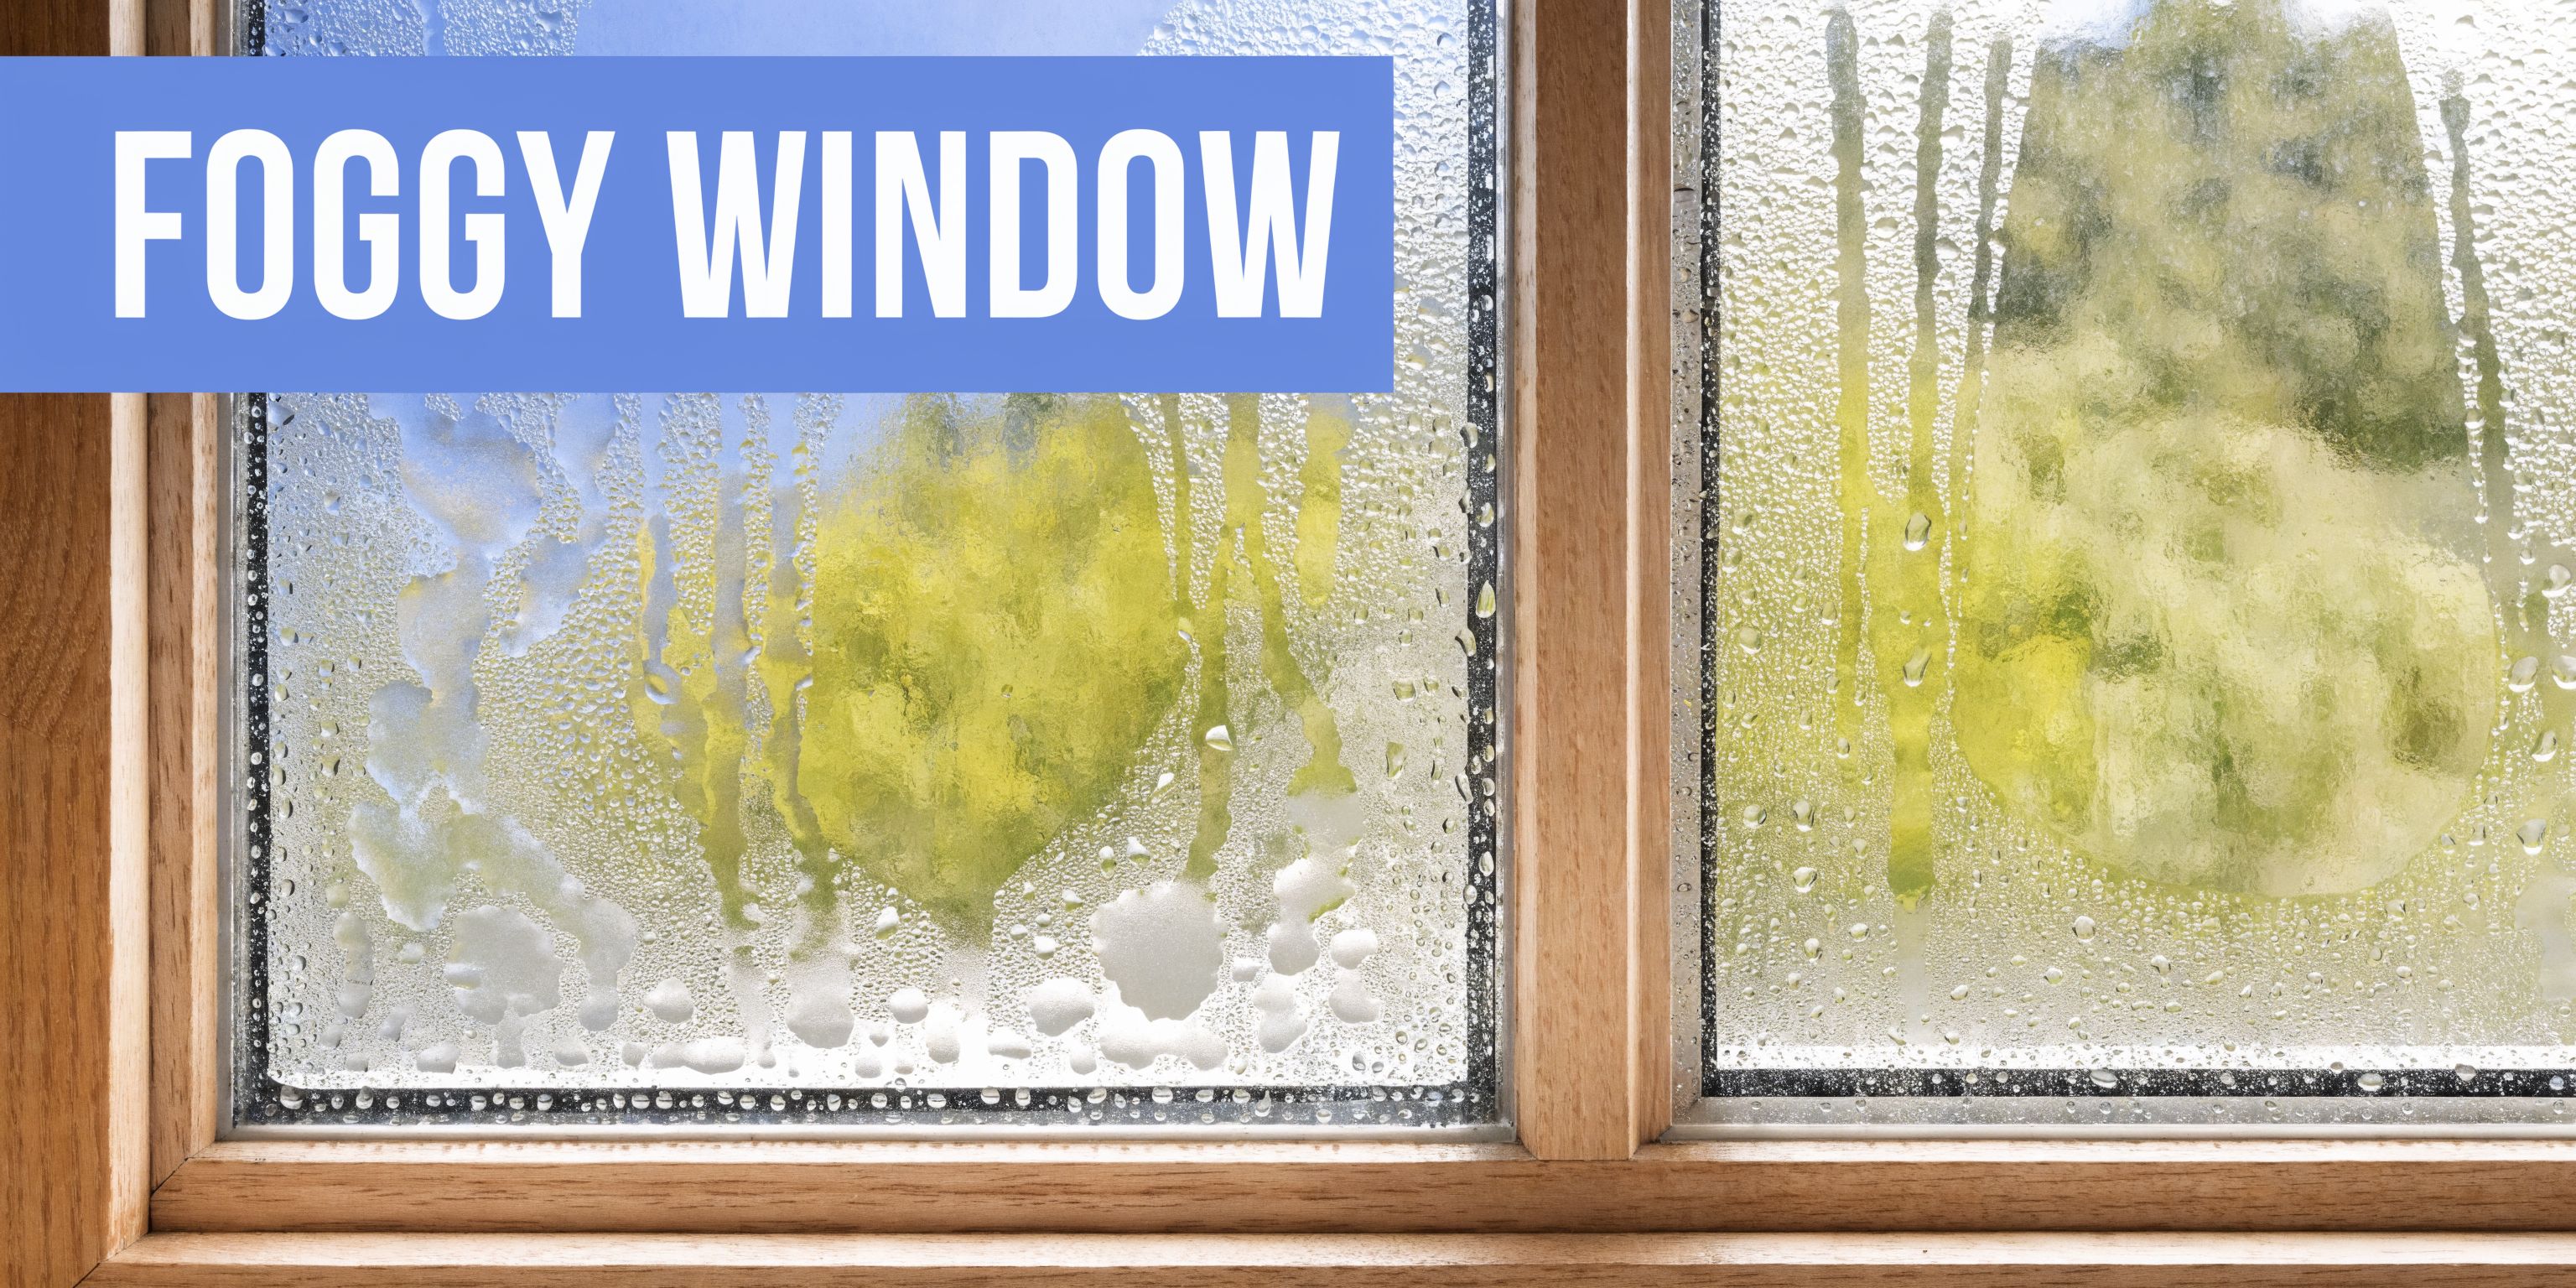
On a modern double-pane or triple-pane window, the seal’s job is simple in theory and demanding in practice. It has to keep the insulated glass unit closed off from outside air and moisture, while also handling constant expansion and contraction from temperature changes.
When that seal holds, the window insulates better and stays clear. When it fails, you start seeing fogging between panes, draft complaints, and a slow decline in comfort that many homeowners blame on the HVAC system first.
If you're trying to separate normal condensation from seal trouble, this explanation of what causes windows to fog up is a useful place to start.
Generic window advice often ignores climate. That’s a mistake.
In dry desert markets, sunlight and repeated heating cycles are hard on seal materials. In high-altitude areas, pressure differences and sharp temperature swings add another layer of stress. The result is the same. Seals age faster, and the windows that looked fine a year ago can suddenly show haze, water marks, or edge failure.
Practical rule: If the glass looks dirty but you can’t clean the haze off either side, the problem is probably inside the insulated unit, not on the surface.
A failed seal doesn’t always mean immediate full window replacement. But it does mean the window is no longer performing the way it was designed to.
That can affect comfort, visibility, and nearby materials. Once moisture keeps entering the system, you can end up dealing with staining, swollen trim, recurring drafts, and eventually frame issues that are harder and more expensive to address than the original seal problem.
For homeowners, the main takeaway is simple. Fogging is often an early warning, not a cosmetic nuisance.
Most failed seals don't announce themselves all at once. They start with small clues. A little haze on cool mornings. A faint draft near one corner. A window that looks slightly distorted in late afternoon sun.

The first thing to check is where the moisture is.
For a simple explanation of the part of the window you're inspecting, this overview of what is a window seal helps clarify the difference between frame sealing and insulated glass sealing.
A failed seal isn't always obvious from straight on. Walk the window from different angles and look closely at the perimeter.
Use this quick field checklist:
Look for edge haze
Early failure often starts near the spacer area before it spreads across the whole pane.
Feel for air movement
On a windy day, hold the back of your hand near the sash and frame joints. Even a faint draft matters.
Watch for water staining
Trim discoloration, soft drywall, or paint that keeps peeling near one window can point to recurring leakage.
Notice comfort changes
If one room is consistently harder to cool or heat, the window may be part of the problem.
Window seals in double-pane and triple-pane windows typically last many years, but in harsh exposures like the desert sun common in Las Vegas, they may need replacement more frequently. Failed seals can increase heating and cooling costs by up to 20-30%, according to Mirox Windows.
That shorter lifespan matters in places like Las Vegas, where UV exposure and heat put more stress on seal materials than many national guides account for.
When a window fails in a dry climate, people often assume they’d see less moisture-related trouble. In practice, the seal still breaks down. You just get a different pattern of failure.
Homeowners usually catch obvious fogging. They miss the subtle signs.
A pane may look slightly warped when sunlight hits it at an angle. The room may sound noisier because the unit has lost some insulating performance. In commercial buildings, staff sometimes notice temperature complaints near glass before anyone notices visual fogging.
If you're seeing more than one of those clues at the same window, don't wait for the cloudiness to become permanent.
A lot of frustration around window seal repair comes from one basic misunderstanding. Homeowners say “seal repair” when they mean two very different jobs.
One is perimeter resealing, which means replacing failed caulk or exterior sealant where the frame meets surrounding material. That can be a solid DIY project.
The other is repairing a failed insulated glass unit. That involves the sealed space between panes. Most homeowners can't restore that system with store-bought tools.
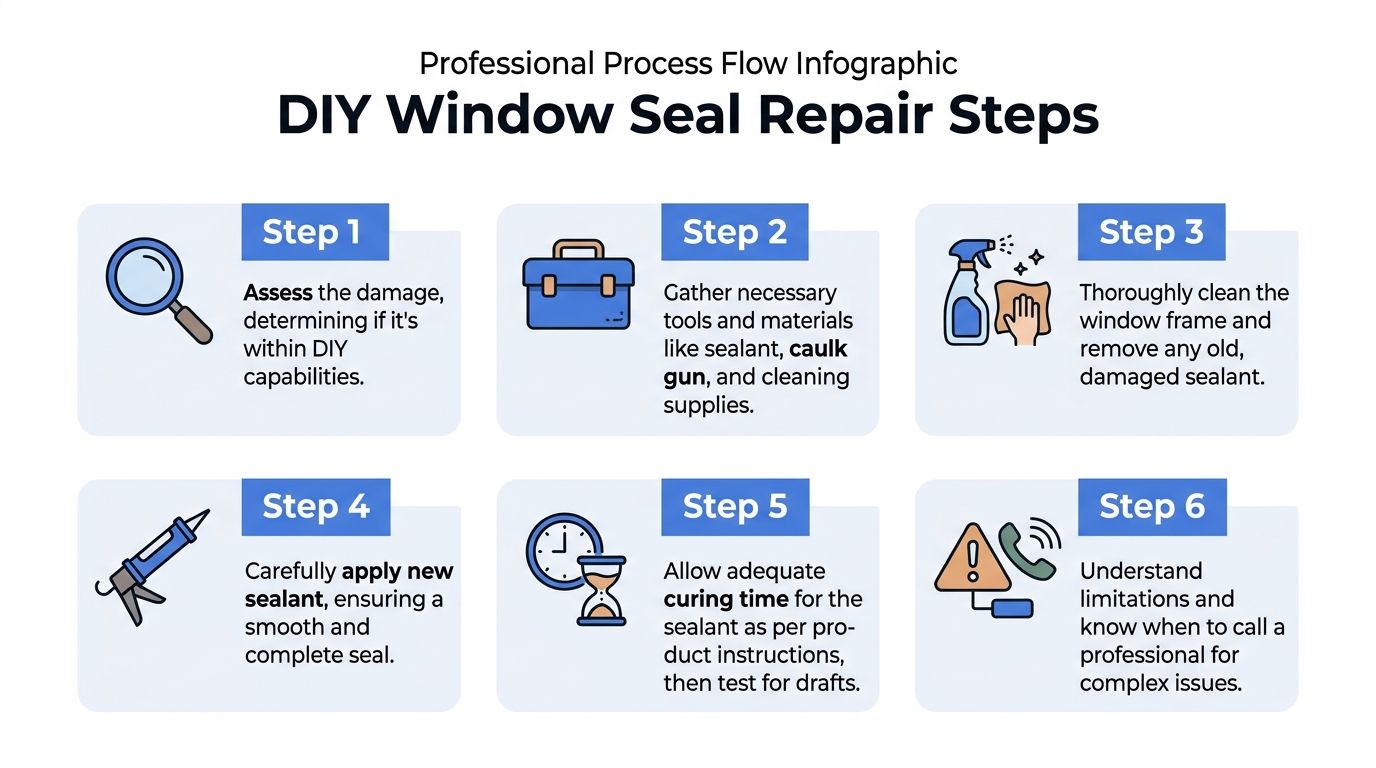
If the glass itself is still sound and your problem is cracked, missing, or brittle perimeter caulk, here’s the practical path.
For perimeter resealing, a proper methodology involves scraping old caulk, cleaning the surface with isopropyl alcohol, and applying a steady 1/4-inch bead of silicone sealant. Improper surface prep is a primary cause of failure, leading to 35% of re-failures within two years, according to Buckeye State Roofing.
Don’t smear new sealant over cracked caulk. It almost never lasts.
Cut the old line carefully with a utility knife, then scrape it out with a carbide blade or oscillating tool. Work slowly around corners so you don’t gouge wood, vinyl, or aluminum.
Because it does.
Any dust, loose paint, chalky residue, or oily film cuts adhesion. Wipe the joint with isopropyl alcohol and let it dry fully before applying new material. If the surface still feels gritty, clean it again.
New caulk doesn't fix a dirty joint. It only hides it for a while.
Painter’s tape helps if you want a neat bead and sharp edge. It’s especially useful on visible front-facing windows or interior trim transitions.
Leave just enough gap for the sealant line. Don’t crowd the joint.
Load the tube, cut the tip for the joint size, and apply steady pressure. A smooth continuous bead works better than stopping and starting every few inches.
Most DIY problems happen here. People overfill, underfill, or rush.
Smooth the line with a wet finger or a caulk tool. The goal is full contact with both sides of the joint, not a big decorative mound.
Then leave it alone. Cure time matters. If you test it too soon or expose it to weather too quickly, the repair can fail before it has a chance to bond.
A short visual walkthrough can help if you've never done this type of work before:
If the issue is a draft around an older window and you need a short-term improvement, interior insulation film can help. It won't repair the window, but it can reduce noticeable air movement and buy you time during a season when a full repair isn't practical.
That’s a stop-gap. It’s not a substitute for proper sealing.
Many homeowners lose time and money in this scenario.
Drilling into the glass and trying to remove moisture can improve appearance for a while, but that doesn't rebuild the original insulated unit. It doesn’t put the system back to factory condition, and it doesn’t solve every cause of failure.
A careful homeowner can do a respectable perimeter resealing job. Many do.
But DIY only works when the diagnosis is right. If you use frame caulk to “repair” a failed insulated unit, the window will still fog, still underperform, and still need a lasting fix later.
People usually ask about cost after they’ve already spent time trying to decide whether the problem is minor or serious. That’s backwards. Budgeting gets easier when you separate frame resealing from glass-unit repair.
The average cost to repair a failed window seal can vary, while a DIY approach using caulk typically costs much less. However, DIY attempts without proper tools and techniques have a high failure rate, which can wipe out the initial savings, according to Window Gurus.
The low DIY cost is real. So is the risk of doing the wrong repair.
A single accessible window with failed exterior caulk can be a manageable project. But the time isn't just the bead application.
You have to remove old material, clean thoroughly, apply the new sealant neatly, and let it cure. If you're doing multiple windows, prep usually takes longer than homeowners expect.
For broader pricing context on related repair categories, a window repair cost guide can help you compare seal work with other window issues that sometimes show up at the same time.
| Factor | DIY Approach (Perimeter Re-caulking) | Professional Repair (IGU or Perimeter) |
|---|---|---|
| Best use case | Cracked or missing exterior caulk | Failed insulated glass unit, difficult access, or perimeter resealing done to trade standard |
| Typical direct cost | Lower cost for basic caulk materials when handled as a DIY job | Higher average repair range depending on scope |
| Skill requirement | Moderate. Surface prep and bead control matter | Higher skill handled by trained technicians |
| Time commitment | Part of a day for prep, application, and cleanup | Usually less homeowner time, more direct service cost |
| Main risk | Misdiagnosing IGU failure as a caulk issue | Higher upfront expense |
| Best outcome | Stops drafts at frame joints if the diagnosis is correct | Addresses the true source of failure and access issues more reliably |
A few factors push repairs toward the high end:
Budget tip: The cheapest repair is the one that matches the actual failure. The most expensive “cheap fix” is redoing the wrong work twice.
For many homeowners, the smart move is simple. Price the DIY materials fairly, include your time, and compare that against a professional diagnosis if there’s any doubt about the true location of the failure.
Some window problems reward effort. Others punish it.
The hardest part for homeowners isn’t using a caulk gun. It’s knowing when the repair has moved past homeowner territory. If moisture is trapped between panes, if access is unsafe, or if the window sits in a commercial or high-rise setting, calling a pro early usually saves money and frustration.

Fog or moisture between the panes means the insulated glass unit has failed. That’s the point where caulk, weatherstripping, and surface cleaning stop being relevant to the core issue.
If you want a closer look at that specific problem, this article on double pane window fog shows what homeowners deal with when the haze is inside the glass.
The recent trend of DIY window defogging kits, which involve drilling holes and using vacuums, is gaining traction. Professional sources confirm these are often temporary cosmetic fixes that fail to restore the window's insulating R-value and see a 70-80% refogging rate within 1-2 years, according to Magic Window.
That’s the core trade-off. The glass may look better for a while, but appearance isn’t the same as performance.
Second-story windows can already be risky for homeowners. High-rise glass is a completely different category.
In dense urban areas and downtown towers, the issue isn’t just repair skill. It’s safety, access planning, and building procedures. That applies in residential towers, medical offices, stadium facilities, dealerships, and commercial storefronts with large glass runs.
In mountain markets, pressure changes and altitude can affect how early-stage seal failure behaves. A pane may show intermittent fogging before the failure becomes constant.
That kind of diagnosis takes more than a visual once-over. It helps to have someone who’s seen the pattern before, especially in areas like Denver, where altitude adds stress generic advice rarely discusses.
Once trim softens, finishes lift repeatedly, or adjacent framing starts to move, the job may no longer be “seal repair” at all. At that point, the question becomes how much of the surrounding assembly has been affected.
Use this as a practical cutoff:
If you're asking whether a between-the-panes problem can be fixed with exterior caulk, the answer is no.
A seasoned technician doesn’t just see “foggy glass.” They look at exposure, frame condition, drainage paths, movement at the joint, and whether the problem is isolated or repeated across elevations.
That matters in dry heat markets like Phoenix and Las Vegas, and it matters in colder high-altitude conditions too. The window may show the same symptom. The reason it failed, and the repair that lasts, can be different.
The best window seal repair is the one you never need because you caught the problem early. That’s especially true in climates that put extra stress on glass and sealants.
A workable maintenance plan doesn’t need to be complicated. It needs to be consistent.
In high-altitude regions like Denver, expert repairs on early-stage seal failure can extend a window’s service life by 3-7 years at only 25-40% of replacement cost. Annual inspections can prevent up to 40% of total seal failures, according to Clearview Windows.
That’s why regular checks matter more than people think.
Look over windows at least seasonally, and be more watchful after weather extremes. Focus on:
Harsh scrubbing and aggressive chemicals can create their own problems. On the cleaning side, professionals rely on only two methods for exterior window cleaning: a squeegee or a pure-water system.
That matters because proper cleaning isn’t just about appearance. It gives you a clearer view of developing seal issues and avoids unnecessary wear around edges, gaskets, and frames.
For homeowners, the practical rule is straightforward:
A house in dry desert sun and a property at elevation don’t age the same way.
In arid markets, UV exposure and repeated heat cycling can harden and embrittle seal materials faster. In high-altitude areas, pressure differences and sharper temperature swings deserve more attention. Owners in Phoenix and Scottsdale often need to watch sun-exposed elevations closely. Owners in mountain conditions need to watch for the early intermittent fogging that can turn permanent if ignored.
A maintenance plan only works if someone follows it.
Walk the property and inspect the most exposed windows first. South- and west-facing glass usually tells the story early.
Look closely at corners, lower edges, and frame joints. Small cracks in sealant are easier to deal with than long-open gaps.
Check again after heat waves, cold snaps, or sustained wind events. Those are the periods when marginal seals often give up.
A window rarely goes from perfect to failed overnight. Most owners just miss the middle stage.
Done right, maintenance protects comfort, helps control repair costs, and stretches the useful life of the windows you already own.
If you’ve got foggy glass, drafty frames, or windows that seem to age faster in desert heat or high-altitude weather, Professional Window Cleaning can help you spot problems early and keep your glass, frames, and seals in better condition. We’ve been serving homes and commercial properties since 1999 across Arizona, Colorado, and Nevada, including Scottsdale.
Read our blog posts regularly and keep learning.