Care and Maintenance
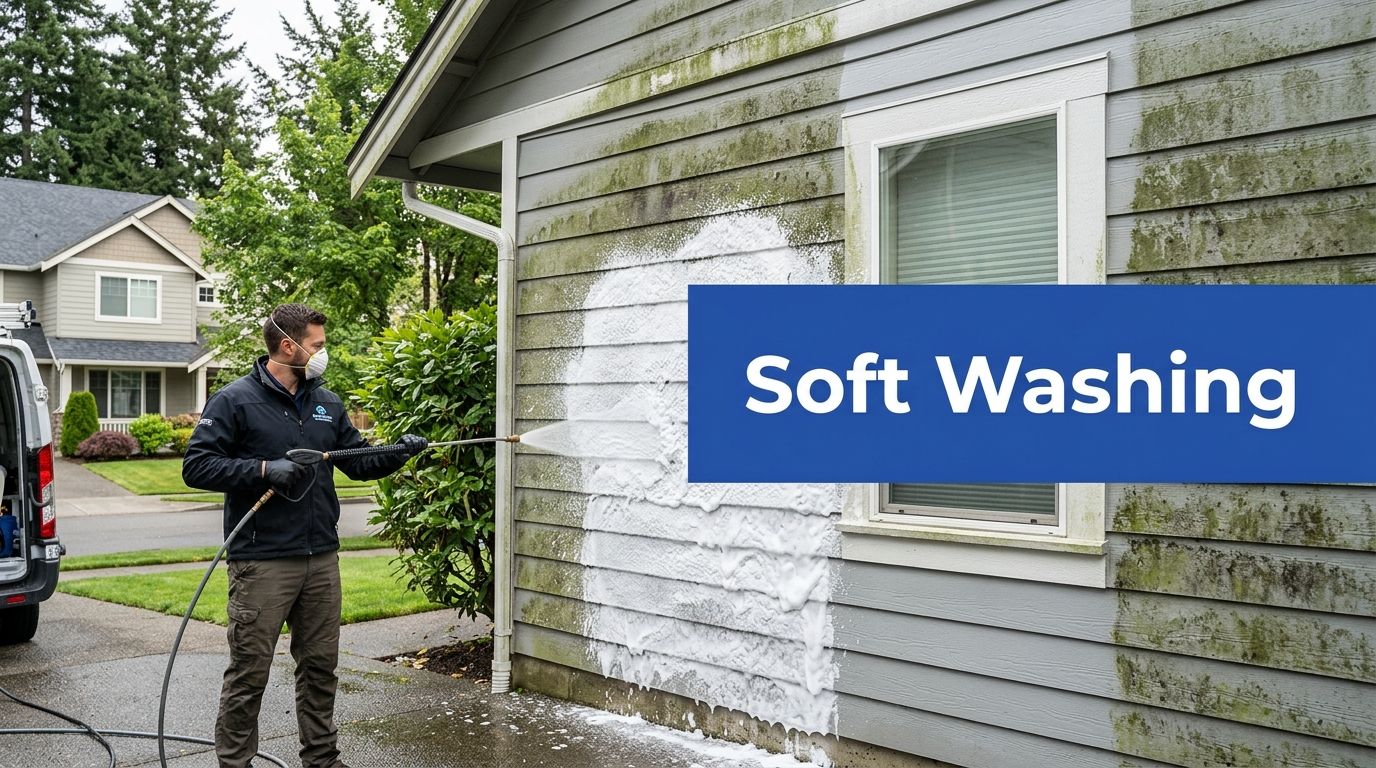
What Is Soft Washing? a Guide for Home & Business Exteriors
What is soft washing? Learn how this low-pressure cleaning method safely removes algae and dirt from your home or business, its costs, and when to hire a pro.


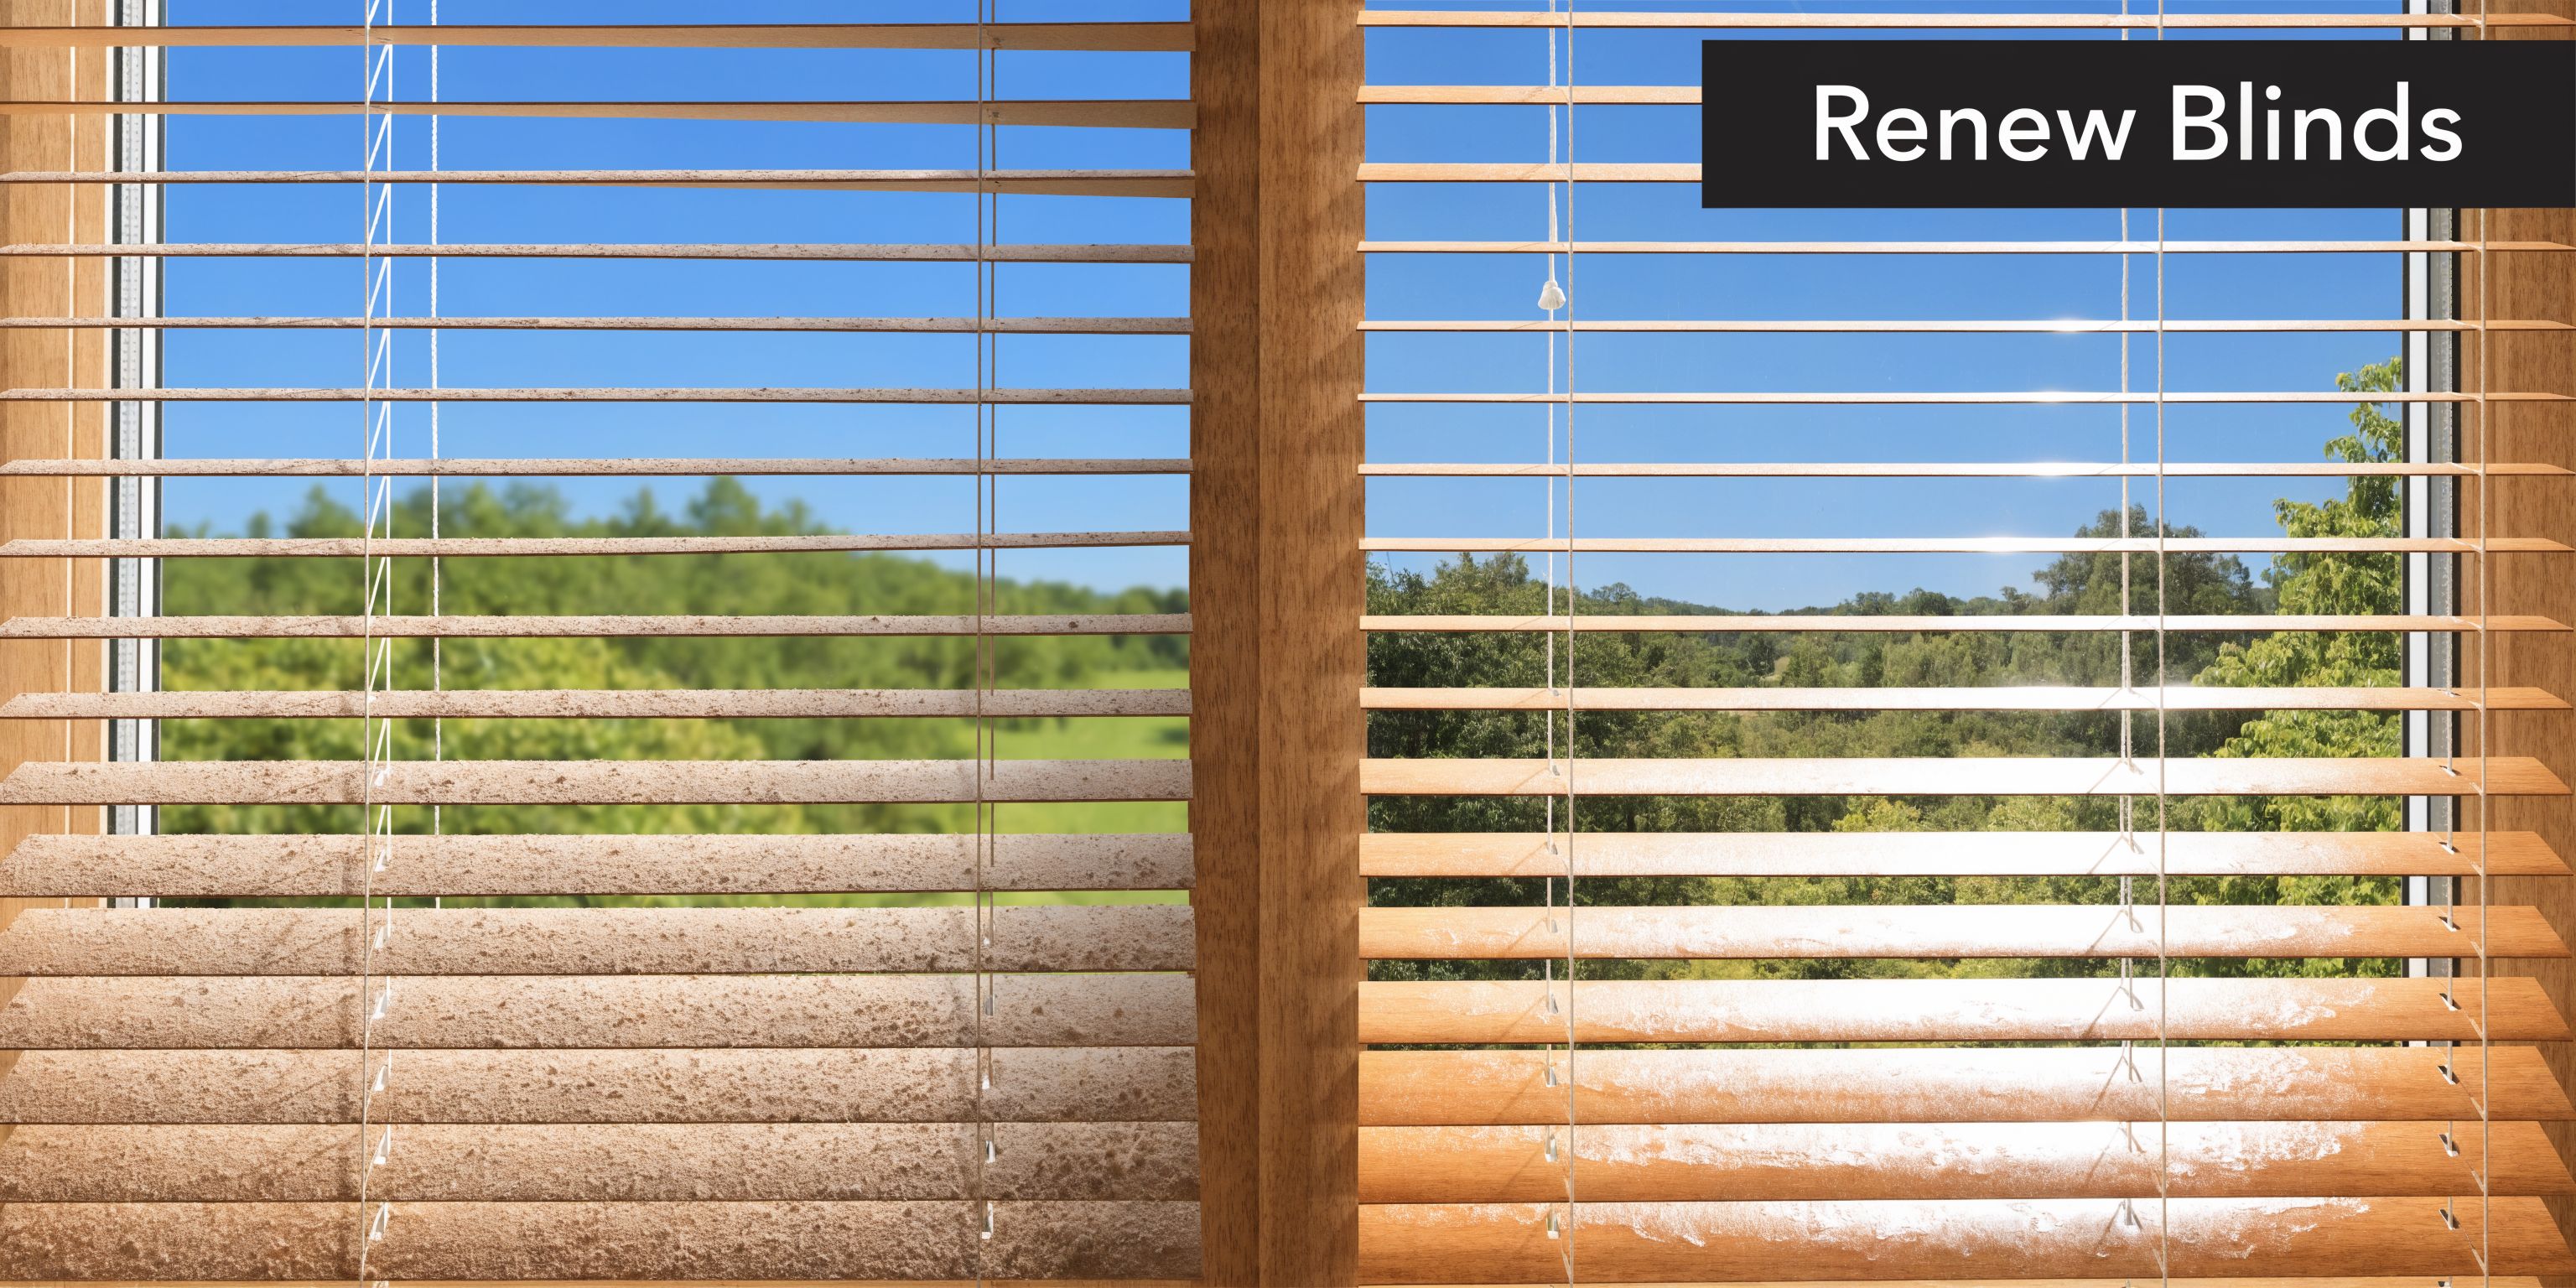
Late afternoon sun is usually when the problem shows up. Wooden blinds that looked fine a week ago start showing a dusty film, darker grime along the front edges, and a finish that no longer looks clean.
Wooden blinds cleaning often goes wrong for two reasons. Homeowners wait too long, or they clean too aggressively with water, household spray, or a fast wipe that drives dust and moisture into the grain. Real wood reacts quickly to that kind of treatment, especially in dry, high-sun climates where dust builds fast and heat puts extra stress on the finish.
I have seen the same pattern for more than 26 years. In places with arid air, blowing dust, and intense sun, blinds need a method that protects the material as much as it improves the appearance. A careful routine keeps slats straighter, cords cleaner, and the finish from wearing out early. A careless one can leave you with fading, warping, and stains that no quick touch-up will fix.
Wood blinds don’t usually fail all at once. They dull gradually. Dust settles into the grain. Kitchen residue catches on leading edges. Sun exposure makes finish problems stand out even more.
A proper wooden blinds cleaning routine brings back color, clarity, and a smoother finish without putting the slats at risk. That means treating dusting as maintenance, not as an afterthought. It also means knowing when a blind needs more than a quick pass with a rag.
The biggest mistake people make is assuming all blinds can be cleaned the same way. They can’t. Real wood needs restraint. Faux wood can handle a different approach. Getting that distinction wrong is how people end up with bowed slats, cloudy finishes, and cords streaked with cleaner.
Practical rule: Clean the material you actually have, not the material you think you have.
Good results come from a few disciplined habits. Use the right tools. Keep moisture controlled. Work with the slat angle instead of fighting it. Dry immediately when any damp cloth touches real wood.
When that process is done right, blinds don’t just look cleaner. They stay cleaner longer, and the finish holds up better in the sun.
Before you pick up a vacuum brush or microfiber cloth, identify the blind material. This step matters more than the cleaner you choose.
Real wood and faux wood often look similar from across the room. Up close, they behave very differently. Real wood can absorb moisture and react badly to over-wetting. Faux wood is more forgiving, but harsh chemicals can still damage the surface.
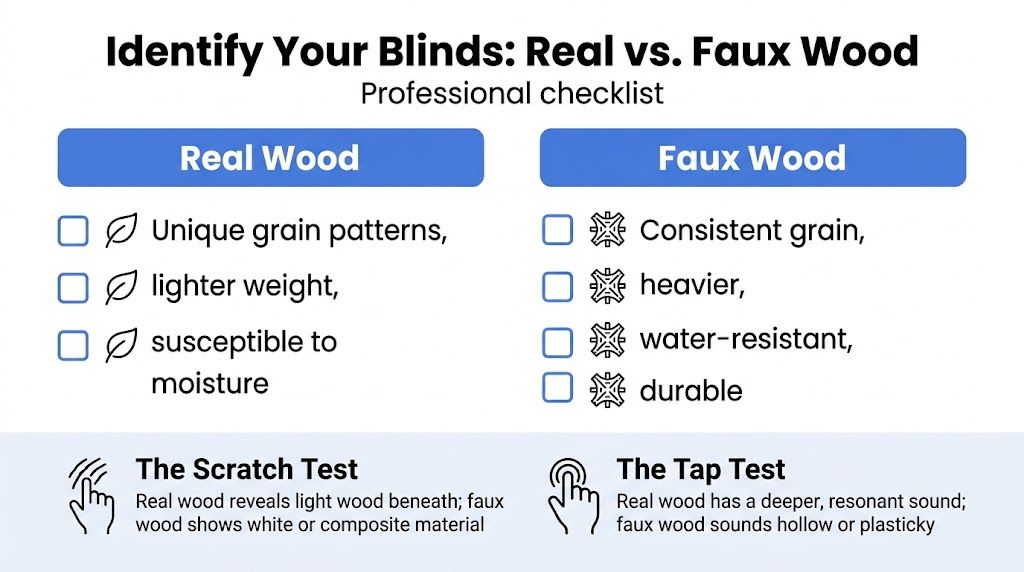
Start with simple observation.
These aren’t lab tests. They’re practical field checks. If you’re still unsure, treat the blind like real wood until proven otherwise. That safer assumption prevents costly damage.
Real wood demands controlled cleaning. Dusting and vacuuming do most of the work. Any spot-cleaning has to be sparing, followed by immediate drying.
Faux wood allows a little more flexibility. For example, the no-fuss faux wood method described by Good Housekeeping’s blind cleaning guidance uses a double-sided microfiber duster first, then a 1:10 dish soap to distilled water mix on a lightly dampened cloth for stubborn grease, followed by an immediate dry buff. That method is noted as yielding 98% stain removal without the finish damage that bleach can cause.
That doesn’t make faux wood indestructible. It just means it tolerates limited moisture better than real wood.
| Cleaning Aspect | Real Wood Blinds (e.g., Basswood, Pine) | Faux Wood Blinds (e.g., PVC, Composite) |
|---|---|---|
| Best routine care | Weekly dry dusting and light vacuuming | Dry dusting, then limited damp wiping when needed |
| Safe primary tools | Microfiber cloth, vacuum brush attachment, soft duster | Double-sided microfiber duster, low-suction vacuum brush, microfiber cloth |
| Moisture tolerance | Low. Use very controlled moisture only for spot issues | Higher than real wood, but still avoid soaking |
| For greasy residue | Use minimal dampness only when necessary and dry at once | Lightly damp cloth with mild dish soap mix, then dry buff |
| Good default approach | Dry methods first, always | Dry clean first, moisture only for residue |
| Never use | Heavy sprays, soaking cloths, harsh cleaners, standing moisture | Bleach, ammonia, over-saturation, aggressive scrubbing |
| Best rooms for material | Living rooms, offices, bedrooms, lower-humidity spaces | Kitchens, bathrooms, utility areas, higher-moisture zones |
If a blind looks like wood but you don’t know the manufacturer, don’t experiment with wet cleaning. Start dry.
Use a vacuum with a brush attachment. Follow with a dry microfiber cloth. If grime remains, stop and verify the material before going further.
The most expensive blind damage often starts with a “quick cleaning” that used too much moisture.
That cautious approach saves finishes. It also keeps you from turning surface dust into smeared residue that takes much longer to remove.
The best-looking wood blinds usually aren’t the ones that get the most aggressive deep cleaning. They’re the ones that get routine care before dust turns sticky.
Industry guidance says wooden blinds need weekly dusting and a deep clean every 3 to 6 months, especially in high-dust areas where desert conditions can accelerate buildup by 20 to 30%, according to Love Is Blinds TX cleaning guidance.
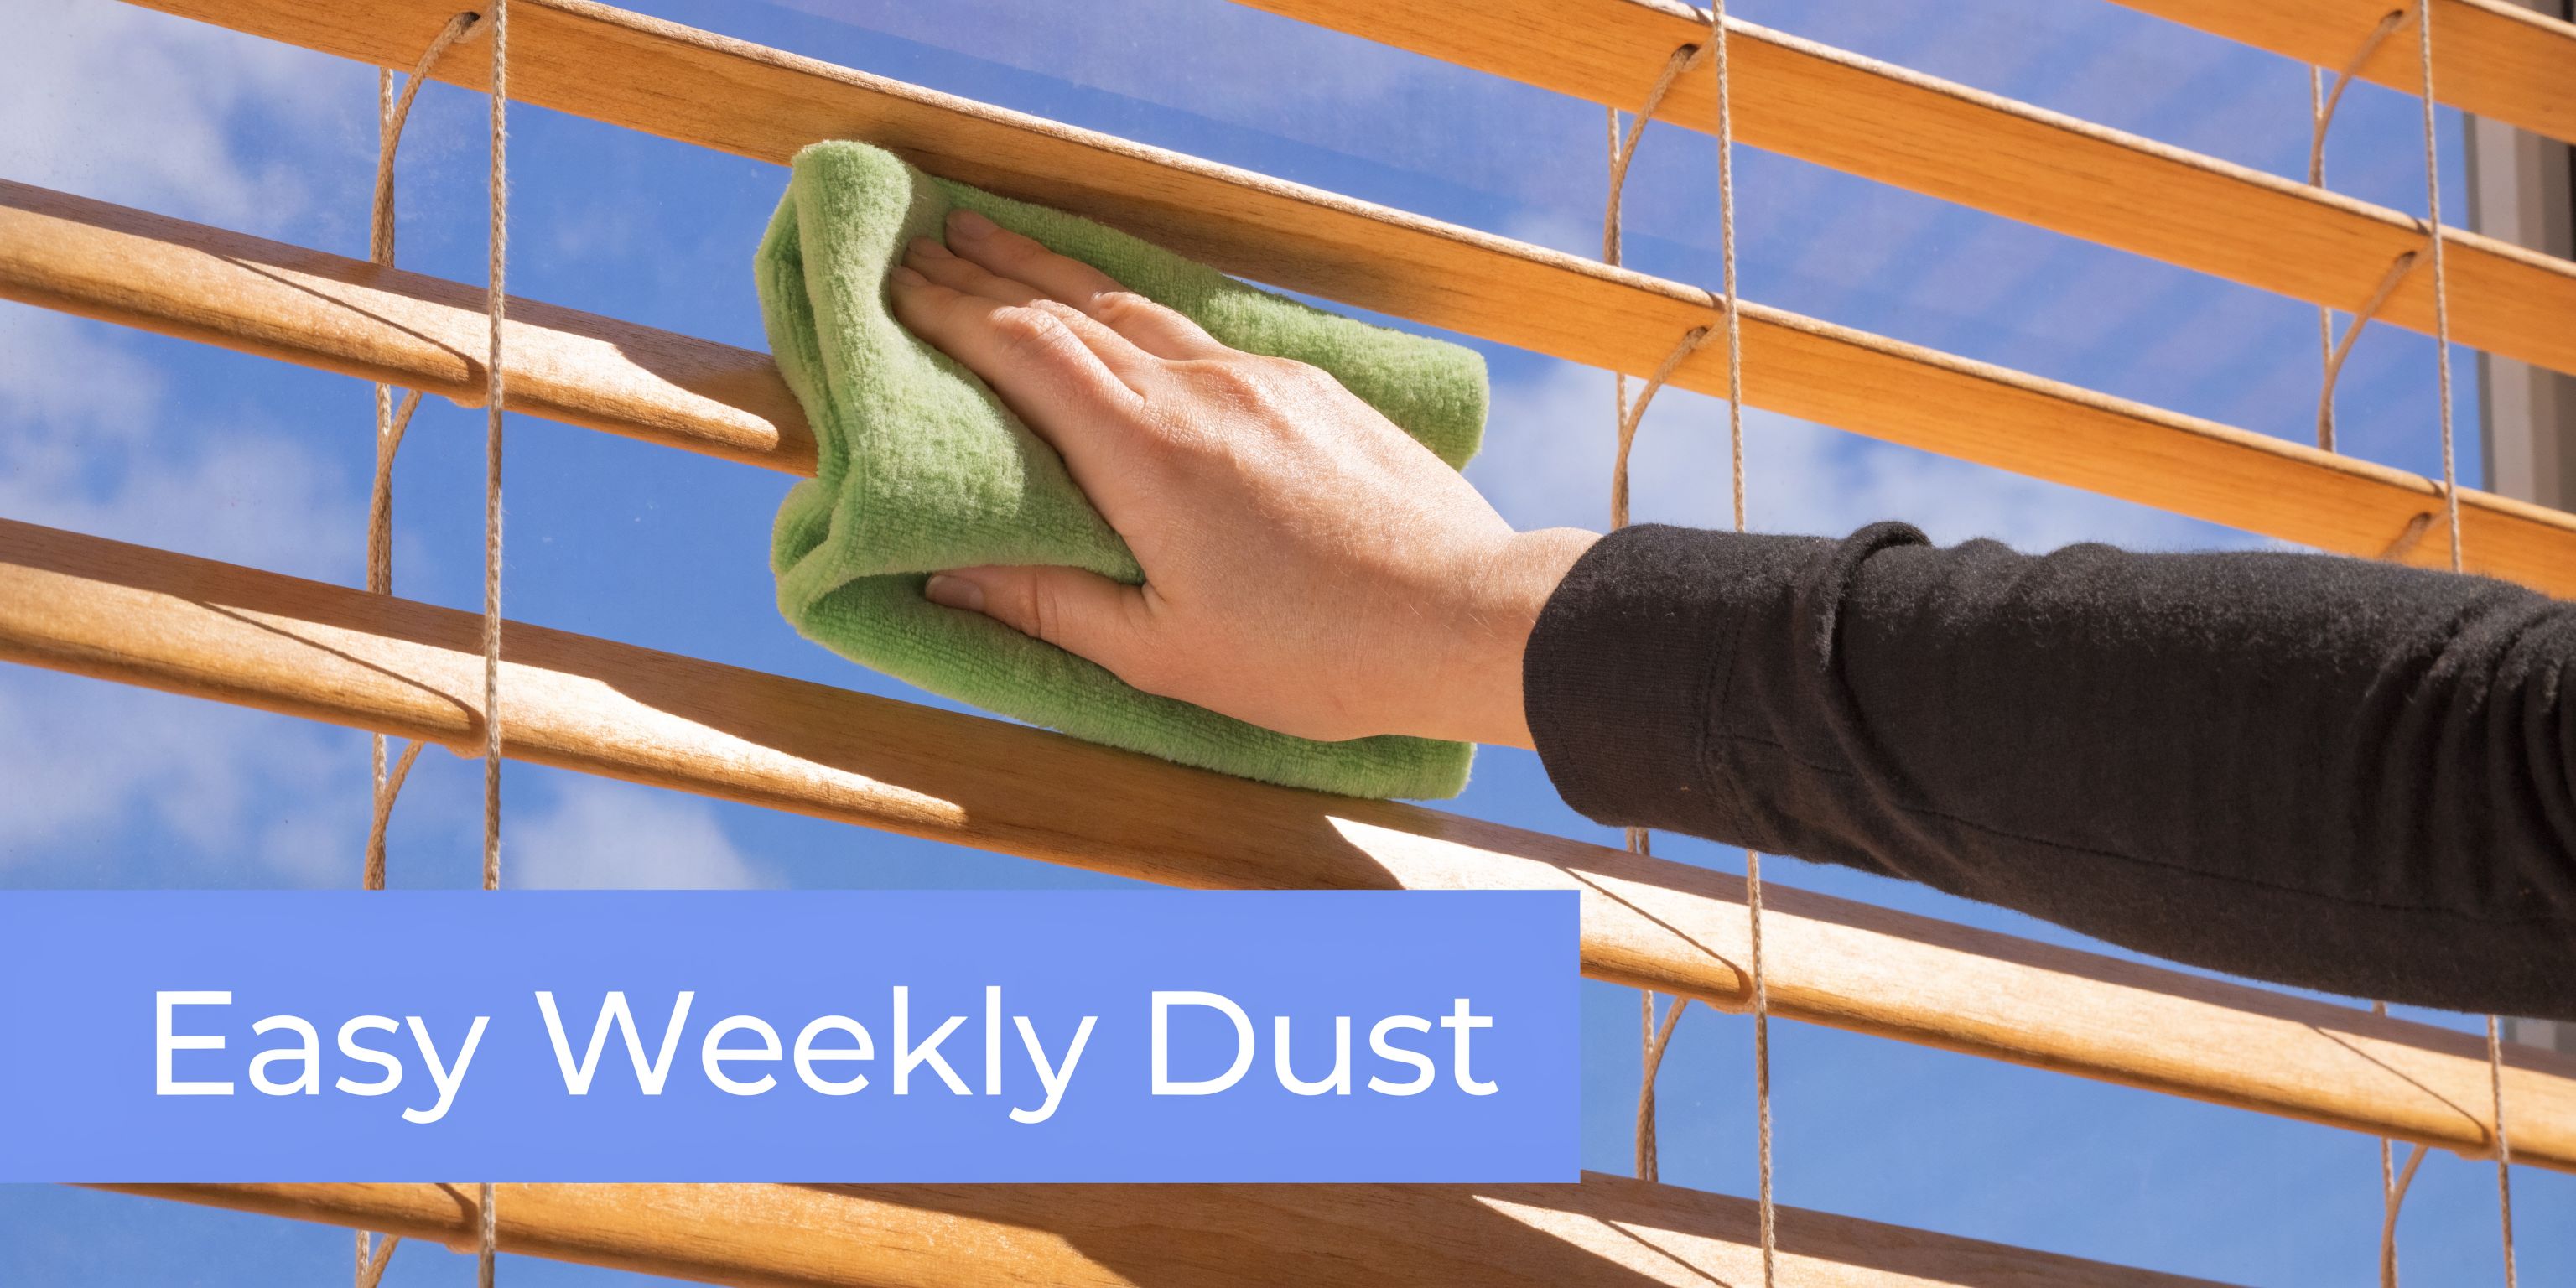
Weekly maintenance doesn’t need a bucket or a shelf full of products.
Use these:
Close the slats in one direction so they sit mostly flat. Start at the top and work downward. That keeps loosened dust from falling onto areas you’ve already cleaned.
Then reverse the slats and repeat on the opposite side.
For most blinds, this sequence works well:
Regular dusting keeps dry debris from mixing with humidity, cooking residue, or fingerprints. Once that happens, simple dust becomes bonded grime.
It also reduces the temptation to over-clean later. Most DIY damage doesn’t happen during routine care. It happens when someone sees months of buildup and reaches for spray cleaner and a soaking cloth.
Weekly dusting is preventive care. It keeps you from needing risky cleaning methods later.
If you live in a dry, windy climate, stay consistent. Dust there isn’t just cosmetic. It acts like a fine abrasive on the finish when it sits too long.
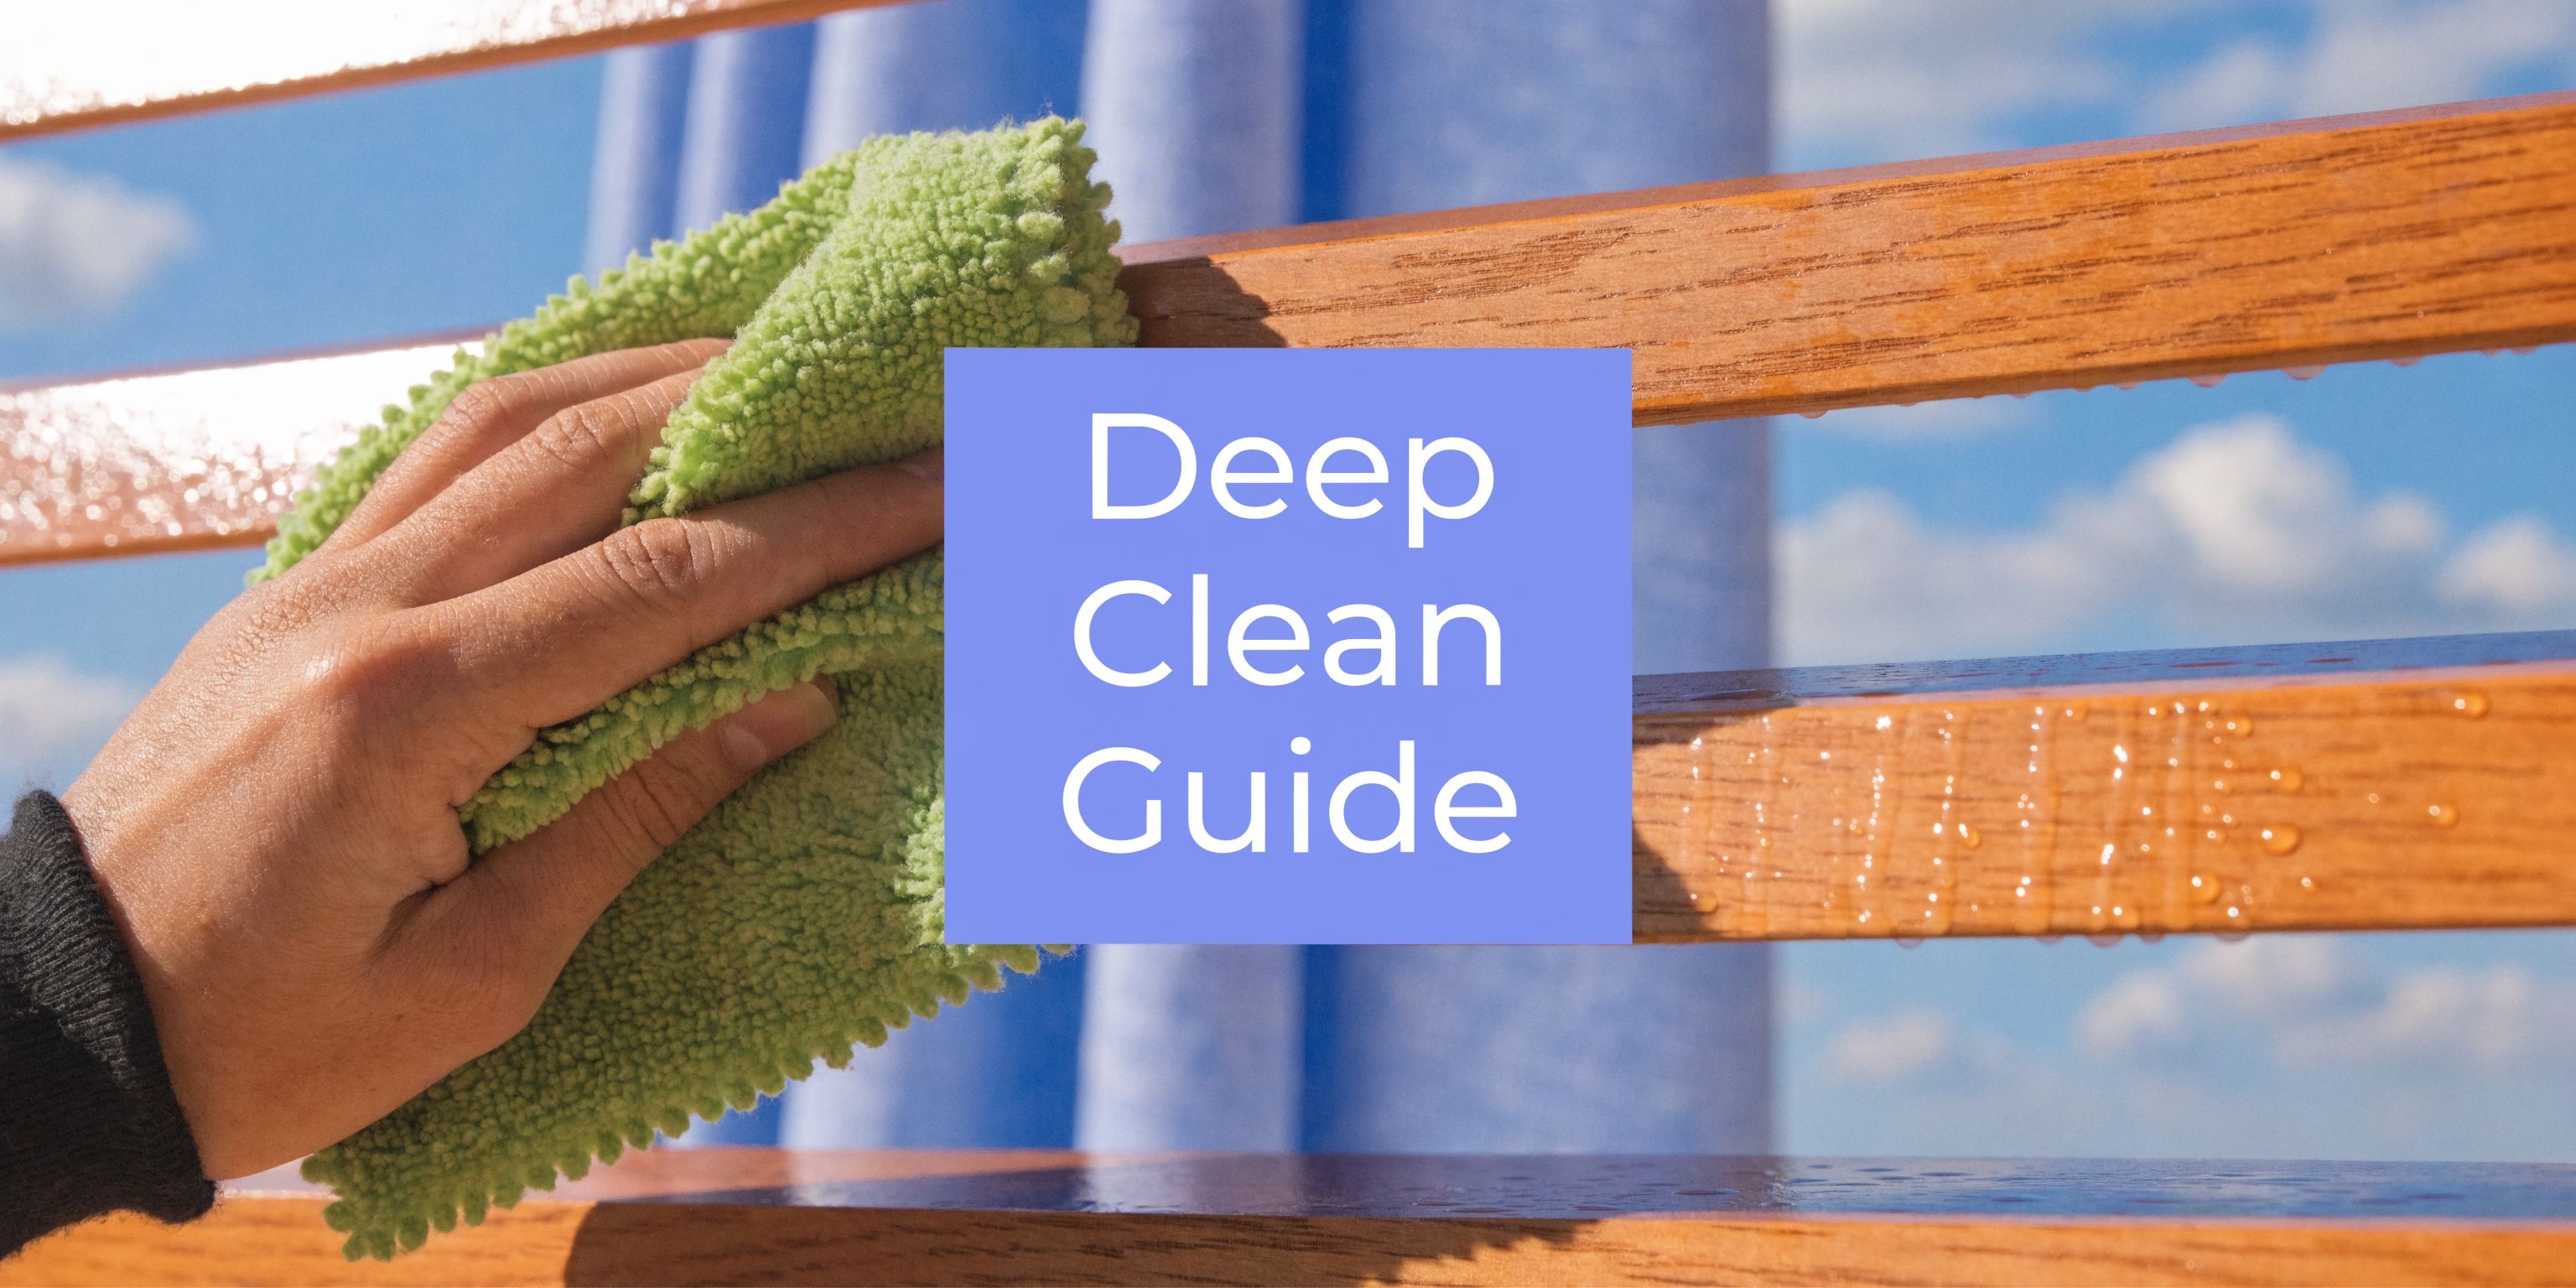
When weekly dusting isn’t enough, deep cleaning has to be controlled. The goal isn’t to soak away dirt. The goal is to remove stuck-on buildup while keeping the finish and slat shape intact.
For real wood blinds, the safest professional method starts dry. According to advanced wood blind cleaning guidance, professionals vacuum slats in two passes after tilting them in opposite directions, capturing 85 to 95% of dust. The same guidance notes that spot-cleaning should use a microfiber cloth dampened sparingly with a mild soap and distilled water solution, with each slat buffed dry immediately because overuse can cause warping in 70% of cases.
A rushed setup usually creates more work.
Do this first:
Dry removal comes before any wiping.
Close the slats in one direction and vacuum slowly from side to side with a brush attachment. Then tilt them the opposite way and repeat. One angle won’t fully expose both dust-catching faces.
Use low to moderate suction. Let the brush do the work. Pressing hard risks scratching the finish or pulling at the slat alignment.
Once loose dust is gone, inspect the slats. You’re looking for fingerprints, grease film, pollen residue, or isolated marks.
For real wood, use a microfiber cloth, not a spray bottle on the blind. Dampen the cloth lightly with a mild soap and distilled water mix. The cloth should feel barely damp, not wet.
Then:
If the first wipe doesn’t remove the mark, repeat once with patience. Don’t escalate to saturation.
There are a few repeat mistakes that damage real wood blinds faster than people expect.
Clean one slat, dry one slat. That pace feels slower, but it’s what keeps the blind safe.
Not every blind needs polish. In many homes, dry cleaning and occasional spot work are enough.
On stained real wood blinds, a light application of an appropriate wood-preserving product on a microfiber cloth can help revive luster. Keep it light. Heavy product use leaves residue that attracts more dust.
If you care for other natural wood surfaces in the home, the same restraint applies. These essential hardwood floor cleaning tips are useful because they reinforce the same principle: preserve the finish by controlling moisture, friction, and product buildup.
Here’s the method in its cleanest form:
Vacuum both slat angles
Remove as much loose dust as possible before wiping anything.
Inspect under strong side light
Side lighting reveals greasy streaks and missed buildup much better than overhead light.
Spot-clean only the areas that need it
Don’t damp-wipe clean slats just because the cloth is in your hand.
Buff immediately
Use a second dry microfiber cloth. Keep both cloths clean as you go.
Open the blinds and air them out
Let the room ventilate so any trace moisture disappears quickly.
This visual demonstration helps if you want to see the process in motion:
In places with desert dust and strong sun, real wood blinds get hit from two directions. Dust accumulates faster, and sunlight makes every bit of haze or finish wear more visible.
That changes the job in practical ways:
That’s why a dry-first method works so well. It removes the bulk of contamination before the cloth ever touches the finish.
A careful deep clean shouldn’t leave the blinds shiny in a greasy way. It should leave them even, clean, and natural-looking.
Most blind damage isn’t caused by age. It’s caused by method.
When homeowners ruin wood blinds, the usual culprit is moisture. Blinds.com cleaning guidance notes that improper cleaning causes warping in up to 70% of water-exposed cases, and that professional cleaning services can cost $90 to $250 per blind. That’s why prevention matters more than rescue.
Real wood doesn’t need much water to get into trouble. A damp cloth used carefully can be safe. A wet cloth, repeated passes, or direct spraying can push moisture into the slat faster than you think.
What works:
What doesn’t:
If a slat starts to cup or bow, the damage may not reverse. Prevention is the whole game.
Strong sun is hard on wood finishes. You’ll see it first in south- and west-facing rooms where one section of the blind looks flatter or lighter than the rest.
A few habits help:
If your blinds sit near wood furniture, trim, or flooring, maintain those surfaces with the same mindset. Moisture control and finish-safe cleaning matter across the room. This practical guide to cleaning the furniture across various materials, including wood is useful because it reinforces careful product choice and gentle handling around finished surfaces.
Most stains on blinds start small. Finger oils near the pull side. Kitchen film near a stove. Pollen residue in a room that gets frequent airflow.
The right response is fast, but restrained.
Use a dry method first. If the mark stays, use a lightly dampened microfiber cloth on that specific area. Then dry it immediately. Don’t spread the problem across the whole blind by wiping broad areas that aren’t dirty.
Sun, dust, and moisture don’t damage wood blinds equally. Moisture is the one that can ruin them fastest.
People often think the “safer” route is using more cleaner because it feels gentler than scrubbing. On real wood, the opposite is true. More liquid often means more risk.
A careful, slightly slower cleaning process protects the blind. A fast, wet process puts the slats, finish, and edges in danger.
That trade-off is worth respecting every time.
A blind can look manageable right up until you put a cloth on it. Then the slats start flexing, greasy residue smears instead of lifting, or you realize the window sits over a stairwell with no safe way to reach it.
That is usually the point where a professional earns the fee.
Homeowners can handle routine dust well. The trouble starts when buildup has gone past surface dust and turned into film, staining, finish wear, or access risk. In dry climates such as Phoenix, Las Vegas, and Denver, I see another problem often. Fine dust settles into every edge and cord route, while strong sun bakes the finish day after day. Blinds may look acceptable in flat light, then show heavy residue and faded patches as soon as afternoon sun hits them.
Hunter Douglas FAQ guidance supports the same basic point. Wood blinds need controlled cleaning, not wet cleaning and not aggressive scrubbing.
Some conditions raise the risk of DIY damage enough that it makes sense to stop.
Professional blind cleaning is mostly judgment. The method matters, but judgment matters more.
A technician has to decide whether the blind should stay completely dry, whether a spot can be treated safely, how much pressure the finish can take, and when the right call is to stop cleaning and recommend replacement. That comes from doing the work repeatedly, not from a general cleaning checklist.
The same discipline applies around the full window assembly. On glass, professionals typically use a squeegee or a pure-water system because those methods are proven and controlled. Blinds deserve that same standard of care. Safe process beats improvised cleaning every time.
Desert dust is finer than many homeowners expect. It settles deep into slat overlaps and hardware, especially in homes with frequent airflow, open doors, or large west-facing windows. Add intense sun and low humidity, and the finish can become dry, brittle, and less forgiving during cleaning.
Denver brings a different version of the same problem. Dry air, strong sunlight, and seasonal swings can leave wood blinds dusty, stressed, and more likely to show finish wear. In these conditions, a blind may need a lighter hand than standard online advice suggests.
Professional help makes sense when access is unsafe, residue is more than dust, or the blind already shows signs of finish stress.
For reachable blinds with light dust, regular home care is usually enough. For expensive blinds, high windows, grease film, or any sign of warping or finish damage, bringing in a professional is the safer call.
Yes, but keep it gentle. Use a dry microfiber cloth first. If the cords have visible soil, use a lightly damp cloth and blot rather than scrub. Avoid soaking cords because added moisture near wood slats and hardware can create new problems.
The approach is similar, but painted finishes can show scuffs and residue differently. Start with dry dusting and vacuuming. If you need to address a mark, use very controlled moisture and dry immediately. Don’t use abrasive pads or harsh products that can dull or lift the painted surface.
Usually, no. Cleaning them in place gives you better control and avoids accidental bending, cord tangles, and hardware issues during removal and reinstallation. For most homes, in-place maintenance is the safer choice.
If your blinds, windows, or high-access glass need a careful professional touch, Professional Window Cleaning can help. We’ve been serving homes and commercial properties since 1999, and we bring the same disciplined approach to every job: proven methods, careful handling, and results that make the whole property look sharper.
Read our blog posts regularly and keep learning.