Care and Maintenance
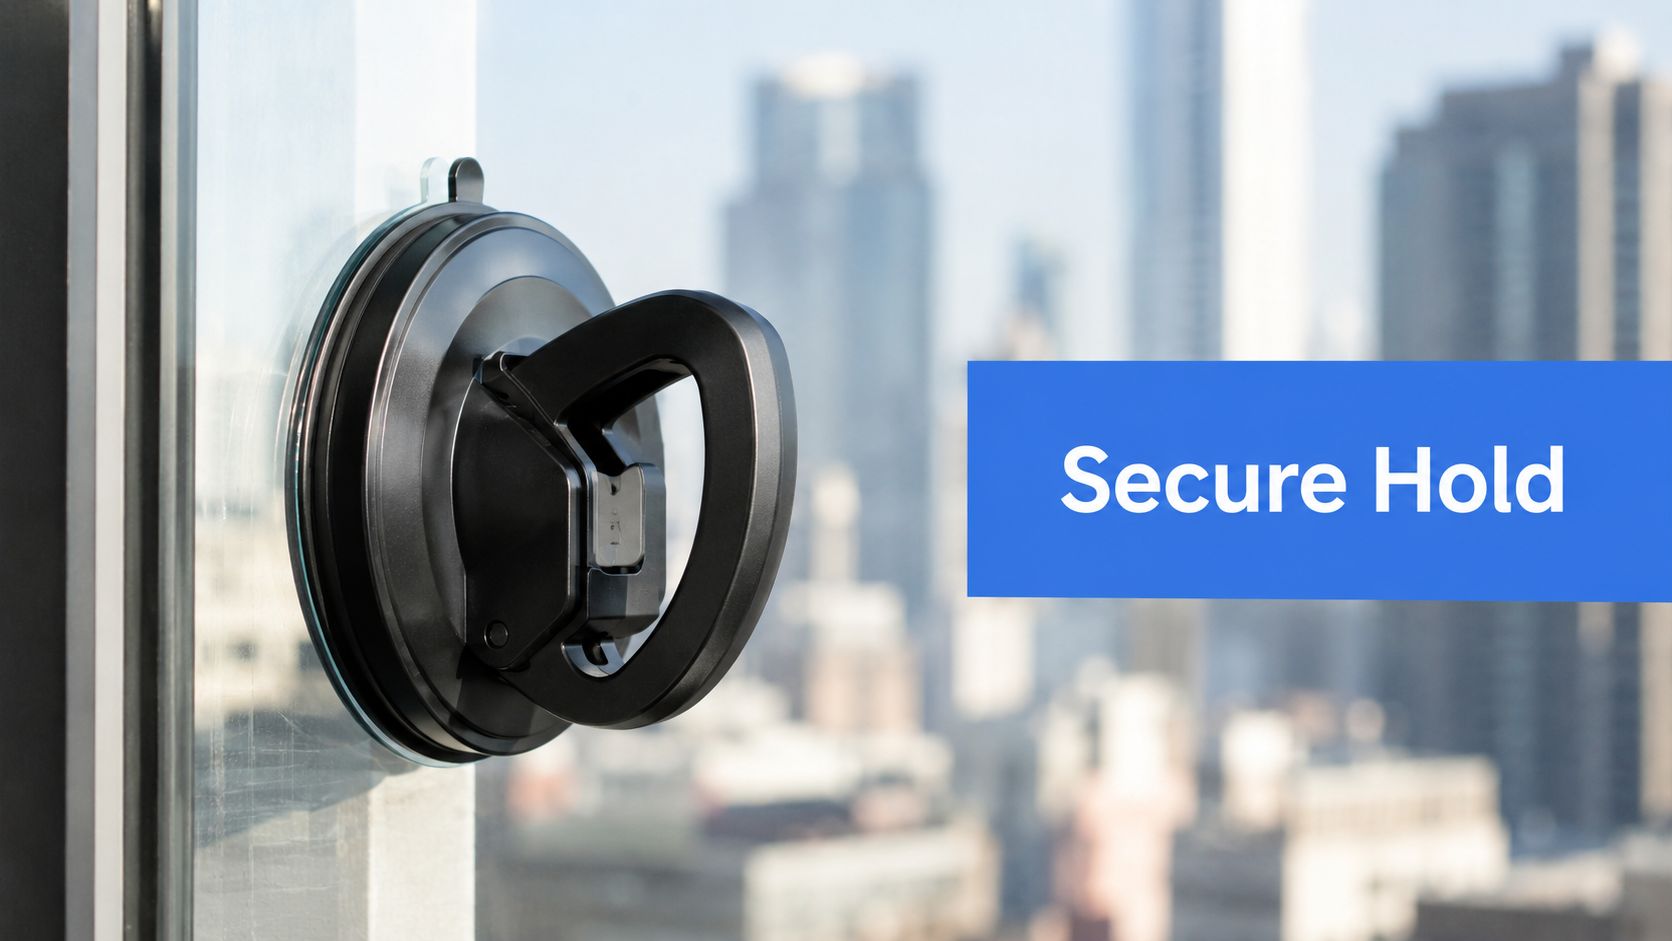
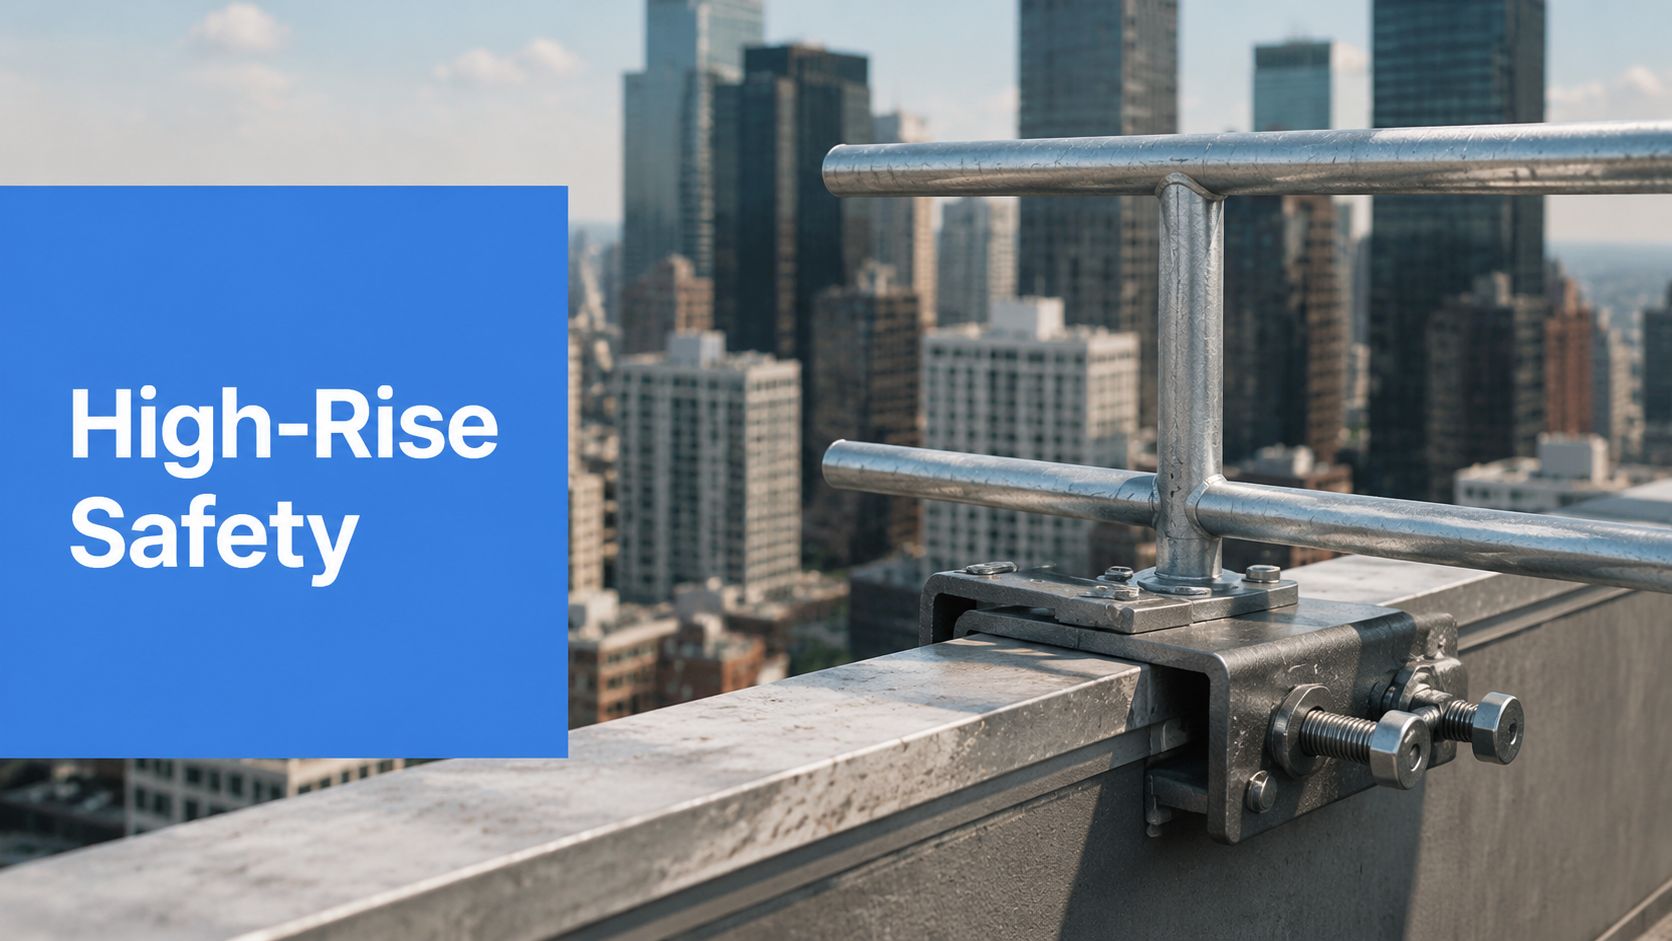
Parapet Wall Clamps a Guide to High-Rise Safety
Learn how parapet wall clamps provide essential fall protection for high-rise window cleaning. Our guide covers safety, selection, and OSHA standards.


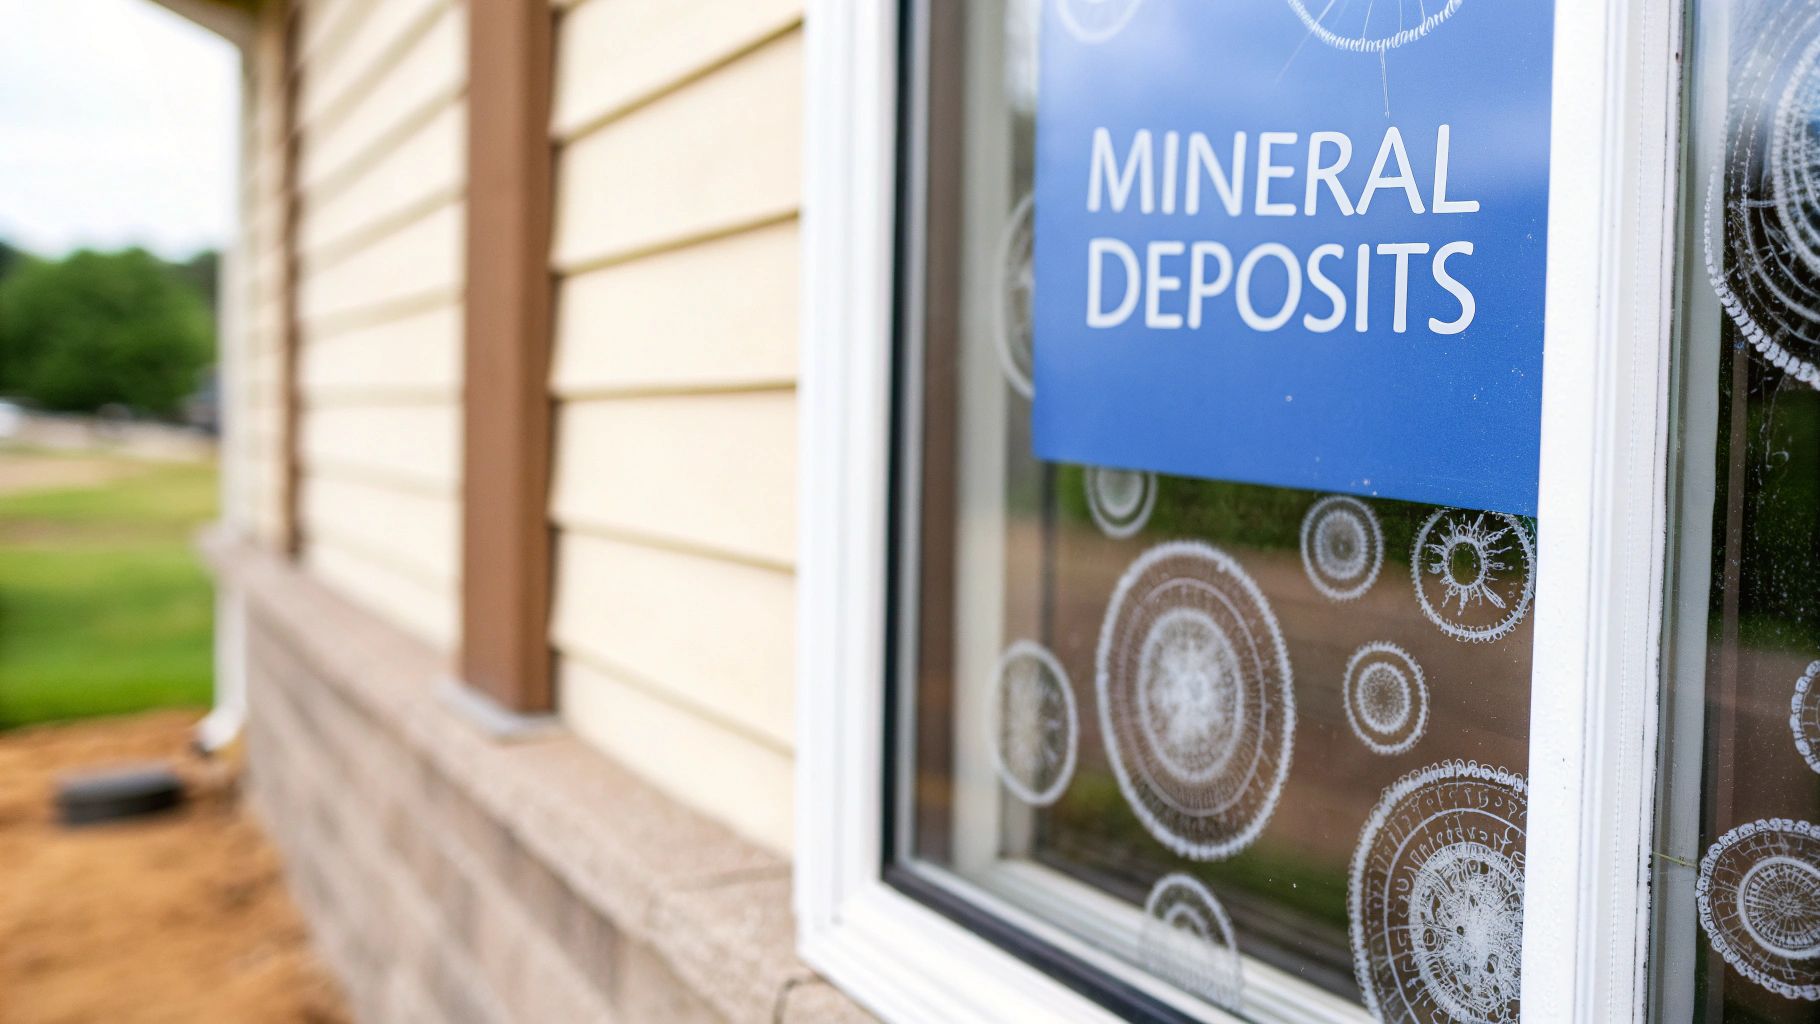
It’s a two-part battle when you’re trying to get rid of stubborn water spots. First, you have to dissolve the mineral deposits. Then, you have to clean the glass without leaving a single streak behind.
For fresh spots that haven't been sitting long, a simple mix of equal parts white vinegar and water is usually enough to break down the minerals. Just follow it up with a good wipe-down using a microfiber cloth.
Staring at stubborn water spots on your windows can be maddening. They’re much more than just dried water—they’re mineral deposits, mostly calcium and magnesium, left behind like tiny ghosts after the water evaporates. How tough they are to remove depends on how long they've been there and the mineral content of the water.
This is a familiar struggle in arid regions. Homeowners and businesses in places like Phoenix and Las Vegas are in a constant battle with hard water from sprinklers and hoses. When that water evaporates under the intense sun, it leaves a concentrated film of minerals that bonds tightly to the glass.
Not all water spots are created equal. Knowing the difference is the key to picking the right removal method and not wasting your time.
The key takeaway is this: you clean Stage 1 deposits, but you must restore Stage 2 corrosion. Trying to scrub away etched glass with a simple cleaner is like trying to wipe a scratch off a car—the damage is already done.
To make things easier, here's a quick reference table to help you figure out what you're up against.
Once you know the type of spot you're dealing with, you can choose the right tools for the job. This decision tree can also help visualize the process.
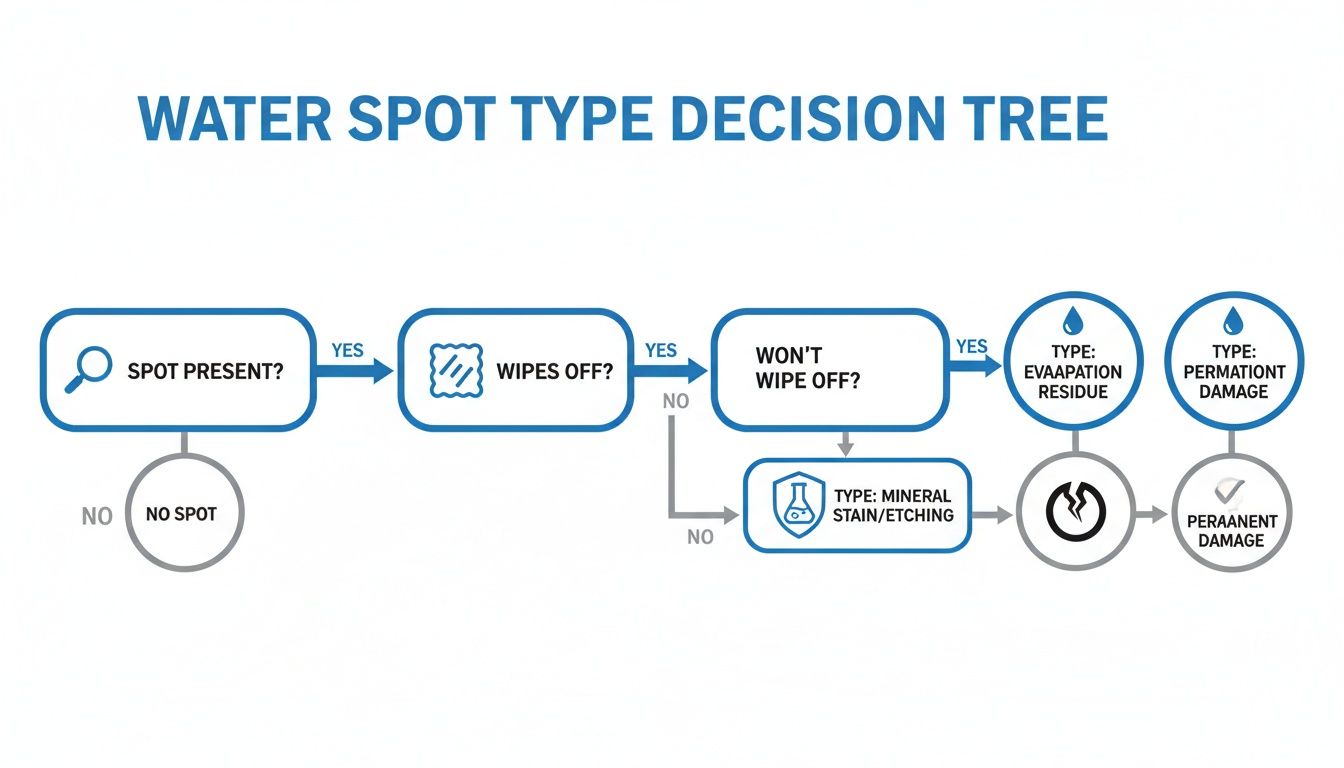
As the flowchart shows, if a spot won't simply wipe off, you're dealing with either a stubborn mineral stain or permanent damage. This points you toward the next steps. For a deeper dive, check out our detailed guide on how to handle hard water marks on windows.
Sometimes, persistent water spots can signal wider issues, like general plumbing problems affecting your home's water quality. For most people, though, the fight is right there on the glass.
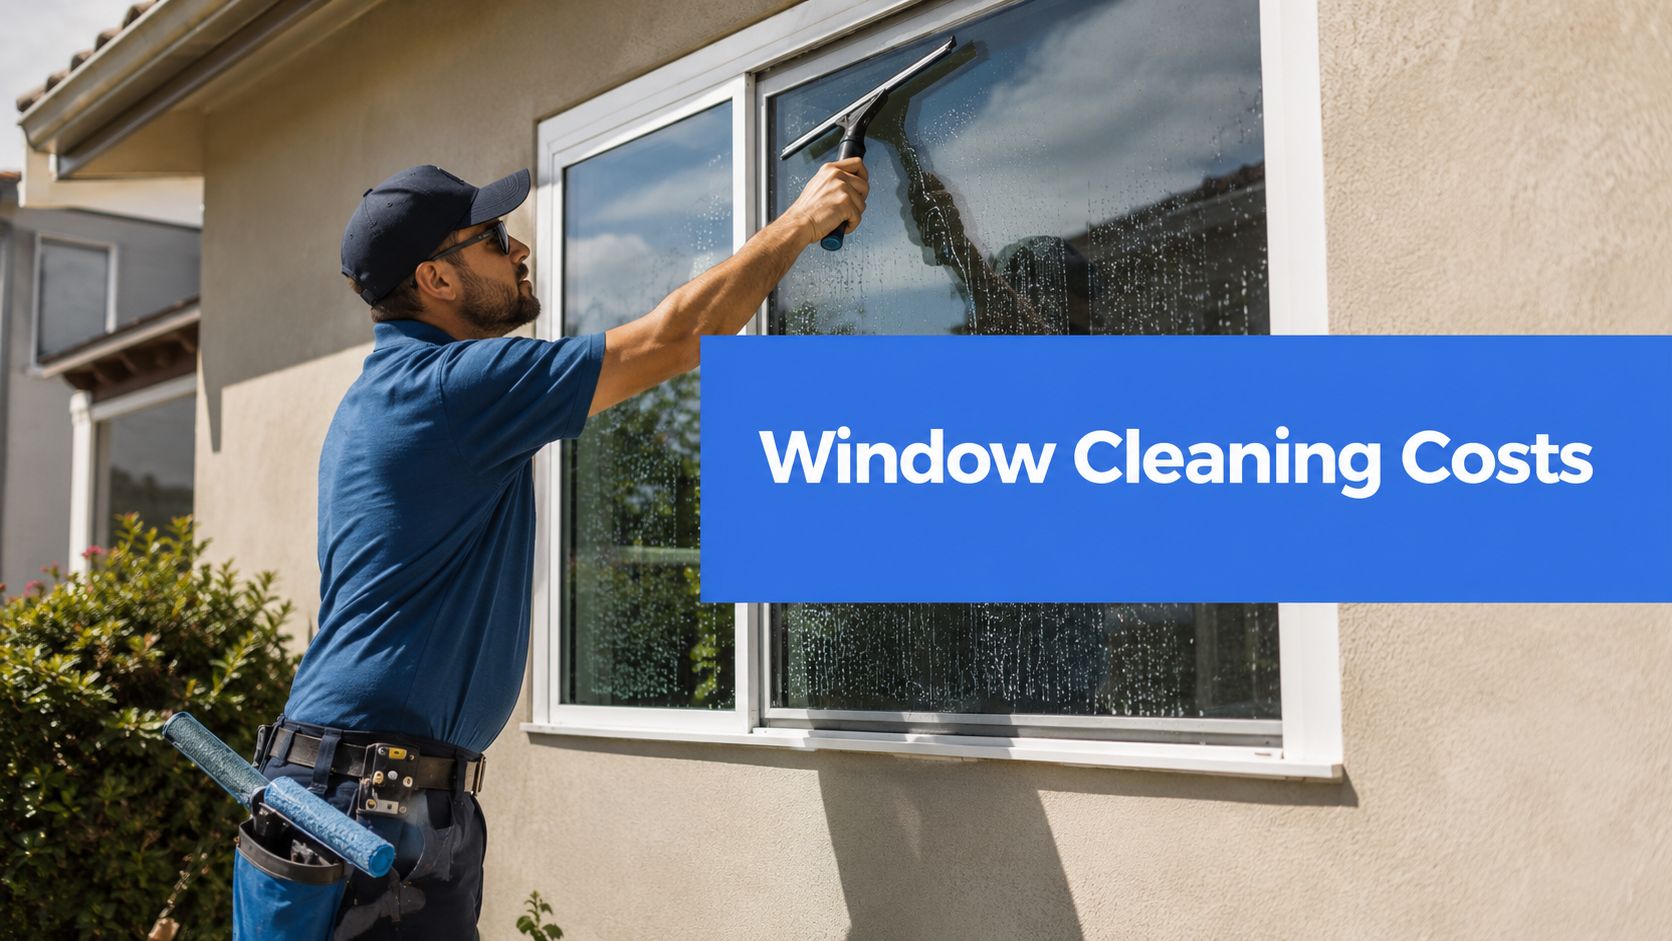
And it's a big fight. Statistics show that around 60% of homeowners hire professional window cleaners annually just to deal with these spots. While DIY methods work about half the time, professional services remove nearly 100% of spots in a single visit.
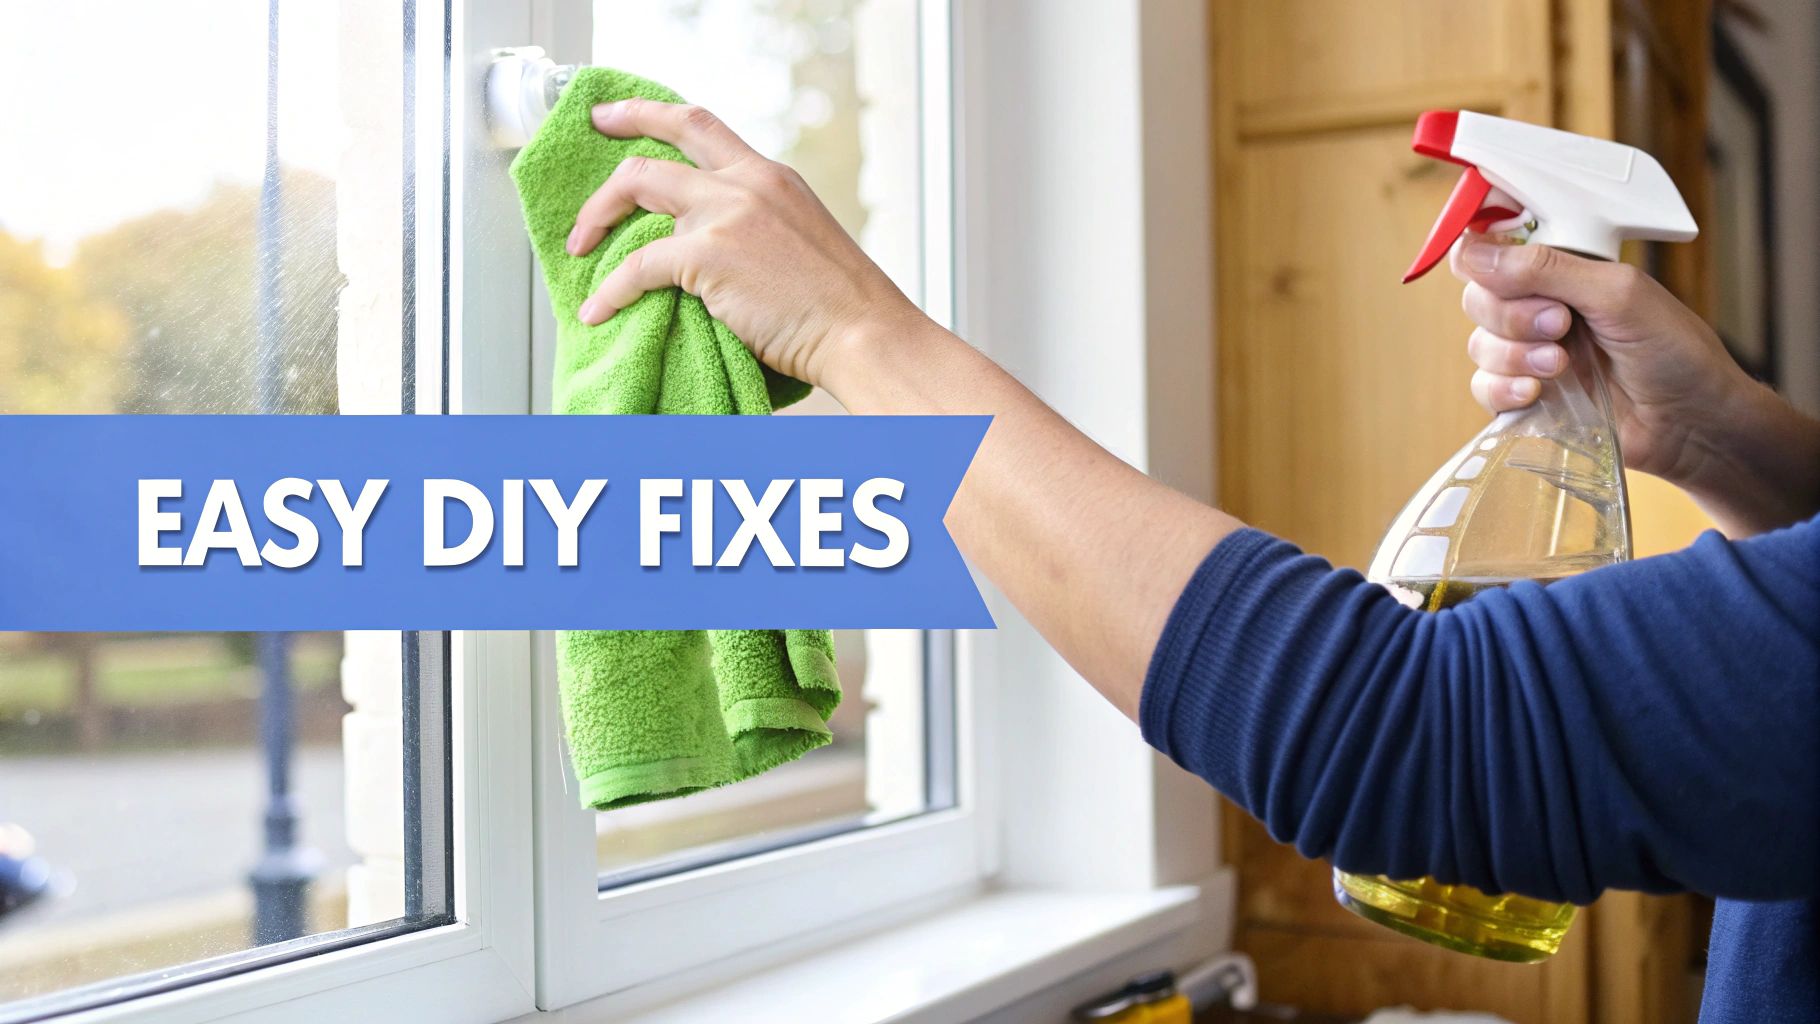
If you've caught your water spots early—while they're still just fresh, chalky marks that haven't had years to bake into the glass—you're in luck. For these Stage 1 deposits, the most effective solutions are often already sitting in your kitchen pantry. These simple, accessible methods are perfect for tackling light mineral buildup before it escalates into a serious headache.
Before you jump in, remember that your technique matters just as much as your cleaning solution. Always try to work on a cool, overcast day. Direct sunlight is your enemy here; it causes cleaning solutions to evaporate way too quickly, leaving behind streaks and concentrating the very minerals you're trying to get rid of.
There’s a reason white distilled vinegar is the undisputed champion of DIY window cleaning. Its mild acidity is fantastic at dissolving the alkaline mineral deposits—like calcium and magnesium—that form those stubborn water spots. For light stains, this should always be your first line of defense.
To mix up the perfect cleaning solution, just combine equal parts white vinegar and distilled water in a spray bottle. Here's a pro tip: always use distilled water. Since it has zero mineral content, it won't add to the problem or leave behind its own residue. For more tips, you can check out our simple, professional-grade window cleaning solution recipe here.
Spray the solution generously onto the affected spots and let it sit for a minute or two. This dwell time is critical—it gives the acid time to work its magic and break down the mineral bonds. Just don't let it dry on the glass. Then, grab a clean microfiber cloth and wipe the window in a firm, circular motion to lift away the dissolved minerals.
Sometimes, vinegar alone isn't quite enough to convince a stubborn spot to budge. If you've tried the spray and can still see a faint outline, it's time to bring in a mild abrasive. That's where baking soda comes in. It offers just enough gentle scrubbing power to lift mineral residue without scratching the glass.
Making the paste is easy:
Gently rub the paste over the stains in a circular motion. You don't need to apply a ton of pressure; let the fine particles in the baking soda do the work. The goal is to gently polish away the buildup from the surface.
After applying the paste, you can even spray your vinegar solution right over it. That fizzing reaction you'll see is a good thing! It's the acid and base working together to break down the minerals even more effectively.
Once you’re done scrubbing, rinse the window thoroughly with clean, distilled water to get every last trace of the paste off. Any residue left behind will look just as bad as the original water spots, so this step is non-negotiable for a crystal-clear finish.
Having the right solution is only half the battle. The tools you use to apply it and dry the glass will make the difference between a crystal-clear view and a streaky mess.
Here’s a quick checklist of what you'll need:
After rinsing away your cleaner, use the squeegee to pull all the water off the glass in one smooth, continuous motion. Make sure to overlap your strokes slightly and wipe the squeegee blade with a clean cloth after each pass. This is the exact technique our teams use in cities like Las Vegas, NV, and it's what prevents new spots from forming as the window dries.
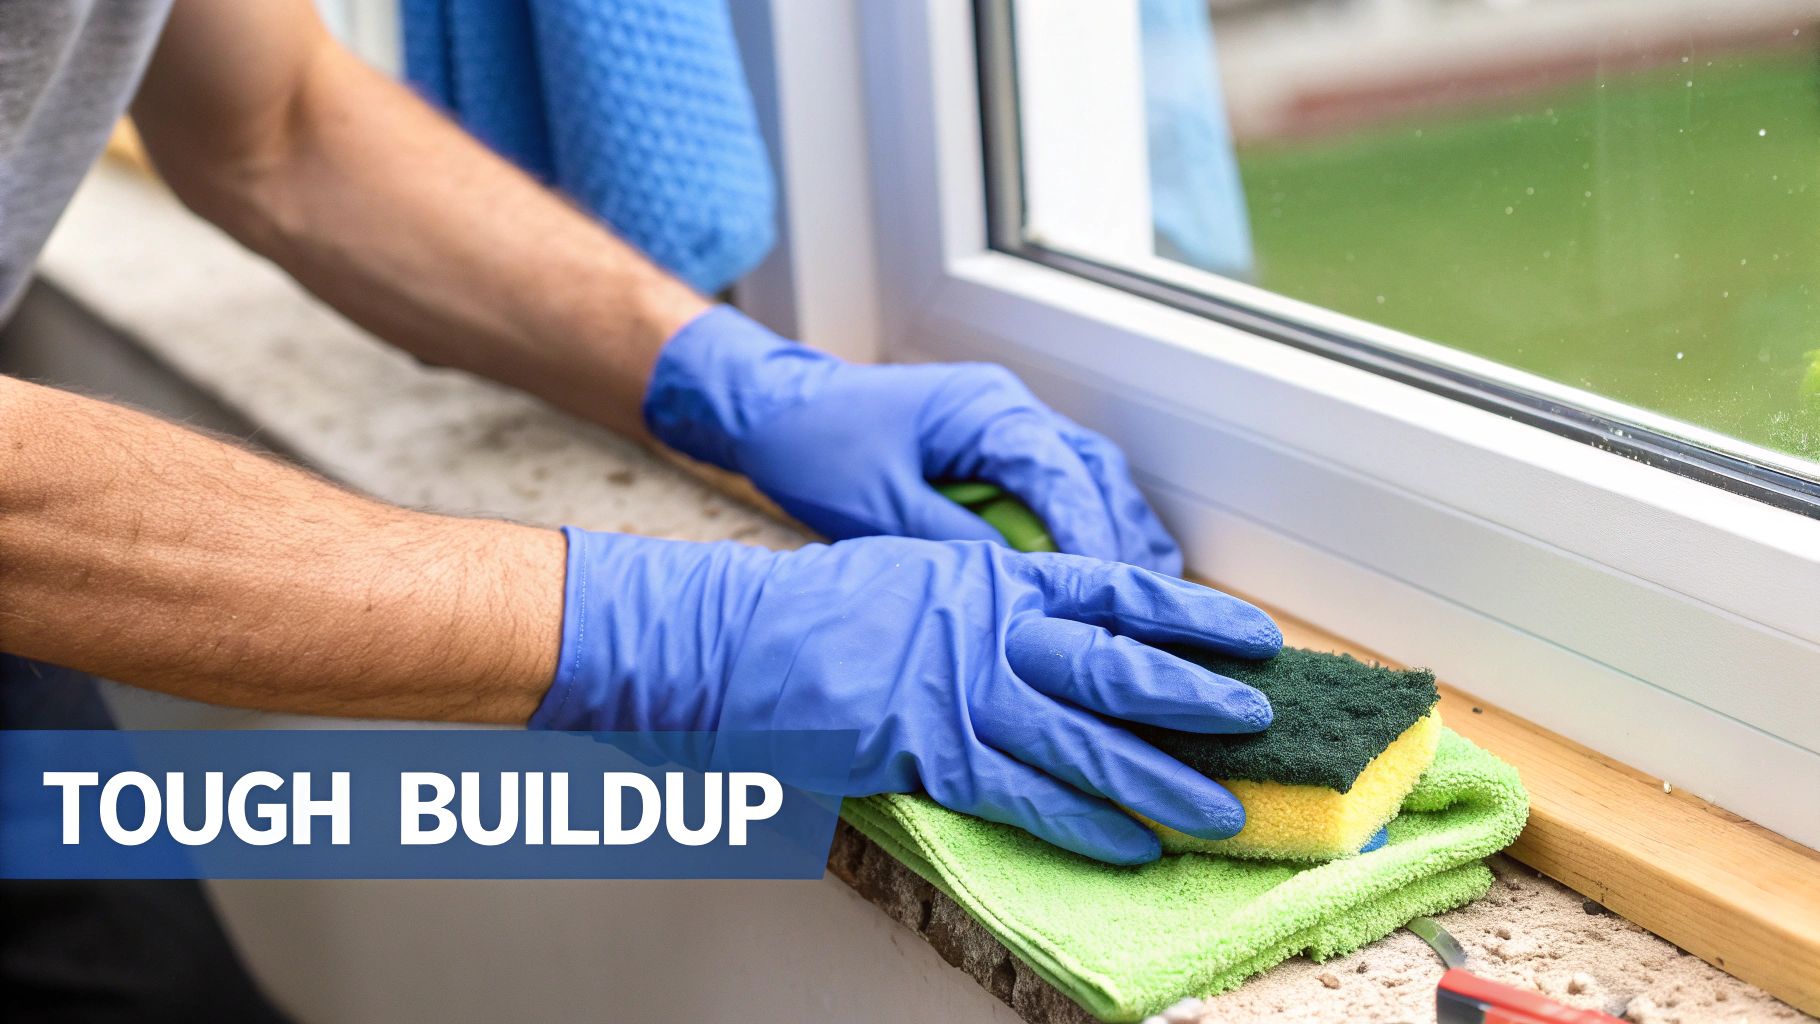
So, you’ve tried the gentle DIY fixes, and those stubborn, chalky spots are still clinging to your glass. That’s a sure sign you’re up against more than just surface grime—you're dealing with advanced mineral deposits.
These aren't just stains; they're tenacious layers of calcium and magnesium that have chemically bonded with your glass over time. Welcome to the final frontier of DIY window cleaning, where more potent solutions and careful techniques are the only way forward.
At this stage, it's time to graduate from household vinegar to products specifically formulated to dissolve heavy mineral buildup. Commercial hard water spot removers are your next logical step. These cleaners contain stronger (but still glass-safe) acids and sometimes mild abrasives designed to break down the most stubborn deposits without harming the window itself.
You can find commercial hard water removers at most hardware or auto supply stores, usually in the form of a cream, paste, or gel. The key to getting this right is following the manufacturer's instructions to the letter, because the formulas can vary quite a bit.
Before you go all-in, always test the product on a small, inconspicuous corner of the window. This simple step ensures the cleaner won't cause any unexpected haze or damage, especially if you're working with older or specially coated glass.
Apply a small amount to a microfiber applicator pad and work it into the glass using firm, circular motions. Let the product sit for the recommended time—but never let it dry on the surface—then rinse it completely with clean water.
This is a massive issue for homeowners, especially out West. It’s also a major reason the window cleaning industry keeps growing. The sector is projected to expand from $141 billion in 2024 to $257.27 billion by 2032, and North America holds a huge 37.75% market share. In states like Arizona, Colorado, and Nevada, demand for professional help jumps by 40% in spring and summer, thanks to spots from sprinklers and monsoon rains. While DIY methods work on about half of mild cases, they often fail on tough hard water marks, which keeps fueling the growth in residential services.
Sometimes, even the best chemical removers can’t fully break down years of baked-on mineral buildup. In these extreme cases, you might need a mechanical approach. This means physically abrading the deposits from the glass surface, but you have to do it with extreme care to avoid permanent scratches.
The only tool a homeowner should even consider for this is #0000 grade steel wool. This is the finest grade you can buy, and when used correctly, it can shear off mineral deposits without scratching the glass. Anything coarser will absolutely ruin your window.
Critical Safety Note: Never use steel wool on dry glass. You must lubricate the surface generously with your cleaning solution or plain soapy water. The liquid acts as a buffer, letting the steel wool glide over the glass while gently lifting the deposits.
Work in small, manageable sections, applying light and consistent pressure. You should feel the surface become smoother as the minerals come off. Immediately after, rinse the window thoroughly to remove any residue and tiny steel wool fragments, then finish with a high-quality squeegee for a streak-free shine.
These advanced methods are pretty much the upper limit of what you can safely attempt without professional tools and experience. If commercial cleaners and #0000 steel wool don't solve the problem, the spots have likely moved past Stage 1 deposits and into Stage 2 corrosion, also known as etching.
At this point, the minerals have permanently damaged the glass surface. Trying any more abrasive cleaning will only make it worse.
The only remaining solution is professional restoration, a process that requires specialized equipment. You can learn more about what that involves by checking out our professional glass polishing services, which can restore even severely damaged windows.
For more general water stain removal tips that apply to different surfaces, there are some great resources out there. But the most important skill in any challenging DIY project is knowing when to stop and call for help.
There comes a point where even the most aggressive scrubbing and strongest cleaners just won't cut it. You've tried everything—vinegar, specialty removers, elbow grease—but the ghostly outline of a water spot remains. When that happens, you've likely crossed a critical threshold. The stain is no longer just on the glass; it has become part of it.
This is what we in the window cleaning business call Stage 2 corrosion, or etching. It’s the result of alkaline minerals from hard water sitting on the glass for way too long. A chemical reaction occurs that physically alters the surface, with the minerals literally eating into the glass and creating microscopic pits.
So, how can you tell if you're dealing with a stubborn stain versus permanent etching? It really comes down to touch and a close-up inspection.
Run your fingernail over the spot. An etched area will usually feel rough or even a little gritty. Visually, it might look cloudy or opaque, and no amount of cleaner will change its appearance. This is no longer a simple mineral deposit; it’s a permanent scar on your window.
The second you realize it's etching, you have to shift your mindset from cleaning to restoration. More scrubbing with abrasive pads will only make things worse by deepening the damage and creating widespread scratches.
At this point, you've exhausted all the standard DIY methods. The only path forward involves physically polishing the damage out of the glass itself.
The only way to remove etching is through mechanical abrasion. It’s a delicate process that involves carefully grinding down the glass surface until it's level with the bottom of the etch marks. The main tool for the job is a fine powder called cerium oxide, often known as "jeweler's rouge."
This is definitely not a simple weekend project. The process involves:
While it might sound straightforward, the risks are huge. The friction generates a surprising amount of heat. Too much pressure or lingering in one spot for too long can create a "hot spot," causing the glass to crack or even shatter completely.
Even if the glass doesn't break, improper polishing can create a "funhouse mirror" effect. This visual distortion is often just as bad—if not worse—than the original water spot, and it's irreversible.
Given these high stakes, we strongly advise against attempting glass polishing on your own. For homeowners dealing with this level of damage, especially in areas we service like Denver, CO, the smartest and most cost-effective next step is to call a professional for an assessment. A botched polishing job almost always ends in a full window replacement, turning a minor annoyance into a major expense.
Sometimes, the best way to deal with stubborn water spots is to admit the fight just isn’t worth your time and energy anymore. After you’ve tried every home remedy and the spots are still staring back at you, calling a professional isn’t giving up—it’s making a smart call to protect your investment and get a flawless result, guaranteed. Professional Window Cleaning has been cleaning windows for over 26 years, and we've seen every kind of water damage imaginable, from a light mineral film to severe, etched-in corrosion that won't budge.
Hiring a seasoned expert is about more than convenience. It's about tapping into specialized tools, proven techniques, and a depth of knowledge the average homeowner simply doesn't have. When our crews show up at a home in a place like Scottsdale, AZ, they aren’t just bringing a generic spray bottle—they're bringing a complete system designed for perfection.
In the world of professional window cleaning, there are ONLY 2 methods of window cleaning professionals use. The use of a squeegee, or the use of a pure-water system. These two approaches are the gold standard for a reason.
The demand for effective window cleaning has grown tremendously over the years. Since the 1990s, the need for serious water spot removal has shot up, especially in areas with hard water like Arizona, Colorado, and Nevada. By 2020, the industry employed over 100,000 people in the U.S. alone. Today, professionals are laser-focused on delivering spot-free results, often using sophisticated systems like ion-exchange water purification to prevent those frustrating mineral deposits from coming back. You can find more stats on the growth of the window cleaning industry and see how much it's evolved.
The squeegee might be the most recognizable tool in a window cleaner’s arsenal, but in the hands of a pro, it’s an instrument of pure precision. Mastering the squeegee is a genuine art form. It requires the perfect angle, the right amount of pressure, and a fluid technique to pull every single drop of water and dirt off the glass, leaving nothing behind but a perfect shine.
This hands-on method involves:
It’s this meticulous, hands-on approach that delivers an unmatched, hand-finished quality you can see and feel immediately.
For taller buildings, homes with lots of windows, or just for a higher level of clean, modern technology offers an incredible solution: the pure-water system. This method uses water that has been aggressively filtered through a deionization or reverse osmosis process, stripping it of 100% of its minerals and impurities.
This ultra-pure water is so unstable it acts like a magnet when it hits your windows, actively pulling dirt and mineral deposits off the glass surface. It’s so effective that the windows are left to air-dry on their own, leaving a completely spotless, streak-free finish. No squeegee needed.
This system is not only incredibly efficient but also great for the environment, as it often eliminates the need for any chemical cleaners at all. It’s the ultimate weapon against the stubborn hard water spots that plague so many homes.
If you want to dive deeper into the differences and see why these techniques are so superior, you can explore our detailed guide to professional window cleaning methods.
Choosing between DIY and professional services can be tough, but when it comes to severe water spots, the difference is clear. Here’s a quick breakdown to help you decide.
Ultimately, both professional methods deliver a level of clean that DIY efforts just can’t replicate, especially when you're up against years of mineral buildup.
Even with a solid plan, you’re bound to have questions when you’re face-to-face with stubborn water spots. We get it. Here are some of the most common questions we hear from homeowners, with straightforward answers to help you get the job done right.
While it's tempting to grab a bottle of Windex, standard glass cleaners are designed for everyday grime like fingerprints and dust—not hard water spots. They almost always fail to make a dent.
The reason comes down to basic chemistry. Hard water spots are mineral deposits, mostly calcium and magnesium, that have bonded to your glass. To break that bond, you need a mild acid (like the acetic acid in vinegar) or a cleaner specifically formulated to dissolve alkaline minerals.
Ammonia-based cleaners like Windex just don't have the right stuff to tackle these deposits. You can spray and wipe all you want, but those stubborn spots will likely still be staring back at you.
The best defense is a good offense. Preventing water spots is all about stopping water from sitting and evaporating on the glass in the first place. It sounds simple, but it makes all the difference.
Here are a few pro-level strategies:
For homeowners in areas with notoriously hard water, like Phoenix, AZ, the most reliable long-term fix is often professional cleaning with pure-water systems. These advanced filters remove all minerals, leaving nothing behind to cause spots.
This is a technique some pros use, but it’s incredibly risky for a DIY project. The idea is to use a brand-new, single-edge industrial razor blade held at a very shallow angle to carefully scrape off heavy mineral buildup without touching the glass.
But the margin for error is razor-thin. A dull blade, the wrong angle, or a dry surface can easily lead to deep, permanent scratches that look far worse than the original spots. Plus, this method is a definite no-go for tempered glass, which can have tiny surface imperfections that will catch the blade and cause damage.
Given the high risk of turning a small problem into an expensive one, we strongly advise against trying this yourself. Stick with chemical removers or call in a professional who has the right tools and years of experience.
Knowing when to call it quits on a DIY project is just as important as knowing how to start. If you’ve put in the effort and the spots aren't budging, it’s probably time to call in the experts.
Consider getting professional help if:
If you're short on time, don't have the specialized equipment, or just want a guaranteed perfect finish, calling a pro is always the most efficient choice. For homes and businesses in cities like Las Vegas, NV, our teams at Professional Window Cleaning can resolve severe water staining quickly and safely, bringing your view back to life.
With over 26 years of experience, our company trusts two proven methods: the classic squeegee for a hand-finished shine and modern pure-water systems that leave glass completely spotless. This focus allows us to handle any level of water damage with confidence.
For a guaranteed solution to your water spot problems, trust the experts at Professional Window Cleaning. With decades of experience serving communities across Phoenix, Denver, Scottsdale, and Las Vegas, we have the tools and expertise to make your windows look brand new. Get your free estimate today at https://www.professionalwindowcleaning.com.
Read our blog posts regularly and keep learning.