Care and Maintenance
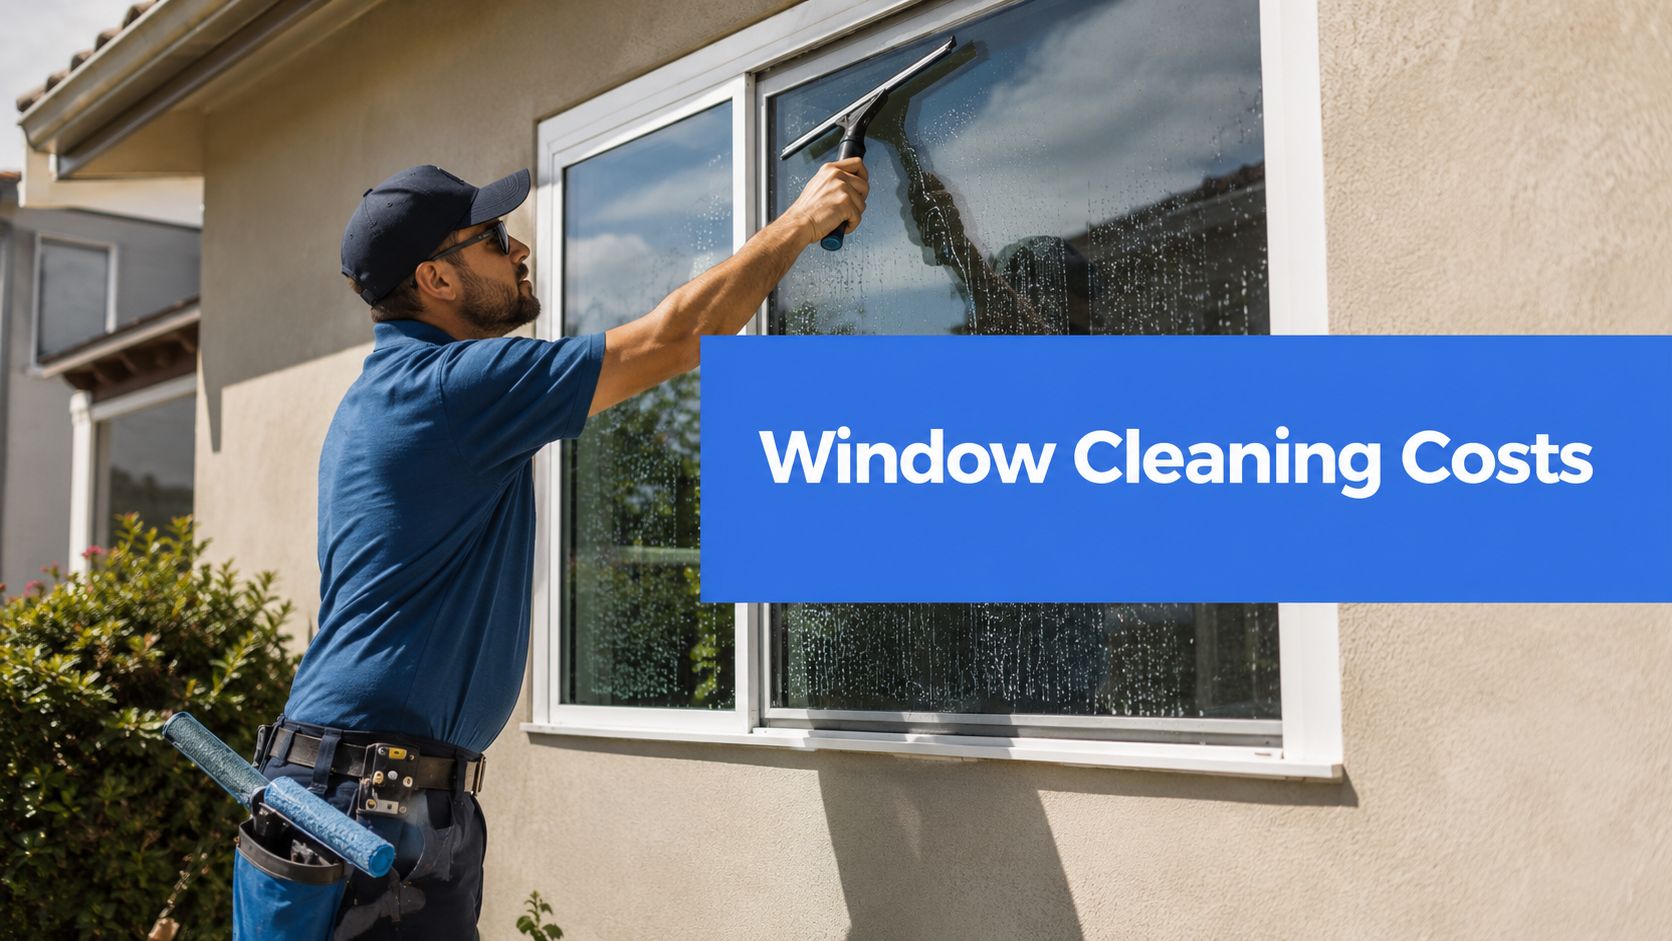
Suction Cup Window Guide: Pro Tips for a Secure Hold
Learn how to choose, install, and troubleshoot any suction cup window mount. Our expert guide ensures a secure hold on residential or commercial windows.


To get rid of water spots, you need a solution that can dissolve the mineral deposits left behind after water evaporates. A simple mix of white vinegar and water often does the trick. The mild acid in the vinegar is usually enough to break down the calcium and magnesium, letting you wipe the residue away for a perfectly clear view.
Those frustrating white, chalky spots you see on your windows aren't just dried water—they're tiny mineral graveyards. When a single drop of water evaporates, it leaves behind everything it was carrying, which is mostly minerals like calcium and magnesium. This is what's known as hard water, and it's the real culprit behind those stubborn blemishes that regular Windex just can’t seem to touch.

This problem is a constant battle in arid regions, especially in the areas we service. The intense sun in cities like Las Vegas, NV and Phoenix, AZ basically acts like an oven, baking those mineral deposits right onto the glass. This process turns a simple water spot into a durable, bonded stain that gets tougher and tougher to remove over time.
Not all water spots are created equal. Knowing what you’re up against is the first step in learning how to take water spots off windows without accidentally damaging the glass. Professional Window Cleaning has been cleaning windows for over 26 years, and we've learned to categorize them into two main types.
Before you grab any cleaning supplies, you need to figure out what kind of stain you're dealing with. A quick inspection can tell you whether you have a simple surface-level problem or something more serious.
This distinction is critical. A simple DIY solution can often handle Type 1 spots, but trying to scrub away a Type 2 stain with abrasive pads or harsh chemicals can lead to deep scratches and permanent damage. We see this often in Denver, CO, and Scottsdale, AZ.
Here's a closer look at the two types:
Type 1 Surface Deposits: These are the fresh spots. They're sitting right on the surface of the glass and haven't had time to chemically bond with it yet. These are the ones you can usually handle yourself with the right acidic solution.
Type 2 Etched Stains: This is what happens when those Type 1 spots are left to bake in the sun. The minerals start a chemical reaction with the silica in the glass, essentially carving microscopic pits into the surface. At this point, the damage is part of the glass itself.
The longer a water spot sits, the greater the chance it will transition from a simple surface deposit to a permanent etch. This is why regular cleaning is not just about appearance—it's about preserving the integrity of your glass.
We dive deeper into this in our guide on identifying and removing hard water marks on windows.
So, where do these spots even come from? In our experience cleaning windows in communities across Denver, CO, Scottsdale, AZ, Las Vegas, NV, and Phoenix, AZ, the sources are surprisingly consistent.
One of the biggest offenders is sprinkler overspray. A misaligned sprinkler head that constantly soaks a home's windows is a recipe for disaster, leading to severe mineral buildup. That repeated cycle of wetting and rapid sun-drying dramatically speeds up the etching process.
This issue is so widespread it’s a major topic in our industry. Data from recent window cleaning industry statistics shows that around 60% of homeowners get their windows cleaned at least once a year, often specifically to deal with these spots. In areas with high-mineral water, these stains can account for up to 40% of customer complaints—a number that definitely reflects what we see in our own work.
Knowing the source is the first step. Once you figure out what’s causing the spots, you can prevent them from coming right back after you’ve worked hard to clean them.
Before you can even think about tackling those stubborn water spots, you need to gear up. But don't head for the store's chemical aisle just yet. Believe it or not, some of the most powerful solutions are probably already in your kitchen pantry.
Putting together the right kit is the first real step toward getting back those crystal-clear views. The goal here is simple: dissolve the mineral gunk without scratching or damaging your glass. This is a common challenge for homeowners in Scottsdale, AZ, and Phoenix, AZ.
You don’t need a lab coat for this one. The science is straightforward. Those chalky deposits left behind by hard water are mostly calcium and magnesium, which are alkaline. The secret weapon to break them down? A mild acid.
This is where plain old white vinegar earns its stripes. Its acetic acid is just potent enough to dissolve the chemical bonds holding those mineral stains together, but it’s gentle enough that it won't harm the glass itself. It's the perfect, budget-friendly starting point for most basic Type 1 surface spots.
If you're dealing with some serious outdoor grime, you might want to check out our complete guide on mixing the perfect cleaning solution for outside windows.
Whipping up your primary cleaning agent couldn't be easier. A simple mix of white vinegar and water—about 1 cup of vinegar to 1 gallon of water—is incredibly effective at dissolving those calcium and magnesium deposits without any harsh chemicals.
Just spray it on, let it sit for 5-10 minutes to work its magic, and then scrub with a microfiber cloth before squeegeeing it off. For tougher spots, a teaspoon of dish soap can give it an extra cleaning boost. This is a tried-and-true trick of the trade, a fact backed by many in the business, as you can see in various window cleaning industry statistics.
When vinegar alone doesn’t cut it, a baking soda paste gives you a bit of gentle scrubbing power.
Pro Tip: Whatever you do, don't mix vinegar and baking soda in a sealed container—you’ll create a mini volcano. Apply them one at a time. Use the paste first to scrub, then spray and wipe with your vinegar solution to rinse and neutralize any residue.
Your solutions are only half the battle. Using the right tools is what really separates a DIY job from a professional-looking, streak-free finish.
Here’s what every good toolkit should have:
Knowing what not to use is just as critical as knowing what to use. The wrong tool or chemical can quickly turn a simple cleaning job into a permanent headache.
Make sure you steer clear of these:
Okay, you've got your toolkit ready, so let's get those windows sparkling. Getting water spots off for good isn't about scrubbing harder—it’s about using the right method to break down those stubborn minerals and leave a perfect, clear finish. Professional Window Cleaning has been cleaning windows for over 26 years, and we've honed this process down to a science.
This is the exact sequence we use to get flawless results for our clients in places like Las Vegas, NV and Denver, CO. It's not just theory; it's practical, hands-on advice that works every single time.
Before you even think about spraying your cleaning solution, there's a quick prep step that makes a world of difference. You need to start with a clean slate.
Give the window a quick wipe-down with a dry microfiber cloth or a soft-bristled brush. The idea is to get rid of any loose debris like dust, pollen, or cobwebs. If you skip this, you'll just be making a muddy mess that causes more streaks later on.
This is especially true for second-story windows that get hit with everything the elements throw at them. No need to scrub here, just a gentle wipe is all it takes to let your cleaning solution attack the mineral deposits directly.
With the surface prepped, it's time to apply your chosen cleaner, like the vinegar and water mix we talked about. Spray the entire glass surface generously, making sure it's completely coated. Don't be shy with it; you need enough liquid on there to start dissolving the minerals.
Now for the most important part: patience. Let that solution sit on the glass for at least 5-10 minutes. This isn't just wasted time—it’s when the acetic acid in the vinegar is actively breaking down the calcium and magnesium bonds. Wipe it off too early, and you're just relying on elbow grease, which almost always leaves streaks and missed spots.
If you're working on a window that's getting blasted by direct sun, you might need to re-mist it a bit to keep the solution from drying up before it can do its job.
Once the solution has had time to work its magic, you’ll need to gently agitate the surface to lift the now-loosened minerals. A clean microfiber cloth is perfect for this. Use gentle, circular motions across the entire window.
For spots that just don't want to budge, a non-scratch scrub pad can give you a little extra oomph without damaging the glass. Remember, the solution is doing the heavy lifting here, not brute force.
Dealing with really severe, built-up deposits? A simple baking soda paste works wonders. Industry pros often recommend mixing a couple of tablespoons of baking soda with water to form a paste. You can learn more about tried-and-true techniques from resources like this one on window washing. Just apply the paste to the tough areas, rub in circles for a few minutes, and rinse it off before your final squeegee pass.
This infographic shows you the simple but powerful DIY kit you've just put together.

It really highlights how an acidic solution (vinegar), a mild abrasive (baking soda), and the right tools create a complete system for beating water spots.
This is where you get that professional, satisfying result. The squeegee is one of only two tools the pros rely on, and mastering it is the secret to a streak-free shine. After agitating the spots, give the window one last mist with your solution or plain water to make sure it's wet.
Pro Tip: Always start with a "wet edge." Before making your first full pull, use a microfiber cloth to wipe a one-inch dry strip down the side or across the top of the glass. This gives your squeegee a dry place to start and stops streaks from forming at the edges.
Here’s the technique:
For bigger windows, you might see pros using the "S-Method," a fanning motion that’s super efficient. If you want to learn it like a pro, check out our in-depth guide on how to squeegee a window.
Once you're finished, just use a clean, dry cloth to wipe up any drips on the sill and edges. Step back and enjoy your perfectly clear view.
You’ve tried the vinegar, scrubbed with the baking soda paste, and even perfected your squeegee technique, but some spots just refuse to budge. It’s a common frustration, and honestly, it’s a clear sign you’ve hit the limits of what DIY can do.
When water spots sit on glass for too long, they can transform from simple surface deposits into Type 2 etched stains. These aren't on the glass anymore—they're physically carved into it.
Trying to remove these with brute force is a huge gamble. Using abrasive powders, the wrong grade of steel wool, or harsh chemicals can quickly lead to permanent scratches, ugly swirls, and a hazy film that looks far worse than the original water spots. This is that critical moment when calling a professional saves you from causing costly, irreversible damage.
When you hire Professional Window Cleaning, you're not just paying for elbow grease. You’re investing in specialized knowledge and equipment designed for these exact situations. There are ONLY 2 methods of window cleaning professionals use: the use of a squeegee, or the use of a pure-water system.
The first is the classic squeegee. In the hands of a seasoned expert, it delivers a perfectly streak-free finish that’s incredibly difficult to replicate on your own.
The second, and often more powerful tool, is the pure-water system. This is where professional service really shines, especially when it comes to obliterating tough water spots.
A pure-water system is an absolute game-changer. It uses a multi-stage filtration process to strip 100% of dissolved solids and minerals from the water, turning it into a powerful, chemical-free cleaning agent.
This deionized water is so pure that it naturally attracts and lifts mineral deposits right off the glass surface. As it dries, it leaves behind nothing but a spotless, streak-free shine. You can learn more about the science behind pure water window washing in our detailed guide.
For homes and businesses in areas with notoriously hard water, like Denver, CO, and Phoenix, AZ, a pure-water system is the ultimate weapon against mineral buildup. Because the water itself is the cleaning agent, we can ditch the harsh chemicals, making it a safe, eco-friendly option for your property.
This technology is especially vital in commercial settings. For instance, professionals servicing businesses like car dealerships and medical offices use water-fed pole systems, which have seen a 50% growth in use since 2015. These systems deliver purified water directly to the window, preventing new spots from forming and ensuring a pristine appearance—a big deal, considering commercial window cleaning makes up 40% of the industry's revenue. You can explore more about these industry trends in this detailed report on window cleaning statistics.
Here’s a quick rundown of when to pick up the phone:
Ultimately, knowing when to call for backup is a key part of learning how to take water spots off windows effectively. It protects your investment, saves you a ton of time, and guarantees a level of clarity that DIY methods just can't match.
After all the effort you put into scrubbing away those stubborn water spots, the last thing you want is for them to come right back. We've learned from our 26+ years in this business that the best strategy isn't about cleaning—it's about prevention. Shifting from a reactive approach to a proactive one is far easier than battling baked-on mineral deposits down the road.

This defensive mindset is the ultimate long-term solution. By making a few simple adjustments and adopting a consistent maintenance routine, you can protect your investment and keep your windows looking pristine. It’s all about working smarter, not harder.
One of the most common culprits we see causing severe hard water stains is something homeowners often overlook: their own sprinkler systems. This is a huge issue in the beautifully landscaped communities we service across Las Vegas, NV, and Denver, CO.
A misaligned sprinkler head that repeatedly soaks your windows is a recipe for disaster. The constant cycle of wetting and drying under the intense sun dramatically speeds up mineral buildup, eventually leading to etched glass that no amount of DIY scrubbing can fix.
Take a few minutes to run your sprinklers and just watch where the water goes.
A great way to give your windows a defensive shield is to apply a hydrophobic coating. These products, often called glass sealants or rain repellents, create an invisible layer that makes the glass surface incredibly smooth.
Instead of clinging to the glass and evaporating, water droplets just bead up and roll right off, taking minerals and dirt along for the ride. This drastically cuts down the chances of spots forming. In fact, applying a rain-repellent product after cleaning can reduce new spots by as much as 60%, especially during rainy seasons.
This is a key tip from professionals, particularly as the global window cleaning market grows and maintenance becomes a bigger focus. As experts emphasize, regular upkeep—especially quarterly cleanings in desert climates like Phoenix, AZ—is essential to avoid the need for costly deep cleans. To learn more about these industry trends, you can discover more insights about window cleaning on fishwindowcleaning.com.
Consistency is everything. Even with a protective coating and well-aimed sprinklers, some dust and minerals will inevitably land on your windows. A regular cleaning schedule stops this minor buildup from turning into a major headache.
This doesn't mean you need to do an intensive deep clean every month. A quick wipe-down with a simple vinegar solution or even pure water is often enough to keep new deposits from taking hold. For homes in high-mineral areas like Las Vegas, NV, or Phoenix, AZ, this is non-negotiable.
Here’s a quick checklist to help you stay on top of things and keep hard water stains at bay.
By following these simple steps, you can create a routine that works for your home and climate, ensuring your view stays crystal clear.
Regular maintenance is your best defense against the long-term, corrosive effects of hard water. A little effort on a consistent basis saves you from hours of intensive scrubbing later.
Think of it like this: a light, quick clean every few months keeps your windows looking great and prevents the kind of mineral buildup that requires professional help. It's the simplest way to avoid wondering how to take water spots off windows because they never get a chance to form in the first place.
Even when you've got the right tools and a solid plan, questions are bound to pop up when you're trying to get water spots off windows. Professional Window Cleaning has been cleaning windows for over 26 years, and we've heard just about everything. Here are the answers to the questions we get asked the most, designed to help you get those windows crystal clear with confidence.
This is a big one we hear, and my answer is always a hard no. You might see it recommended on a DIY forum somewhere, but trust me on this: even the finest #0000 grade steel wool will cover your glass in a web of permanent micro-scratches.
You might not notice these tiny scratches right away, but they become painfully obvious the second direct sunlight hits them. In the end, you'll be left with damage that looks far worse than the original water spots.
If a vinegar solution or a gentle baking soda paste isn't lifting the stain, it's a sign the glass itself has been etched. Etching is damage to the glass, not just a stain on it, and it takes professional polishing to fix. Always stick to non-abrasive tools like a quality microfiber cloth.
Shower doors get hit with hard water every single day, which is why they get cloudy so fast. The secret to keeping them looking great isn't a massive deep-clean once a month—it's all about what you do daily.
The single best habit you can build is to squeegee the glass down after every shower. It's a simple, 30-second job that removes the water droplets before they can dry and leave mineral deposits behind. This little step is way more effective than any heavy-duty scrubbing session. For some extra protection, you can apply a hydrophobic rain-repellent product every few months to help the water sheet right off.
Whether a vinegar solution is safe for your tinted windows really comes down to what kind of tint you have.
Before you try anything, check the film manufacturer’s cleaning instructions. If you’re not sure, your safest bet is a pH-neutral solution, like a single drop of mild dish soap in water. And always test it on a small, out-of-the-way spot first.
The right professional cleaning schedule depends a lot on your local environment. For a home in an area with very hard water and intense sun, like Las Vegas, NV and Phoenix, AZ, we generally recommend a deep professional cleaning at least twice a year. This keeps mineral buildup under control before it can cause permanent etching.
High-traffic commercial properties, on the other hand, might need service every quarter or even every month to maintain that sharp, professional look for customers. A regular pro cleaning doesn't just get rid of spots; it also helps catch problems like sprinkler overspray or failing window seals before they turn into bigger, more expensive headaches. Think of it as a smart investment in your property's future.
Battling stubborn water spots is a tough job. If you're tired of the fight and just want a guaranteed, crystal-clear finish, let the experts at Professional Window Cleaning take care of it. With over 26 years of experience, we have the tools and know-how to make your windows look brand new. Get a free estimate today!
Read our blog posts regularly and keep learning.