
Care and Maintenance
How to Clean Sliding Glass Doors: Tracks, Glass and Frames
Learn how to clean sliding glass doors safely: vacuum tracks, test the cleaner, squeegee the glass and fix sticky rollers without damage.


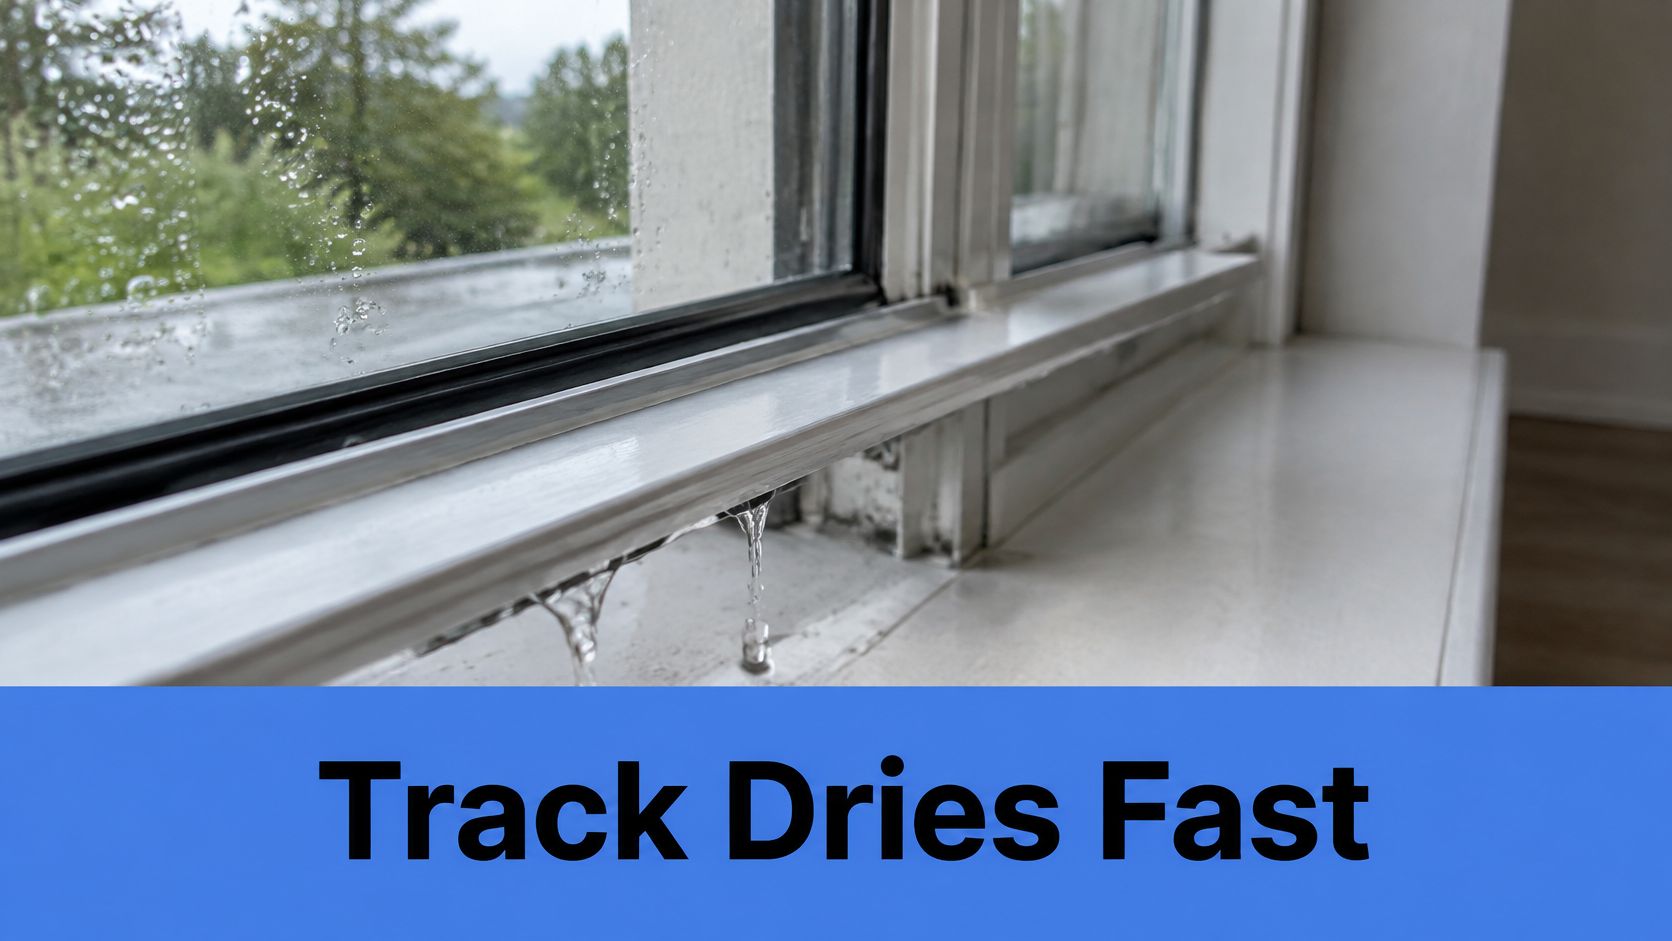
You open the window and find a green strip tucked into the bottom track. You wipe it away, but after the next rain, it's back in the same corner. Before reaching for a stronger cleaner, check where the water is supposed to go.
Moss growing in window tracks is a moisture clue, not just a housekeeping problem. Removing it takes gentle tools and careful rinsing. Keeping it away takes a clear drainage path and a check after wet weather.
Cleaners and tools for window tracks
| Tool or cleaner | Best use | Avoid |
|---|---|---|
| Nonmetallic bristle brush | Loosening moss and dried debris | Wire brushes that scratch aluminum and coatings |
| Soft toothbrush or detail brush | Reaching corners and weep slot edges | Stiff brushes that push debris into openings |
| Microfiber cloth | Wiping residue and drying the track | Paper towels that shred and leave lint |
| Shop vacuum with crevice tool | Removing loose dust before wetting | Picking up standing water without emptying the tank and configuring a wet-rated vacuum |
| Mild dish soap in warm water | Breaking down film on vinyl and aluminum | Strong degreasers on painted or coated frames |
| Diluted white vinegar, equal parts vinegar and water | Treating residual growth on compatible sealed surfaces | Stone or other porous adjacent materials |
| Low-pressure hose with outward rinse | Flushing debris toward verified exterior discharge | High-pressure washers near seals |
Mild dish soap in warm water is usually enough for vinyl and aluminum tracks. Use a small amount so you can remove the film without repeatedly flooding the recess. Check the frame manufacturer's care instructions before using vinegar, and test it on an inconspicuous spot.
Most avoidable track damage comes from an aggressive tool rather than the moss itself. Wire brushes and metal putty knives can scratch aluminum and painted coatings, leaving rough areas that catch debris. A plastic tool and patient brushing are better than scraping until the finish comes off.
Bleach isn't a good default. It can discolor painted frames, and its fumes are a problem in a closed room. Never mix bleach with vinegar or other cleaners.
Practical rule: If the cleaner needs more rinsing than the track can safely drain, choose a gentler cleaner.
A pressure washer is also the wrong tool for this recess. It can drive water past seals instead of carrying debris safely outside.
For a typical track, assemble a nonmetallic brush, a soft detail brush, microfiber cloths, a crevice-tool vacuum, and a bucket of clean water. Vacuum loose dust before adding moisture, keeping the nozzle clear of fragile weatherstripping. The cleaner must rinse out cleanly before the sash closes.
After a week of rain, a homeowner notices a green strip beneath the sash and wants it gone today. The temptation is to scrub hard and hose everything out. A safer approach starts by finding the outlet before introducing more water.
Use this sequence to remove the growth without losing track of the moisture problem.

Photograph and inspect the track. Record whether the affected channel faces indoors or outdoors, then locate the weep slots and exterior outlets. Don't assume every groove in the frame is designed to carry rinse water.
Lightly dampen the moss with clean water. Use a damp cloth or a controlled trickle to soften the growth without saturating the assembly. Soaking first can hide an existing drainage blockage beneath dirty water.
Loosen the growth with a nonmetallic brush. Work toward the drainage openings, then lift out the loosened material before it reaches them. Brushing toward an outlet doesn't mean packing moss into the slot, so collect clumps with a cloth rather than flushing them through.
Rinse outward with a low-volume stream. Watch the exterior discharge while rinsing, using another person outside if needed and safely accessible. Stop immediately if water doesn't emerge outside; more pressure can send water inward or behind the frame.
Wipe away residue with microfiber. Fold the cloth to expose a clean face as you work through corners and channels. Leaving dirty rinse water behind redistributes the material you've loosened.
Let the track dry completely before closing the sash. Check beneath accessible edges and beside weatherstripping, not just the broad central channel. Closing over a damp recess makes it harder to tell whether fresh moisture is returning.
Stop condition: Water moving toward the room, disappearing into an unexplained joint, or rising in the track means the rinse is over.
A cleared track should have unobstructed outlets, no remaining moss clumps, and no green fuzz at the next dry inspection. During a gentle test, look for water to emerge outside promptly, within minutes rather than remaining pooled. That's a practical observation, not a universal drainage specification for every window design.
Keep a 30-day inspection log, including notes after rainfall, as recommended in the Get My Windows Clean track-remediation guide. Attach the starting photograph and note whether the same corner becomes wet again.
For inaccessible windows, document what you can see from a safe position. Assign hands-on inspection to maintenance or glazing personnel rather than leaning out to finish the brushwork.
A clean track isn't a fixed track until its drainage works. Begin with the window manufacturer's drainage arrangement, especially if the frame has separate interior and exterior channels. Don't pour water into an interior-facing groove because it resembles a gutter.
For an exterior drainage channel, use a measured cup of clean water and pour slowly while watching the outlet. Note the amount used and how long discharge takes so later checks are comparable. Stop before adding more if water pools, stalls, or runs inward.
Inspect the weep-slot entrances and exterior exits for leftover debris. Remove material you can reach gently, but don't push a wire deep into an unfamiliar frame cavity.
Check sill-corner sealant for separation and look above the frame for water entering from another joint. Examine staining below the sash, too, because the visible wet spot may be downstream from the actual entry point. Don't seal an opening until you know whether it's an intentional drain.
For worn weather seals, Breaking Glass Co. seal replacement tips offer useful context on sliding-door seal components. Apply that distinction carefully: replacing a weather seal and clearing a drain are different jobs.
Storm-window assemblies need attention to their separate channels and access points. Our guide to cleaning storm windows can help you approach that assembly without treating it like a single exposed track.
Verify drainage with a gentle hand-poured test, not pressure that could force water into the wall cavity.
Porous masonry needs more drying time than a wiped metal surface. Laboratory findings summarized in the Hanson Public Library building-inspection report describe greater water uptake and retention in moss-covered stone, with some samples taking 24 hours to return to their initial dry weight.
Use airflow or carefully controlled heat to help damp porous materials dry within 24–48 hours, consistent with the moisture-control guidance cited in that report. Don't concentrate heat on glazing, seals, or finishes.
Check after the first few rains, then monthly through wet weather. Use dated photographs and discharge notes to judge progress, not an assumed removal success rate.
Moss needs a damp place to stay hydrated, and a recessed window track can provide one. Shade from the sash slows drying, while rainwater, sprinkler overspray, condensation, and debris keep the recess wet. University of Maryland Extension identifies abundant moisture and semi-shade as favorable conditions for moss.
A damp track can support growth even when the surrounding sill looks clean.

Mosses don't have true roots or the specialized water-conducting tissues found in higher plants. They absorb much of their water across their surfaces, so they don't need a bed of soil to occupy a narrow channel. A thin accumulation of dust and organic debris can provide a place to establish.
Wind supplies the starting material. Wisconsin Horticulture explains that moss spores disperse readily by wind and can persist before favorable conditions allow germination. Established moss can also look shriveled during dry weather, then become visibly active after rewetting.
Recurrence patterns and likely causes
| Pattern | Likely cause | First check |
|---|---|---|
| Regrows within days after rain | Blocked weep slots or sill drainage | Pour water into the exterior drainage track and watch where it exits |
| Growth concentrated at one end | Sill slope or water running to one corner | Check whether the sill pitches toward the exterior |
| Growth after sprinklers run | Irrigation overspray hitting the frame | Redirect the heads and inspect the track after a full cycle |
| Damp track with interior condensation | Poor ventilation or high indoor humidity | Measure indoor humidity and inspect the window seals |
| Same growth on several windows on one side | Façade runoff or envelope problem | Compare elevations and photograph each one after rain |
These patterns narrow the investigation; they don't prove a particular component has failed. For example, water in one corner might come from the sill geometry or from runoff arriving at that corner from above.
Moss is a plant, not mold. However, the moisture-control distinction behind Restore Heroes' guidance to stop mold returning after cleanup is relevant: removing visible growth isn't the same as eliminating recurring wetness.
Keep your own window's drainage arrangement in mind when considering cleaning demonstrations.
Match your observation to a table row and record it before changing anything. If you redirect irrigation and clean the track simultaneously, you'll have less evidence about which correction stopped the wetting.
A single track that drains outward, dries by the following day, and has no surrounding staining is a reasonable clean-and-monitor case. Several affected windows, damp interior finishes, or repeated pooling call for a different response. The important distinction is isolated debris versus an unresolved water path.
AllCoating's guidance on biological growth on building exteriors connects persistent growth with moisture retention and identifies runoff patterns as useful diagnostic evidence. Vertical staining below a window deserves attention even when the track itself looks better after cleaning.
Moisture outside the intended channel is more significant than a dirty recess.
Arizona and Nevada can have localized damp pockets despite their dry climates. Irrigation overspray, monsoon rain, dust, and shaded recesses can combine at the same window. For homeowners in Phoenix and Las Vegas, the first summer storms are a useful opportunity to inspect for those patterns.
If the evidence points to deteriorated seals, distinguish the possible repair from routine cleaning with our window seal repair guide. Where water appears to enter behind the sill, HIBCO ROOF LLC's guidance to stop leaks behind window ledges provides context for discussing sill-related repairs with a qualified contractor.
Before the inspection, gather dated photographs, the weather preceding each observation, and a record of which windows are affected. Include a wide photograph of the elevation as well as close-ups, so the inspector can compare runoff and exposure.
Clean an accessible, isolated patch yourself when you can verify outward drainage and find no interior dampness or staining. Call for help when access requires leaning, climbing beyond safe working conditions, or reaching a high-rise exterior. Several affected windows or a multifamily or commercial building also justify documented inspection and a named maintenance owner.
Window cleaning extends beyond the glass to frames, sills, and tracks. Our sill and frame cleaning process begins with thorough inspection and assessment, and specialized tools reach the track corners. That inspection matters because a clean glass surface says little about the channel underneath it.
Professionals use two window-cleaning methods: a squeegee or a pure-water system, as described in our commercial window-cleaning guide. A squeegee removes cleaning solution with a rubber blade; a pure-water system filters dissolved minerals, uses brush agitation, and rinses with purified water to reduce mineral residue.
Neither glass-cleaning method repairs failed drainage, flashing, or seals. Those faults need the appropriate maintenance, glazing, or building-envelope personnel.
Use this decision checklist before arranging another clean:
Today, photograph the affected track, check its discharge safely, and start the month-long log. If the water path isn't clear, stop at documentation rather than experimenting with more water.
Professional Window Cleaning has been cleaning windows for over 26 years and offers cleaning for glass, frames, sills, and tracks. Visit Professional Window Cleaning to request a free estimate, and mention the affected tracks so you can discuss cleaning needs alongside any drainage concerns.
Read our blog posts regularly and keep learning.