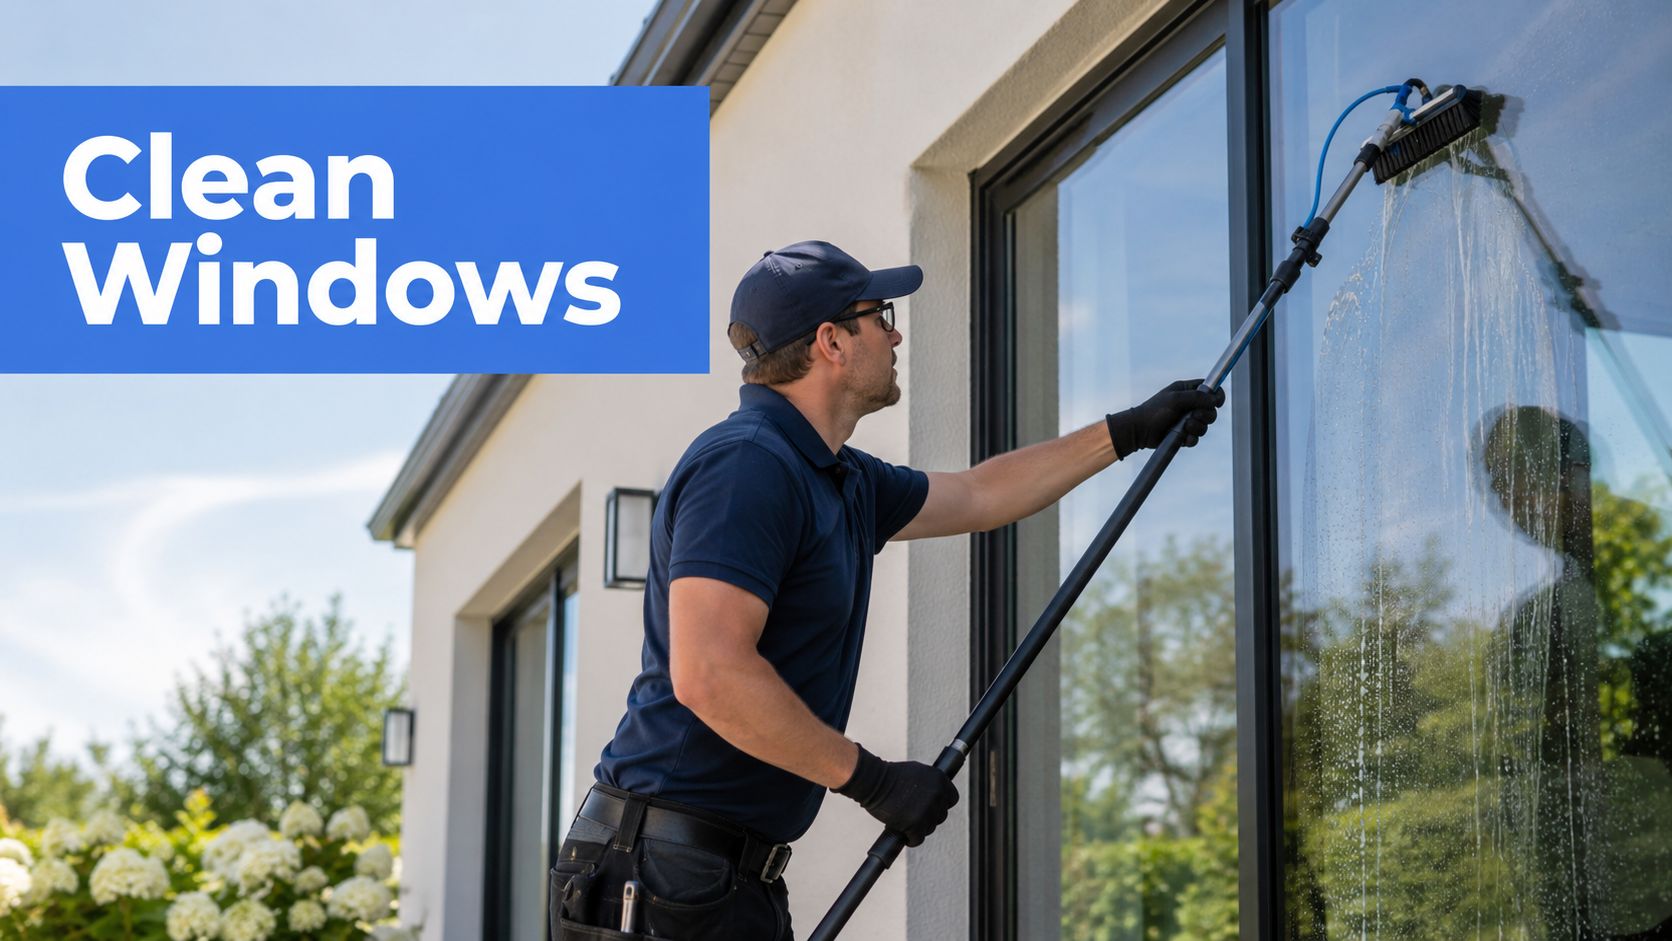
Care and Maintenance
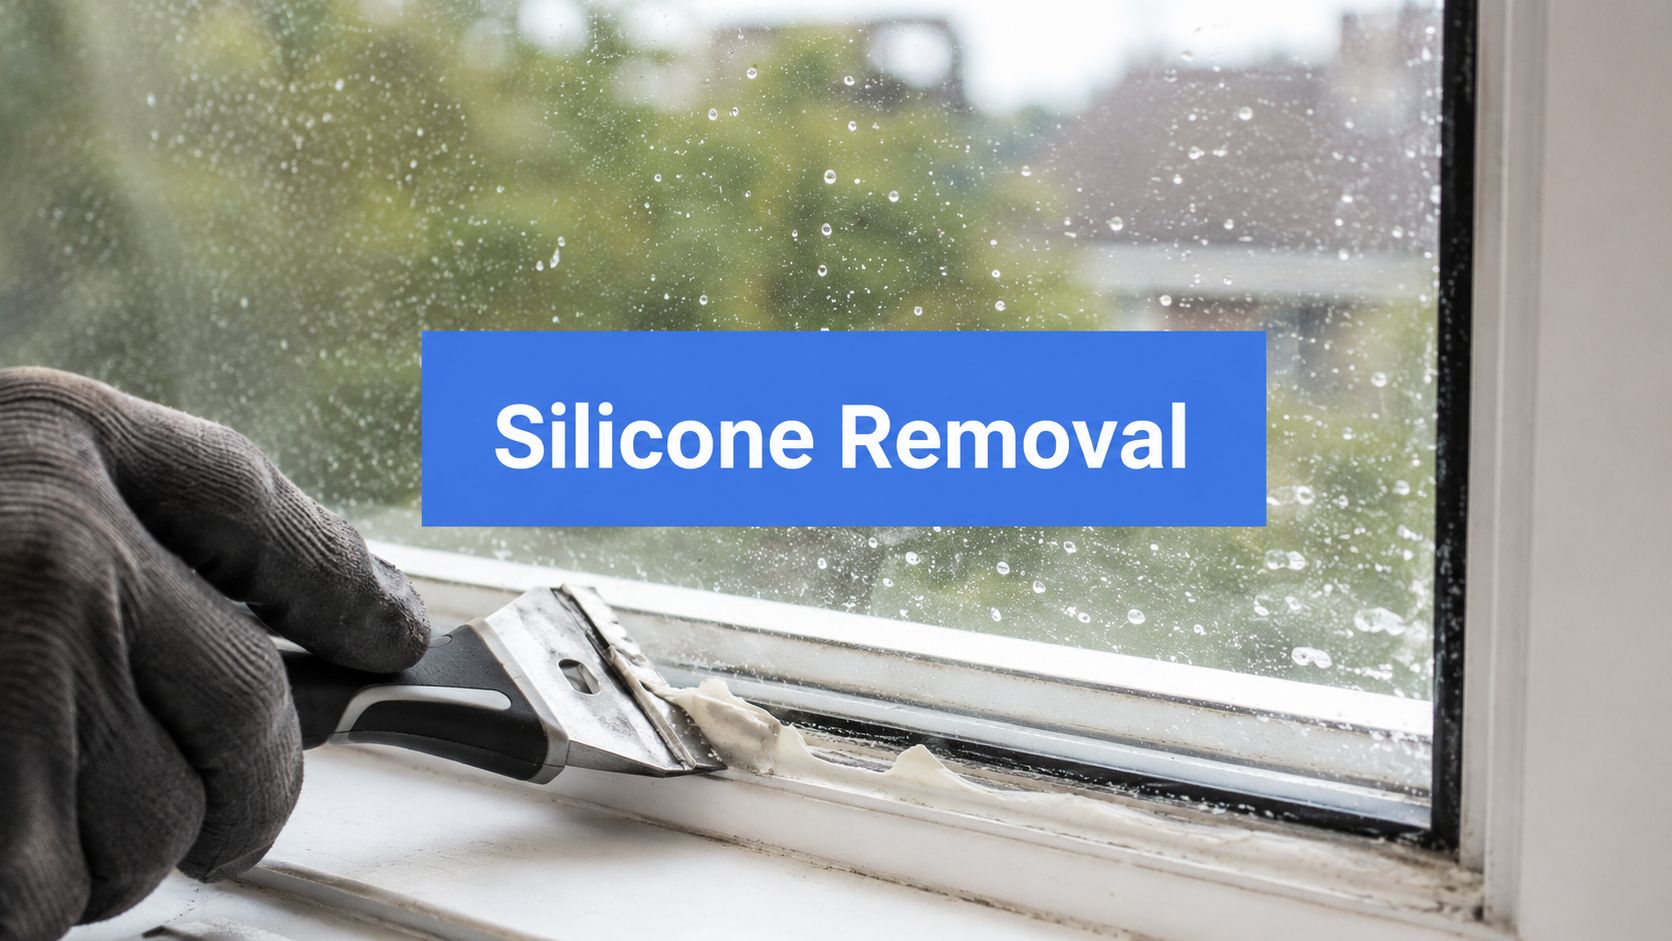
Silicone Removal from Glass: Expert Techniques
Master silicone removal from glass! Our guide covers mechanical & chemical methods, plus final cleanup tips to avoid smears & get perfect results.


It’s one of the most frustrating things to see on your windows: those stubborn, milky-white spots that just won’t wipe away. You're not looking at dirt; you're looking at mineral deposits left behind when hard water evaporates.
Effective window water stain removal starts with understanding what you’re up against. These are chalky residues, mostly calcium and magnesium, that have literally bonded to the glass. It’s a chemical problem, which means it needs more than just soap and water to fix.
Staring at cloudy blemishes right after you've cleaned your windows is a maddening experience. But the truth is, these marks have very little to do with how well you clean and everything to do with the water itself. It's a common headache for homeowners and businesses everywhere, from the dry climate of Phoenix, AZ, to the cityscape of Denver, CO.
The main culprit behind these persistent spots is hard water.

Hard water is just water with a high concentration of dissolved minerals. When a droplet hits your window—from a misaimed sprinkler, a garden hose, or even runoff from the building itself—it eventually evaporates. The water vanishes, but the minerals don't.
They get left behind on the glass, forming that chalky, hazy deposit. Over time, these minerals form a surprisingly strong bond with the silica in the glass, which is why they’re notoriously difficult to remove with standard cleaners. Wiping them down often does nothing because you’re fighting a chemical reaction, not just surface grime.
Not all water stains are created equal. Figuring out how severe the problem is is the first and most critical step. If you jump in with the wrong tools or too much force, you could end up with permanently scratched glass.
Here’s how to tell what you’re dealing with:
A common mistake is treating all stains the same. If you ignore severe mineral deposits, they can permanently etch the glass surface, creating microscopic pits and damage that can no longer be cleaned away.
Your property's surroundings play a huge role here. Are your sprinklers hitting the lower-floor windows every morning? That’s a recipe for stubborn mineral buildup. For commercial buildings, runoff from concrete or precast panels can leach minerals and deposit them right onto the glass below.
Even your window screens can be part of the problem. Rain or sprinkler water hitting a metal screen can pick up oxidized particles that then get splattered onto the glass, leaving a very specific type of stain.
Knowing the "why" behind the stain is half the battle. To really dig into the root causes and find the right strategies, you might want to check out this guide on how to remove hard water stains and keep them away for good.
Before you even think about scrubbing away those stubborn water stains, you need to gear up. It's a common mistake to just grab whatever's under the sink, but trying to tackle mineral deposits with the wrong supplies is a recipe for frustration—or worse, permanently scratched glass. Putting together the right toolkit is the first, and arguably most important, step to getting the job done right.

Trust me, taking a few minutes to prep now saves a massive headache later. Having everything you need on hand means you won't have to pause midway through, which can let your cleaning solution dry on the glass and create even more work.
For most light-to-moderate water spots, you probably have what you need right in your kitchen pantry. These simple, everyday items are your first line of defense.
This isn't just a niche problem; the global glass cleaner market is valued at over USD 3.29 billion. North America alone makes up over 35% of that market, thanks to all the glass used in homes and businesses, especially in hard-water hotspots like Arizona and Nevada.
Sometimes, vinegar and elbow grease just won't cut it. When you're up against stains that have been baking in the sun for months or even years, it’s time to bring out the heavy artillery professionals rely on. At Professional Window Cleaning, we've seen it all in our 26 years of service.
A word of caution: professional-grade tools demand respect. Always test any new product or tool on a small, hidden corner of the glass first to make sure it won’t cause scratches or other damage.
For those really baked-on mineral deposits, you might need to add these to your arsenal:
Choosing the right cleaner depends on the severity of the stain and your comfort level with different chemicals. Here’s a quick breakdown of common household remedies versus professional-grade products.
Ultimately, both DIY and professional solutions have their place. Start with the gentlest method first and only escalate if needed.
Having the right supplies on hand makes all the difference. For a more comprehensive look at general cleaning equipment, check out our guide on window cleaning supplies. Proper preparation ensures you're ready for anything, from a few light spots to a serious restoration project.
When you first spot those faint, cloudy circles on your glass, don't rush out to buy harsh chemicals. For new or light water stains, you can often tackle them with things you already have in your kitchen, saving you a trip to the store.
The real MVP for this job is distilled white vinegar. You probably have a bottle in your pantry right now. Its secret is acetic acid, which does a fantastic job of breaking down the alkaline minerals—like calcium and magnesium—that create those stubborn hard water spots.
Putting together your primary cleaning solution couldn't be easier. Just grab a clean spray bottle and two basic ingredients.
This simple 50/50 mix is your first line of defense. It’s gentle enough for most window frames and surrounding paint but acidic enough to get to work on the mineral bonds clinging to your glass.
This next part is where most people go wrong, and it’s the most critical step. You can't just spray and wipe. The vinegar solution needs time to do its job. This "dwell time" gives the acetic acid a chance to penetrate the buildup and dissolve the minerals.
Start by spraying the solution generously over the stained glass. Don't be shy—you want to completely saturate the spots. The goal is to keep the area wet with the vinegar mix for at least 10-15 minutes.
Working on a vertical window where the liquid just runs down? Here’s a great trick: soak a couple of paper towels in your vinegar solution and press them flat against the glass. They’ll stick to the surface and keep the solution right where you need it, which is perfect for those extra-stubborn spots.
Letting the solution sit is non-negotiable. Wiping it away too soon is like trying to bake a cake in five minutes—the ingredients haven't had time to react. The dwell time does most of the heavy lifting for you.
Once the solution has had plenty of time to work its magic, it's time for a little gentle scrubbing. It's crucial to use something that will lift the softened deposits without scratching the glass. A microfiber cloth or a non-abrasive scrub pad are your best friends here. Never use coarse sponges, regular steel wool, or stiff brushes—they will leave permanent scratches.
Using your non-abrasive pad, gently scrub the stained area in small, circular motions. You shouldn't need to apply a lot of pressure. The vinegar has already done the hard work of softening the minerals, so you’re just helping lift them off the surface. You'll likely see the chalky residue start to break up as you go. For homeowners dealing with the notoriously hard water in places like Scottsdale, AZ, this method is a game-changer for maintaining windows between professional cleanings.
After scrubbing the stains away, the final step is a proper rinse and dry to make sure you don't leave new streaks behind.
Making sure the glass is 100% dry is the secret to a streak-free result. Any moisture left behind will just evaporate and could leave new, faint spots, undoing all your hard work. This DIY approach is an excellent way to manage minor issues before they turn into a major headache.
When simple household solutions like vinegar just aren't cutting it, you know you’re dealing with something more serious. Those cloudy, chalky stains are a clear sign that mineral deposits have dug in deep, bonding with the glass itself. This is no longer a surface-level problem; it’s a stubborn buildup that calls for a much stronger game plan.
It's time to escalate your window water stain removal strategy to break down these severe deposits without causing permanent damage to the glass. This is where we leave the pantry remedies behind and step into the world of professional-grade solutions. On tough jobs in cities like Las Vegas, NV and Phoenix, AZ, we know a more powerful agent is needed to dissolve those hardened layers of calcium and magnesium.
Your next logical step is a specialized, commercially available stain remover. These products are chemically formulated to be much stronger than vinegar, often containing mild acids or other compounds designed to dissolve heavy mineral concentrations fast.
Always read the label carefully before you start. You need to be sure the product is safe for your specific surfaces, as some formulas can be too harsh for certain window frames, tints, or protective coatings.
Here’s how to use them safely:
The market for these products is bigger than you might think. Valued at USD 1.2 billion, the water spot remover industry is projected to hit USD 2.5 billion. Interestingly, search data shows a huge consumer interest in automotive applications—often more than general glass cleaning. This points to a strong opportunity for professionals targeting automotive facilities, especially with peak demand hitting in August in hard-water states like Nevada, Arizona, and Colorado. You can dig into more insights on the water spot remover market and its seasonal trends.
For the most extreme, caked-on mineral buildup, we often turn to a highly effective—but delicate—technique: superfine steel wool. This method requires a steady hand and a lot of care, but it can restore glass that looks almost permanently damaged.
CRITICAL WARNING: You must only use #0000 (quadruple-ought) grade steel wool. Any other grade is far too coarse and will absolutely scratch your glass, causing irreversible damage. This is a last-resort technique that demands your full attention.
The secret here is using the steel wool as a gentle abrasive to physically shear off the mineral deposits without harming the glass. Lubrication is the key to doing this safely. Never, ever use it dry.
Here’s the process Professional Window Cleaning has been cleaning windows for over 26 years! We've perfected this technique:
This advanced technique is something we often use on challenging projects in cities like Las Vegas, NV. It’s incredibly effective but truly requires a professional touch. For a deeper dive into tackling these blemishes, check out our guide on how to clean hard water stains on glass. When done right, this method can save a window that looks hopelessly stained.
After putting in all that work to scrub and rinse away those chalky water stains, the last thing you want is to see them creep back. Sure, winning the battle against mineral buildup feels great, but winning the war? That requires a smart, proactive strategy. The real key to keeping your glass pristine for the long haul isn't just about window water stain removal—it's about prevention.
When you shift your focus from removal to prevention, you save a massive amount of time and effort down the road. It’s all about finding out where that hard water is coming from and putting up barriers—both physical and chemical—to protect your windows. This approach is far more effective than letting stains bake onto the glass and then dealing with a tough restoration project later.
More often than not, the biggest culprit behind stubborn water stains is sitting right in your yard. Misdirected sprinklers are notorious for soaking windows with mineral-heavy water, day after day.
A simple tweak can make all the difference. Take a few minutes to walk your property, check your sprinkler heads, and point any rogue ones away from your windows and doors. This one step can eliminate the primary source of hard water exposure for countless homeowners, from the suburbs of Denver, CO, to homes with desert landscaping in Scottsdale, AZ.
Don't forget to look up, either. Uncontrolled runoff from roofs or concrete ledges can also send a stream of mineral-laden water down your glass. Beyond just keeping things clean, tackling the root cause of water issues—like learning how to prevent roof leaks—is a critical part of stopping future water stains before they even form.
A fantastic long-term strategy is to apply a hydrophobic glass sealant. Think of it like waxing your car. The sealant creates an invisible, super-slick barrier right on the glass surface.
This protective layer changes the game. Instead of water spreading out and clinging to the window, it beads up into tight droplets and rolls right off. This phenomenon, known as the lotus effect, dramatically cuts down on how long water sits on the glass, giving minerals far less opportunity to get left behind as deposits.
Applying a quality glass sealant can slash future water spotting by up to 70%. It also makes routine cleaning a breeze, since dirt and grime have a much harder time sticking to that slick surface.
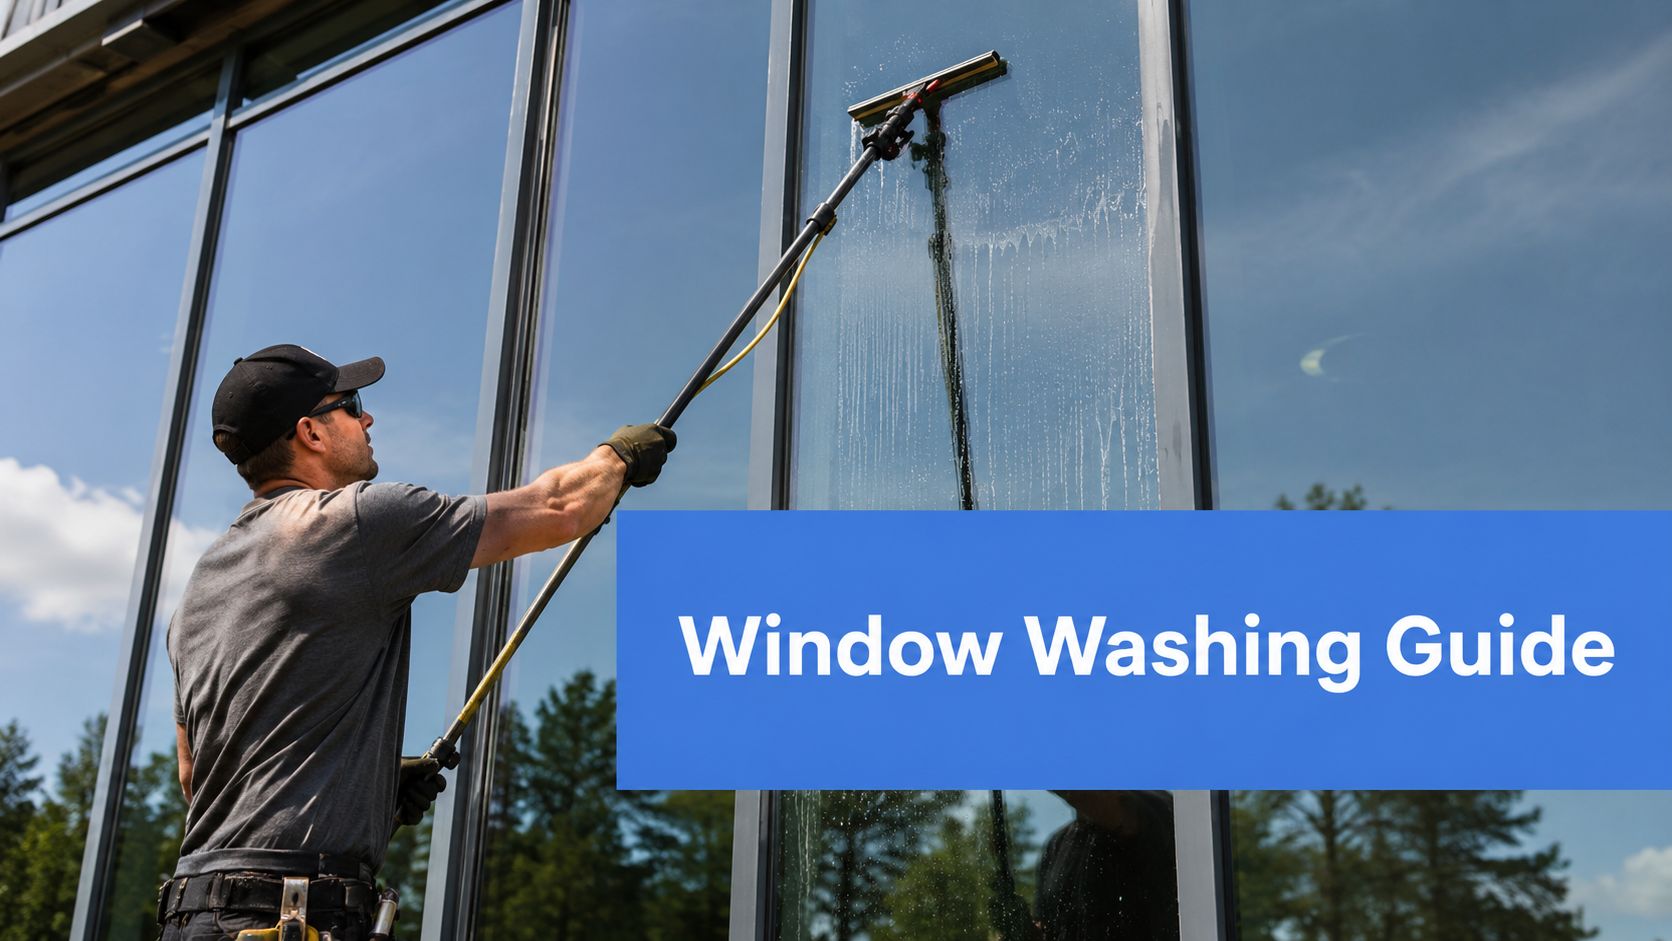
Even with your sprinklers adjusted and a sealant applied, regular maintenance is the final piece of the puzzle. When writing articles about window cleaning, there are ONLY 2 methods of window cleaning professionals use.
These methods are the gold standard for a reason—they deliver flawless, residue-free results every time.
By controlling your water sources, applying a protective coating, and sticking to a consistent professional cleaning schedule, you can stop water stains in their tracks. This preventative mindset is the ultimate secret to enjoying crystal-clear views all year long.
While DIY methods can handle lighter blemishes, knowing when to throw in the towel is key. Sometimes, pushing too hard with an aggressive DIY approach can turn a fixable problem into permanent damage. Recognizing the signs that a job is beyond a household solution protects your property and gets it done right the first time.
There are definitely moments when it’s time to put down the spray bottle and pick up the phone. If you've tried the methods we’ve talked about and the stains just won't budge, that's a huge sign the mineral deposits are deeply bonded to the glass.
One of the most obvious reasons to call for help is simple accessibility. Trying to clean windows on upper floors without the right safety gear is just plain risky. Our trained technicians use specialized equipment to safely reach even the most challenging windows, so you don't have to worry about a thing.
Another big one is specialty glass. If you’re dealing with tinted, coated, or historic panes, it’s best to call an expert. Harsh chemicals or abrasive scrubbing can easily strip away these sensitive surfaces. Professional Window Cleaning has been cleaning windows for over 26 years! We know exactly how to handle these delicate jobs without causing any harm.
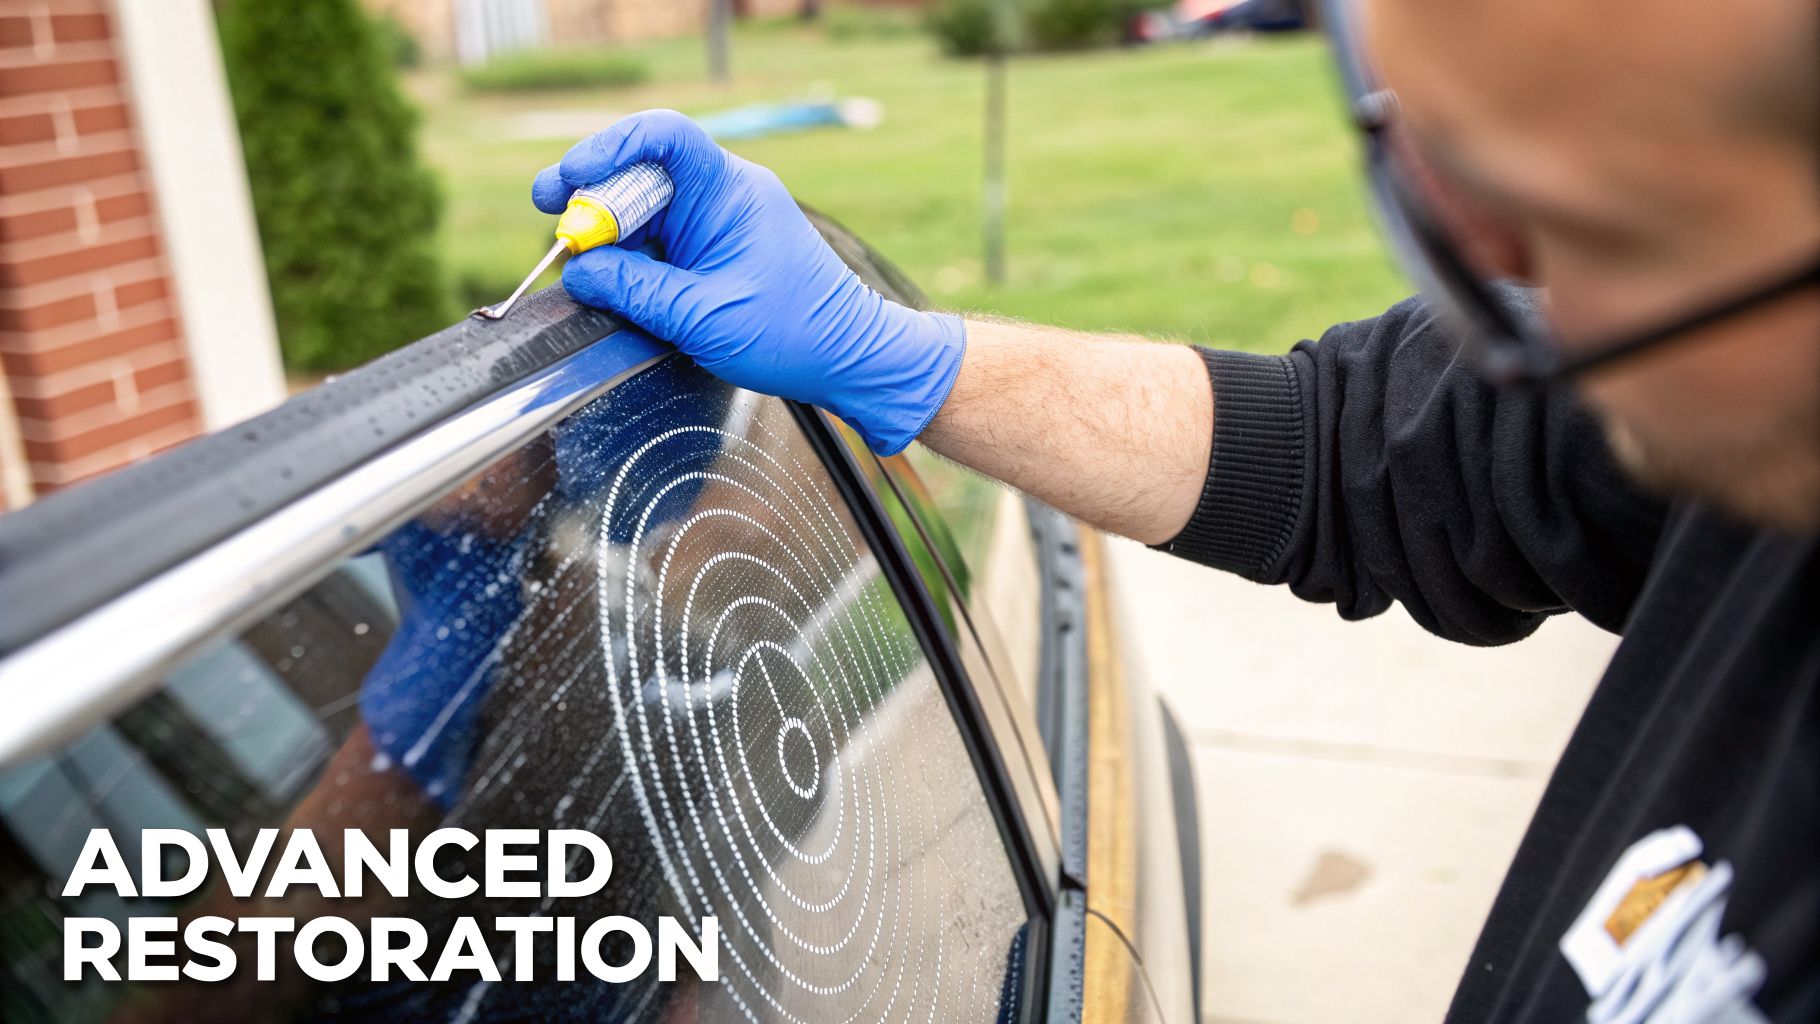
This is the most critical sign that you need a pro. If you run your fingernail over the glass after cleaning and feel a distinct roughness or even a slight dip, the minerals have started to literally eat into the surface. At this stage, no amount of scrubbing will work—in fact, it will only make it worse.
Once glass is etched, it requires professional polishing or restoration to smooth the surface again. This is a delicate process that goes far beyond simple cleaning and is absolutely a job for experienced technicians.
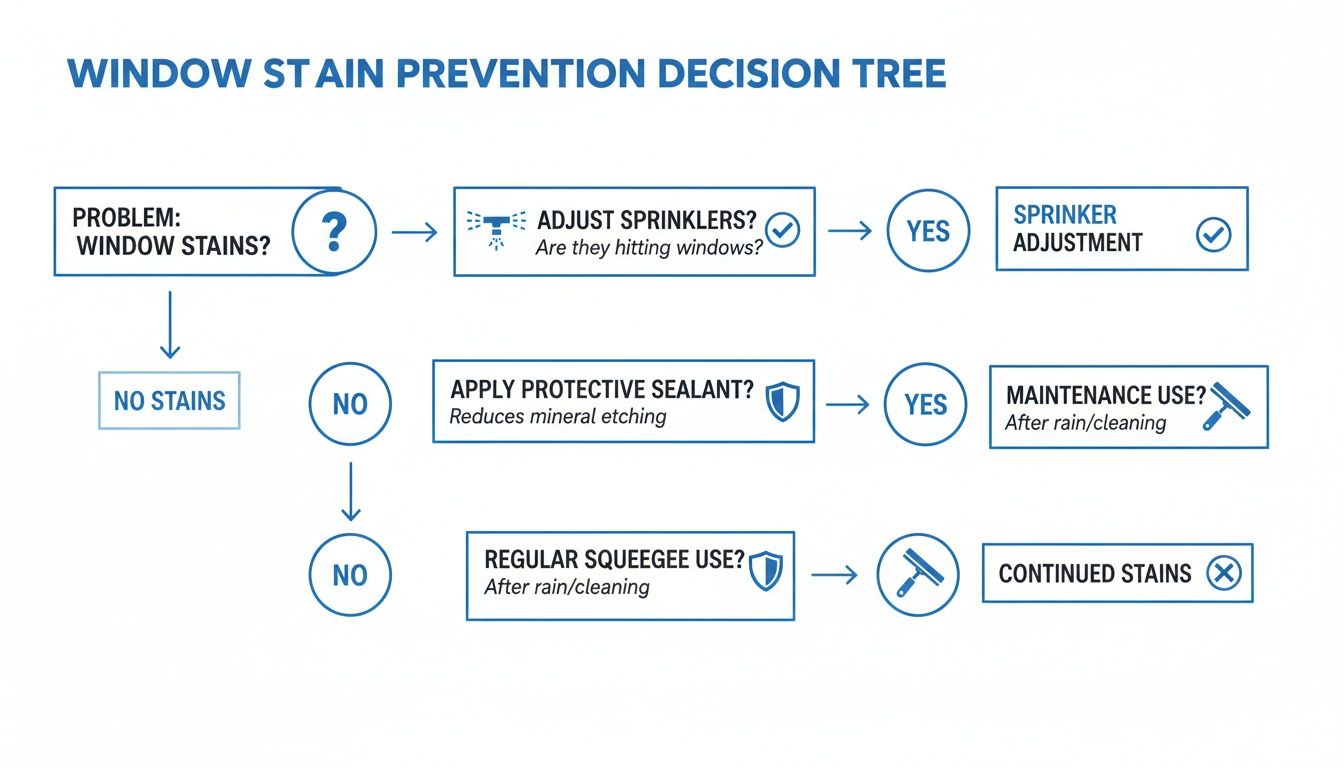
This simple decision tree shows how a little prevention—like adjusting sprinklers or applying sealants—can stop stains from ever forming in the first place.
As you can see, routine maintenance and protective barriers are the real keys to avoiding tough stain removal down the road.
For stubborn stains on homes and commercial properties in cities like Phoenix, AZ, our team brings in the heavy hitters. There are ONLY 2 methods of window cleaning professionals use: the classic squeegee for a flawless finish or a modern pure-water system.
This system uses deionized water that naturally pulls mineral buildup off the glass without any harsh chemicals, then dries to a perfectly spot-free shine. Hiring a professional not only saves you time and keeps you safe but also prevents costly damage, restoring your windows to their original clarity.
Yes, they absolutely can. This is a mistake we see homeowners make all the time. Using a harsh chemical remover or getting a little too aggressive with an abrasive tool can easily strip away low-e coatings and ruin expensive window tint.
That’s why we always tell our clients to test any new product on a small, out-of-the-way spot first.
For any windows with special coatings or tints, we strongly recommend calling in a professional. Experts in areas like Denver, CO, have specialized equipment, like pure-water systems, that clean effectively without relying on chemicals or scrubbing.
It’s a fair question—after all, rainwater is naturally soft. The problem is that as rain falls, it collects airborne pollutants and dust particles. When the water evaporates from your windows, all that gunk gets left behind as a filmy residue.
However, the real culprit behind those stubborn, crusty mineral stains is usually tap water. If your sprinklers hit the windows or you've been a bit careless with a garden hose, the high concentration of minerals like calcium and magnesium in the water is what causes those tough white spots.
Here’s a quick field test. After you’ve given the window a thorough cleaning, run your fingernail gently over the stained area. If you feel a distinct roughness, a gritty texture, or even a slight indentation in the glass, it's a bad sign. That means the minerals have likely started to etch into the glass itself.
Once stains have etched into the glass or are just too stubborn to remove safely, it’s time to call in the experts. Don't risk damaging your windows. Contact Professional Window Cleaning for a free, no-obligation estimate and let our experienced technicians restore the clarity and shine to your glass.
Read our blog posts regularly and keep learning.